LidarBot


Description
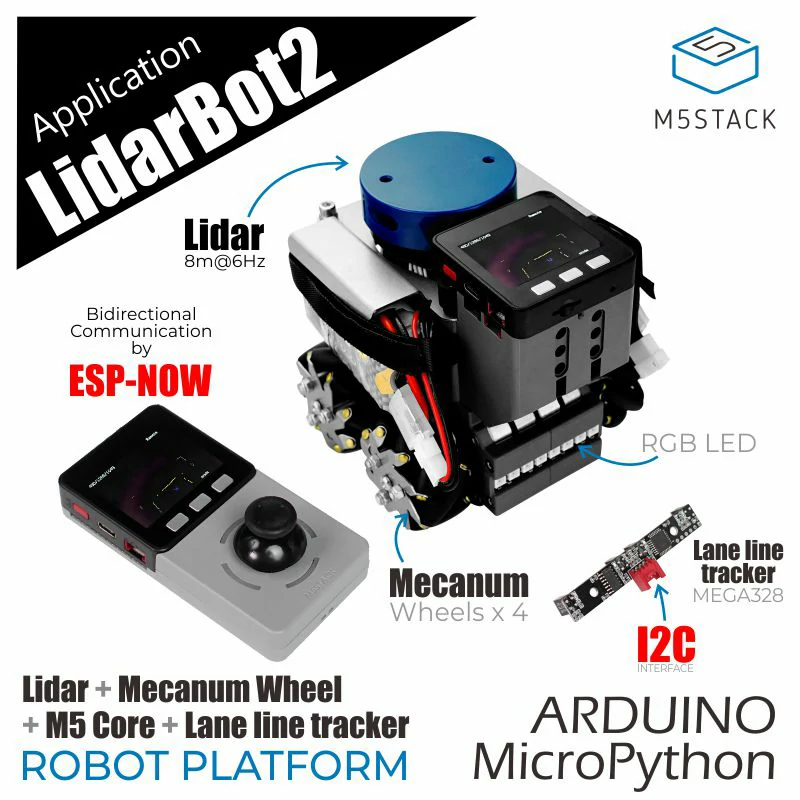
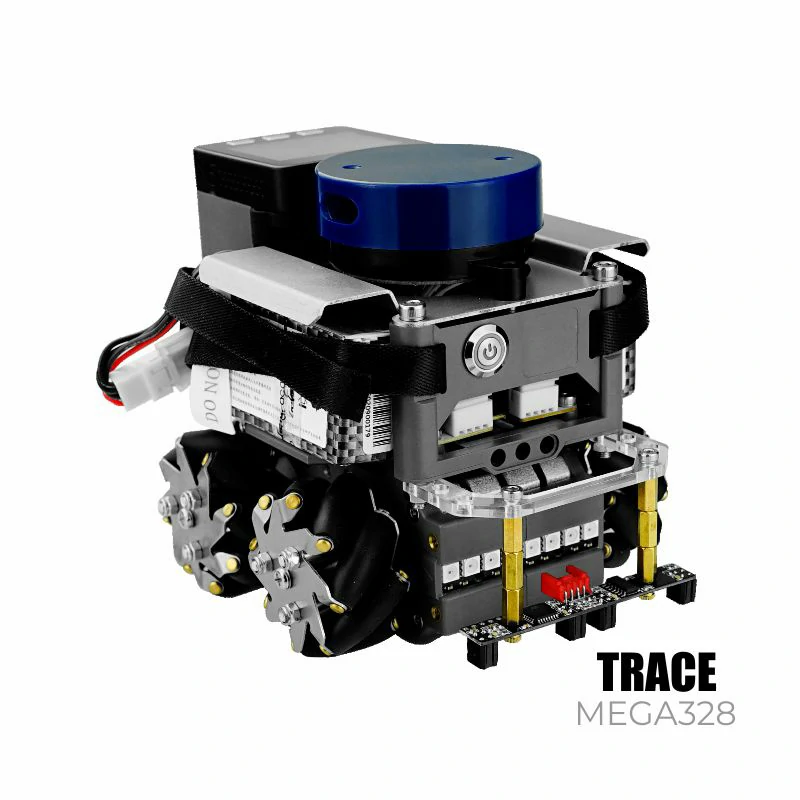
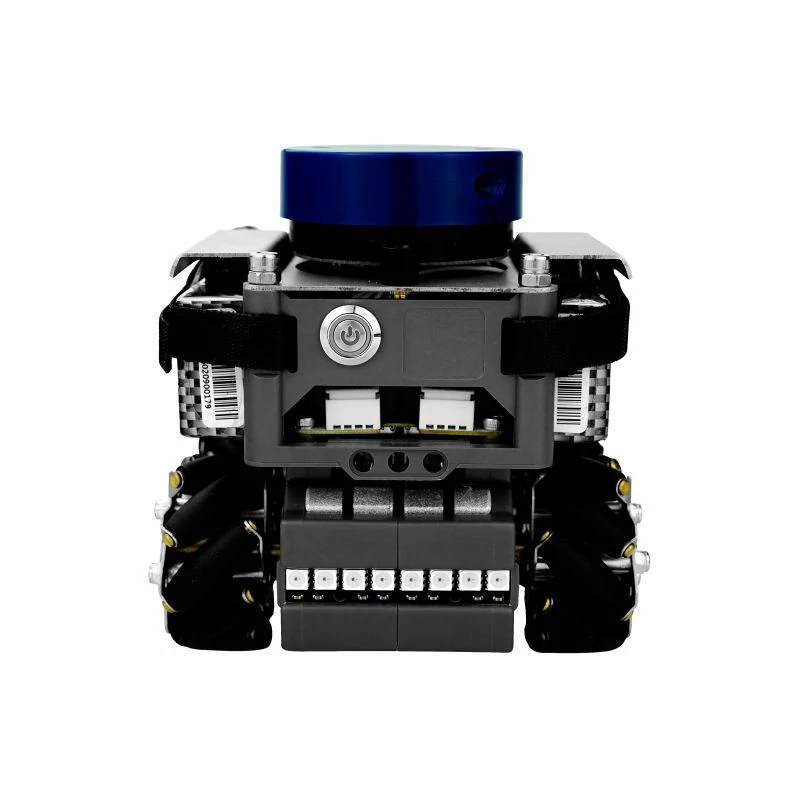
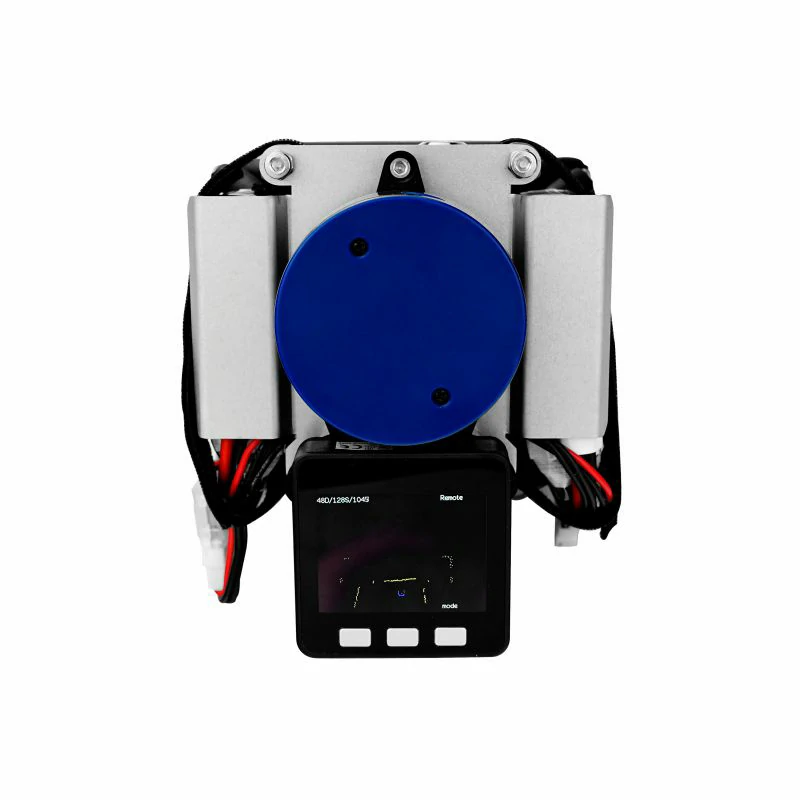
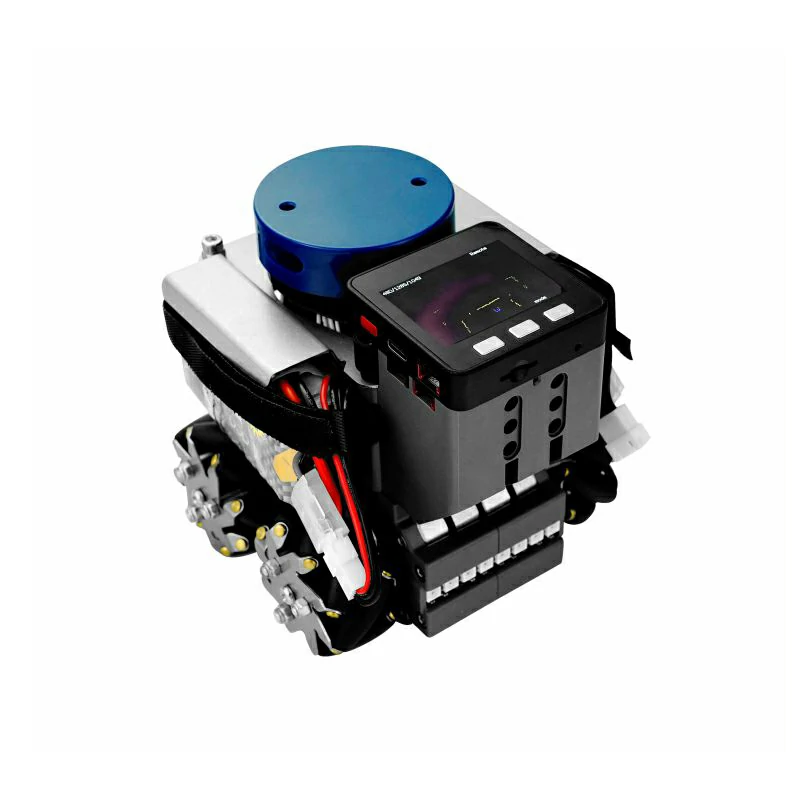
LidarBot is a powerful development kit for Automated Guided Vehicles(AGVs). Comes with a 360 Lidar sensor, 4 Mecanum wheels, M5 Core, RGB Bars and a remote controller with Joystick panel and more。In addition, a trace kit is attached for the identification of black or white track line. With 4 Mecanum wheels, you can make it move to any direction, forward, backward, to left and to right. The Lithium polymer Batteries empower the Robot to run long-hours. You can display the map data, that obtained from the lidar sensor, on the screen or upload somewhere else thru Wi-Fi and program it into any format. We have implemented Real-time communication via ESP-NOW between robot and remote, Mazing-running , self-tracing and more. If you are interest in AGV development, We especially encourage you to modify the open source code we have offered on github and enhance it yourself.
Features
- EAI YDLIDAR X2 radar ranging speed: 8m @ 7Hz
- Programming Support
- ESP-NOW Remote
- With tracking function
- Arduino
- UIFlow (Blockly)
- Python
- ESP-NOW communication
- Mecanum wheels
- Compatible LEGO
Include
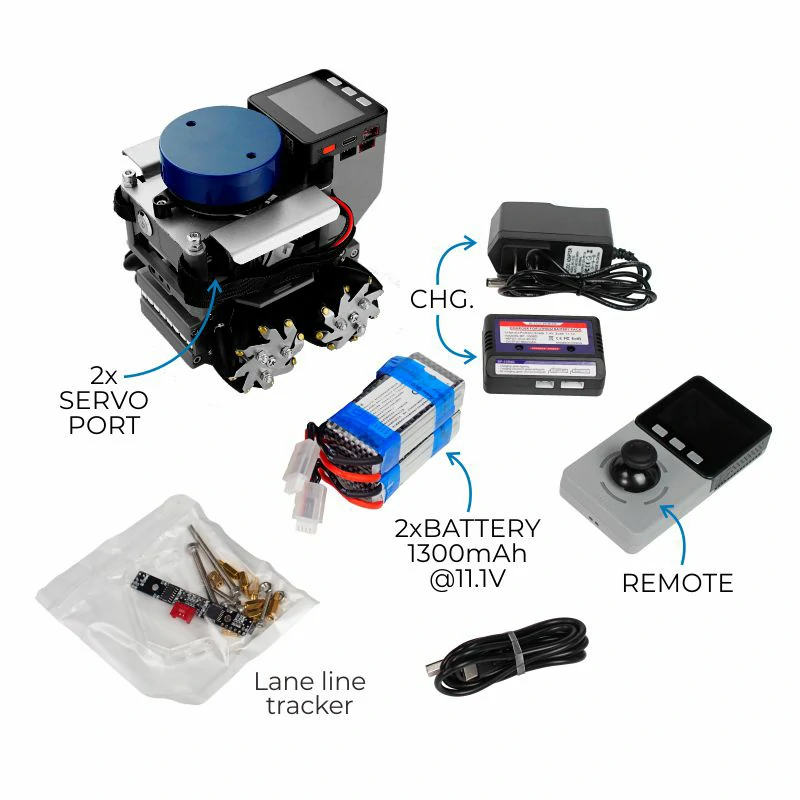
- 1x LidarBot
- 1x TRACE Kit
- 1x Remote Control Handle
- 2x Battery(1300mAh @ 11.1V)
- 1x Power Charger
- 1x Type-C USB Cable
Applications
- Indoor Navigation
- Autonomous walking maze
- Route plan
- Autopilot
Specifications
| Resources | Parameter |
|---|---|
| Net weight | 1980g |
| Gross weight | 2140g |
| Product Size | 142 x 117 x 120mm |
| Package Size | 208 x 208 x 167mm |
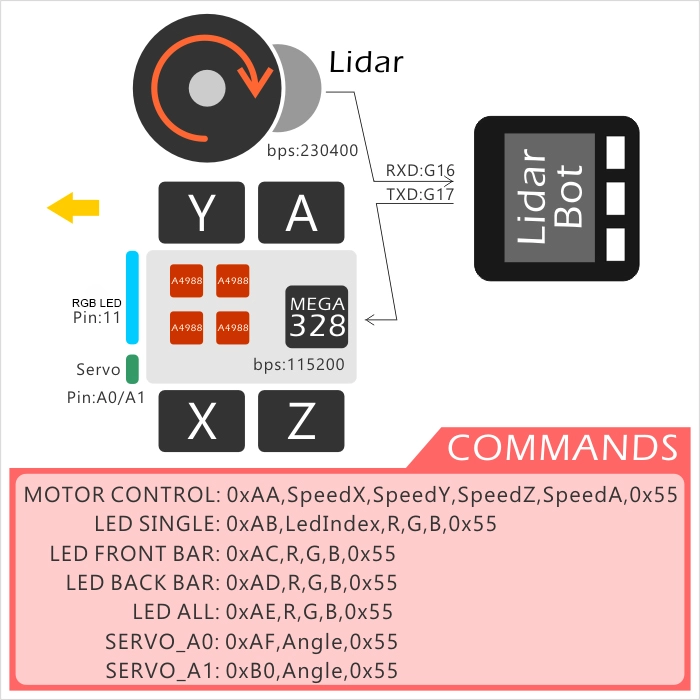
Protocol for CarBottomBoard
*Protocol Format: Data Header ( command type ) + Data Packet + Data Tail*
| Control Target | Protocol Format | Example | Function |
|---|---|---|---|
| Wheels | 0xAA,SpeedX(-7 ~ 7),SpeedY,SpeedZ,SpeedA,0x55 | 0xAA, 5, 5, 5, 5, 0x55(Go ahead, speed: 5) | ControlWheel(5, 5, 5) |
| One RGB | 0xAB,LedIndex,R(0 ~ 254),G,B,0x55 | 0xAB, 3, 20, 50, 100, 0x55(3th RGB displays specific color) | setLedColor(3, 20, 50, 100) |
| Front RGB Bar | 0xAC,R(0 ~ 254),G,B,0x55 | 0xAC, 20, 50, 100, 0x55(Front LED Bar displays specific color) | setFrontLedBar(20, 50, 100) |
| Back RGB Bar | 0xAD,R(0 ~ 254),G,B,0x55 | 0xAD, 20, 50, 100, 0x55(Back LED Bar displays specific color) | setBackLedBar(20, 50, 100) |
| All RGB | 0xAE,R(0 ~ 254),G,B,0x55 | 0xAE, 20, 50, 100, 0x55(All LED display specific color) | setLedAll(20, 50, 100) |
| ServoMotor0 | 0xAF,Angle(0 ~ 180),0x55 | 0xAF, 100, 0x55(Servo 0 turns angle 100 degree) | setServo0Angle(100) |
| ServoMotor1 | 0xB0,Angle(0 ~ 180),0x55 | 0xB0, 100, 0x55(Servo 1 turns angle 100 degree) | setServo1Angle(100) |
PARAMETER
- The size of LidarBot: 142mm x 117mm x 120mm
- Communication Parameter
- M5Core <-> Lidar
- U1RXD(GPIO16) <-> Lidar sensor Serial Configuration: "115200bps, 8, n, 1"(8 bits data, no parity, 1 stop bit)
- M5Core <-> Bottom Board
- U2TXD(GPIO17) <-> Bottom Board Serial Configuration: "115200bps, 8, n, 1"(8 bits data, no parity, 1 stop bit)
- PinMap
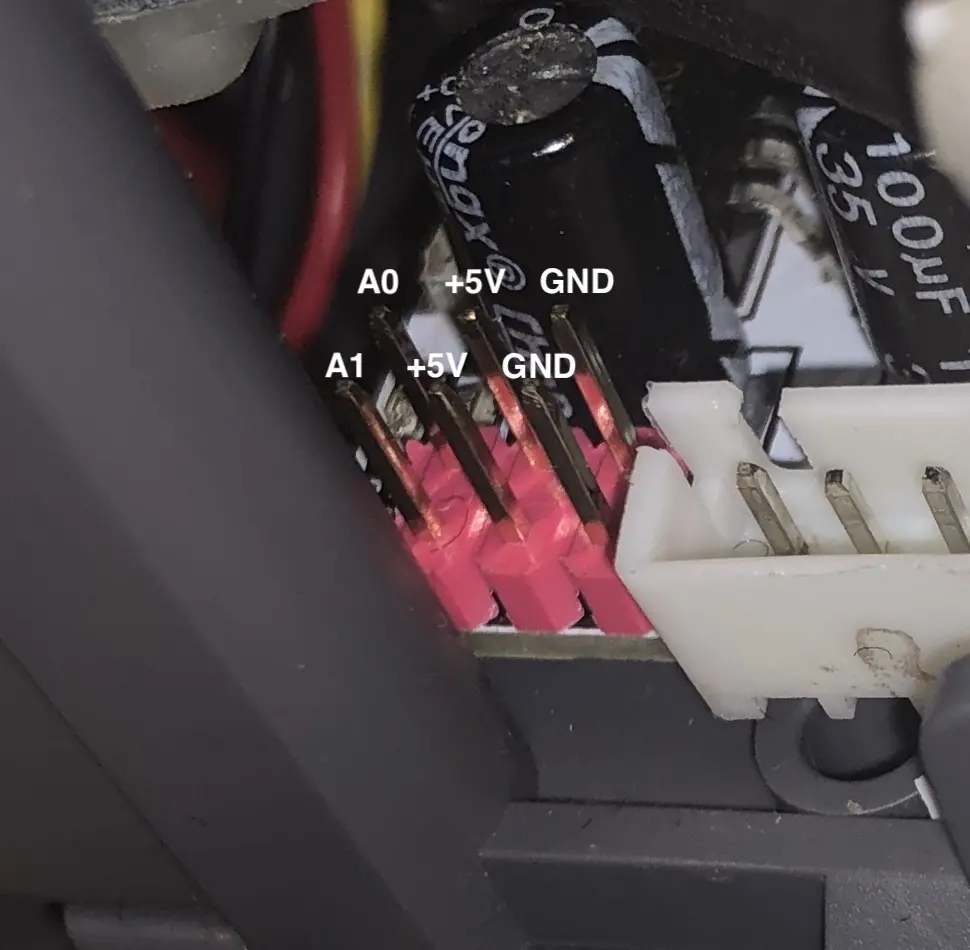
- ServoMotor0 <-> A0(MEGA328)
- ServoMotor1 <-> A1(MEGA328)
- RGB LED <-> 11(MEGA328)
EasyLoader
2.After downloading the software, double-click to run the application, connect the M5 device to the computer via the data cable, select the port parameters, and click "Burn" to start burning.
Connect And Pair
If you have no map on the screen of your remote, reconnect it.
Control and Display
where the radar cart and handle have matched, Radar car and handle can send messages to each other through EspNow, radar information of radar car can be displayed to handle, handle can also control the trolley movement through EpNow.
Normal control mode: move the handle rocker, the trolley will realize forward backward and steering.
Omnidirectional Control Mode: Press and hold the handle A key that is the most left on in the handle screen three ons, and then move the rocker to achieve the right and left sideways, but the front and back direction is the other way around.
Connection and Matching
In the unconnected state or if one party is not connected to the other party, there may be problems with the display or control, and we all need to make a new connection.
Radar car hold down the C key without putting down the M5Core power on, wait for the screen to restart the end release C on to enter the broadcast mode, all the slave will receive a signal from the host.
In the case of the radar vehicle into broadcast mode, we hold down the handle C key and then press the handle power on, wait for the handle restart complete and then release C on to view the current broadcast host on the screen. We select up and down through the A / C key, then press B to determine the Mac address of the host we want to connect to, The host's Mac address can be accessed from your phone or computer to view nearby Wi-Fi, beginning with lidar followed by the host Mac's address.
After confirming the host, the host that is the radar car screen will receive the confirmation signal from the slave, also through the ABC key to select and determine the address of the slave. When the B key is pressed, the communication configuration between the radar vehicle and the handle is completed. The two sides can send messages to each other to realize the display of radar map and control of the handle.
The webpage displays radar images
After the radar car is started, there is no need to match the radar car with the handle, you can connect to the radar car Wi-Fi hotspot (SSID:X2Lidar:xx:xx:xx, PWD:12345678), and then access via mobile phone or computer browser 192.168.4.1/map to see the radar image information.
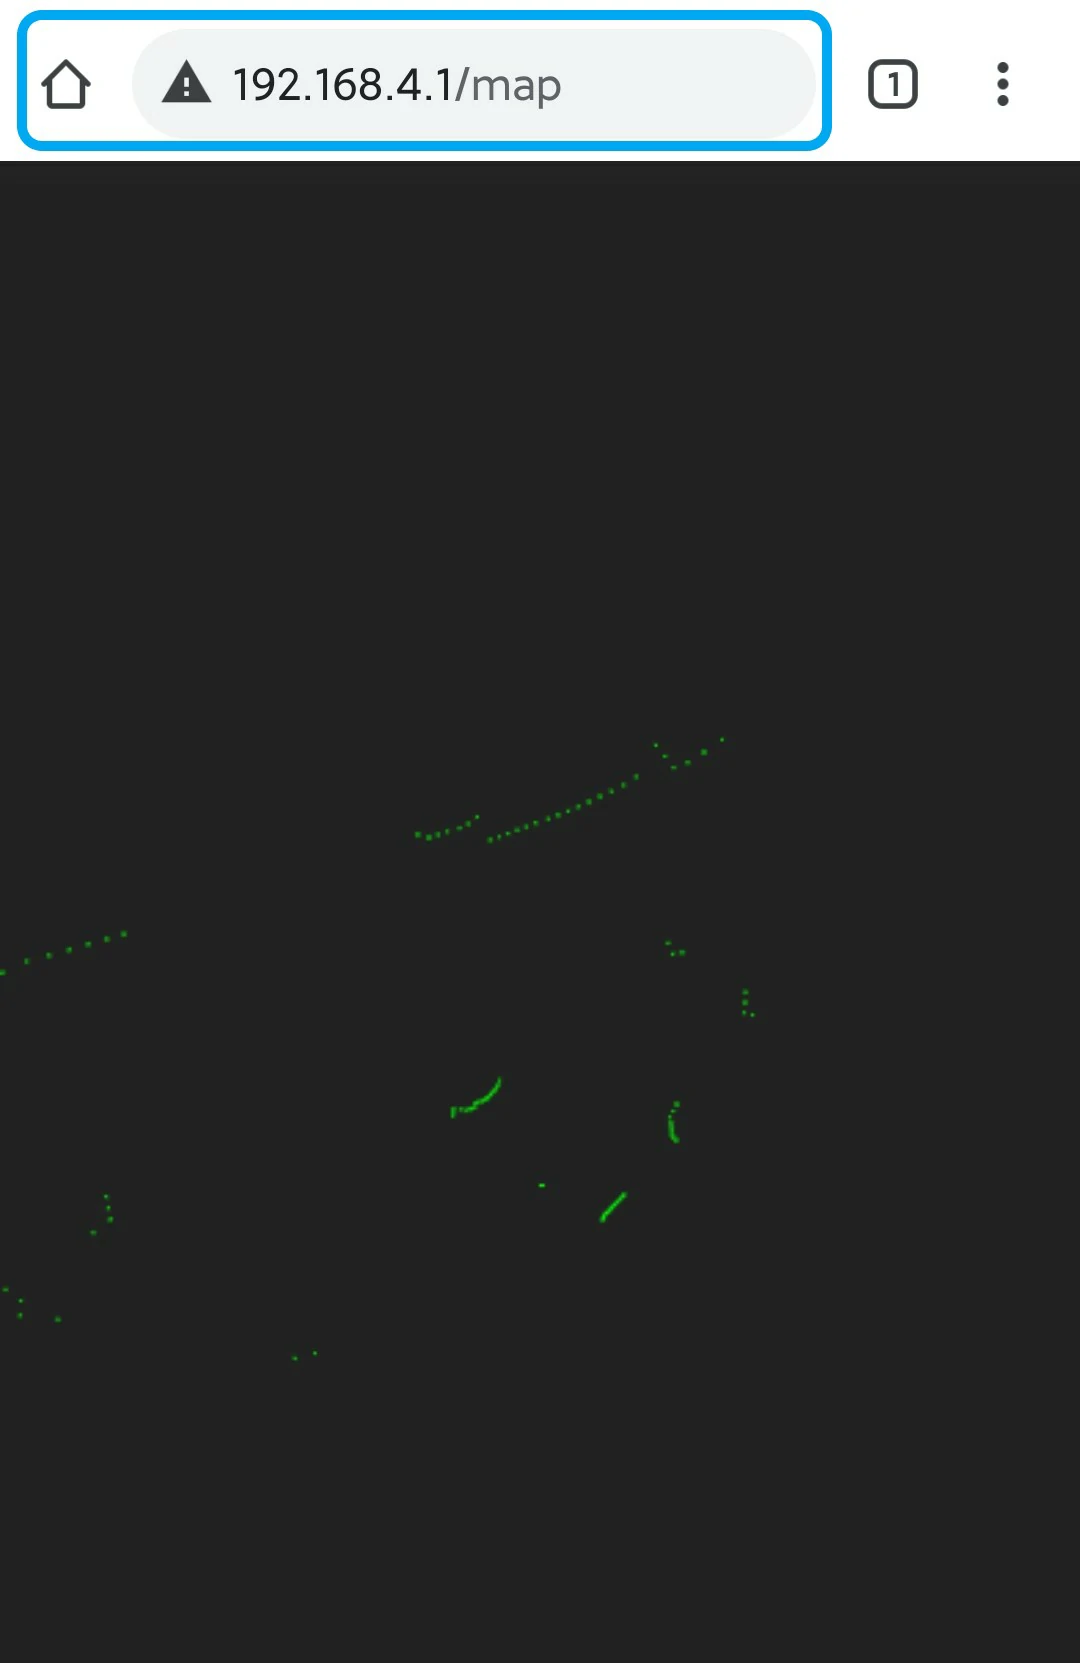
Example
Related Link
Version Change
| Release Date | Product Change | Note: |
|---|---|---|
| 2018.12 | Initial public release | / |
| 2021.5 | Use radar model EAI YDLIDAR X2, add sheet metal structural parts SKU K017 -> K017-C | Radar ranging speed 8m @ 6Hz -> 8m @ 7Hz |
Video
LidarBOT Case