Module13.2 ODrive
SKU:M036


説明
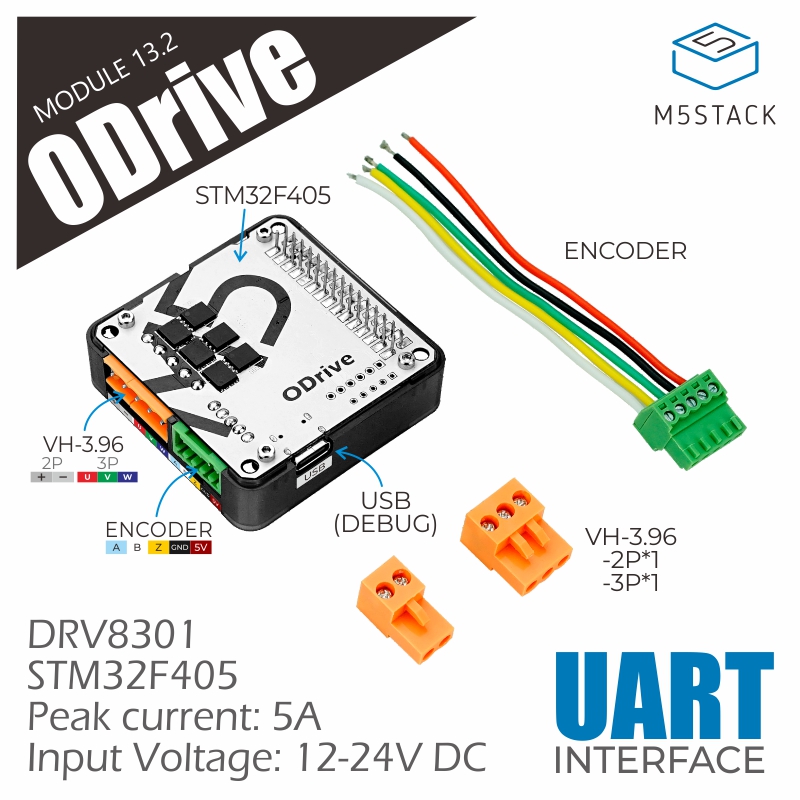
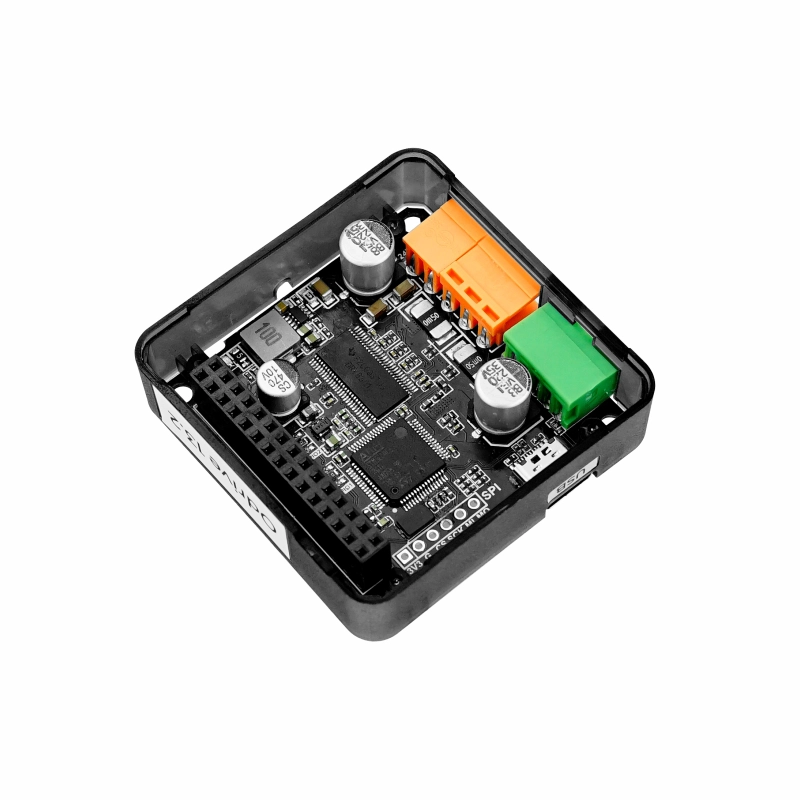
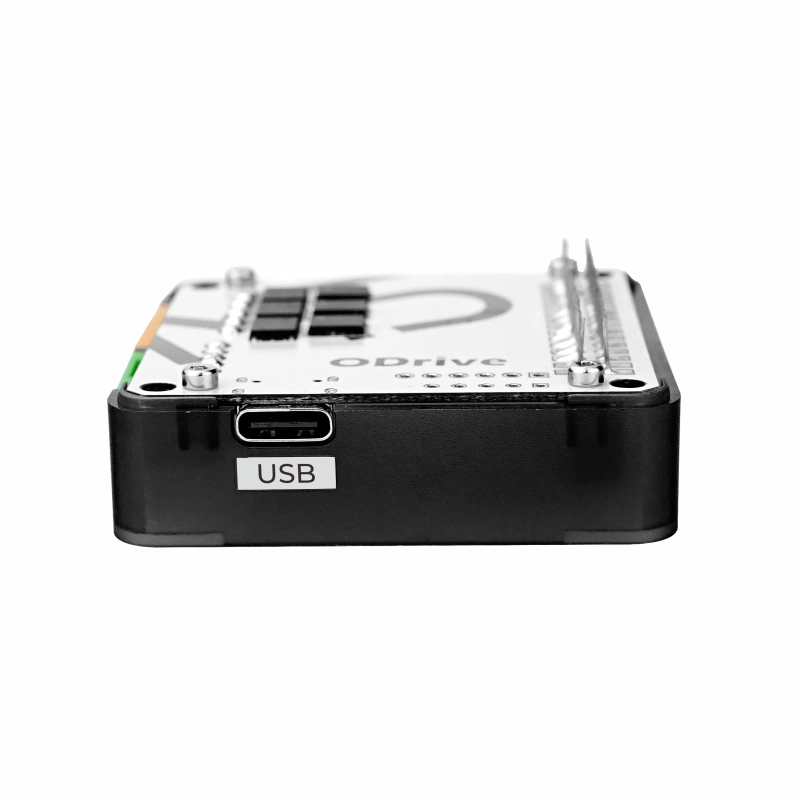
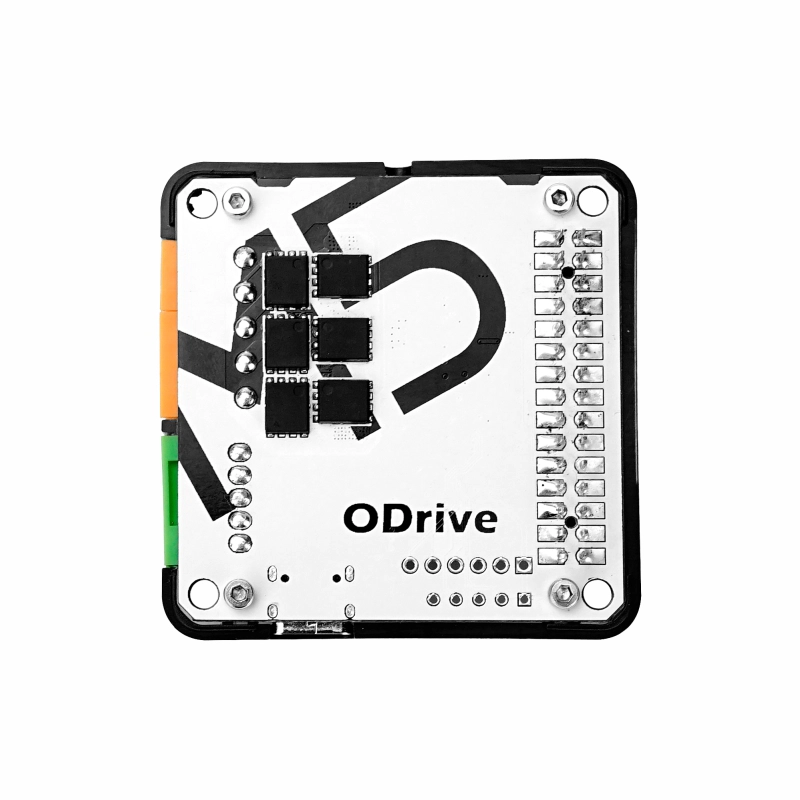
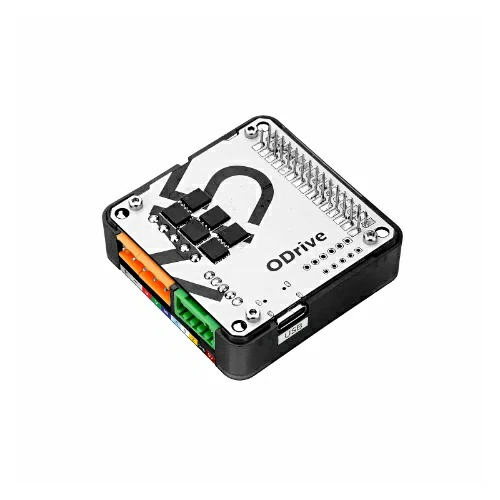
Module13.2 ODrive は、M5Stack が提供する高性能サーボモータードライバーモジュールです。オープンソースのモーションコントロールソリューション ODrive をベースに設計されています。単一の三相サーボモーターを制御でき、ピーク駆動電流は 5A に達します。高速回転モーター制御に対応しており、エンコーダー信号インターフェースを備えて高精度なモーションコントロールと位置決めを実現します。モジュールは UART 通信インターフェースを使用し、ODrive 公式設定ツールおよびプロトコルと互換性があります(上位ツールを使用して異なるモーターモードを設定し、モーターをよりスムーズで安定した動作に調整可能です)。
特徴
- 単一三相サーボモーター駆動対応
- ピーク駆動電流 5A
- DC 12~24V 電源入力インターフェース (アダプターの出力電流 5A まで対応)
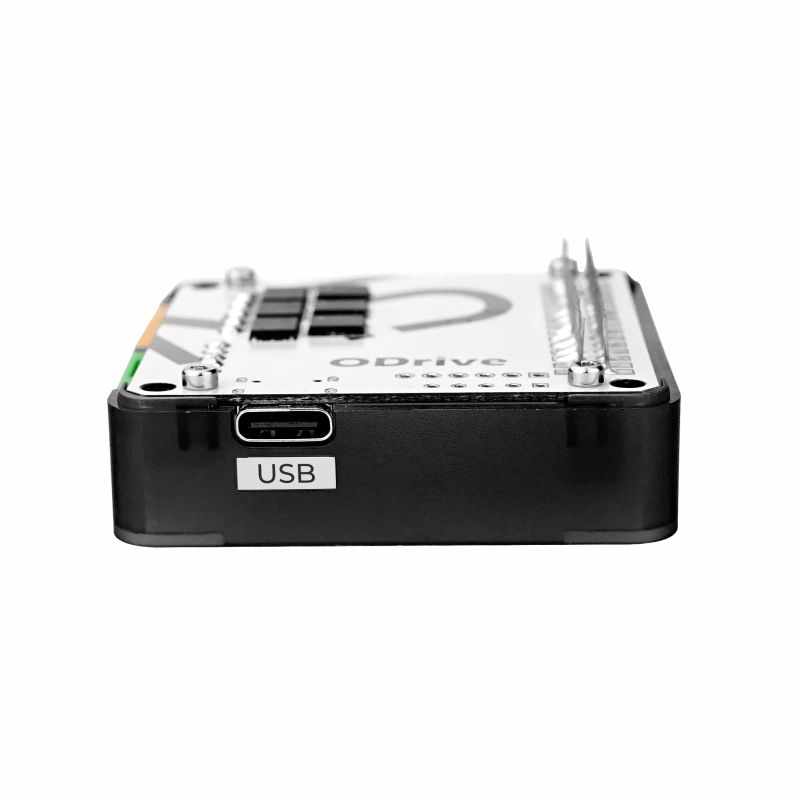
- 通信インターフェース:UART
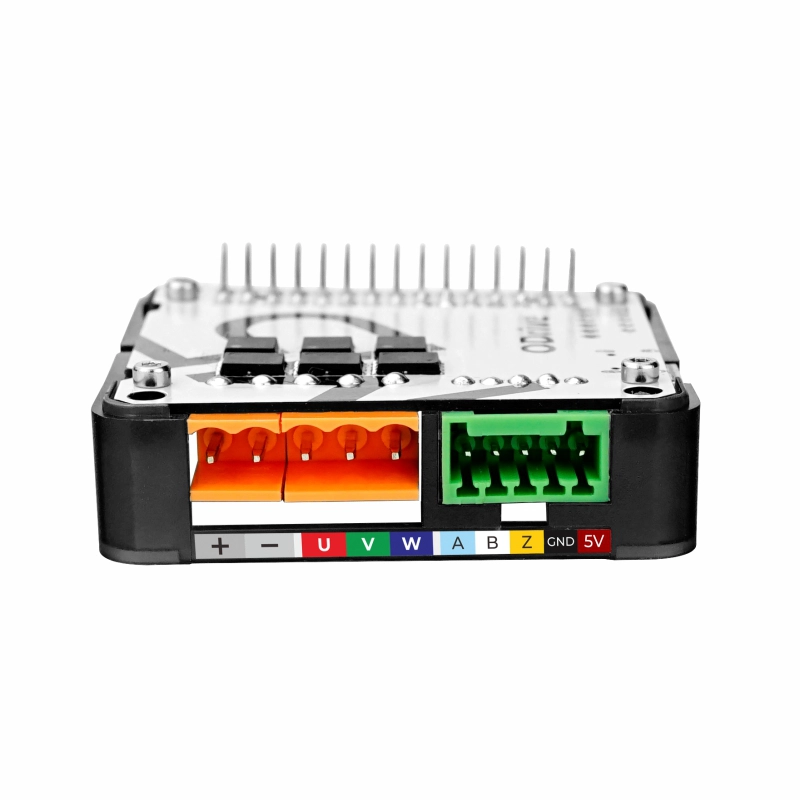
- エンコーダー信号インターフェースを統合
含まれるもの
- 1 x Module13.2 ODrive
- 1 x 3.96-3P 端子
- 1 x 3.96-2P 端子
- 1 x 2.54-5P 端子(ケーブル付き)
アプリケーション
- 高精度モーションコントロール
- サーボモーター駆動
仕様
| 仕様 | パラメータ |
|---|---|
| 最大駆動電流 | 5A |
| インターフェースタイプ | 3.96-2P (電源), 3.96-3P (モーター), 2.54-5P (エンコーダー) |
| 入力電源 | DC 12~24V |
| 製品サイズ | 54.2 x 54.2 x 19.7mm |
| 製品重量 | 22.5g |
| 梱包サイズ | 95 x 65 x 25mm |
| 梱包重量 | 42.3g |
回路図
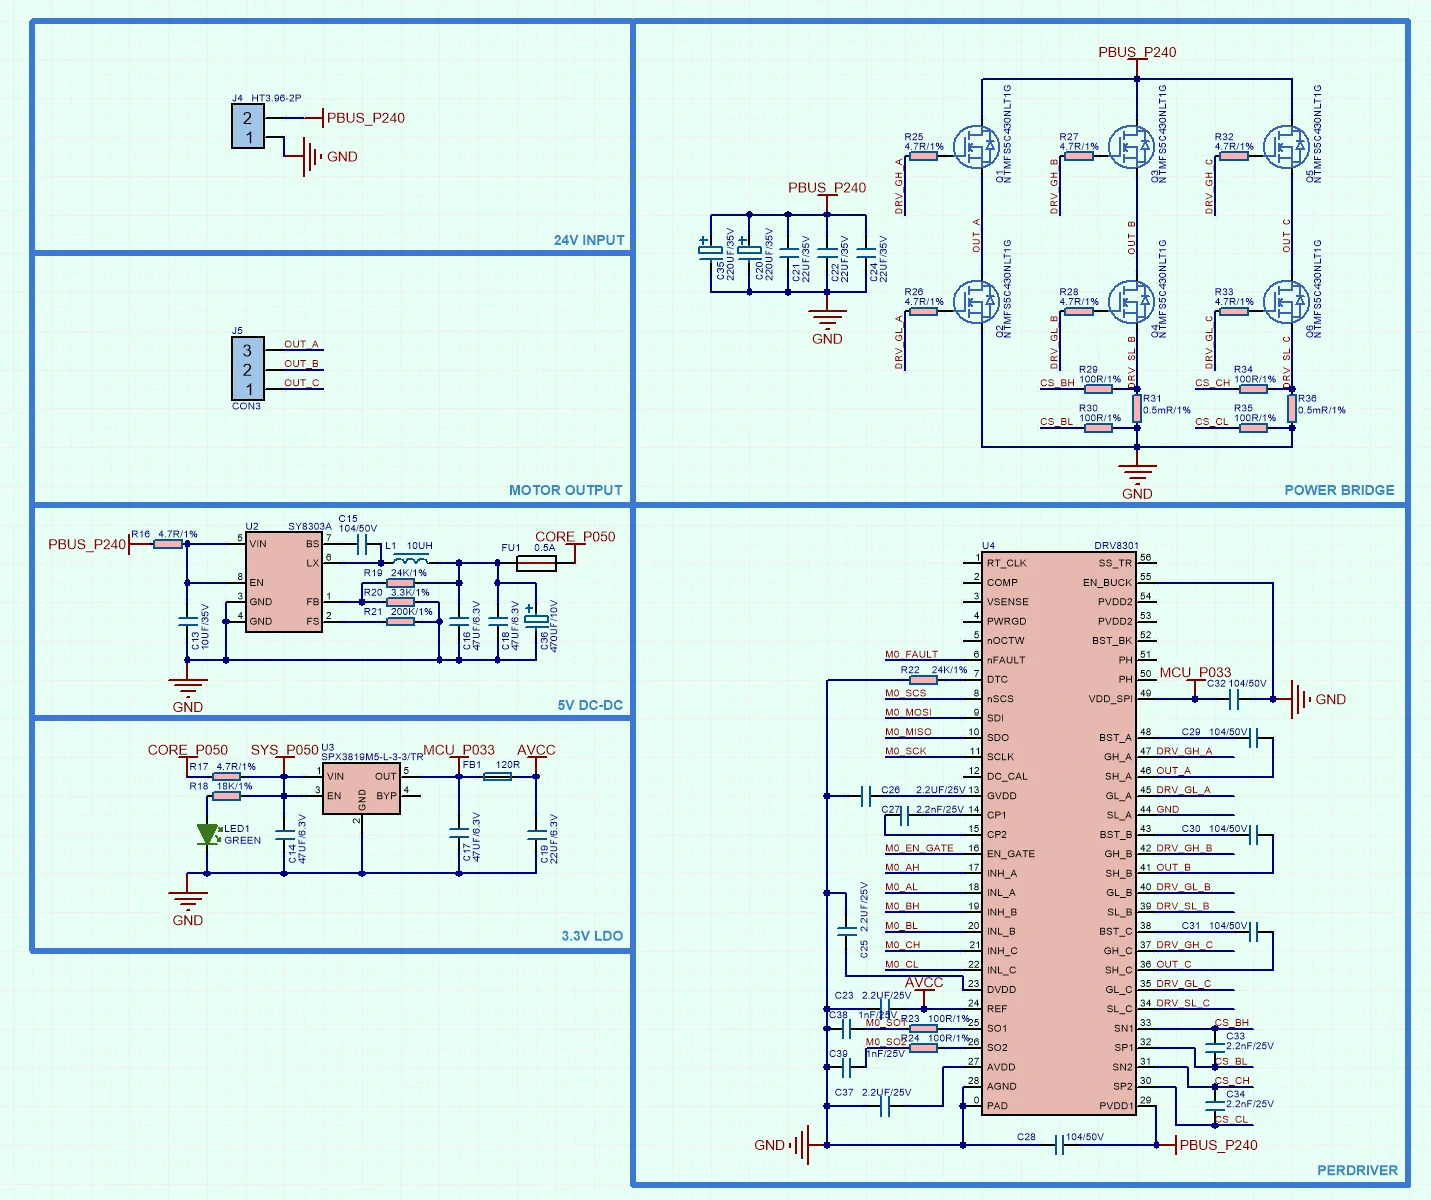
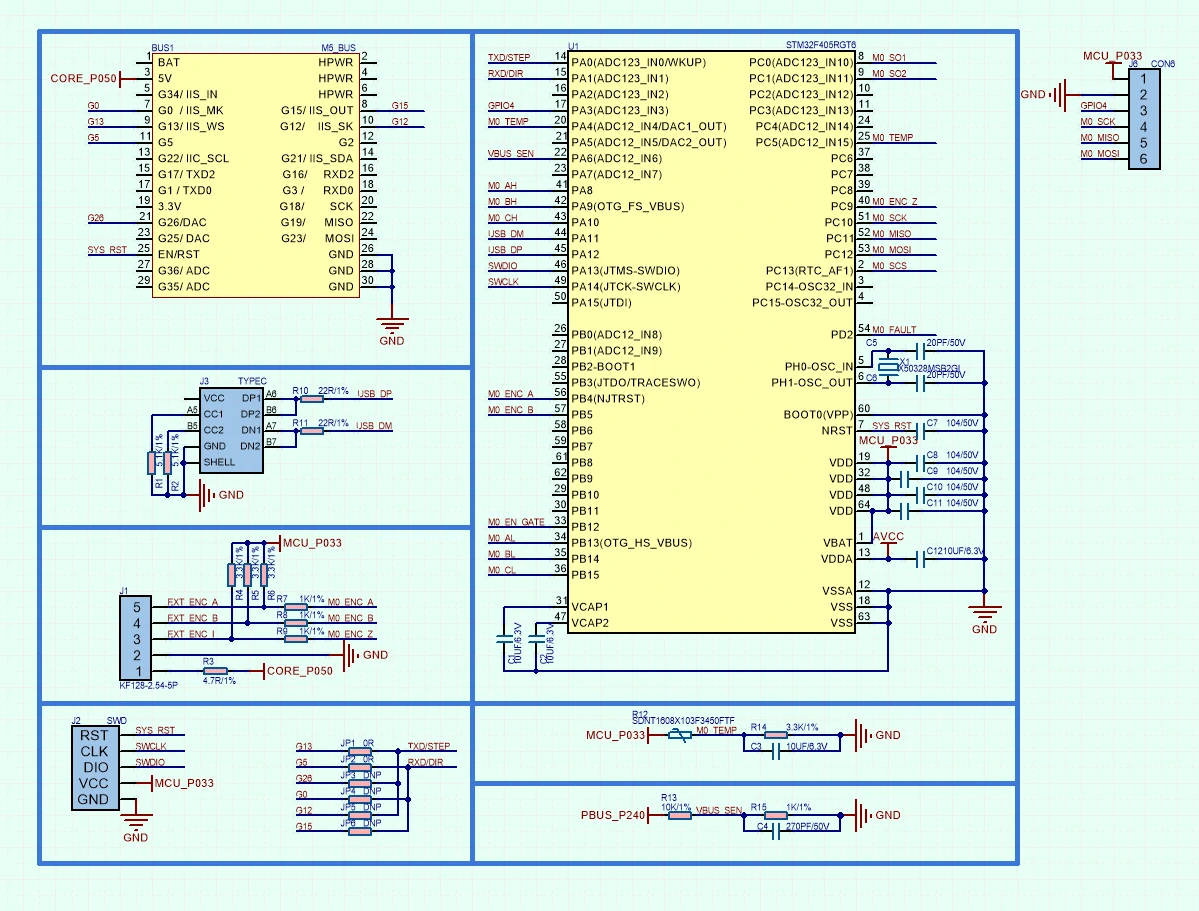
1/2


ピンマップ
M5-Bus
| PIN | LEFT | RIGHT | PIN |
|---|---|---|---|
| GND | 1 | 2 | |
| GND | 3 | 4 | |
| GND | 5 | 6 | RST |
| 7 | 8 | ||
| 9 | 10 | TXD / STEP | |
| 11 | 12 | ||
| 13 | 14 | ||
| 15 | 16 | ||
| 17 | 18 | ||
| 19 | 20 | RXD / DIR | |
| TXD / STEP | 21 | 22 | TXD / STEP |
| RXD / DIR | 23 | 24 | RXD / DIR |
| 25 | 26 | ||
| 27 | 28 | 5V | |
| 29 | 30 |
製品サイズ

データシート
ソフトウェア
Arduino
ケース説明
このサンプルは ODrive モジュールを使用してサーボモーターを高速・高精度に回転制御します。使用前に接続されるモーターの型番に応じて、ODriveTool で適切なパラメータ設定が必要です。
ODriveTool
odrivetool は ODrive 用の設定・デバッグツールで、モーターのパラメータを構成します。このチュートリアルでは
Linux プラットフォーム上での odrivetool のインストールと基本使用方法を説明します。- 以下のコマンドを使用して odrivetool v0.5.1 をインストールします。環境要件:
python3.
pip3 install odrive==0.5.1.post0~/.local/binをシステム環境変数に追加し、次のコマンドを実行してexport PATH=$PATH:~/.local/binをファイル末尾に記述します。
vim ~/.bashrc- コマンドラインで
odrivetoolを実行し、ODrive モジュールを PC に接続して認識を待ちます。接続後、odrv0.vbus_voltageを入力してドライバーボードの電源電圧をテストします。
$odrivertool

ODrive control utility v0.5.1.post0
Website: https://odriverobotics.com/
Docs: https://docs.odriverobotics.com/
Forums: https://discourse.odriverobotics.com/
Discord: https://discord.gg/k3ZZ3mS
Github: https://github.com/madcowswe/ODrive/

Please connect your ODrive.
You can also type help() or quit().

Connected to ODrive 306A396A3235 as odrv0

In [1]: odrv0.vbus_voltage- よく使用される設定コマンド一覧:
//モーター電流制限を設定
odrv0.axis0.motor.config.current_lim [A].

//モーター速度制限値を設定
odrv0.axis0.controller.config.vel_limit

//ブレーキ抵抗値の設定
odrv0.config.brake_resistance

//設定を保存
odrv0.save_configuration()- 詳細については Odrive公式ドキュメント