Paper
SKU:K049


Description
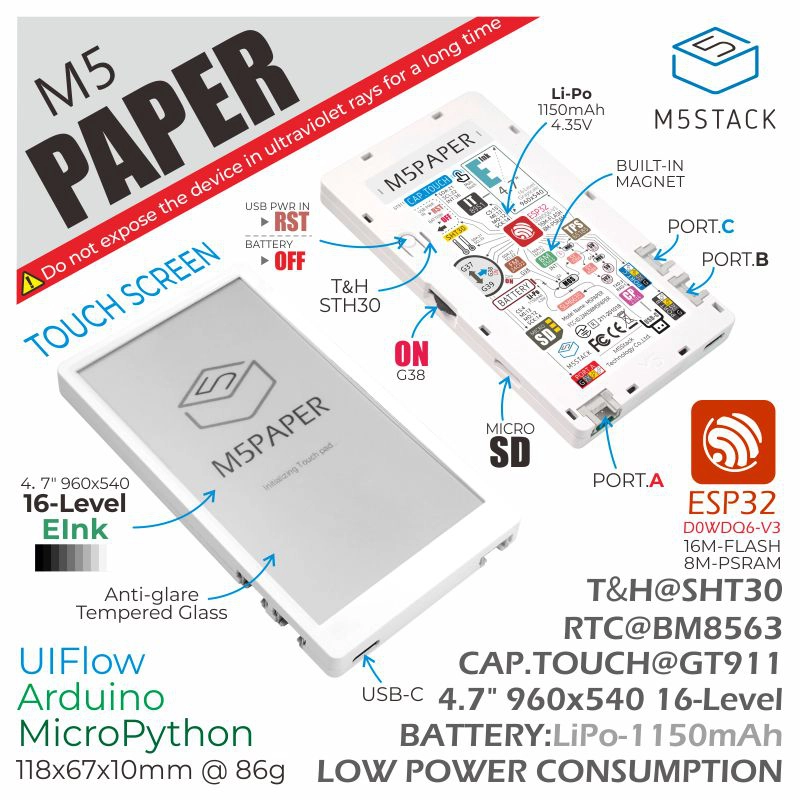
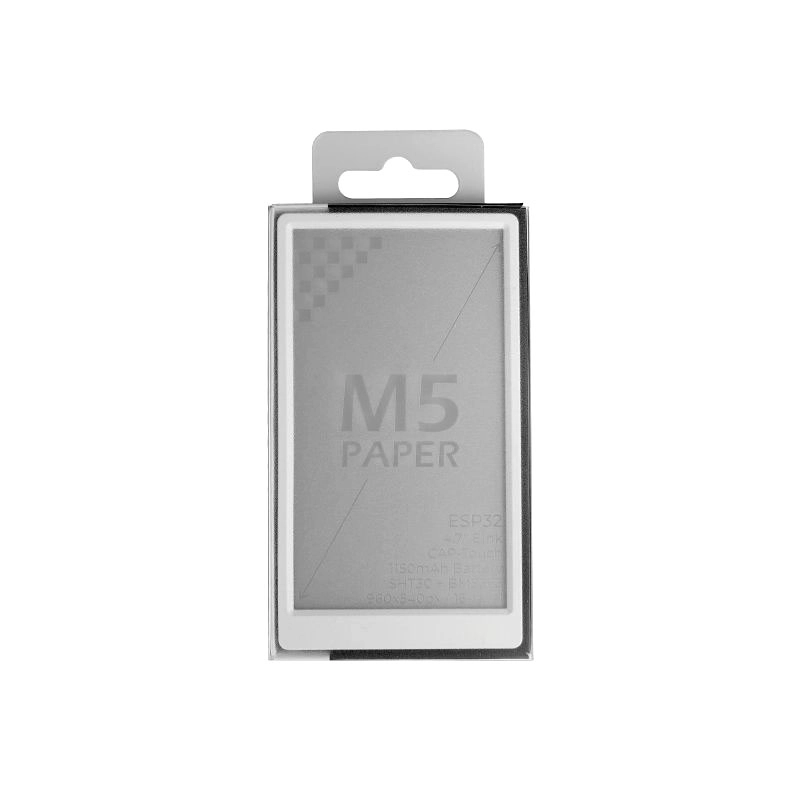
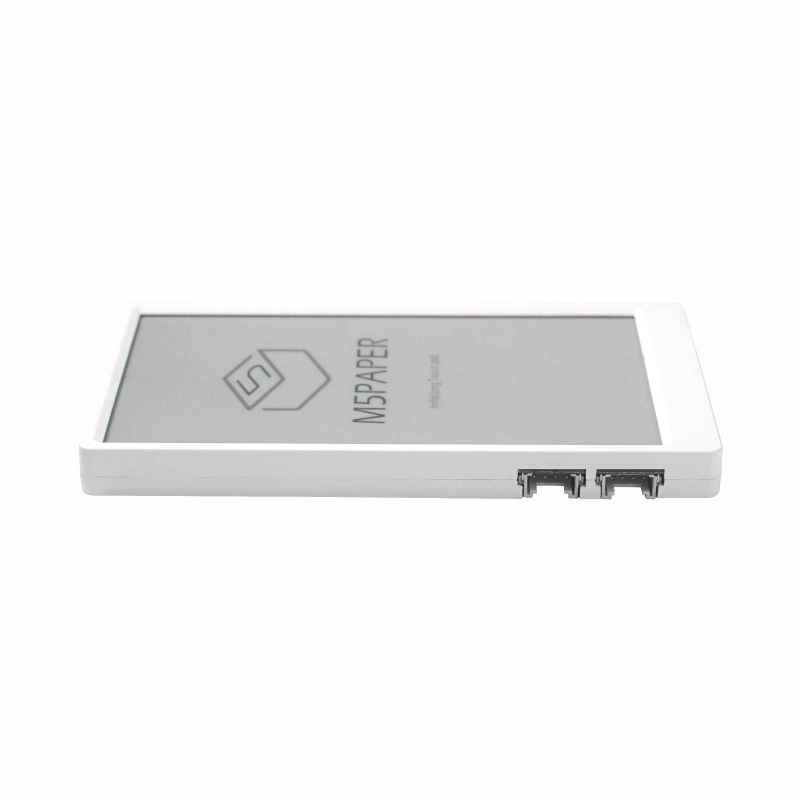
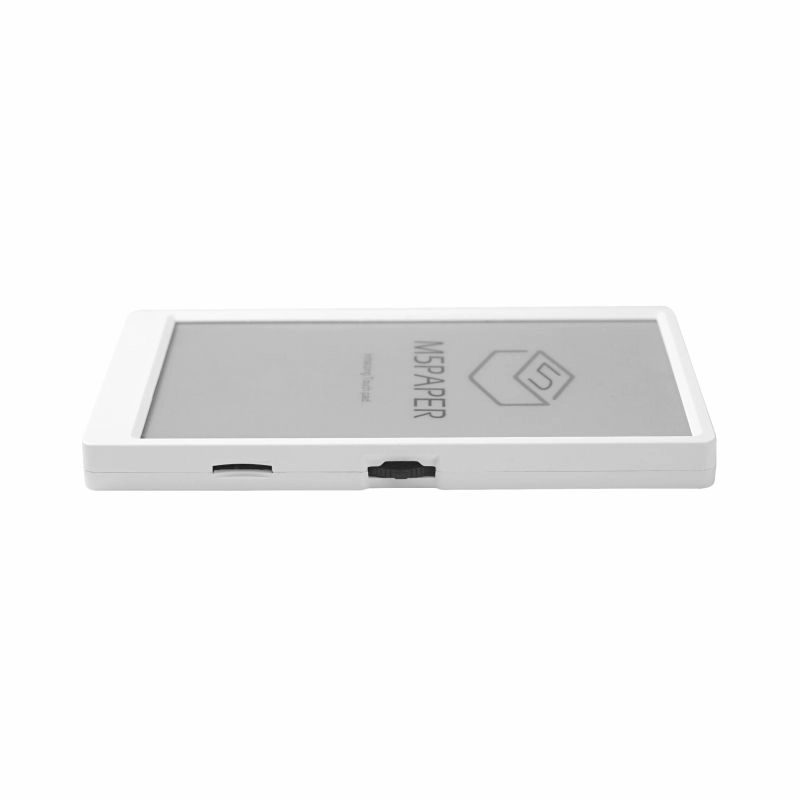
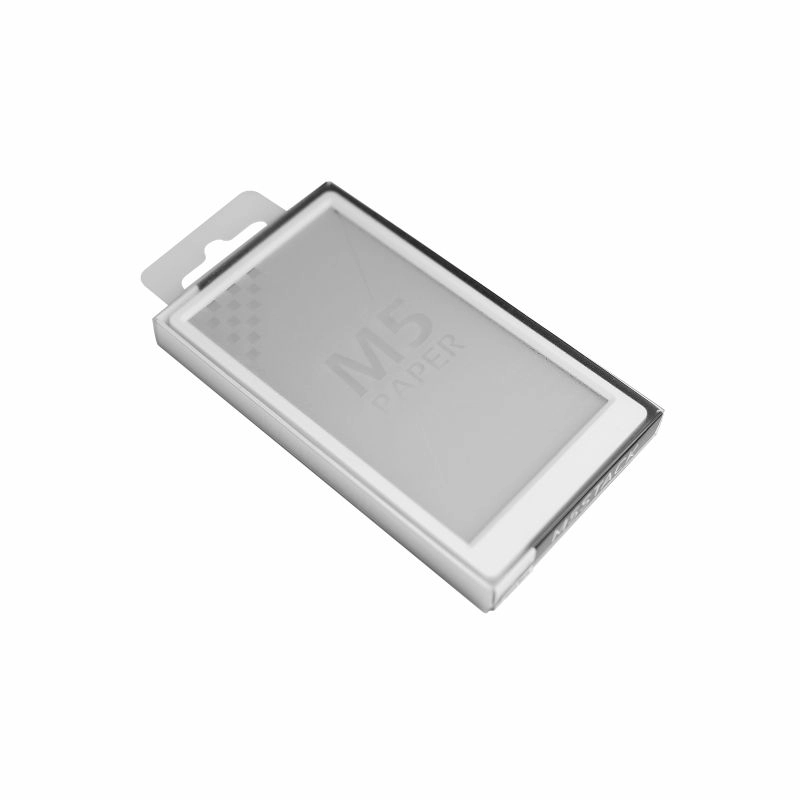
Paper is a touch-enabled e-ink screen main control device launched by M5Stack, with the controller using ESP32-D0WDQ6-V3. The front of the device is embedded with a 540 x 960 @4.7" e-ink screen, supporting 16-level grayscale display. Paired with a GT911 capacitive touch panel, it supports two-point touch and various gesture operations. Compared to ordinary LCD screens, e-ink screens provide users with a better text reading experience and feature low power consumption and image retention when powered off.
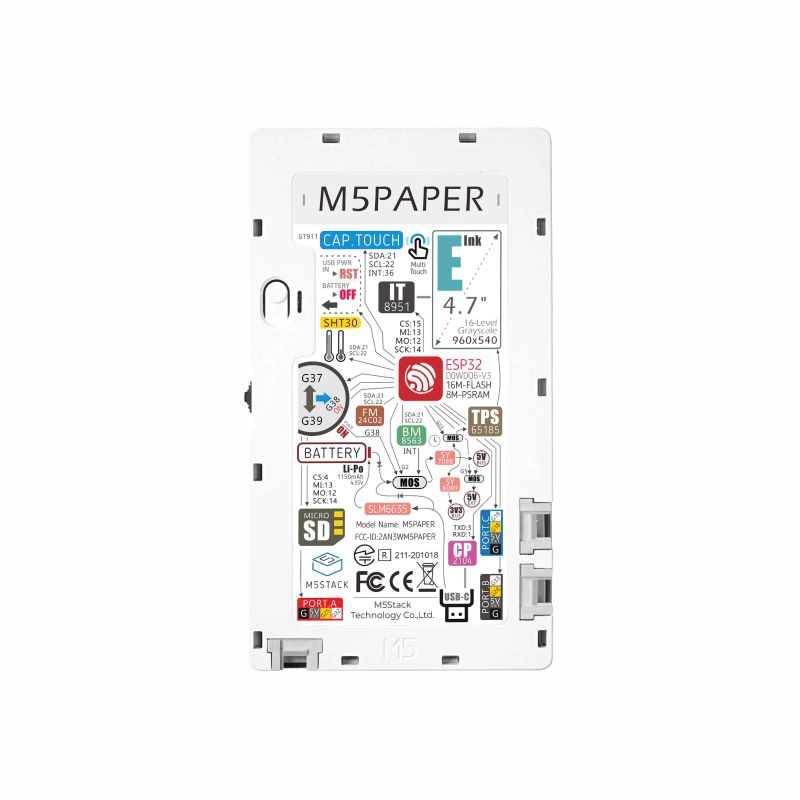
The device integrates a dial switch, SHT30 temperature and humidity sensor, and physical buttons. For data storage, it reserves a TF-card (microSD) interface and integrates an FM24C02 storage chip, providing 2K-bit (256x8) EEPROM for user data storage during power loss.
It has a built-in 1150mAh lithium battery, and with the internal RTC (BM8563), it can achieve sleep and wake functions, providing strong battery life. Additionally, it offers 3 HY2.0-4P peripheral interfaces, allowing for the expansion of various sensor devices, bringing unlimited possibilities for subsequent application development.
Note
2. The low-power management scheme of Paper is different from that of CORE and StickC devices. When in use, the PWR button (press the dial switch) is used as the power button (long press for 2s). To power off the device, you need to use the software API or press the reset button on the back. When using USB power, the device cannot be powered off.
3. If you encounter issues with downloading programs (such as timeout or "Failed to write to target RAM"), try reinstalling the device driver. For driver downloads, please refer to the content below the documentation.
Tutorial
Features
- Embedded ESP32, supports WiFi
- Built-in 16MB Flash
- E-Ink low-power display panel
- Supports two-point touch
- Nearly 180-degree viewing angle
- Magnetic back design
- Built-in 1150mAh large-capacity lithium battery
- HY2.0-4P peripheral interface *3
- Development Platform
- UiFlow1
- UiFlow2
- Arduino IDE
- ESP-IDF
- PlatformIO
Includes
- 1 x Paper
Applications
- IoT controller
- E-book reader
- Industrial instrument display panel
- Electronic label
Specifications
| Specification | Parameter |
|---|---|
| SoC | ESP32-D0WDQ6-V3@dual-core processor, main frequency 240MHz |
| DMIPS | 600 |
| SRAM | 520KB |
| Flash | 16MB |
| PSRAM | 8MB |
| Wi-Fi | 2.4 GHz Wi-Fi |
| Input Voltage | 5V@500mA |
| Interfaces | USB Type-C x 1, HY2.0-4P x 3, TF-card (microSD) slot |
| E-ink Screen | Model: EPD*ED047TC1 540 x 960@4.7" Grayscale: 16 levels Display area: 58.32 x 103.68mm Display driver IC: IT8951E |
| Physical Buttons | Rotary switch x 1, reset button x 1 |
| RTC | BM8563 |
| Antenna | 2.4G 3D antenna |
| PIN Breakout | G25, G32, G26, G33, G18, G19 |
| Battery | 1150mAh@3.7V |
| Operating Temperature | 0 ~ 60°C |
| Case Material | Plastic (PC) |
| Product Size | 118.6 x 67.0 x 10.0mm |
| Product Weight | 87.1g |
| Package Size | 147.3 x 73.7 x 13.2mm |
| Gross Weight | 103.8g |
Schematics
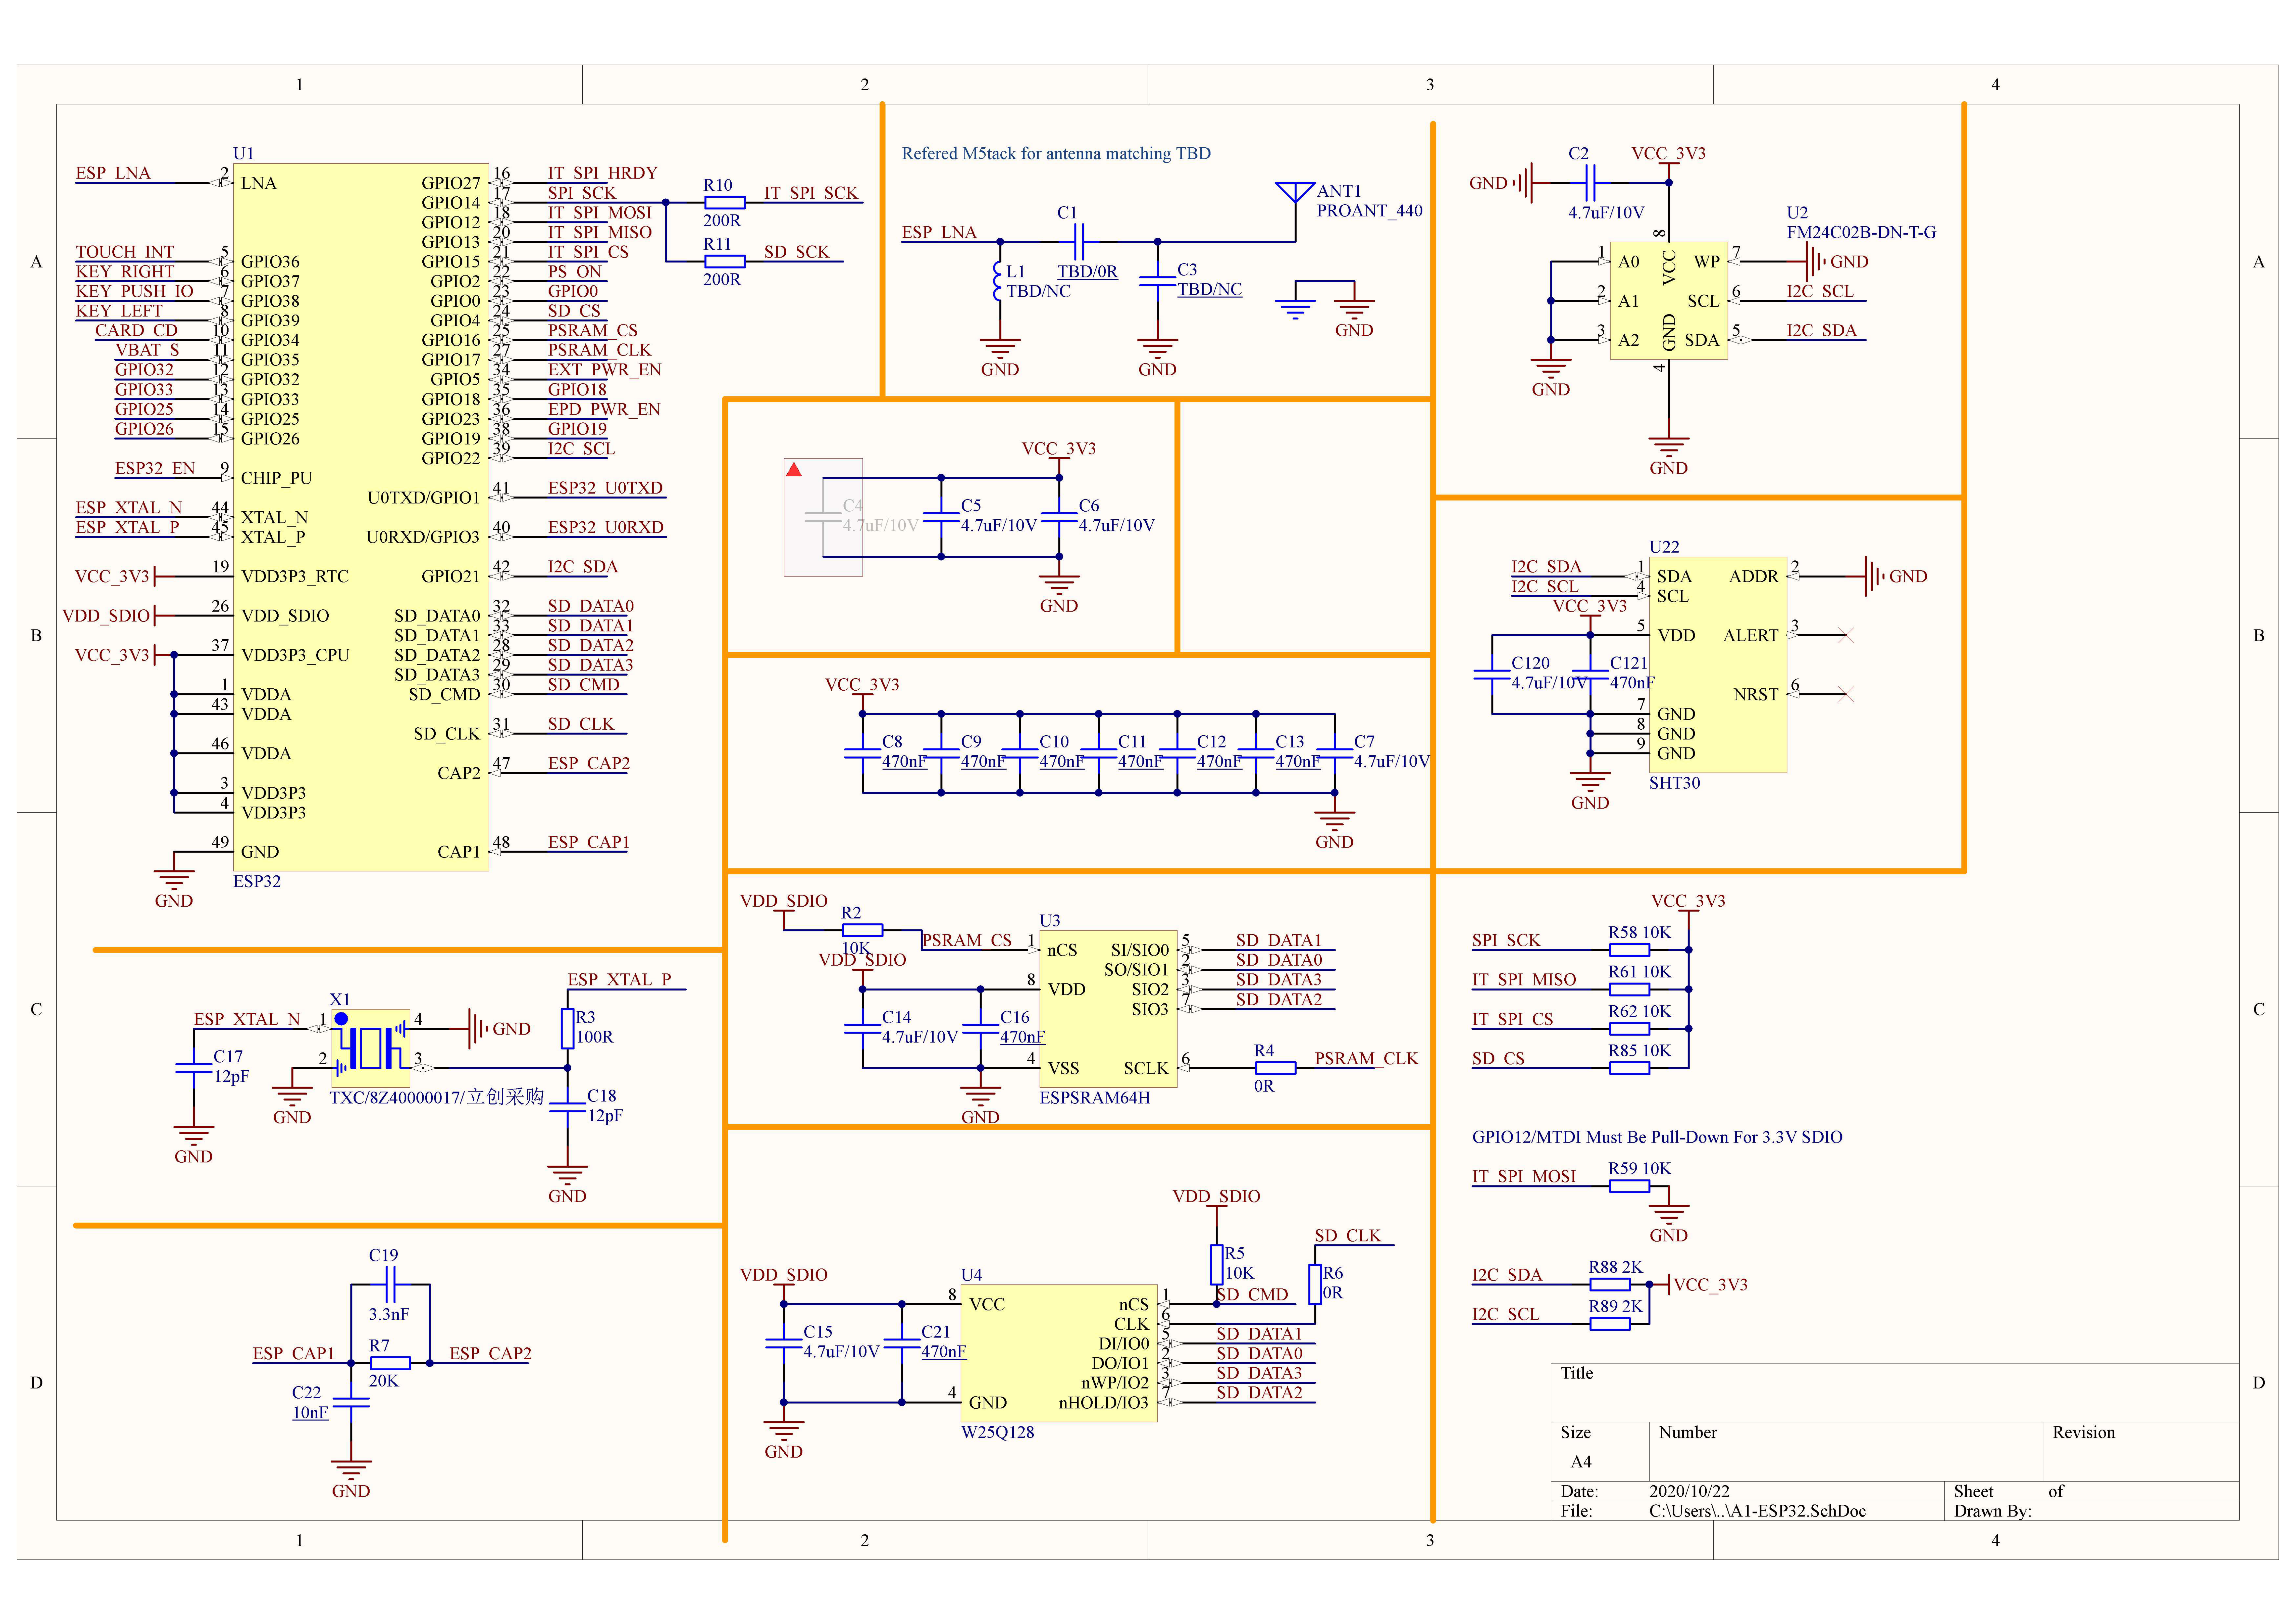
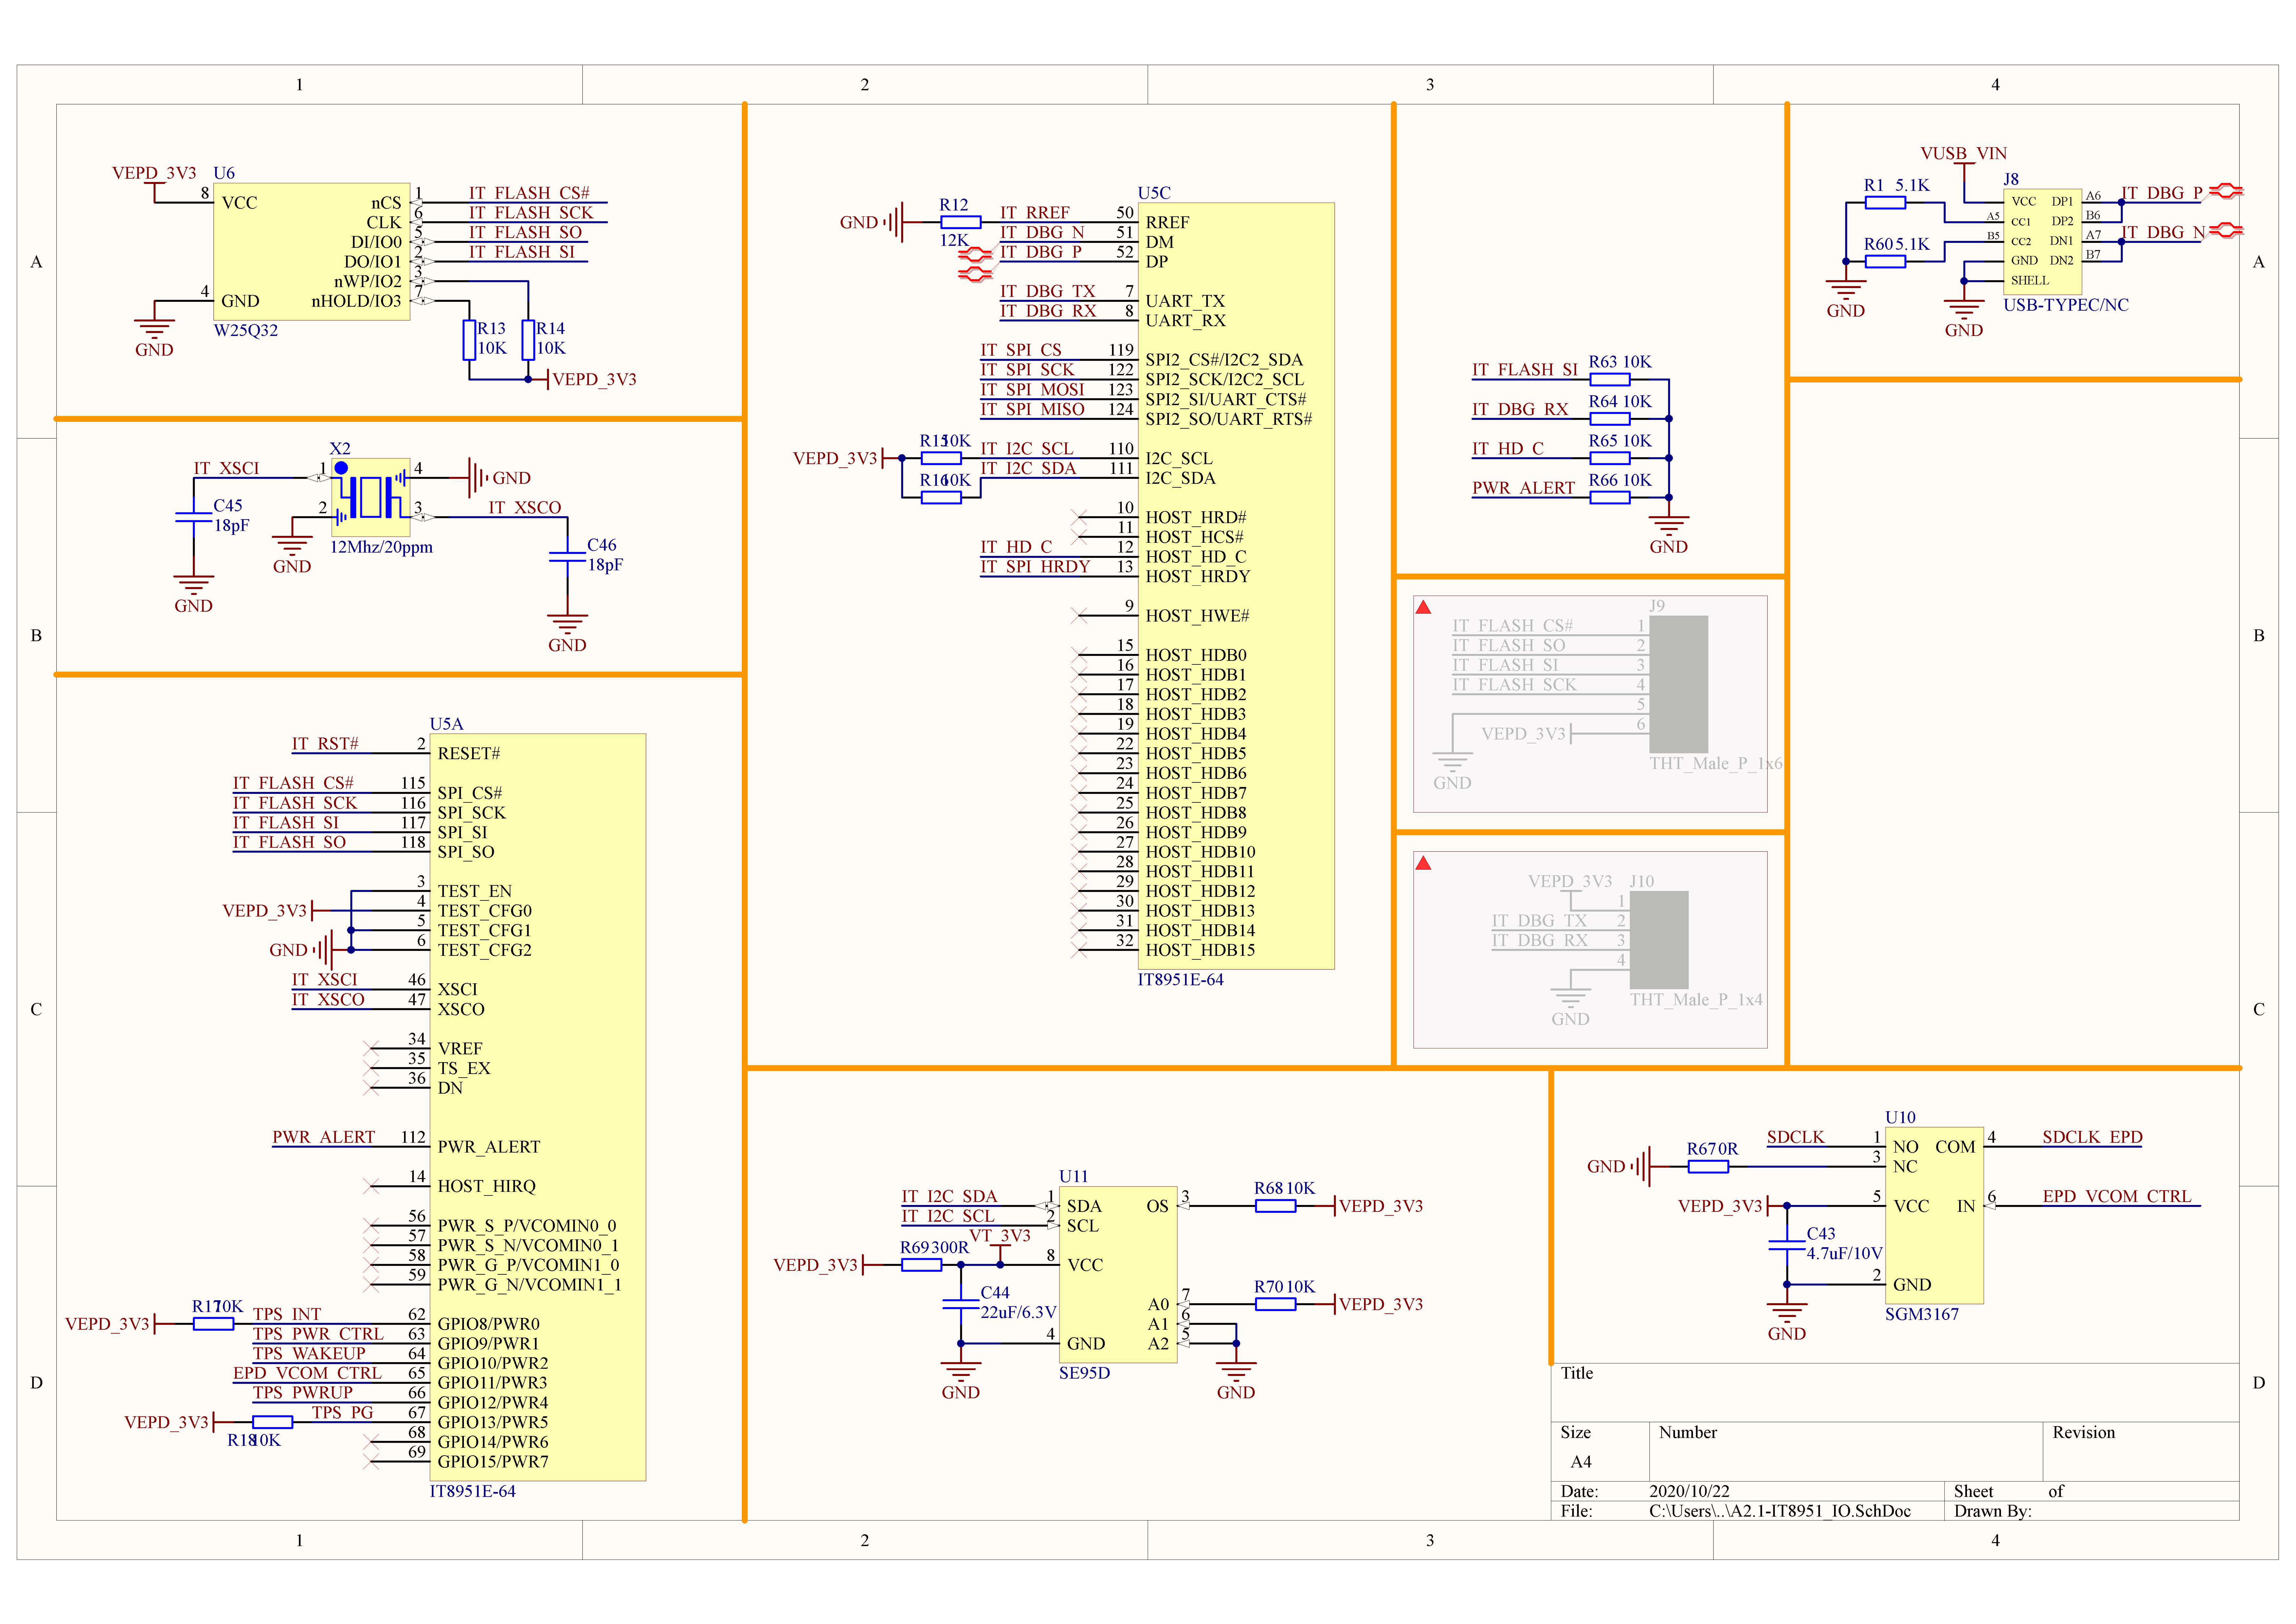
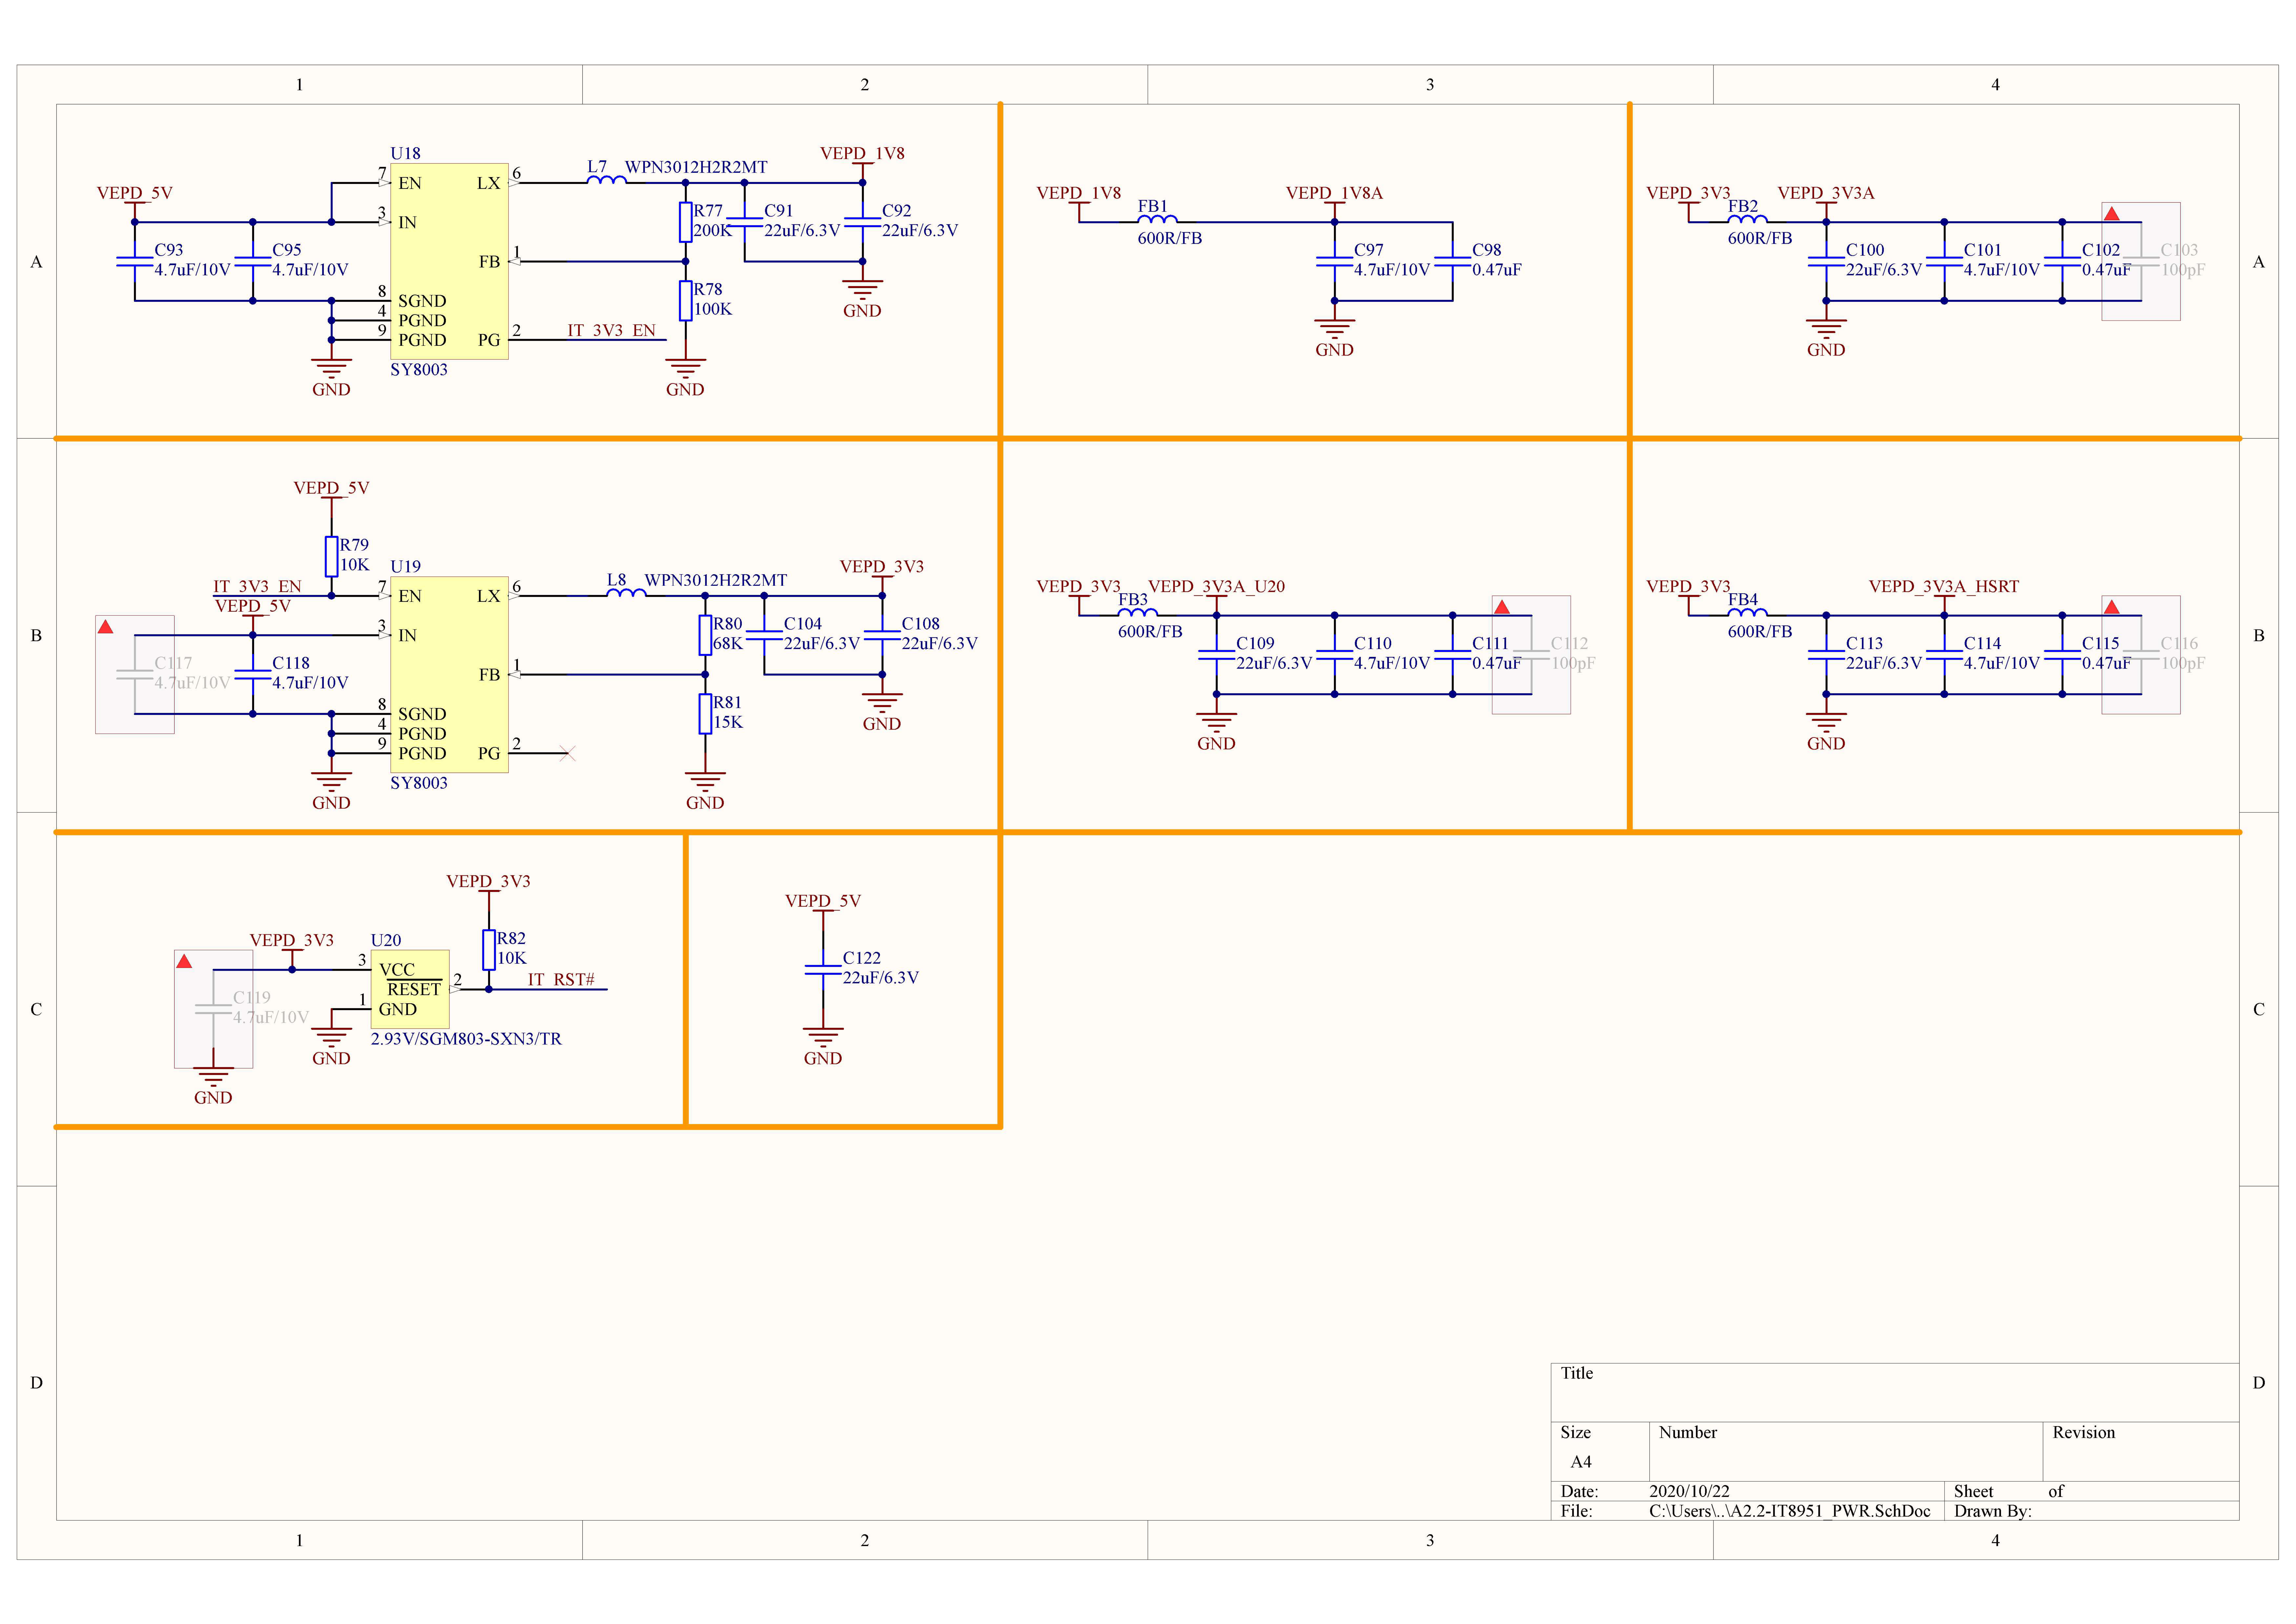
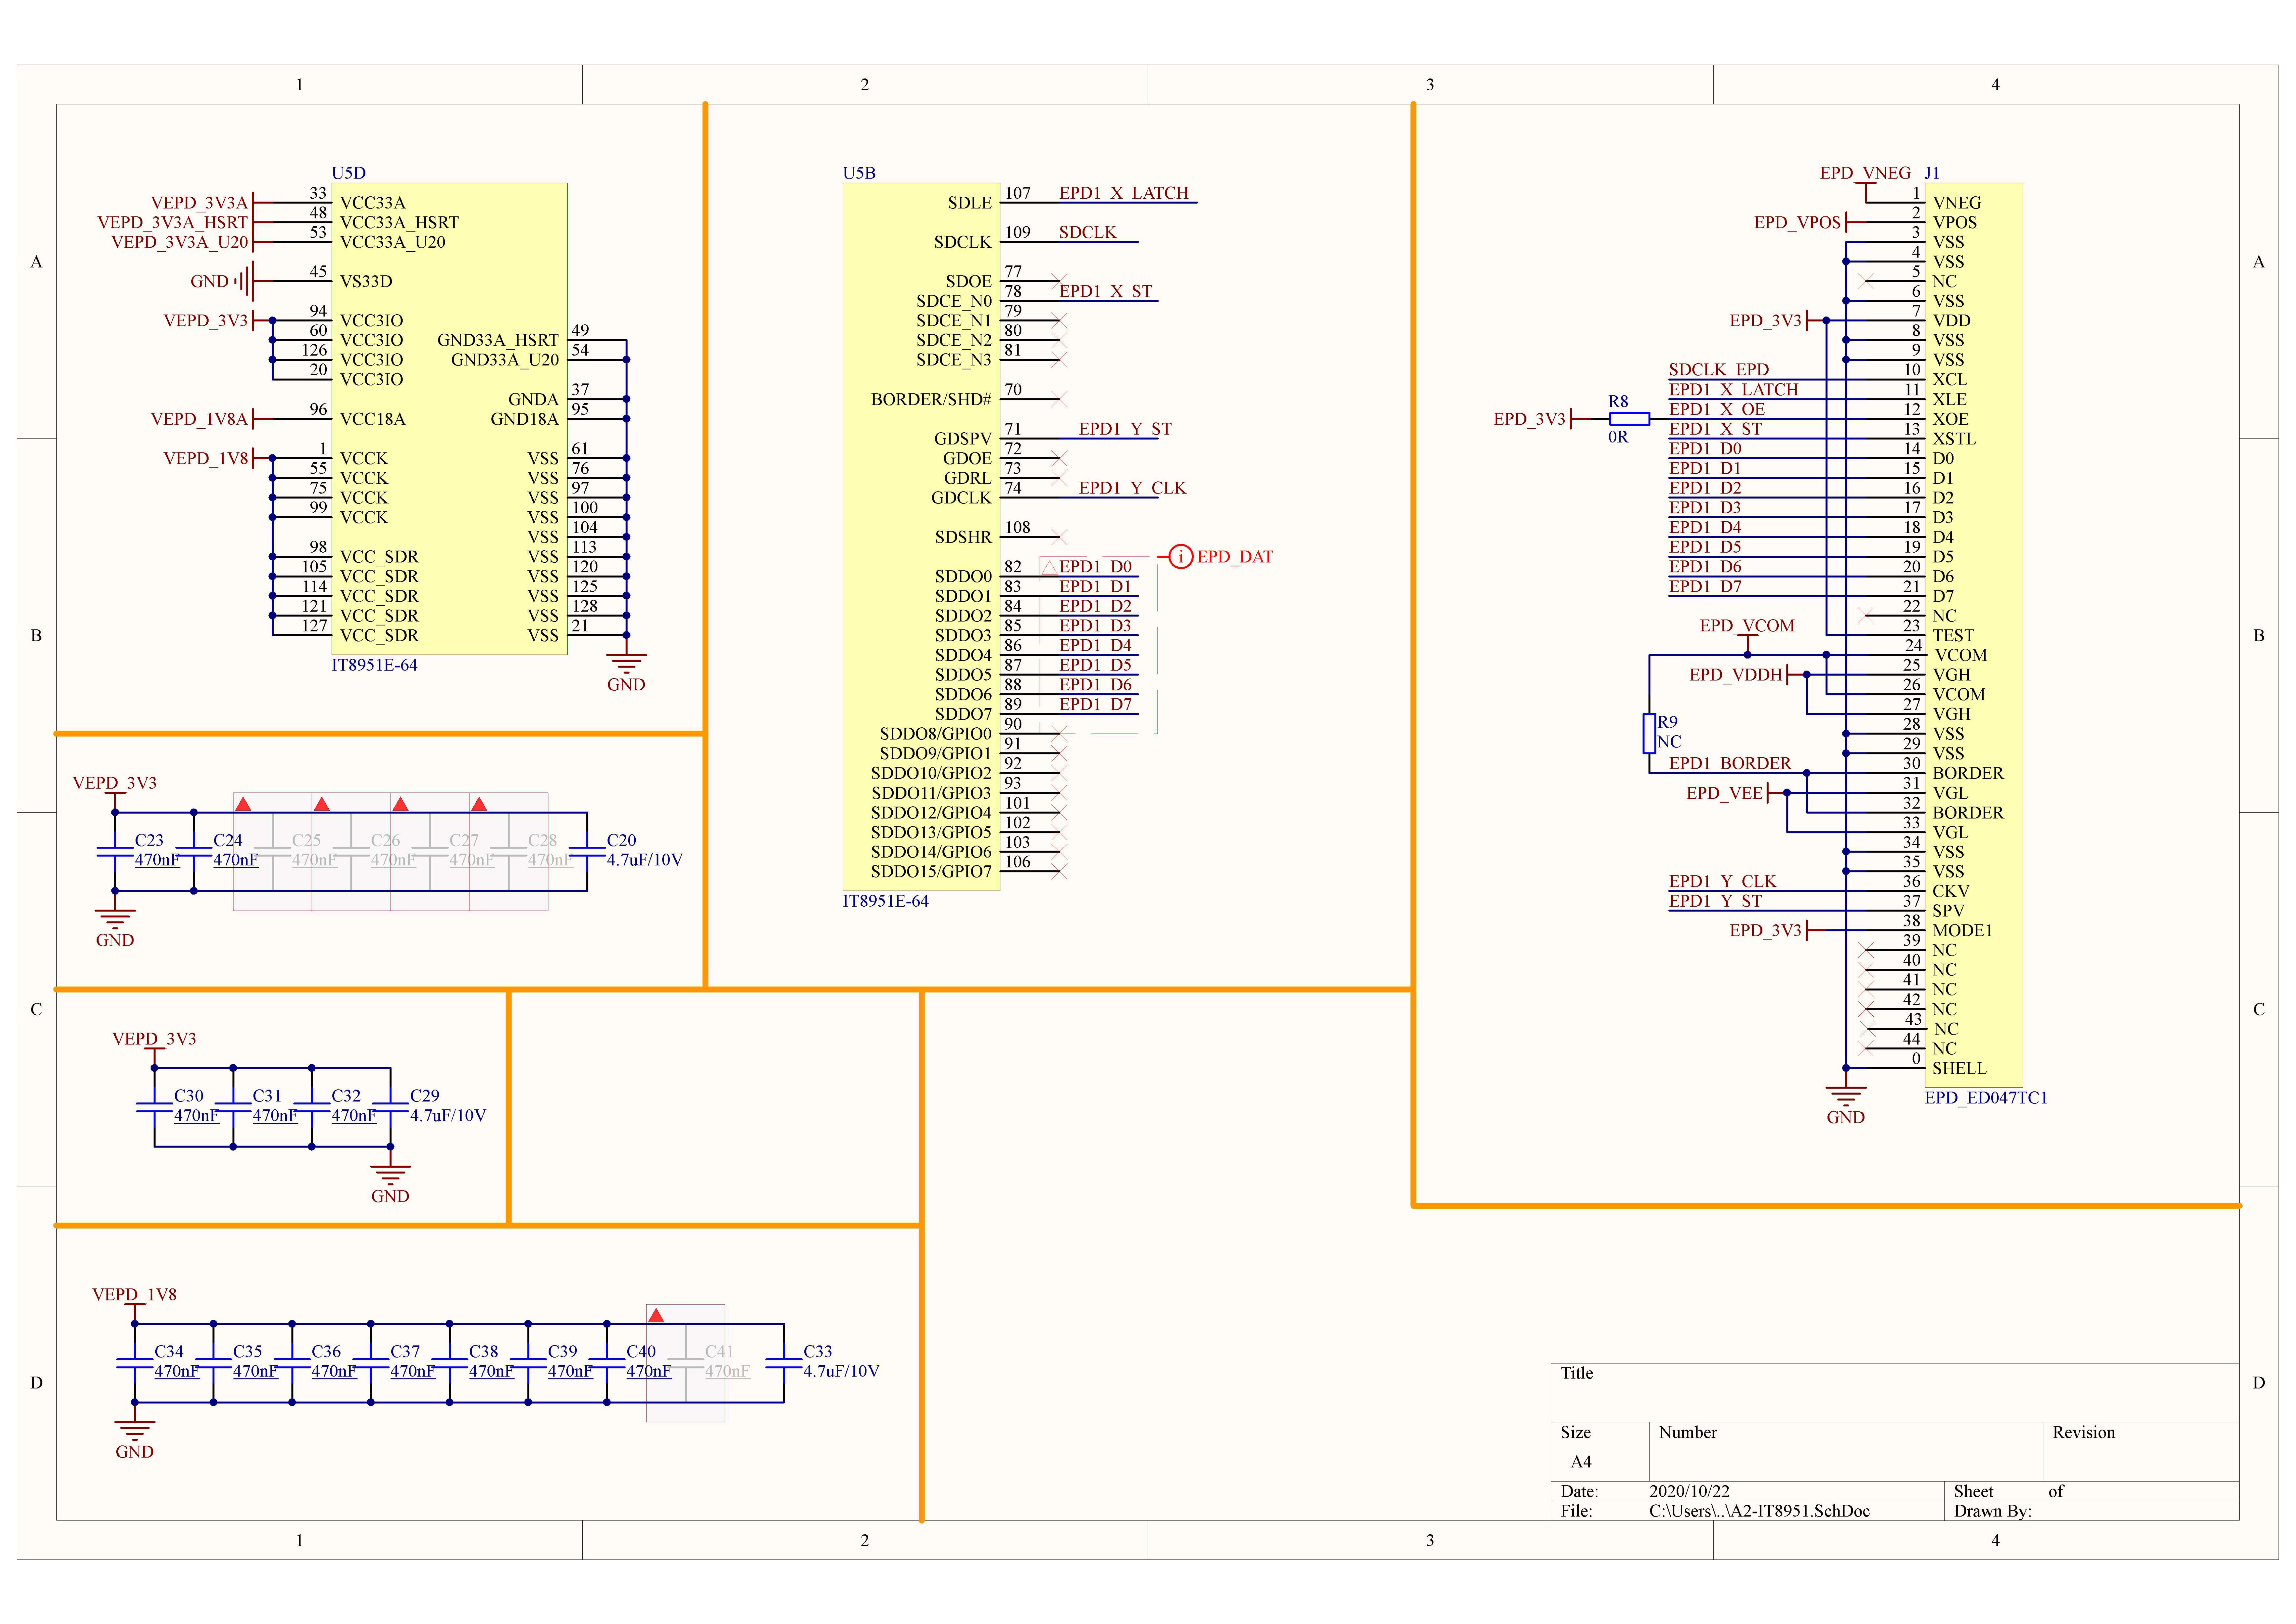
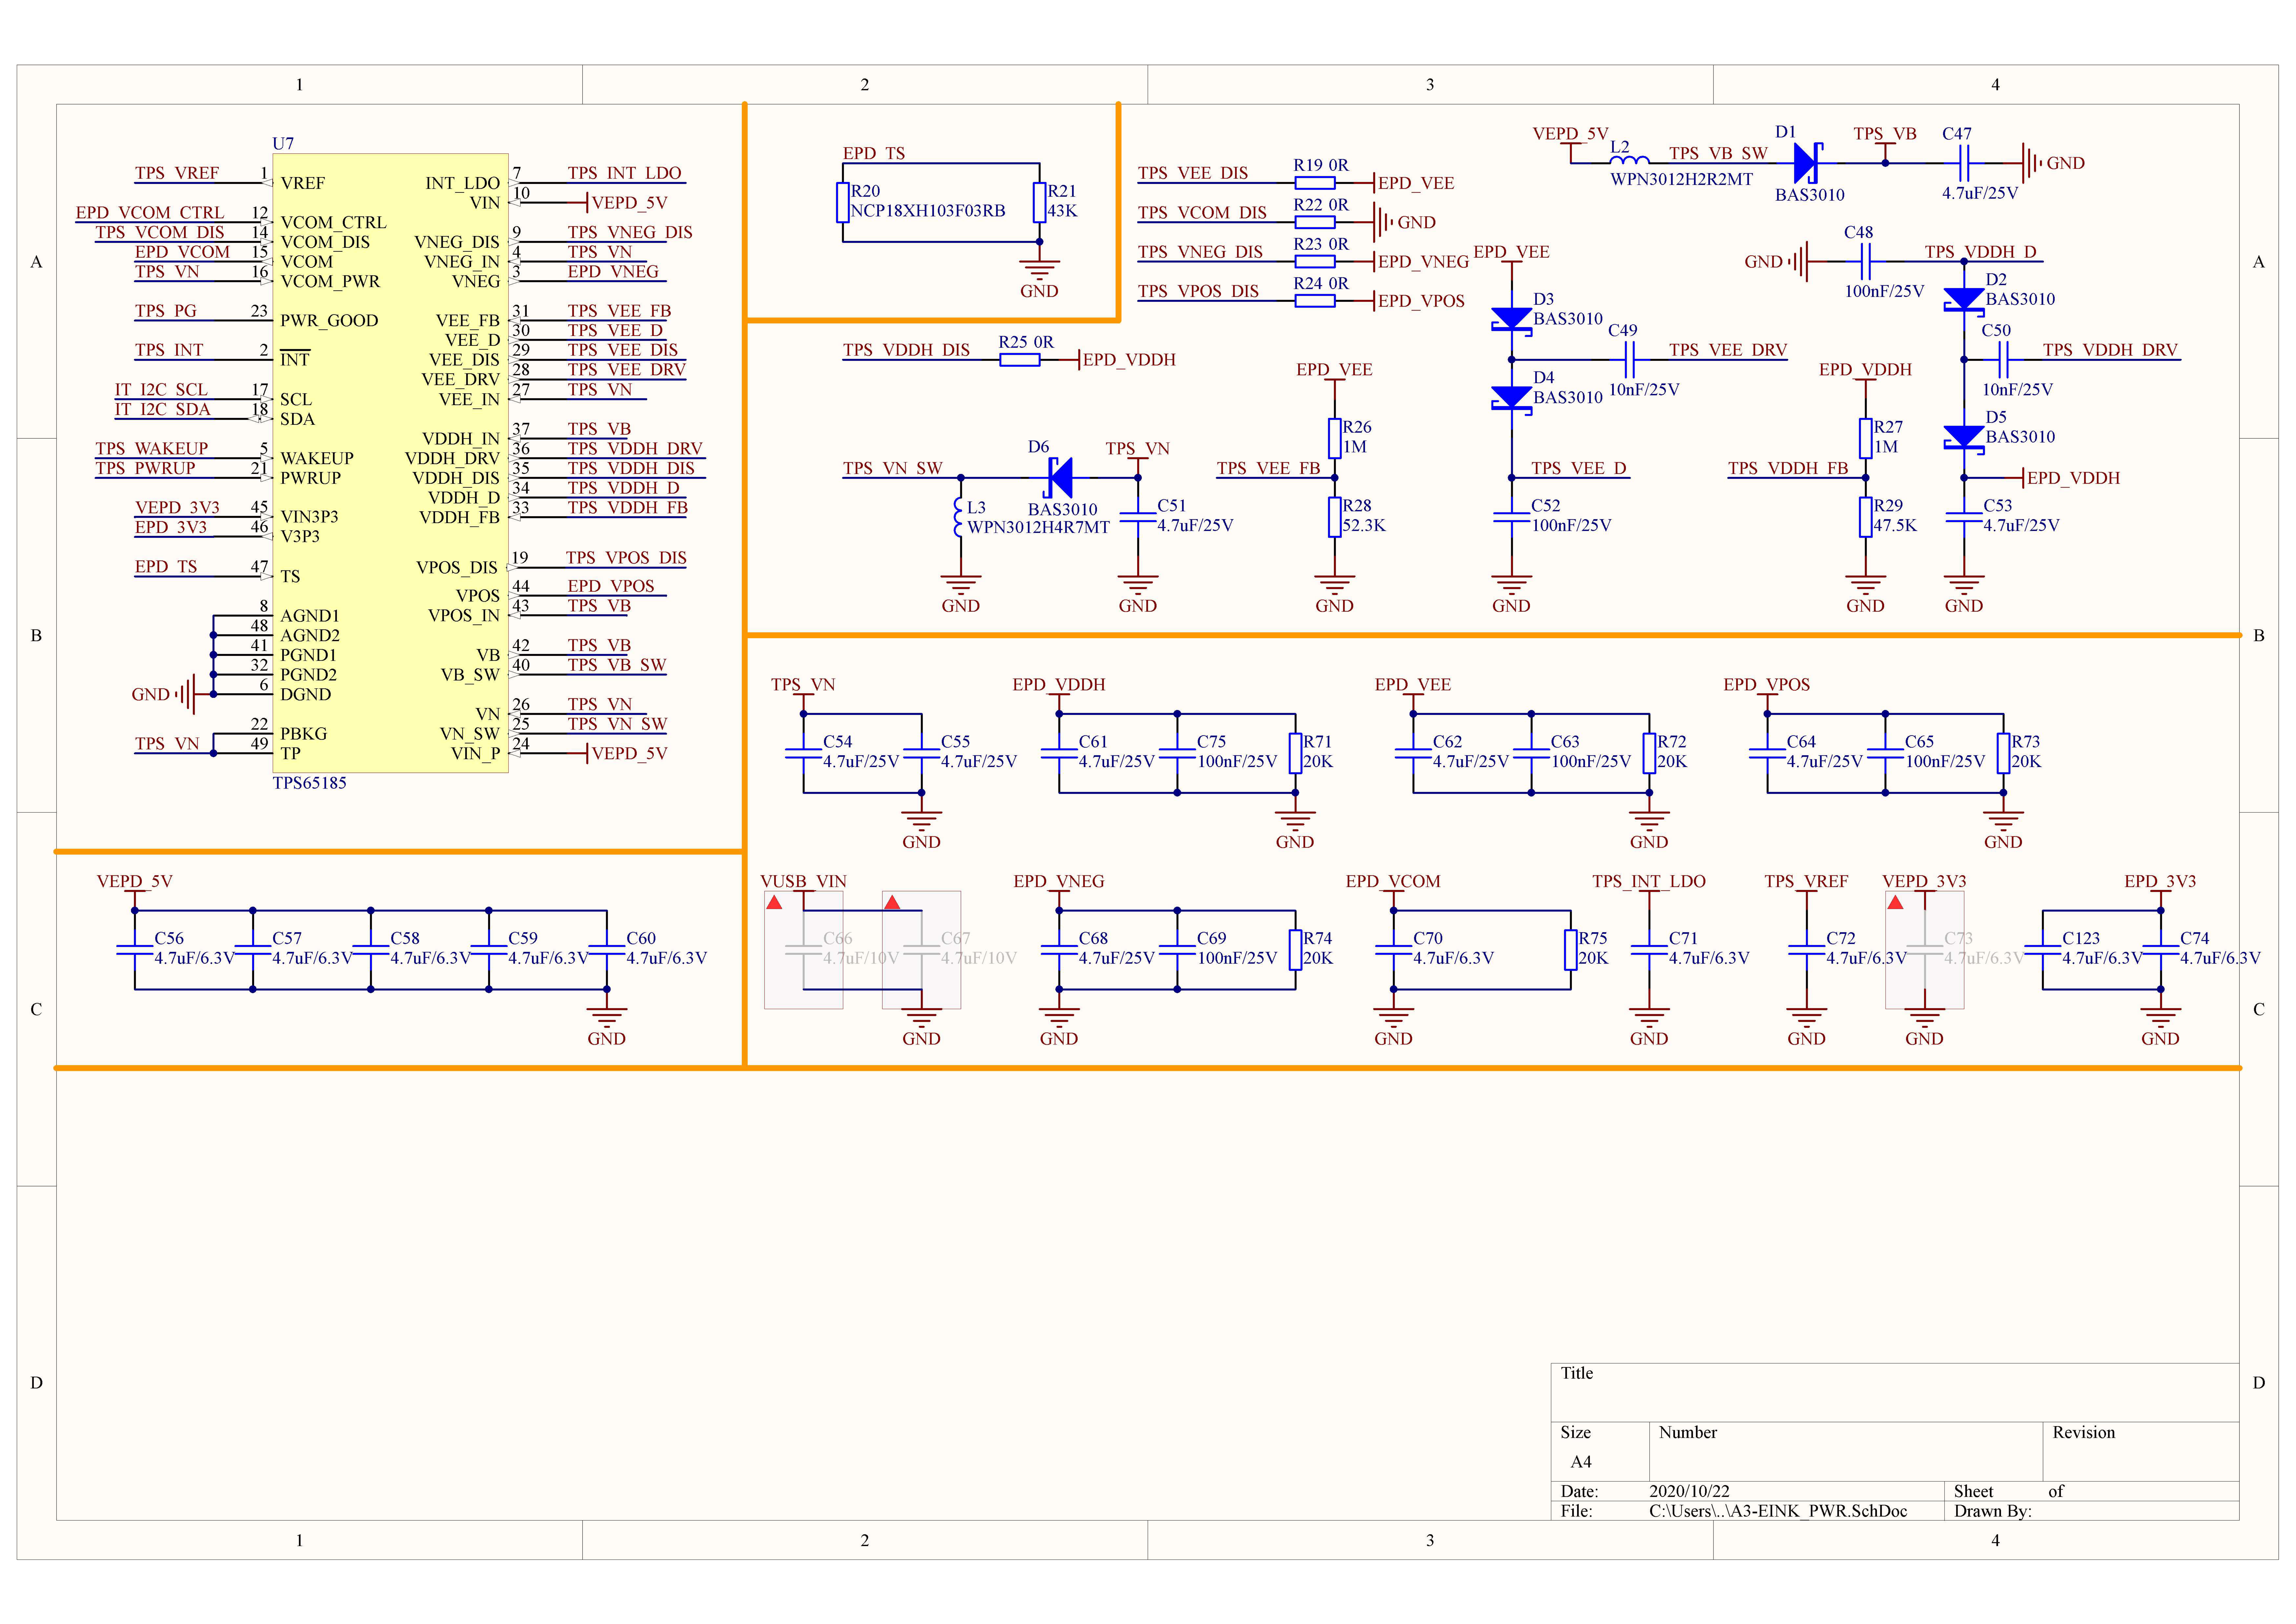
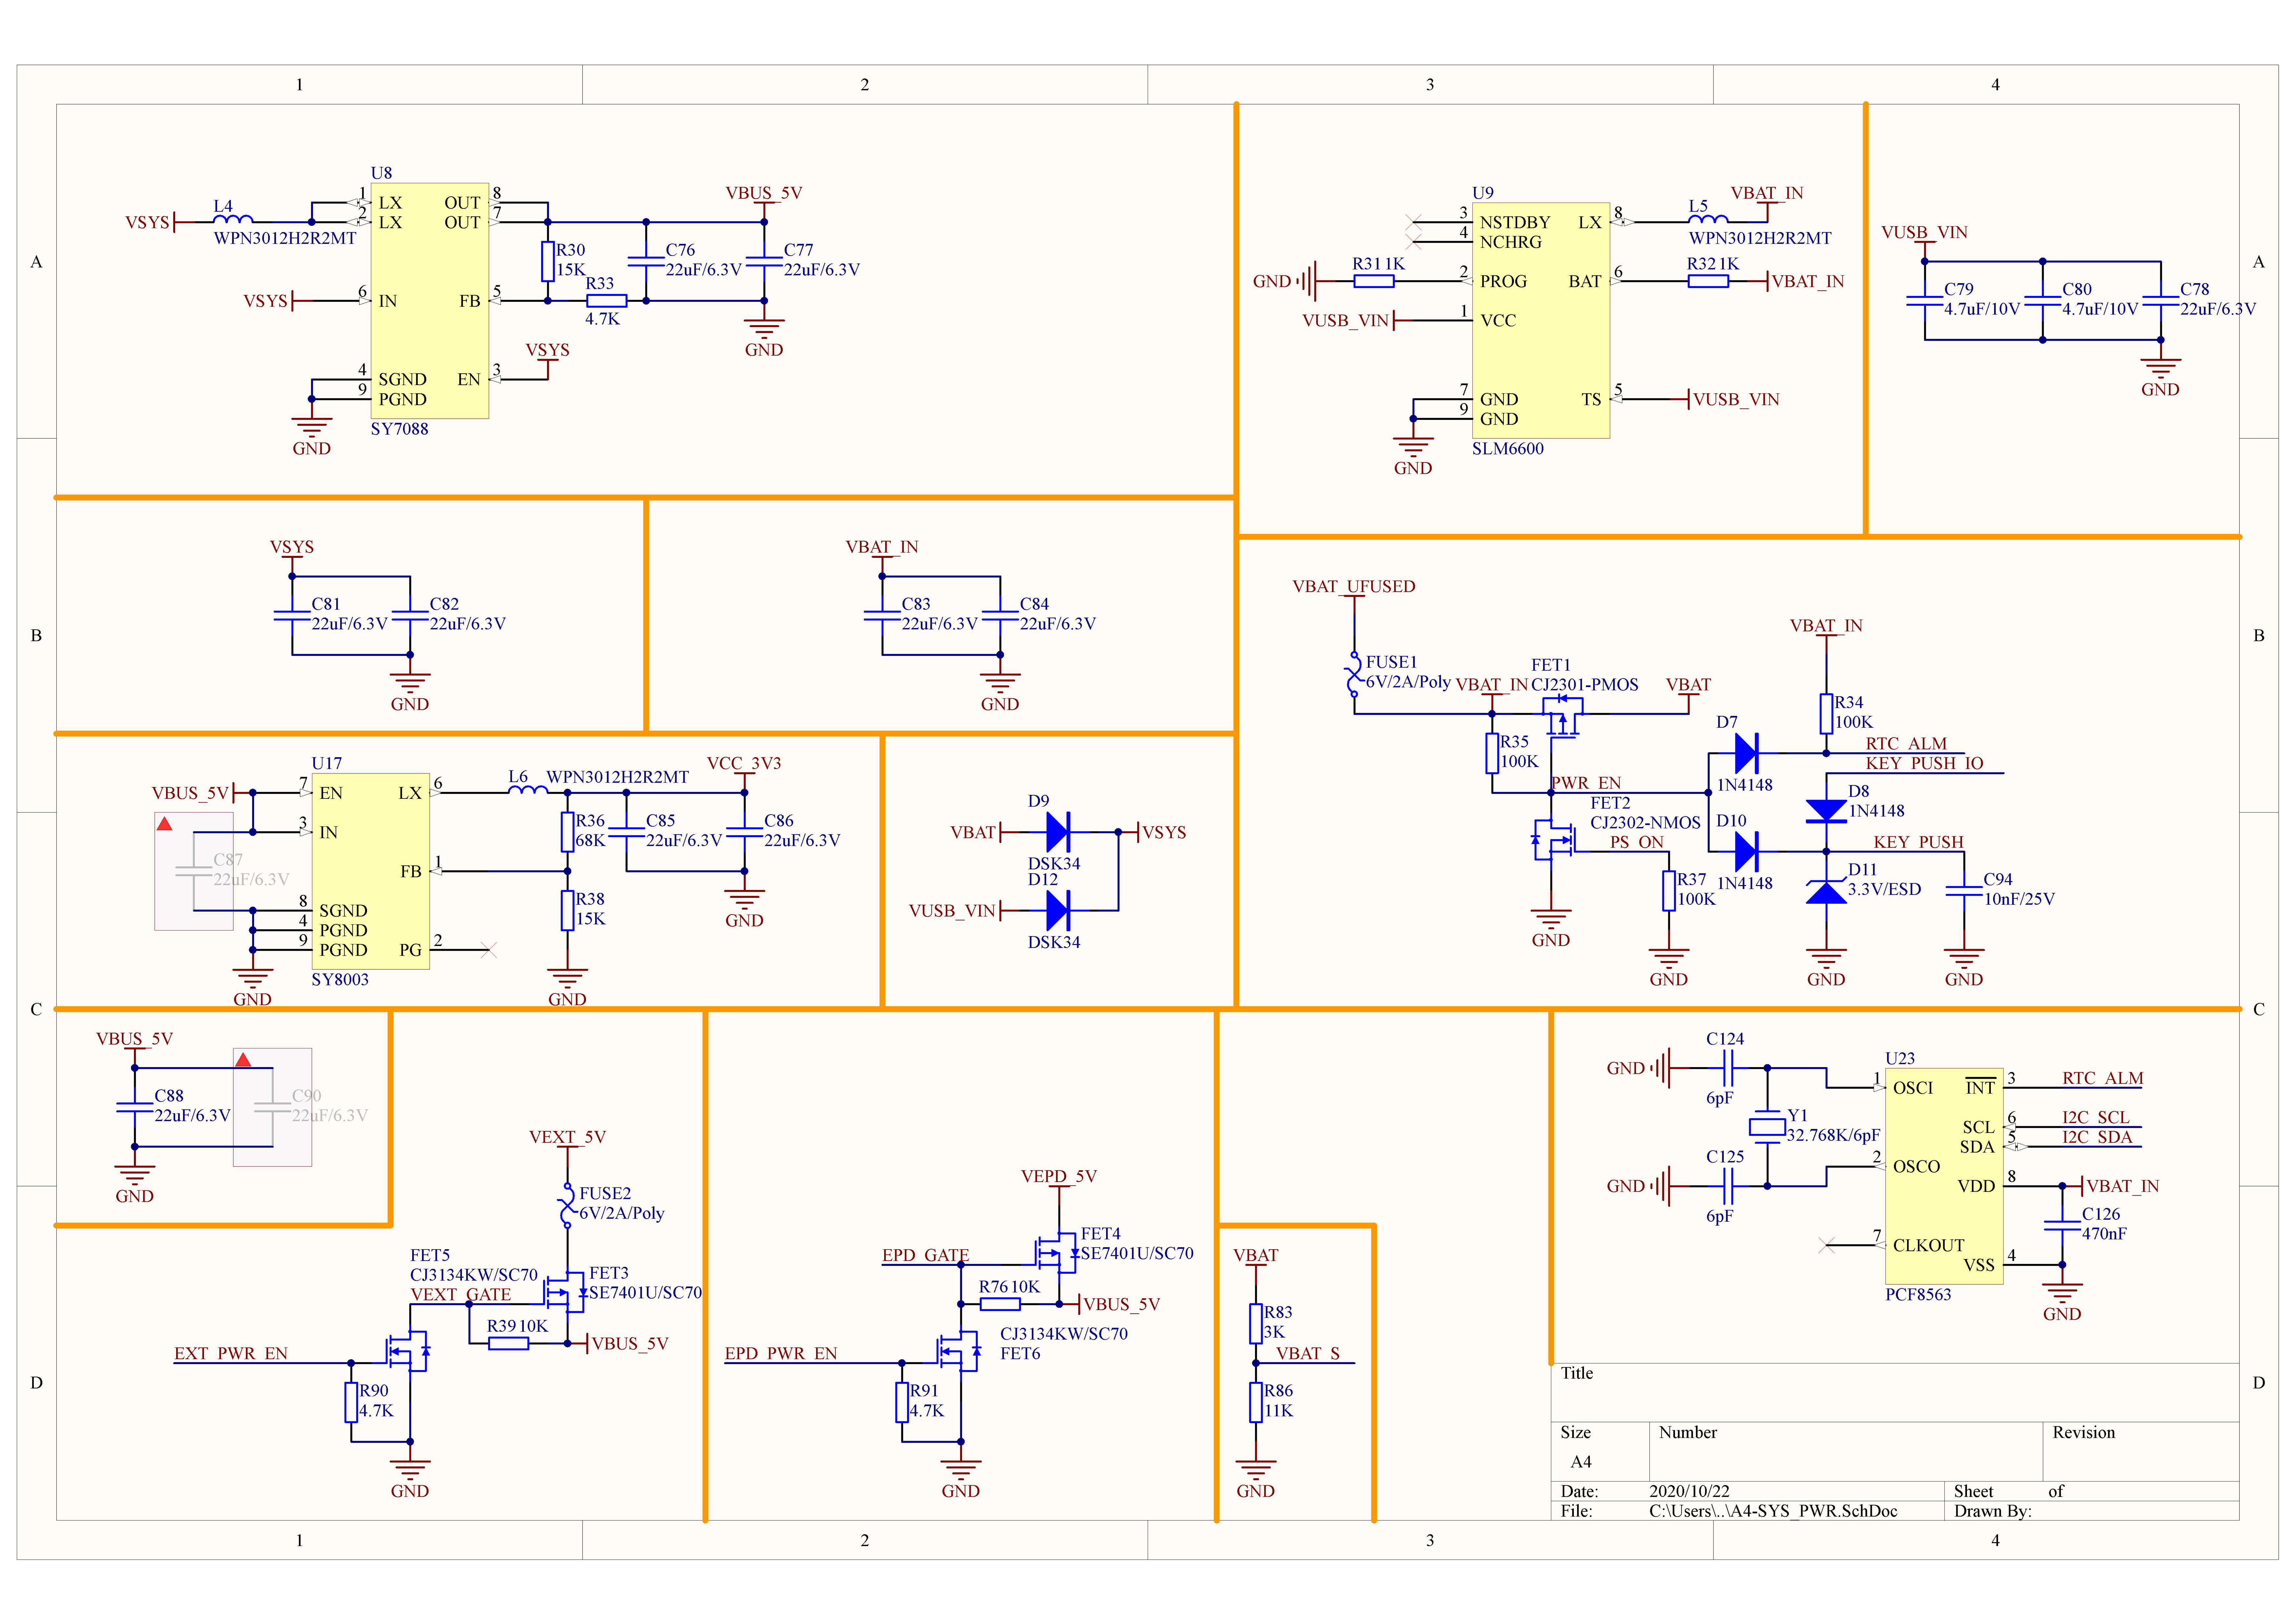
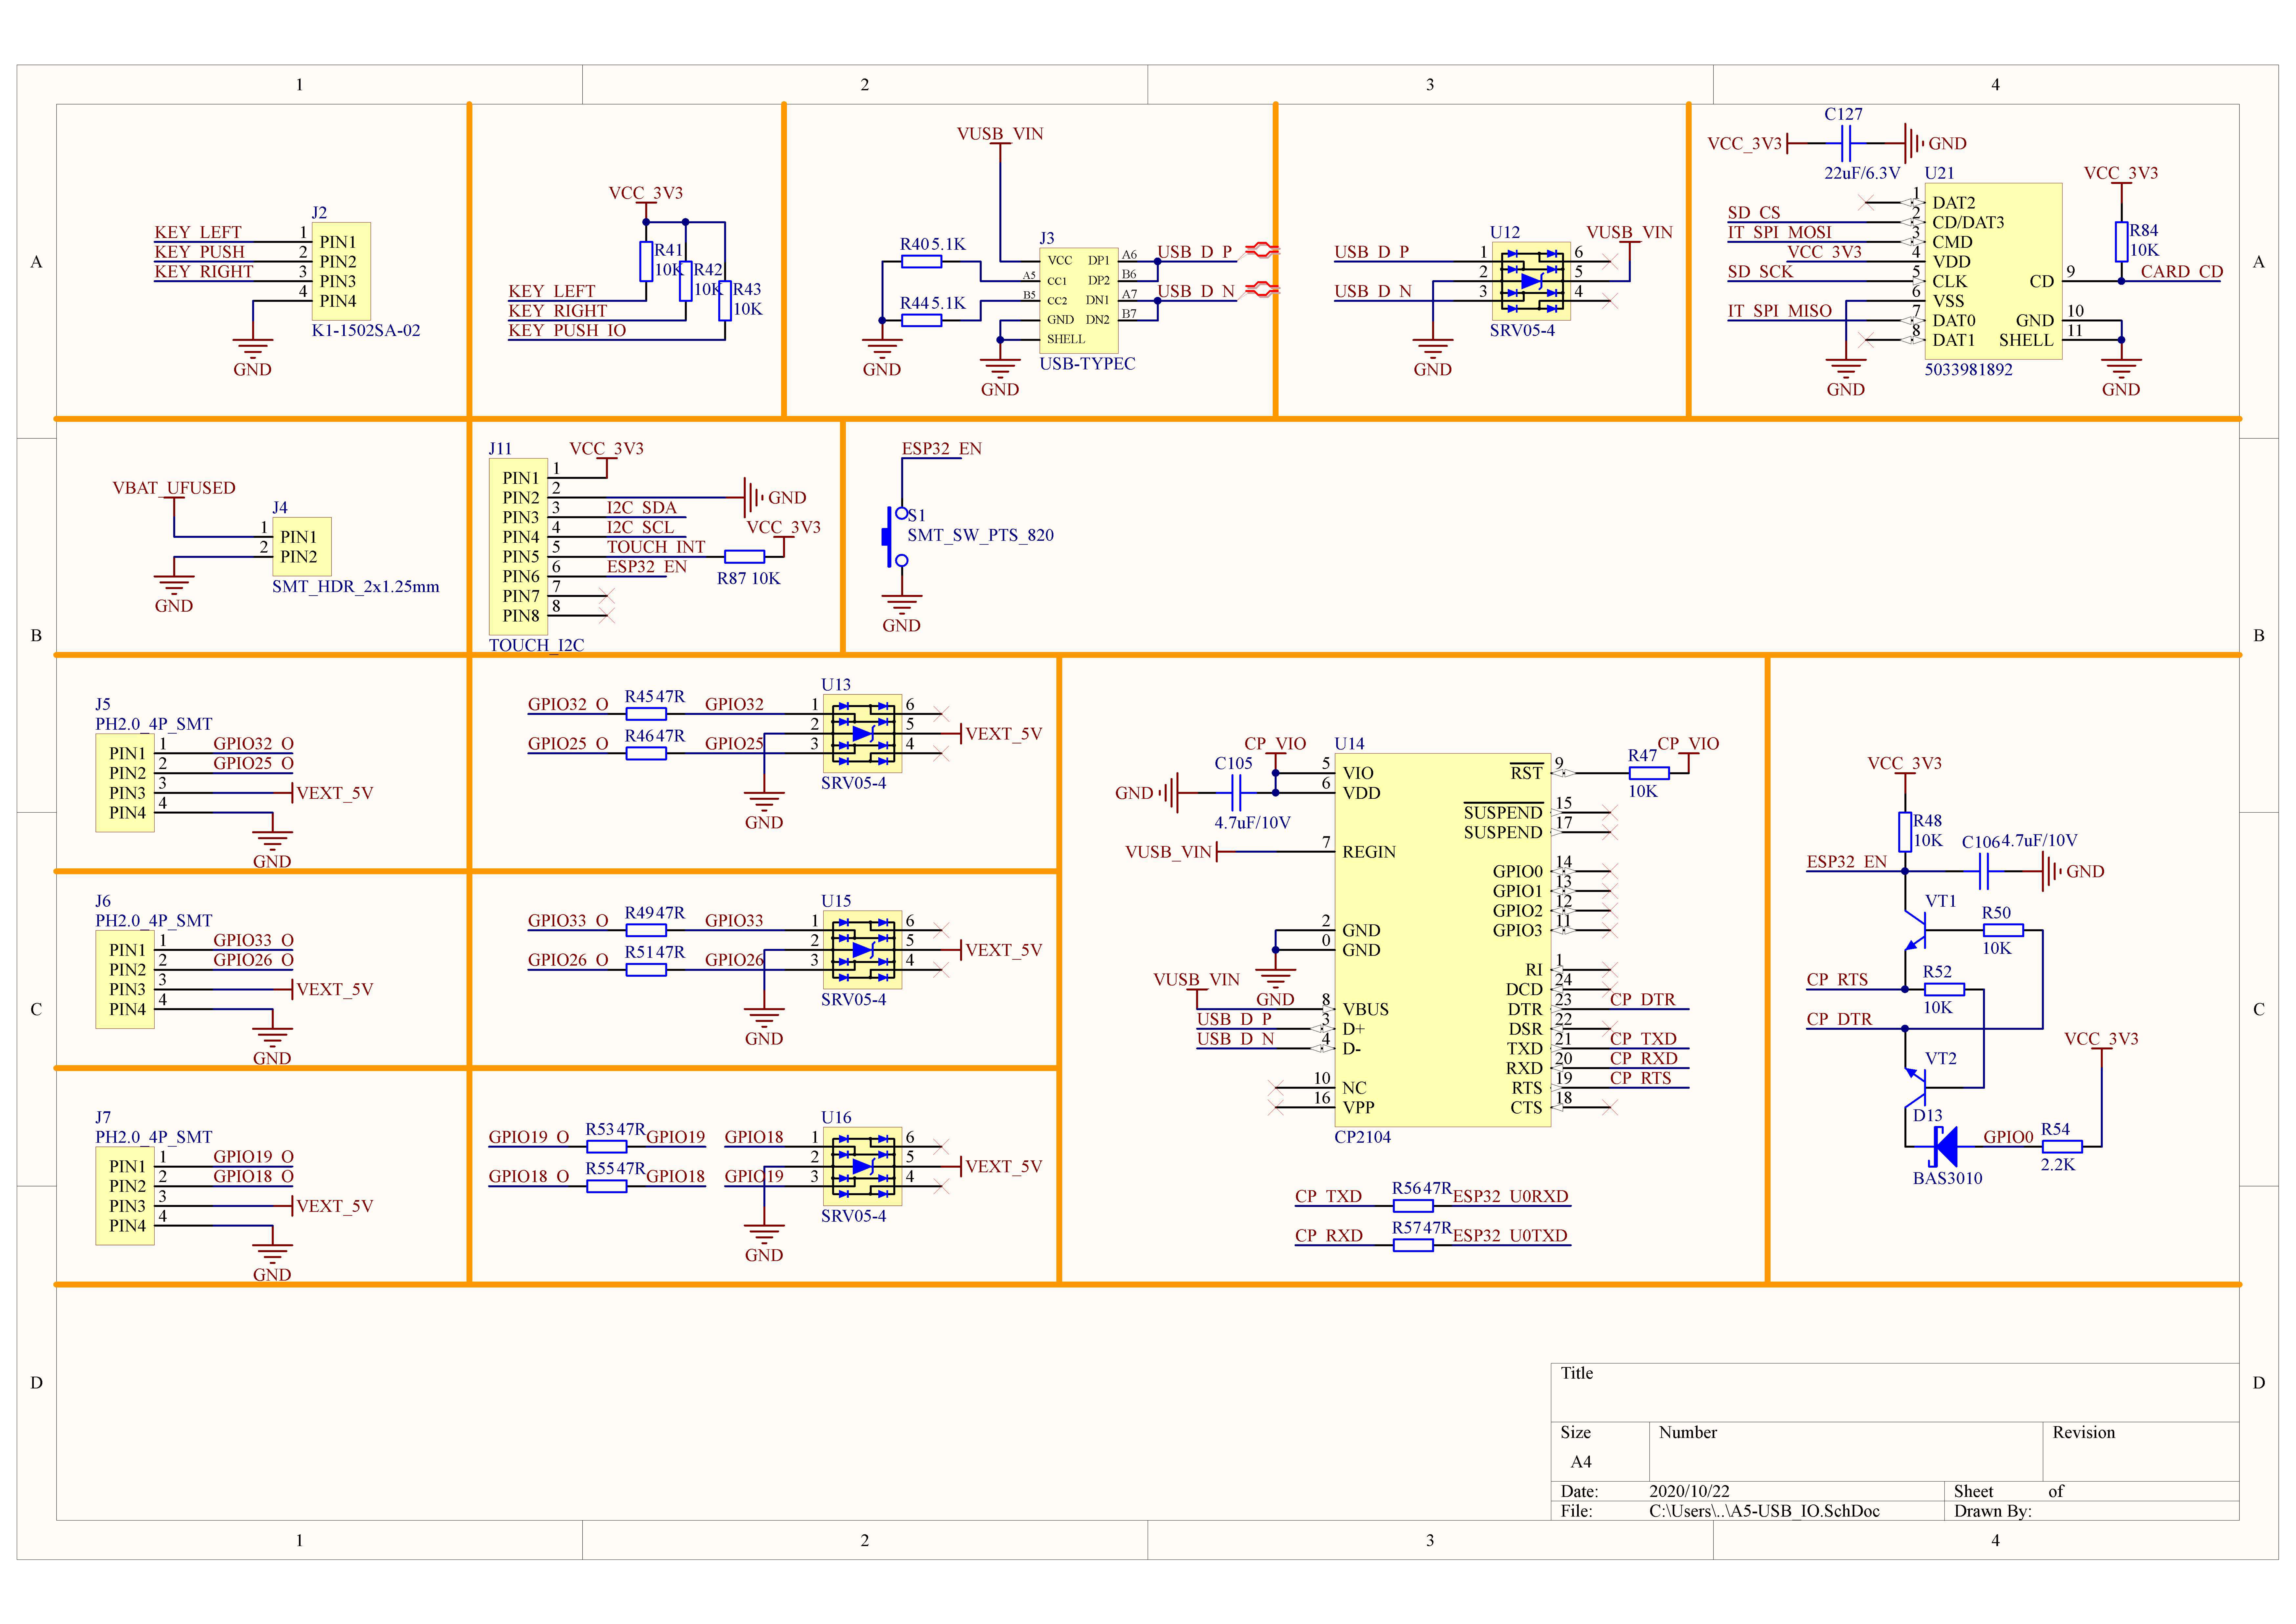


PinMap
E-Ink Screen & TF-card (microSD)
Screen Pixels: 540 x 960
| ESP32-D0WDQ6-V3 | G13 | G12 | G14 | G15 | G4 |
|---|---|---|---|---|---|
| IT8951E | MISO | MOSI | SCK | CS | / |
| TF-card (microSD) | MISO | MOSI | SCK | / | CS |
Dial Switch
| ESP32-D0WDQ6-V3 | G37 | G38 | G39 | G2 |
|---|---|---|---|---|
| Dial Switch | Right | Middle Button/Power Button | Left | / |
| Power Control | / | / | / | MOS |
Internal I2C Connection
| ESP32-D0WDQ6-V3 | G21 | G22 | G36 |
|---|---|---|---|
| GT911(0x14) | SDA | SCL | INT |
| SHT30(0x44) | SDA | SCL | / |
| BM8563(0x51) | SDA | SCL | / |
| FM24C02 | SDA | SCL | / |
USB to Serial Download
| ESP32-D0WDQ6-V3 | G1 | G3 |
|---|---|---|
| CP2104 | RXD | TXD |
ESP32 ADC/DAC Mappable Pins
| ADC1 | ADC2 | DAC1 | DAC2 |
|---|---|---|---|
| 8 channels | 10 channels | 2 channels | 2 channels |
| G32-39 | G0/2/4/12-15/25-27 | G25 | G26 |
For more information on pin allocation and pin remapping, please refer to the ESP32 datasheet
HY2.0-4P
| HY2.0-4P | Black | Red | Yellow | White |
|---|---|---|---|---|
| PORT.A | GND | 5V | G25 | G32 |
| PORT.B | GND | 5V | G26 | G33 |
| PORT.C | GND | 5V | G18 | G19 |
Model Size

Datasheets
Softwares
Arduino
- Paper v1.1 Arduino Quick Start
- Paper v1.1 Arduino M5EPD Driver Library
- Paper v1.1 Arduino FactoryTest
- Paper v1.1 Arduino M5EPD_Todo
- Paper v1.1 Arduino M5EPD_Calculator
- Paper v1.1 Arduino M5EPD_TTFExample
- Paper v1.1 Arduino image2gray tool
When using FactoryTest to load special characters (such as Chinese or Japanese), place the font file in the root directory of the TF card and name it font.ttf. ttf file download link.
UiFlow1
UiFlow2
USB Driver
| Driver Name | Applicable Driver Chip | Download Link |
|---|---|---|
| CP210x_VCP_Windows | CP2104 | Download |
| CP210x_VCP_MacOS | CP2104 | Download |
| CP210x_VCP_Linux | CP2104 | Download |
| CH9102_VCP_SER_Windows | CH9102 | Download |
| CH9102_VCP_SER_MacOS v1.7 | CH9102 | Download |
Easyloader
- Windows
- MacOS
Video
- Product Introduction
- Paper Back Panel Disassembly Tutorial
Product Comparison
To compare information on the Paper / CoreInk series products, you can visit the Product Selection Table, check the target products, and get the comparison results. The selection table covers key information such as core parameters and functional features, and supports comparison of multiple products simultaneously.

