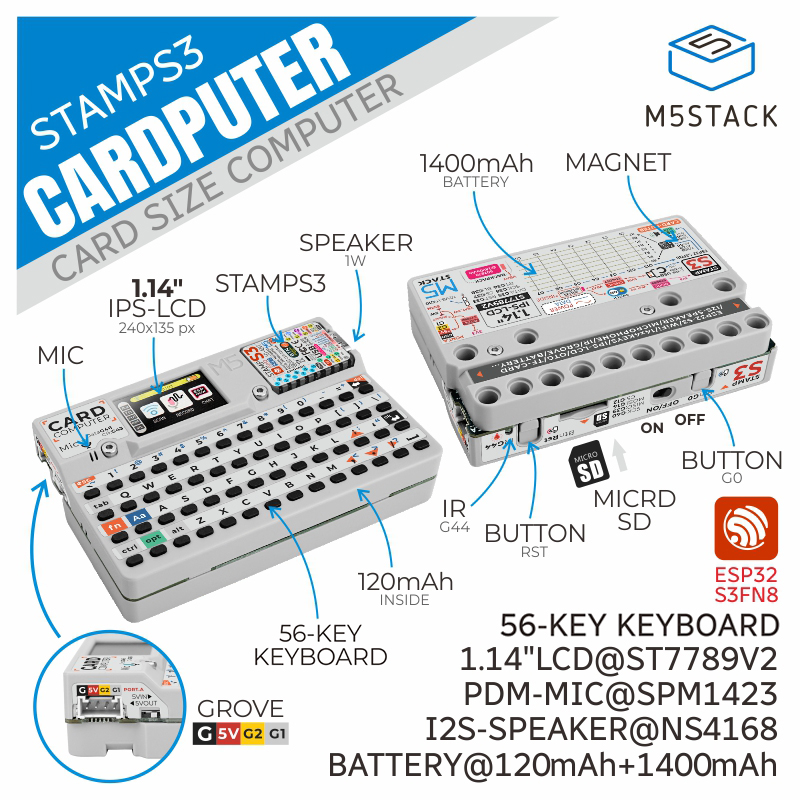
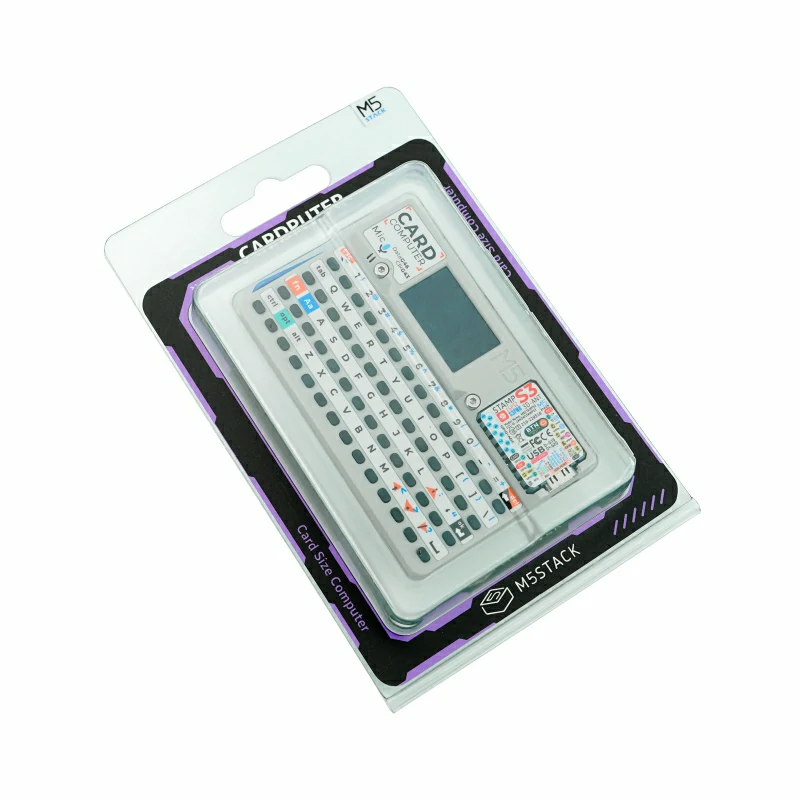
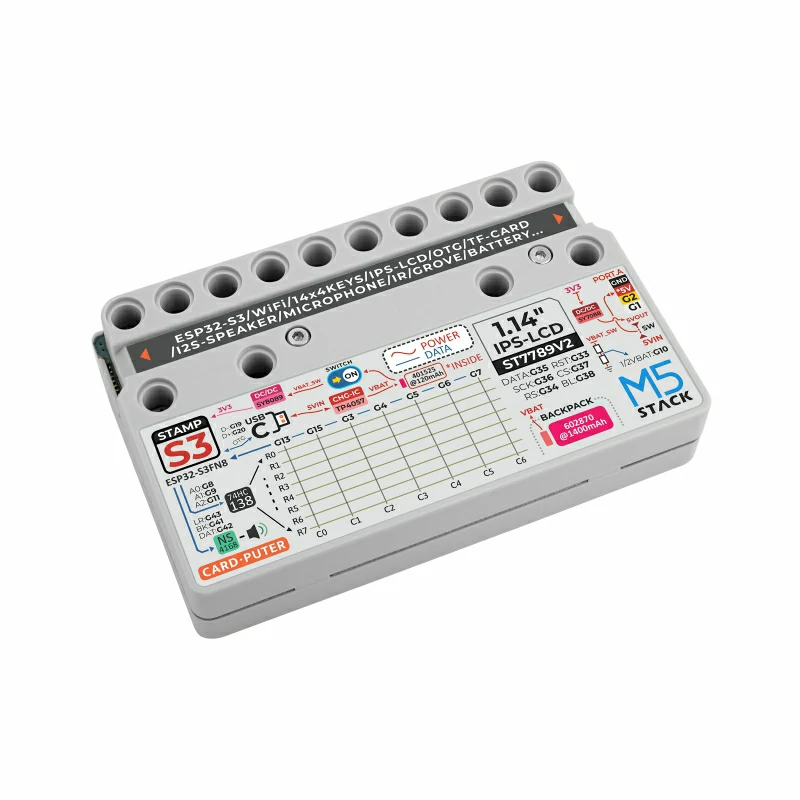
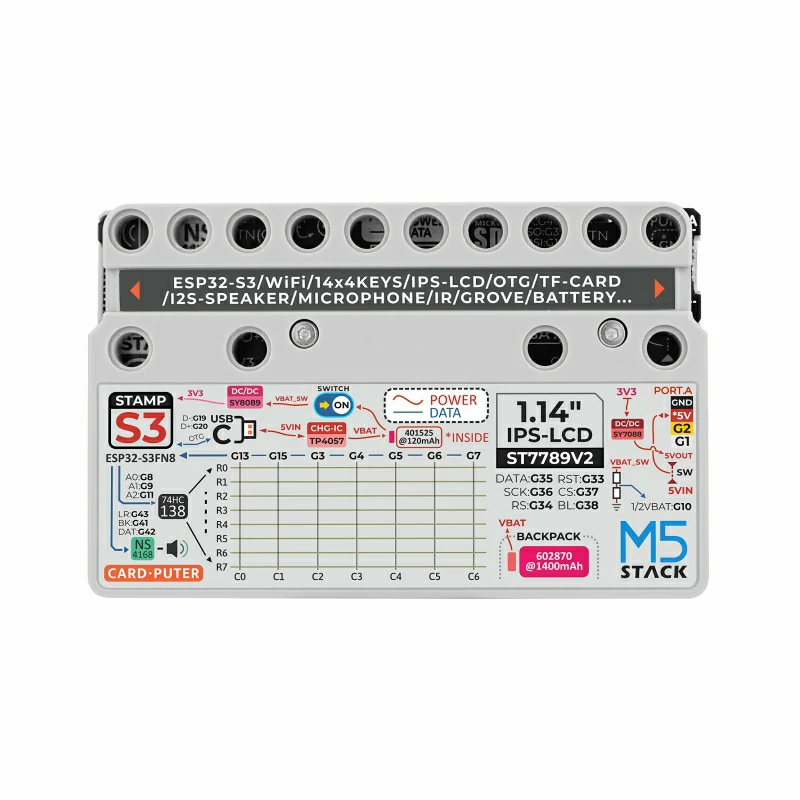
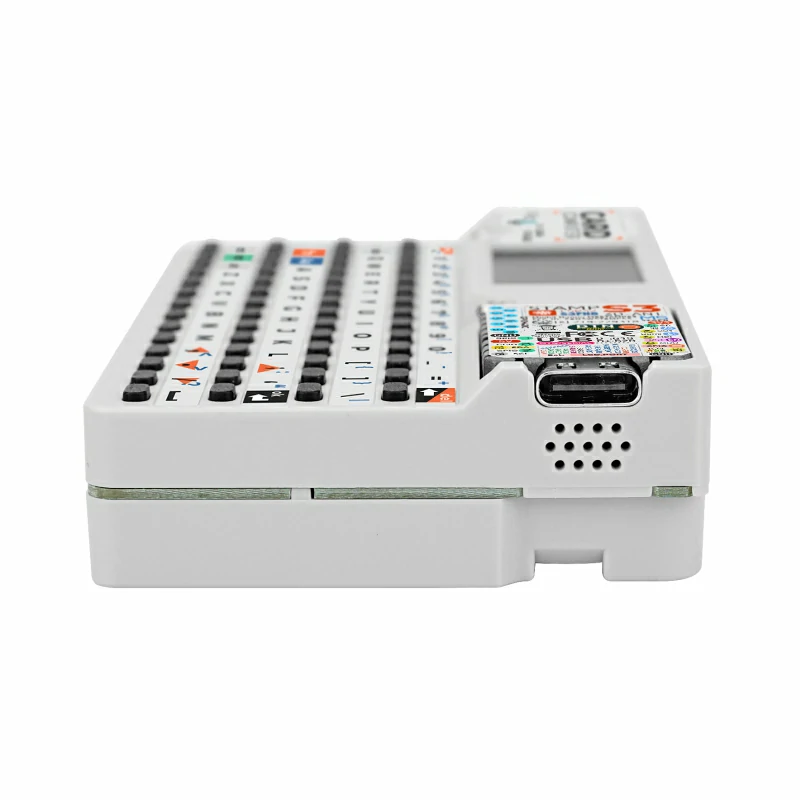
Cardputer is a card-sized computer designed for engineers, featuring an M5StampS3 as the main controller. For human-machine interaction, it is equipped with a 56-key keyboard and a 1.14-inch TFT screen. The onboard SPM1423 digital MEMS microphone supports recording or wake-up functions, while the built-in cavity speaker enables audio playback. An infrared emitter provides IR control capability. Expansion is provided via a Grove port for custom sensor connection, and a microSD card slot allows storage expansion. Power is supplied by an internal 120 mAh battery plus a 1400 mAh battery in the base, greatly extending battery life. Integrated charge, boost and buck circuits are included. The magnetic base can attach to metal surfaces and offers LEGO-compatible mounting holes. Cardputer is ideal for rapid functional prototyping, industrial control, smart-home systems and more.
Note
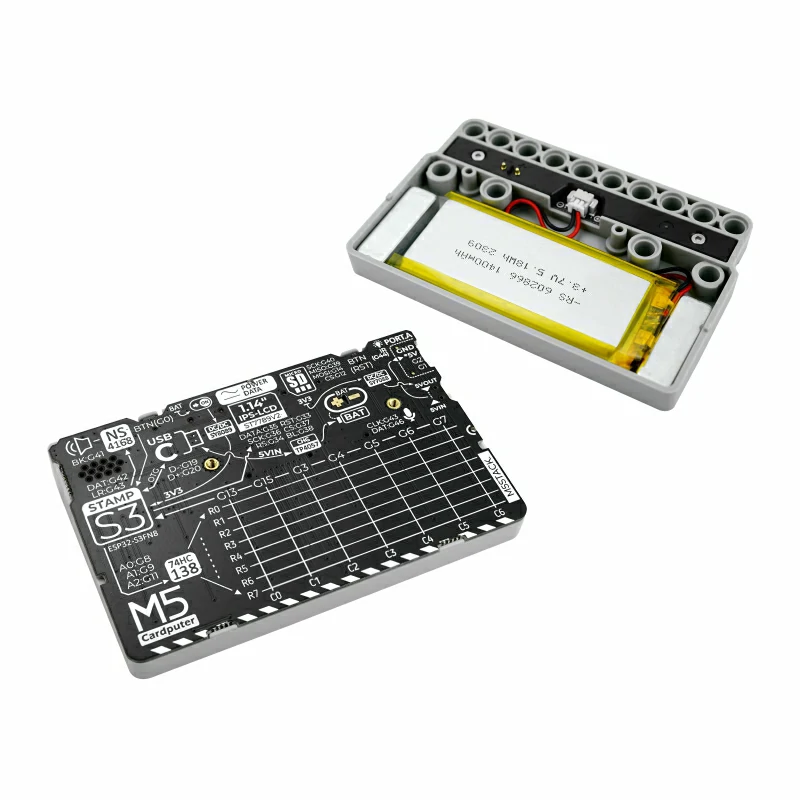
Disassembly Notice
When removing the StampS3 module from the front panel, be very careful with the FPC cable and connector on the back. Gently pull it out to avoid damaging the screen connector. Refer to the operation video in the Cardputer Accessory Kit.
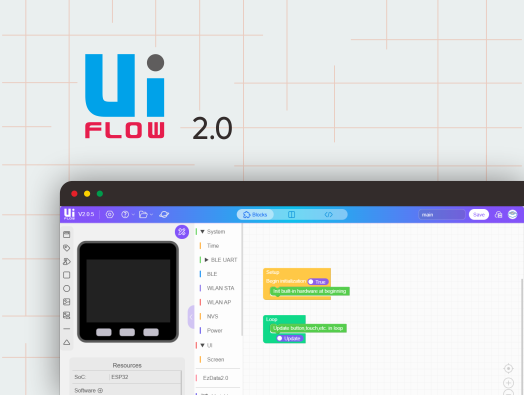
This tutorial shows you how to control the Cardputer using the UiFlow2 graphical programming platform.
Features
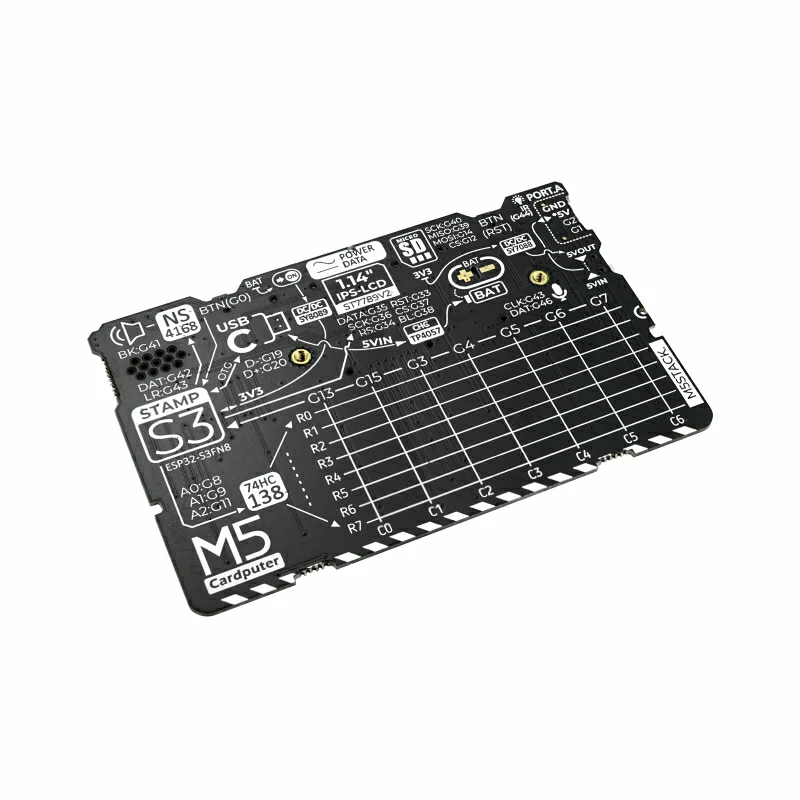
M5StampS3 microcontroller
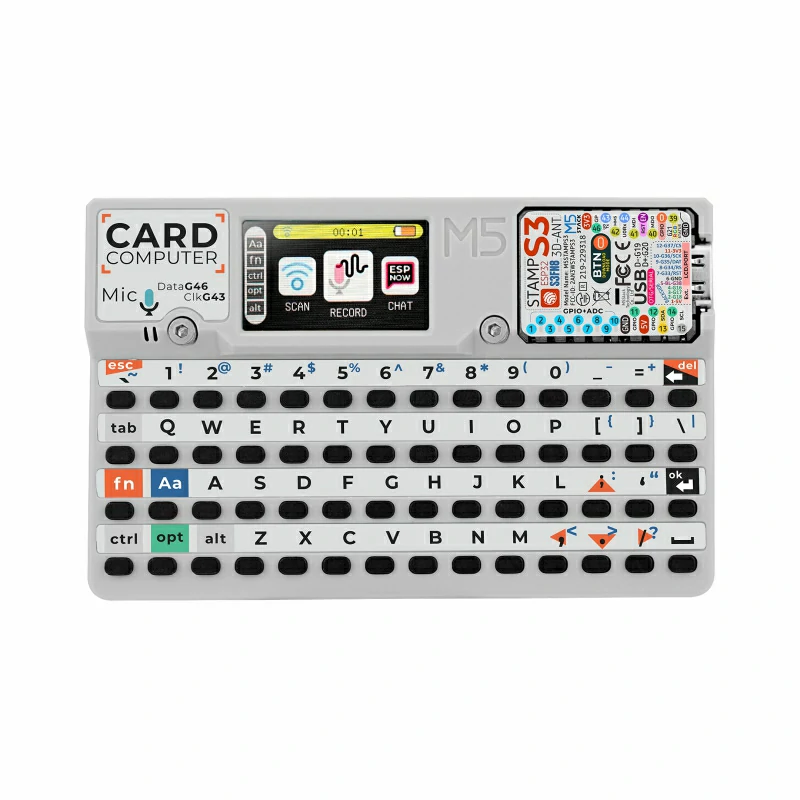
56-key keyboard
1.14-inch TFT screen
Cavity speaker and SPM1423 digital MEMS microphone
Infrared emitter for IR control
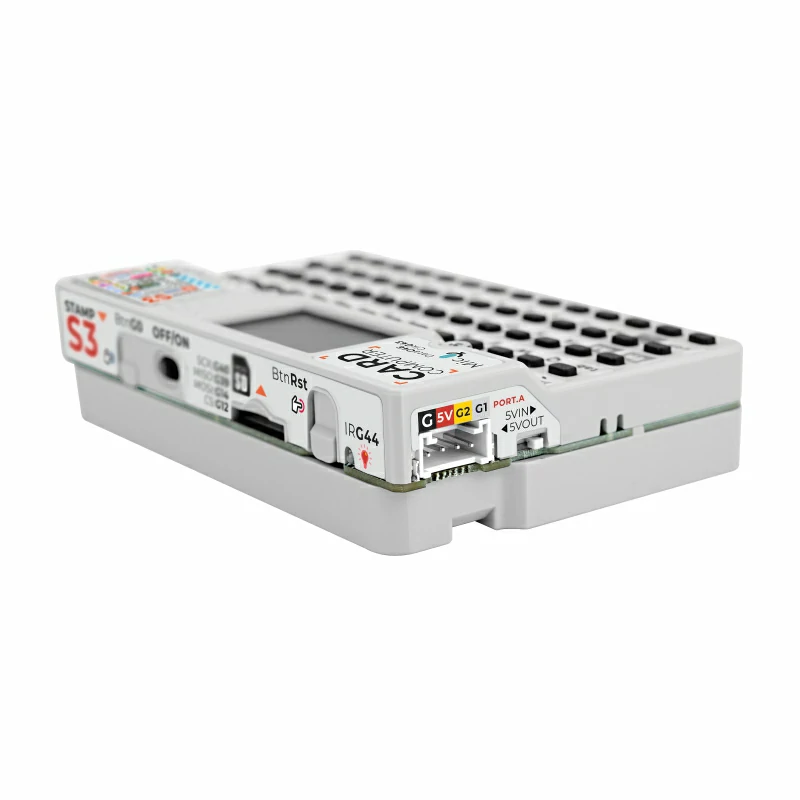
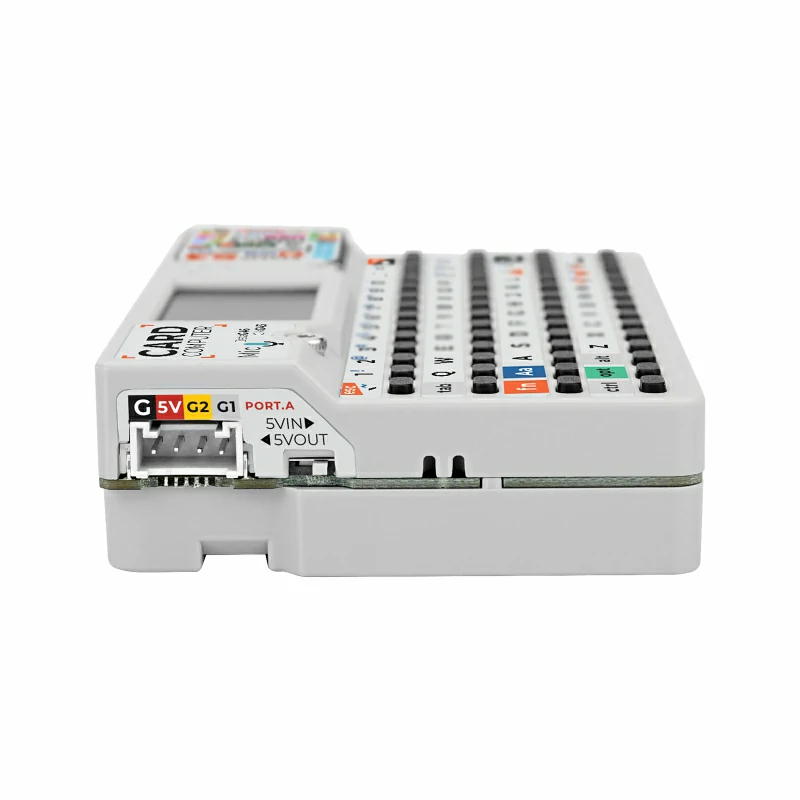
HY2.0-4P port for connecting and expanding I2C sensors
microSD card slot for storage expansion
Built-in 120 mAh battery plus 1400 mAh battery in the base for long battery life
Magnetic base with LEGO-compatible mounting holes
Development Platform
UiFlow2
Arduino IDE
ESP-IDF
PlatformIO
Includes
1 x Cardputer
1 x Hex Key L-Shape 2.0mm (For M2 Screw)
Applications
Rapid functional verification and prototyping
Industrial control and automation
Smart-home control systems
Data acquisition and sensor monitoring
Embedded system development and education
Wireless communication and IoT projects
Specifications
Specification
Parameter
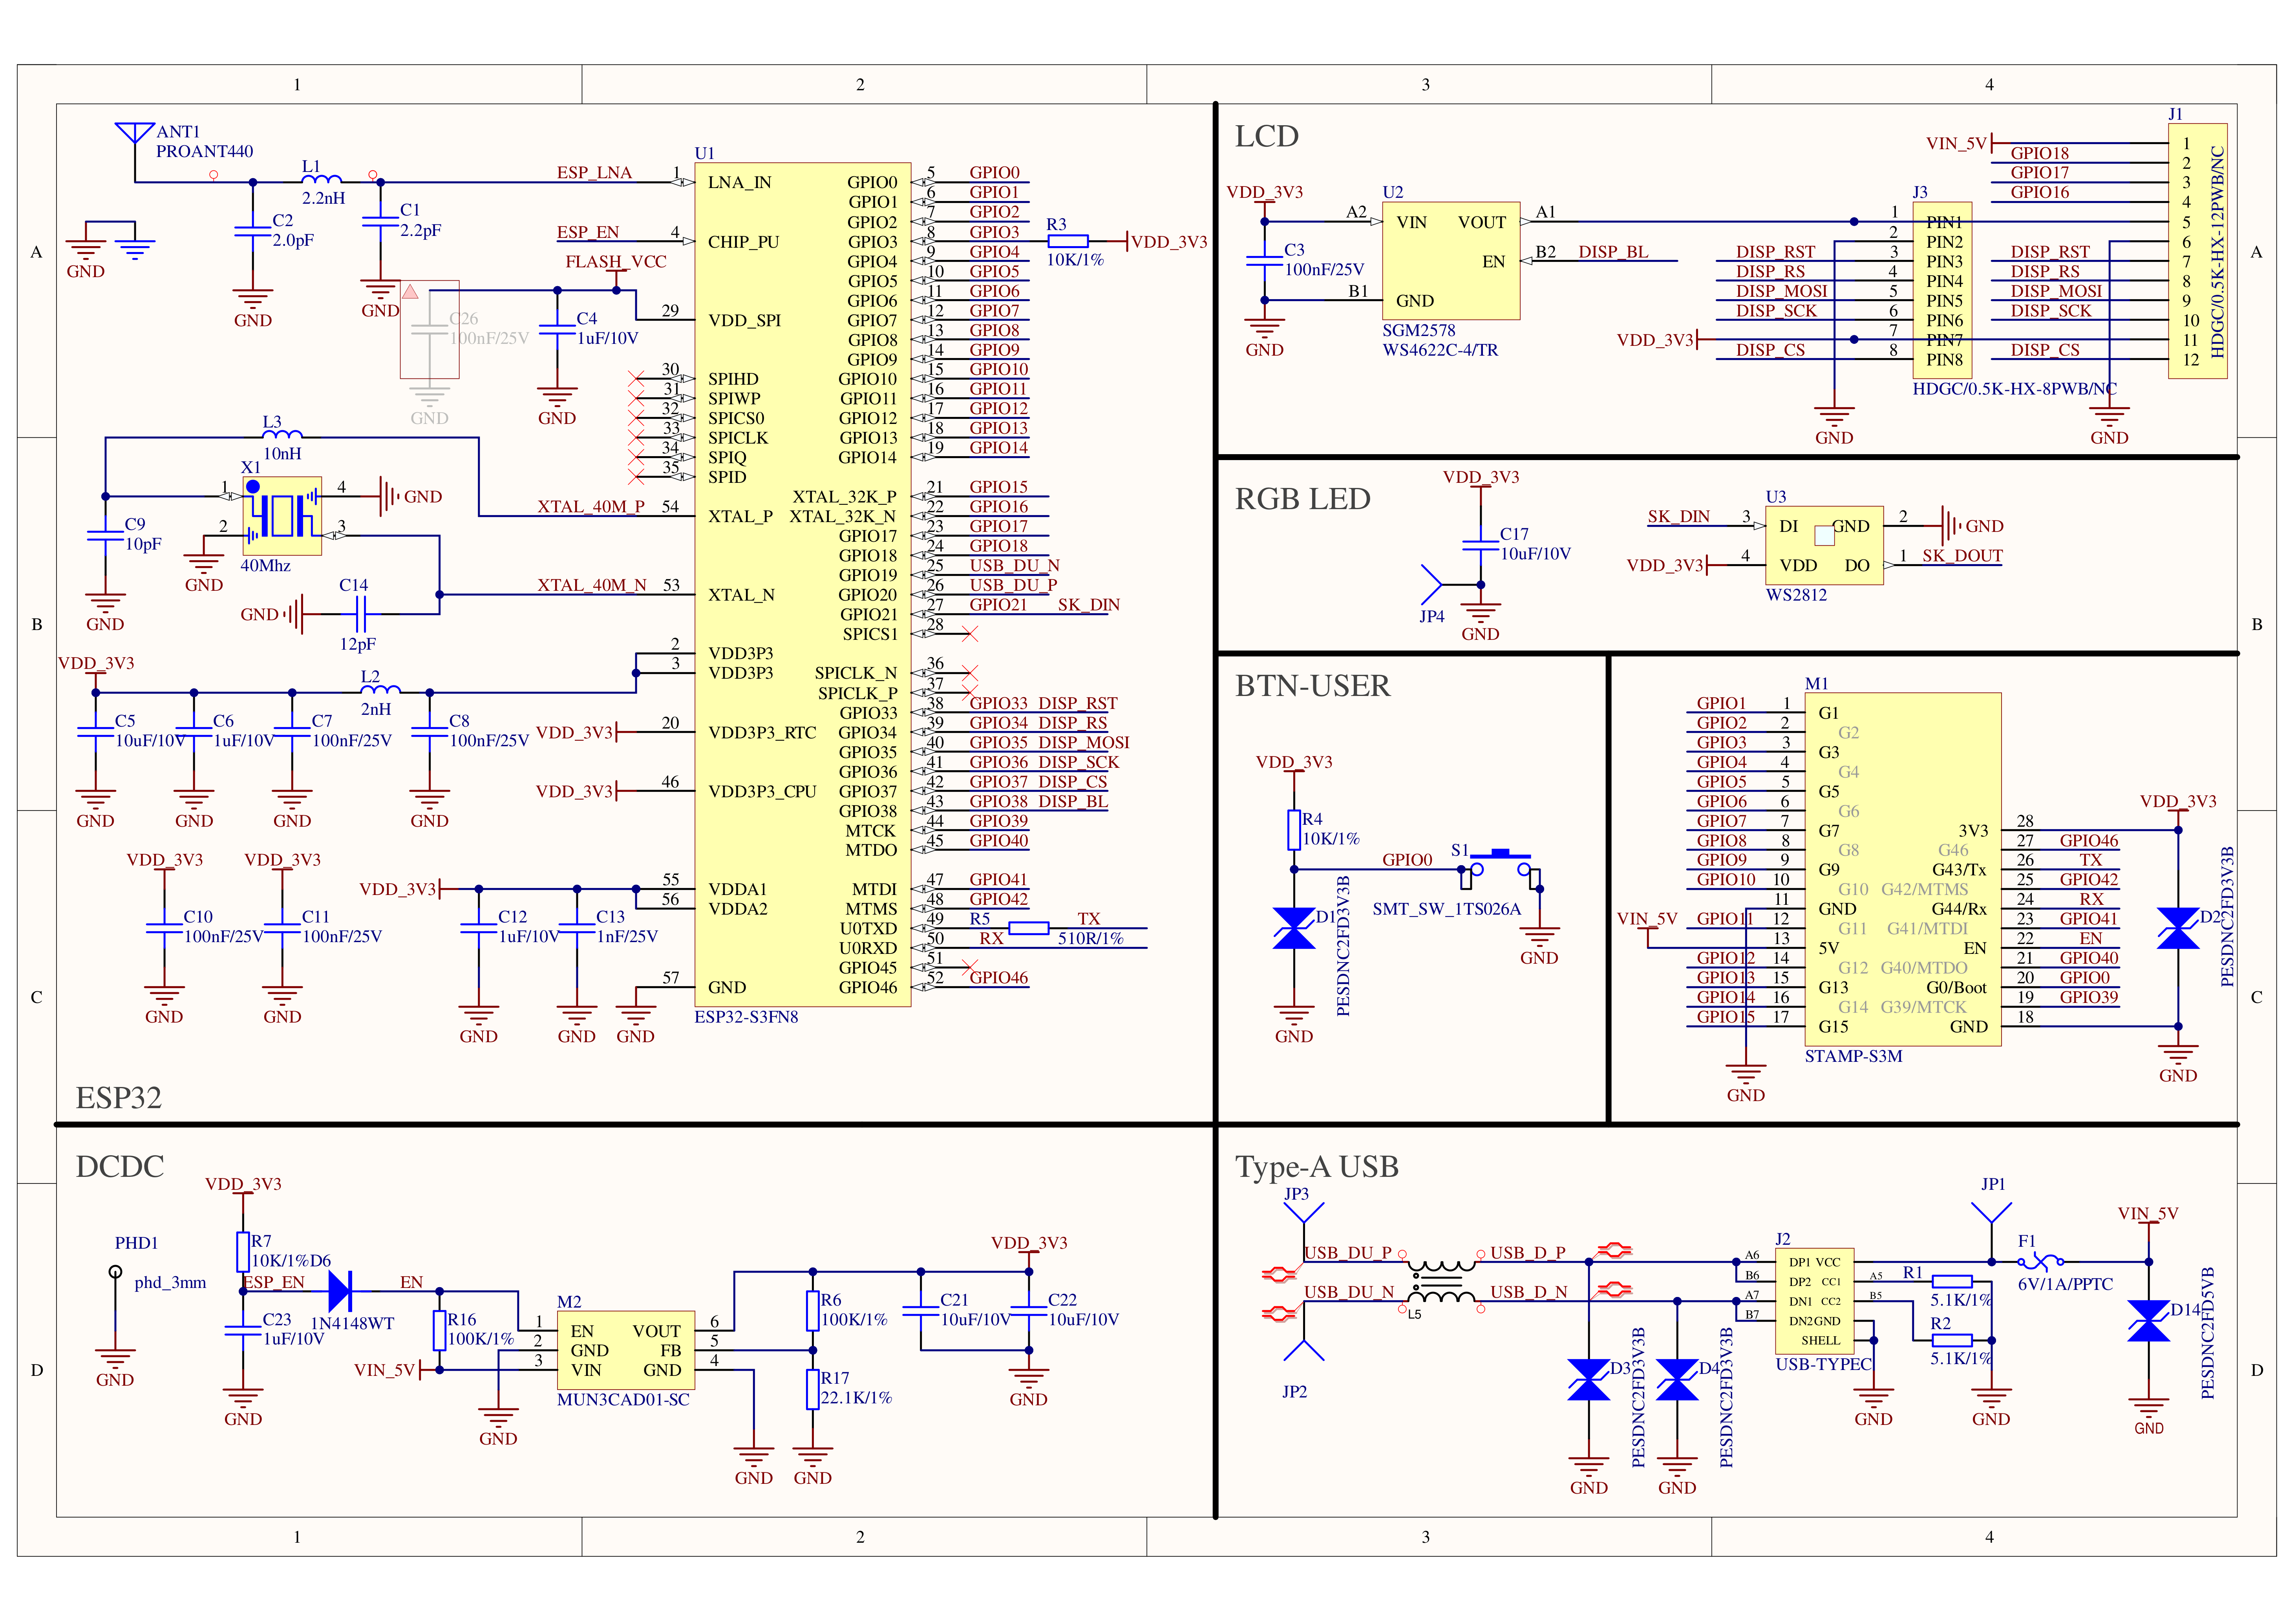
SoC
ESP32-S3FN8 @ Xtensa® 32-bit LX7 dual-core processor, clock frequency 240MHz
USB
USB OTG, USB Serial/JTAG
Flash
8MB
Wi-Fi
2.4 GHz Wi-Fi
Storage
SD Card
Keyboard
56 keys (4 x 14)
Buttons
1 x Reset button + 1 x User button
Grove
1 x HY2.0-4P
Battery Capacity
120 mAh + 1400 mAh (in base)
Screen
ST7789V2 @ 1.14 inch, 240 x 135 px
Speaker
8 Ω @ 1 W I2S @ NS4168
Microphone
MEMS microphone @ SPM1423
IR Emitting Distance
410 cm at ∠0°, 170 cm at ∠45°, 66 cm at ∠90°
Sleep Current
DC 4.2 V @ 0.26 µA
Working Current
IR mode: DC 4.2 V @ 255.6 mA; Keyboard mode: DC 4.2 V @ 165.7 mA
Operating Temperature
0 ~ 40 °C
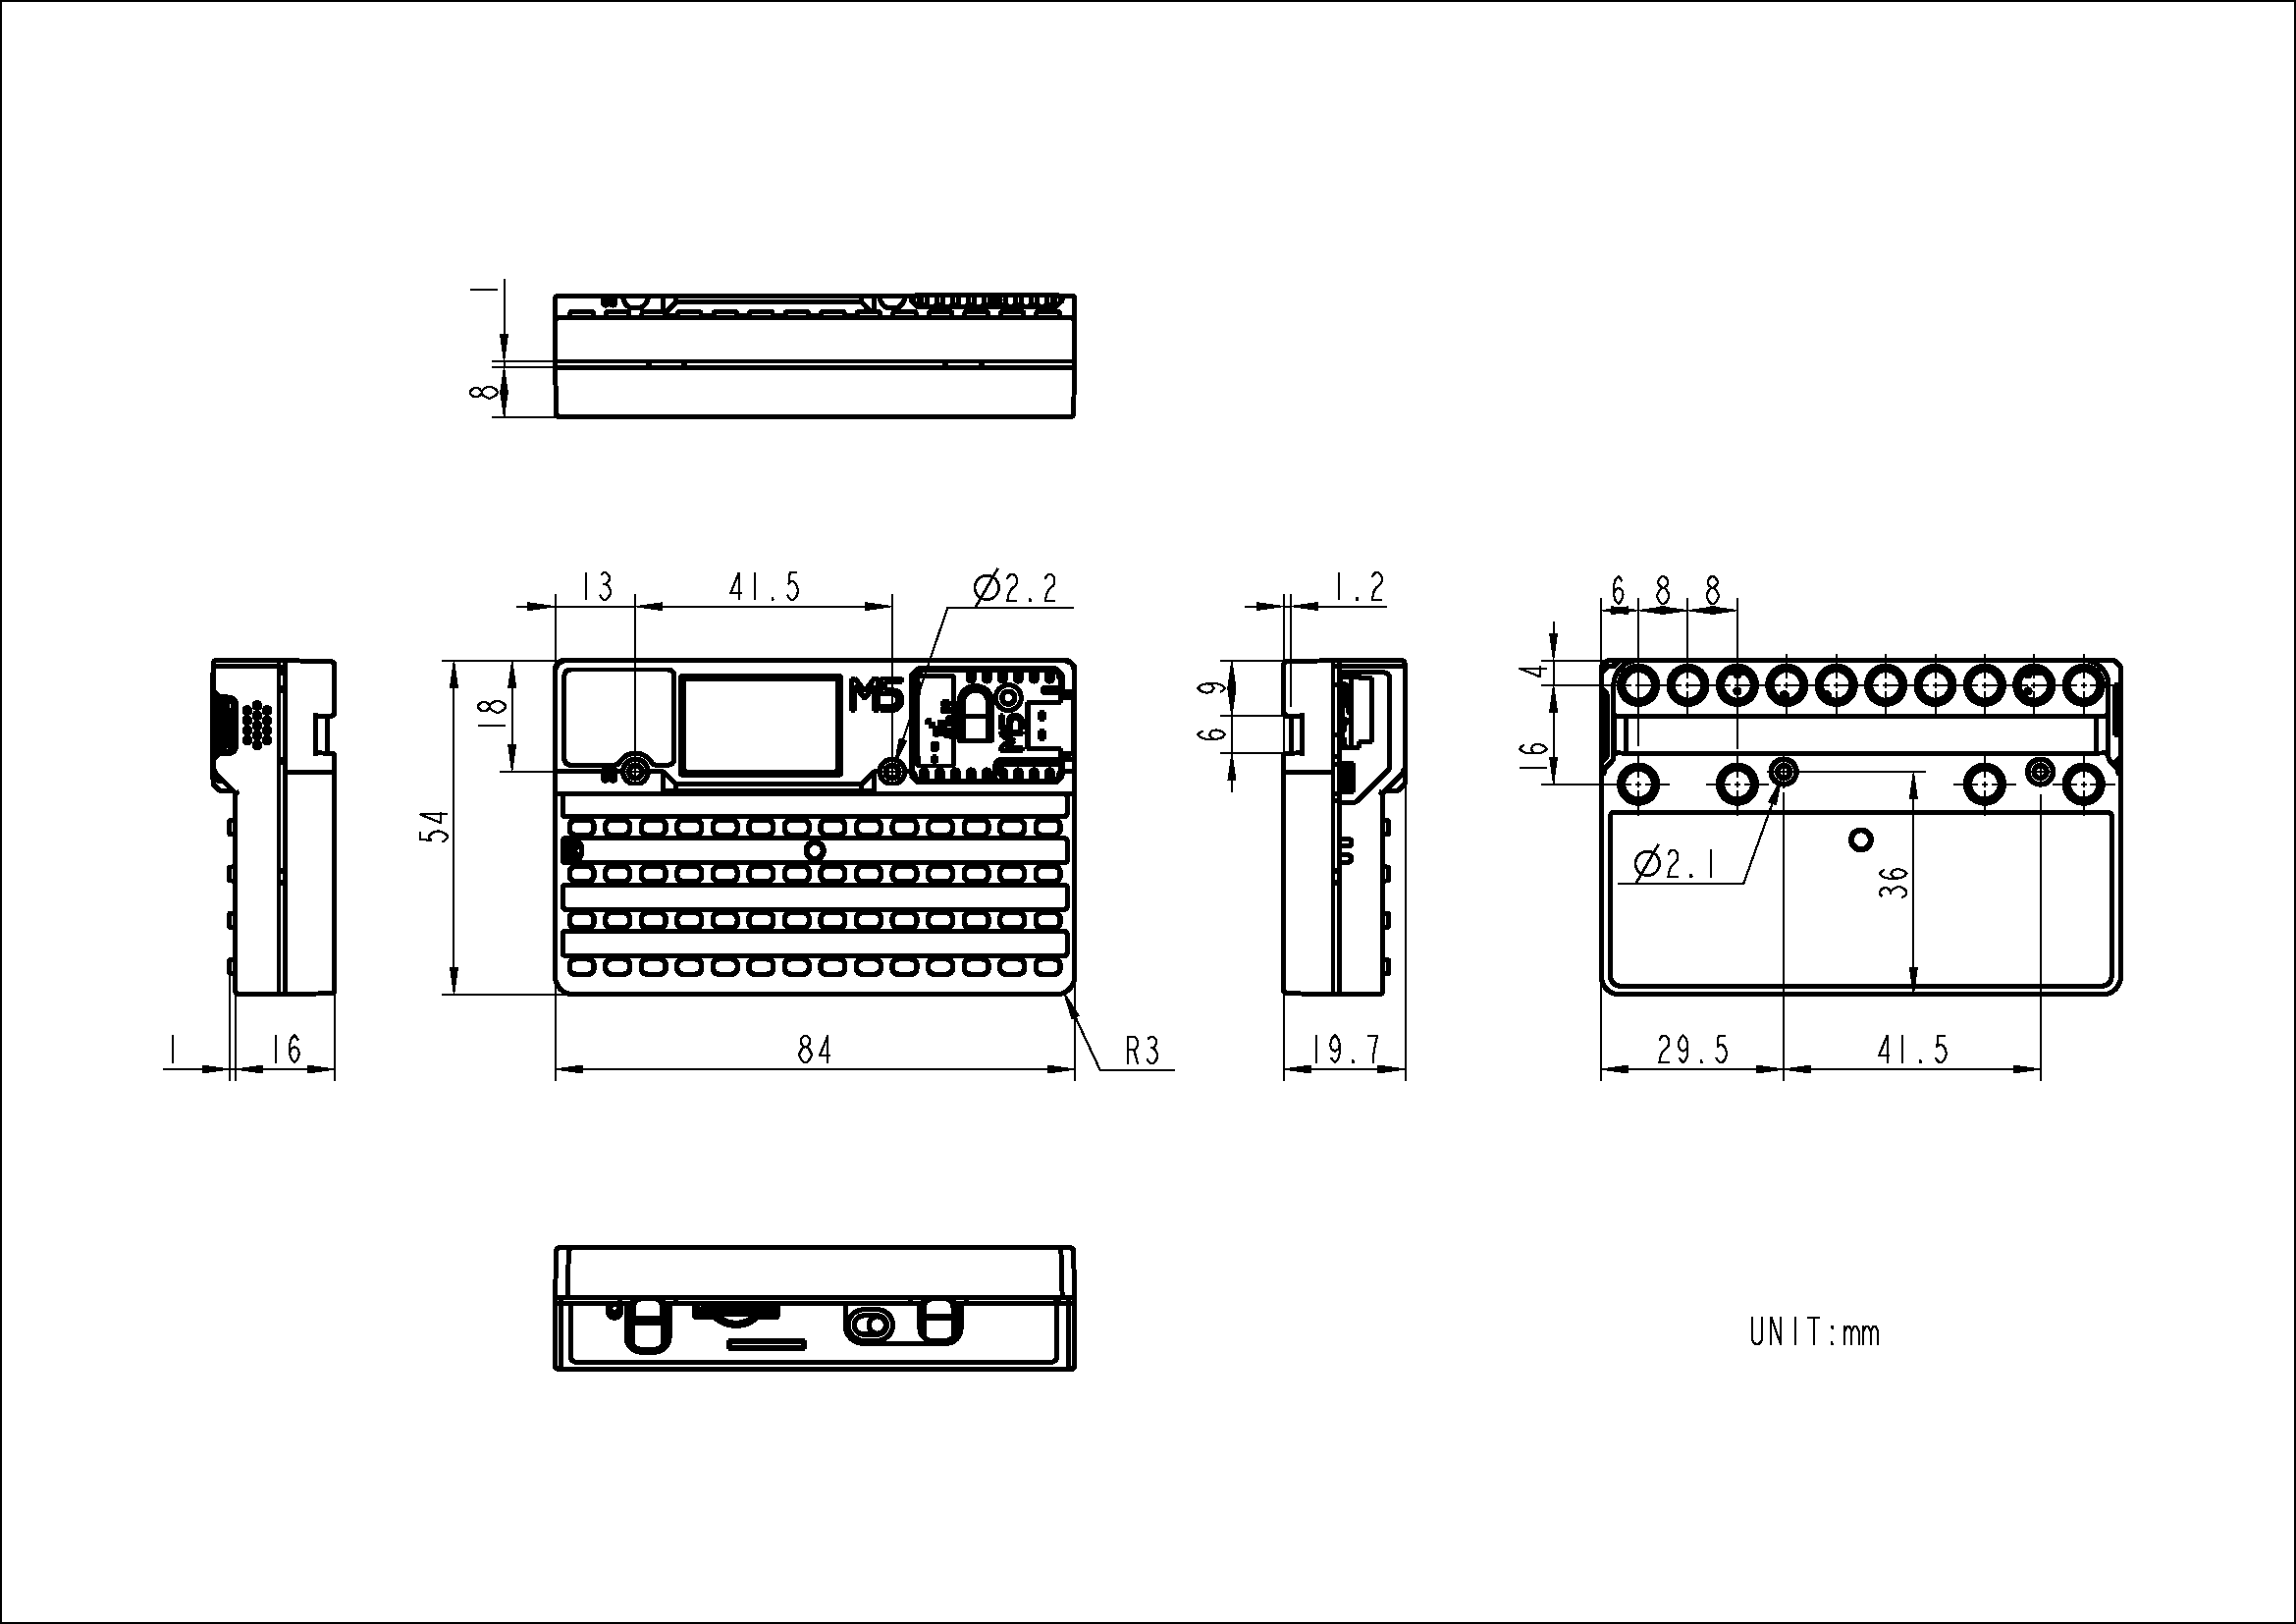
Product Size
84.0 x 54.0 x 19.7 mm
Product Weight
92.3 g
Package Size
145.7 x 95.0 x 20.7 mm
Gross Weight
109.9 g
Learn
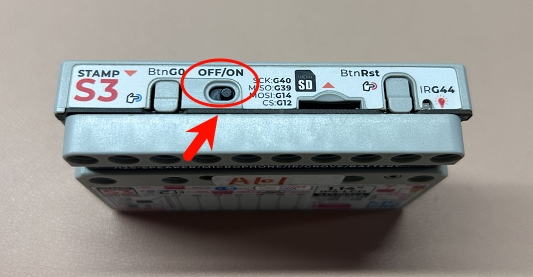
Download Mode
If you want to enter download mode, set the power switch on the side of the Cardputer to the OFF position, then press and hold the G0 button before powering on. After supplying power to the device, release the button, and the device will enter download mode.
Charging Notes
When charging the Cardputer, please switch the power to ON.
To compare information on the Cardputer series products, you can visit the Product Selection Table, check the target products, and get the comparison results. The selection table covers key information such as core parameters and functional features, and supports comparison of multiple products simultaneously.


.gif)