


Home Assistant
Voice Assistant
Kit
Sensor
Tab5 Home Assistant HMI Case
This chapter introduces the implementation methods and configuration details for transforming Tab5 into a Home Assistant Human-Machine Interface (HMI) device.
In this case, we will use several entities in Home Assistant, mainly a temperature and humidity sensor (Unit ENV-Pro), an RGB light (Unit NeoHEX), and an infrared remote air conditioning entity. This case uses Atom EchoS3R as the platform to integrate temperature, humidity, lighting, and infrared components.
Preparation
- A Home Assistant host.
- Installed and enabled ESPHome Builder add-on.
- Ensure the temperature and humidity sensor (Unit ENV-Pro), RGB light (Unit NeoHEX), and infrared remote air conditioning entity have been integrated into Home Assistant.
- Reference Documents:
Note
- The case is compiled under ESPHome
2025.10.3. If you encounter compilation or upload issues, consider switching ESPHome to this version. - The case is for demonstration only, and the content of the configuration file may change. For products manufactured after October 14, 2024, the LCD/touch screen IC has been replaced with ST723. The current configuration does not support this IC yet; we will continue to optimize driver support.
Create Device
Open ESPHome Builder in Home Assistant and create an empty configuration file.
Click the
NEW DEVICEbutton in the lower right corner.Click
CONTINUEin the pop-up box.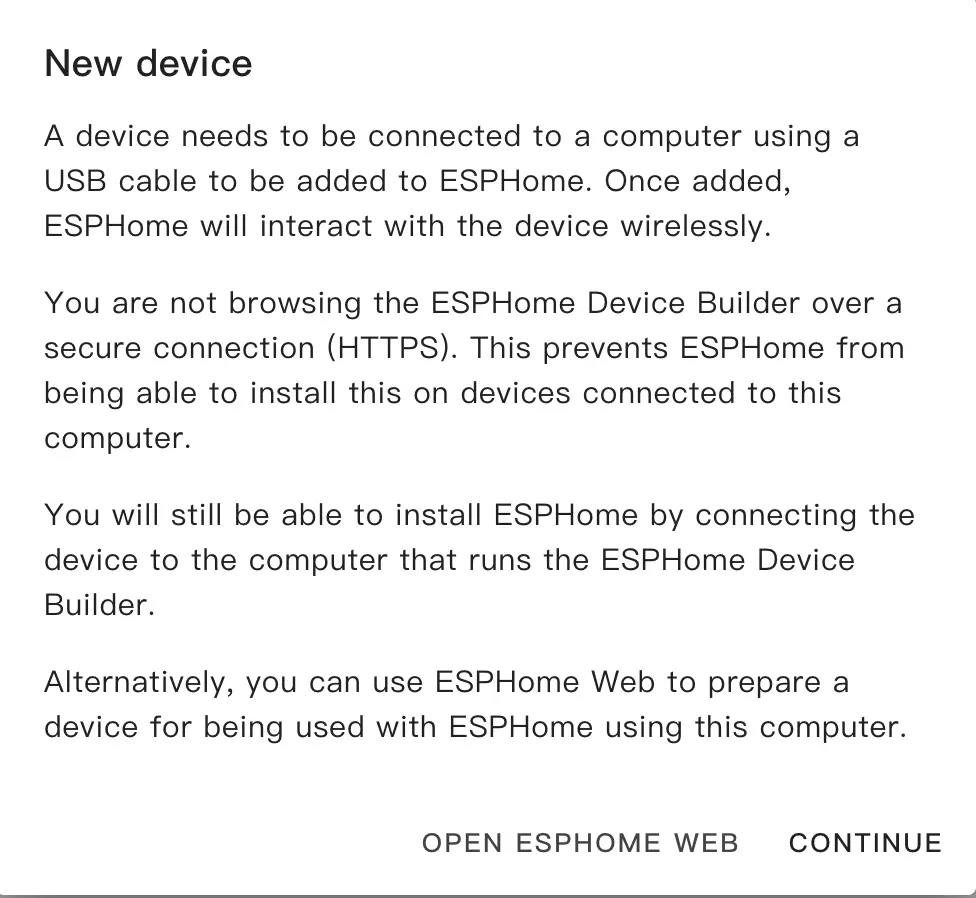
Select
Empty Configuration.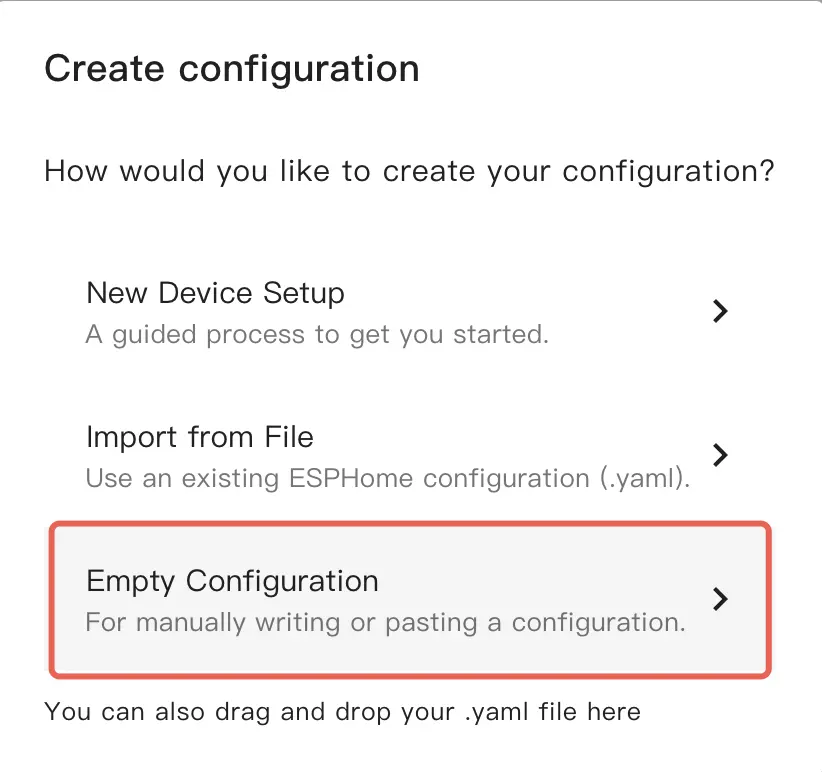
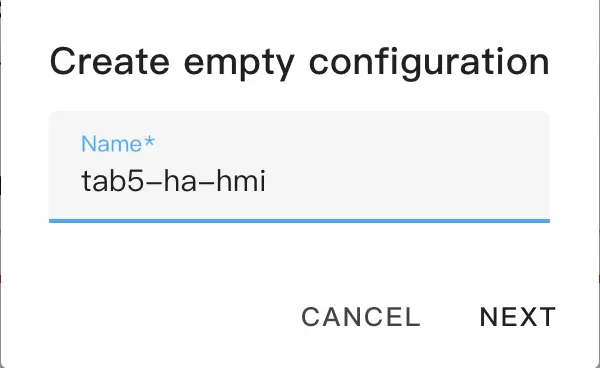
Name the file (Optional).
Click
EDITon the newly generated configuration file.
Copy the content of tab5-ha-hmi.yaml into the configuration file.
Change network configuration or API information as needed, such as creating an API Encryption Key for authentication:
yaml1 2 3api: encryption: key: "Your_Encryption_Key"NoteIf a Key is needed, you can visit native api to generate one (under encryption).Click
SAVEandINSTALLin the upper right corner sequentially, and selectManual download.
The code will be generated and the project will be compiled.
When compilation is complete, select
Factory formatto download the firmware.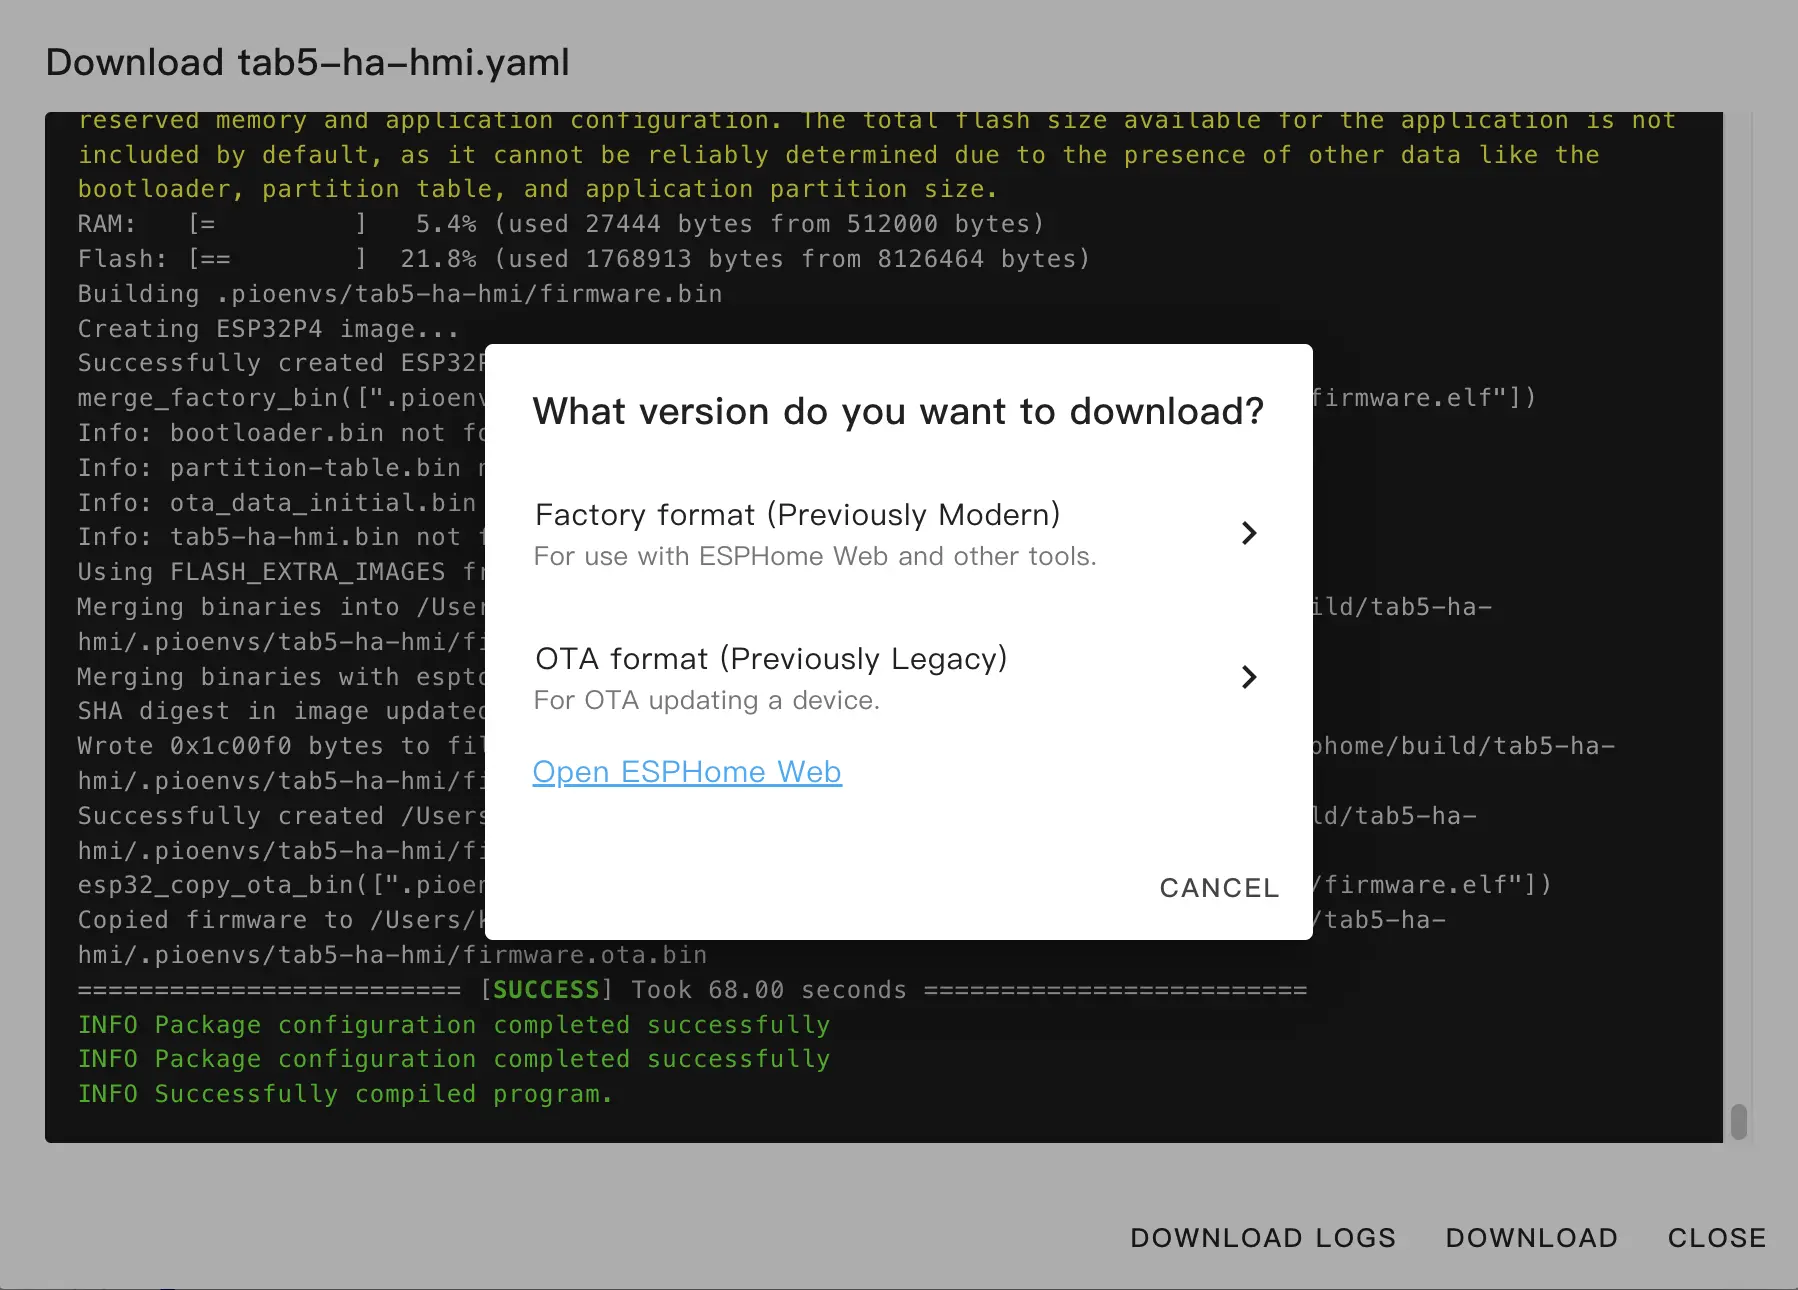
Download and Flash Firmware
Download Firmware: Download the Factory Format firmware via the
Manual downloadmethod in ESPHome Builder.Flash Firmware using Web Tools:
Open your browser and visit ESPHome Web to upload the firmware.
Connect Tab5 to the host using a USB-C data cable, click
CONNECT, and select the device to connect.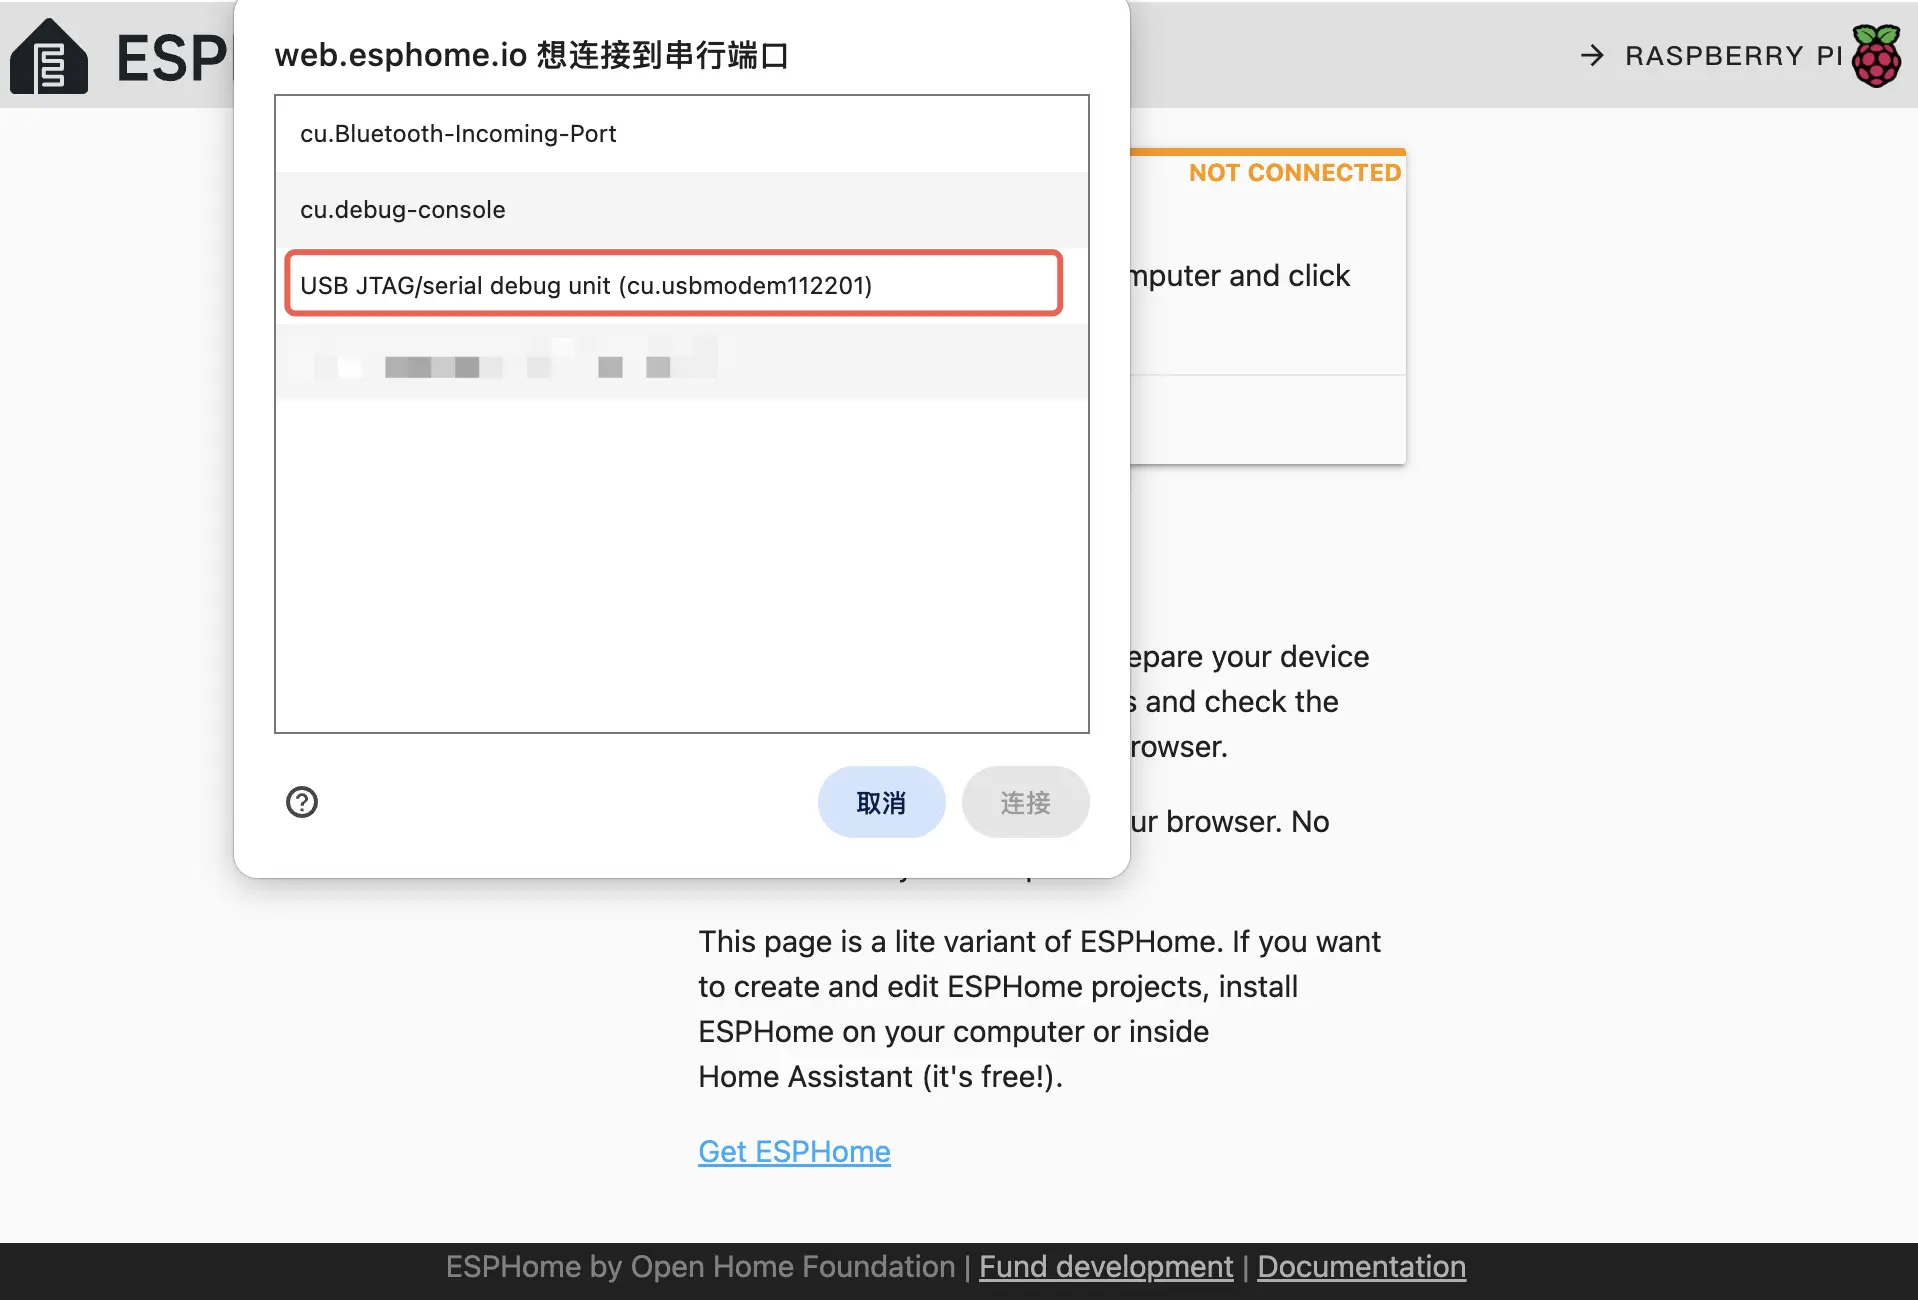
Click
INSTALL, select the previously downloaded firmware to upload, clickINSTALLagain to flash the firmware to the device.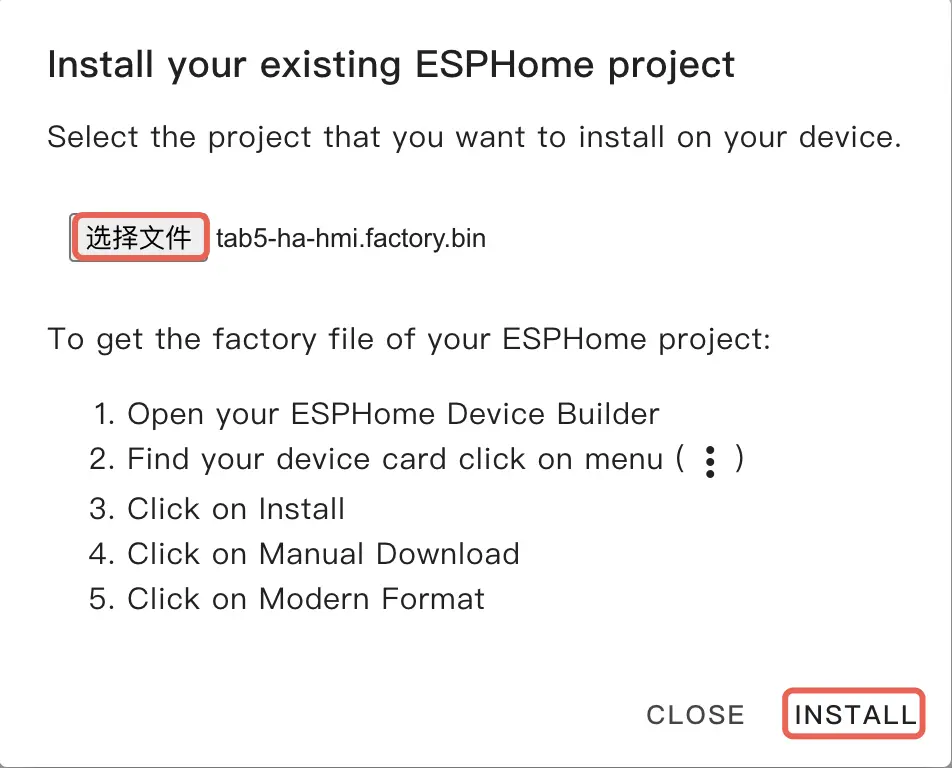
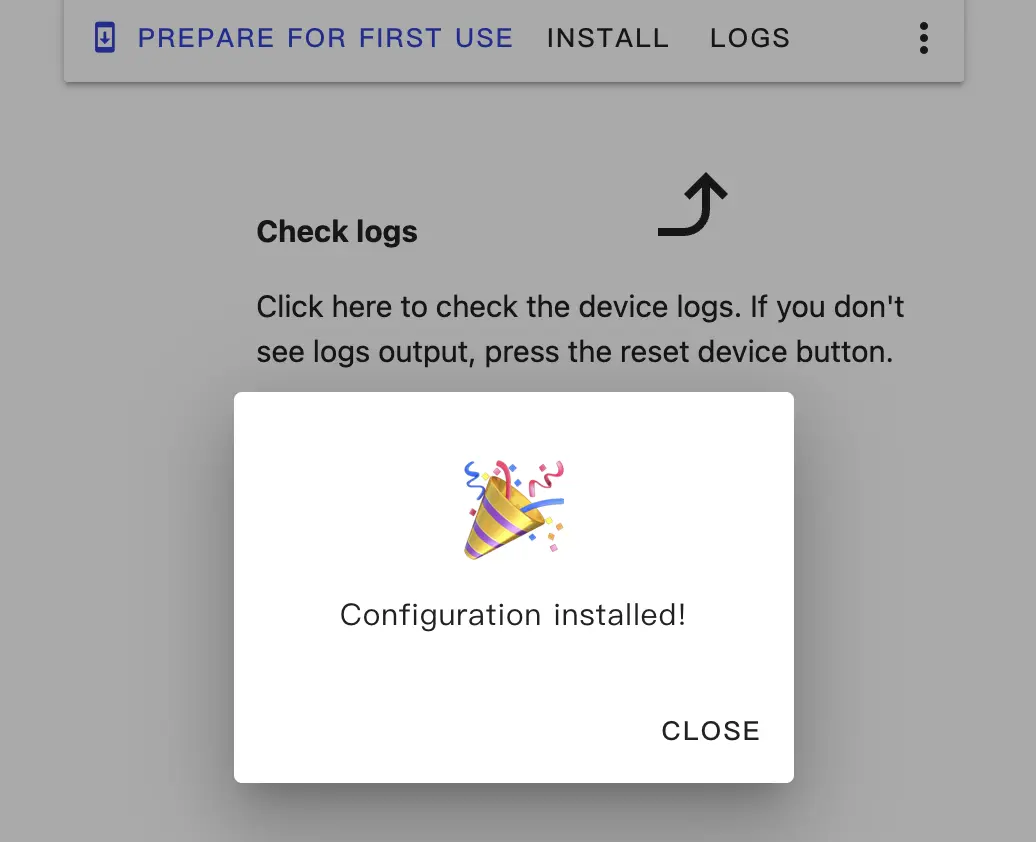
When the flashing is complete, the device will automatically reset.
Getting Started
HMI Integration
After the device restarts, it will automatically connect to the previously configured network. Normally, the device can be found in
Settings->Devices & services.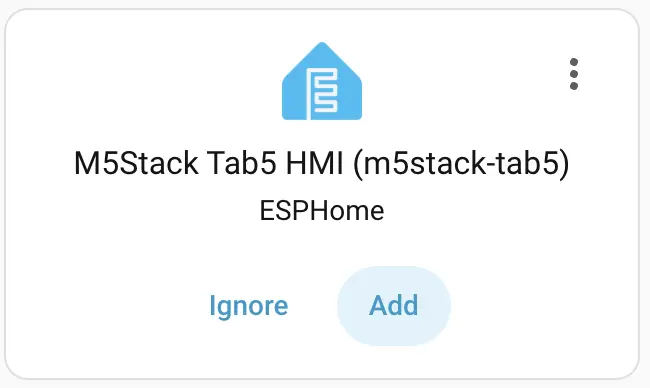
Click
Addto integrate Tab5 into Home Assistant. If an API Encryption Key was set previously, you may need to enter it here for verification.Tab5 Dashboard Example:
Allow Tab5 to Perform Home Assistant Actions
Once the device is added, clicking
Settingsin Home Assistant will reveal a pending issue to be fixed.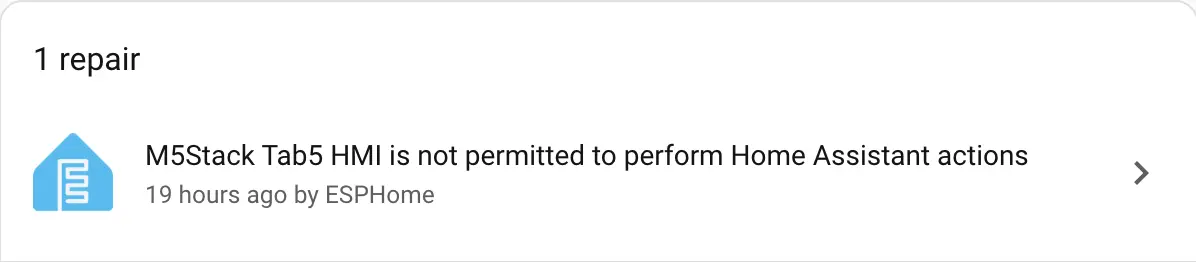
View details:
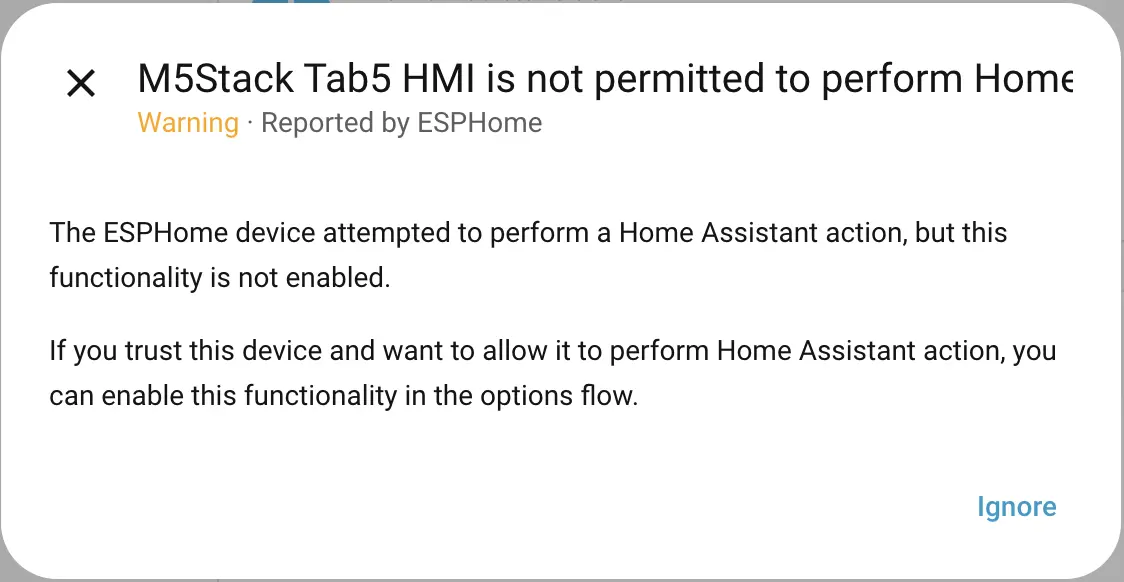
This issue indicates that Tab5 is trying to access entities integrated on Home Assistant and modify certain attributes, but by default, Home Assistant does not allow the device to perform actions.
Solution:
Open
Settings->Device & services->ESPHome, and find the Tab5 device.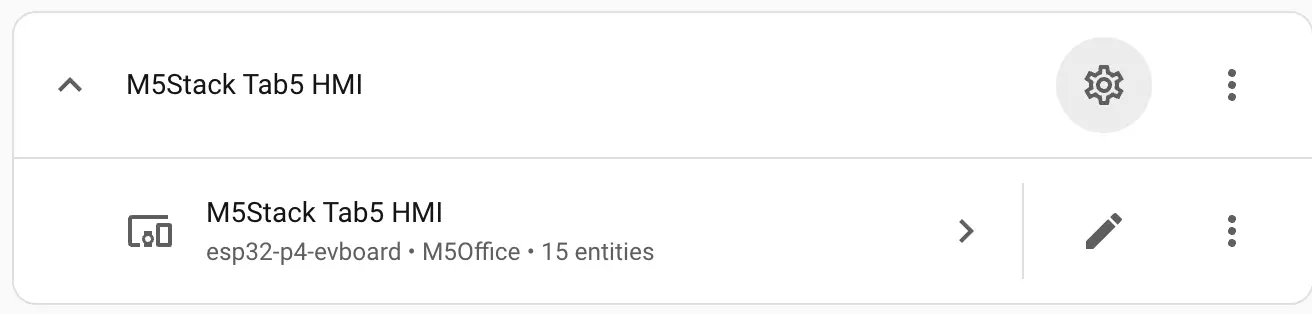
Click the settings icon in the upper right and check
Allow the device to perform Home Assistant actions.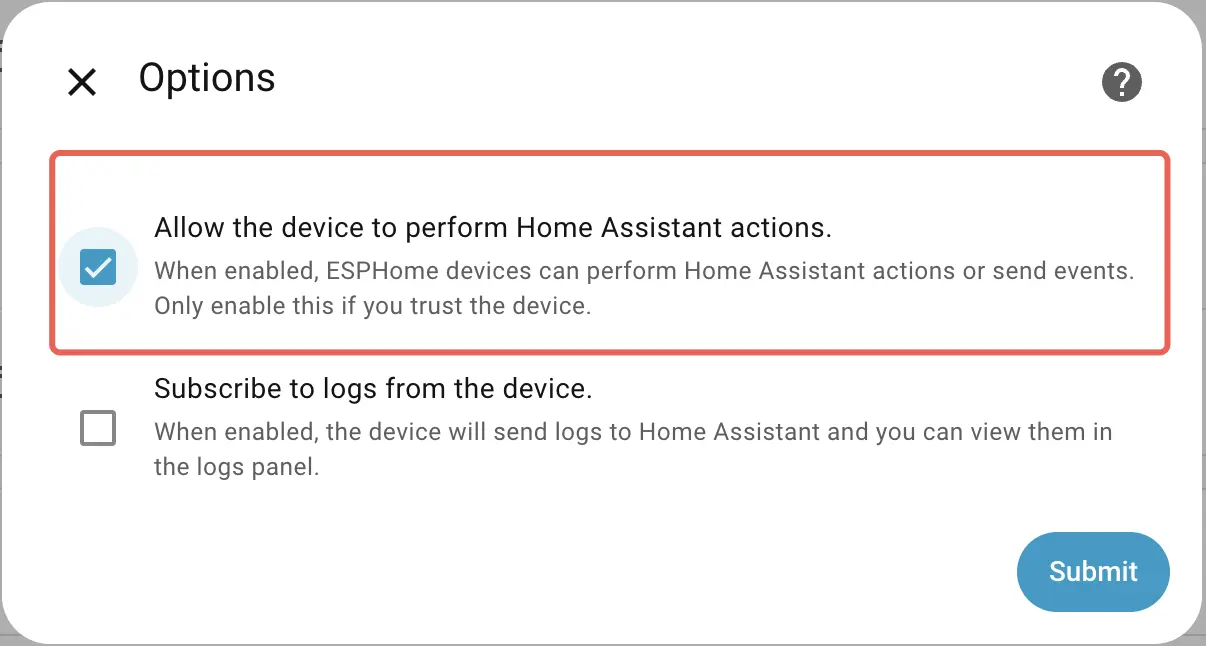
Click
Submit. From now on, Tab5 can control the configured Home Assistant entities.
HMI Usage
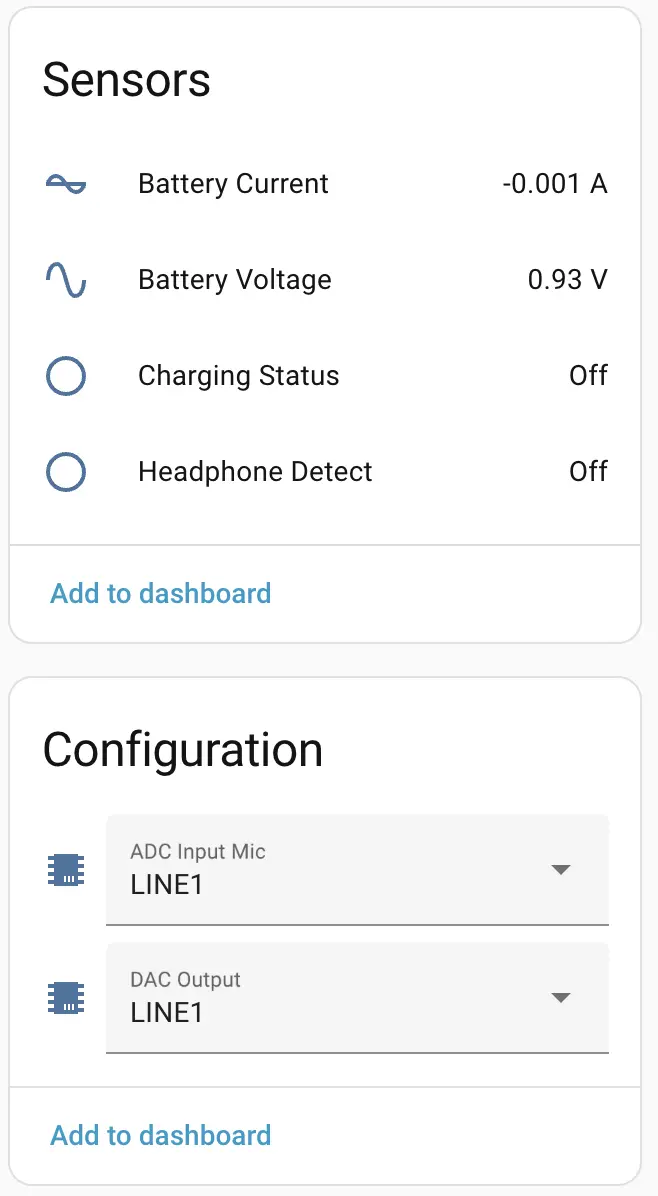
- The UI is mainly displayed in Pages, currently with three pages that can be navigated via the left Sidebar. The Dashboard page mainly displays simple information, the Light page can operate specific light entities, and the Climate page can control specific air conditioners.
- The UI design and interaction are referenced from the Home Assistant dashboard. Implementing this with LVGL on embedded devices may take more time.
Light Control:
Click the
Lightbutton on the sidebar to see an example light.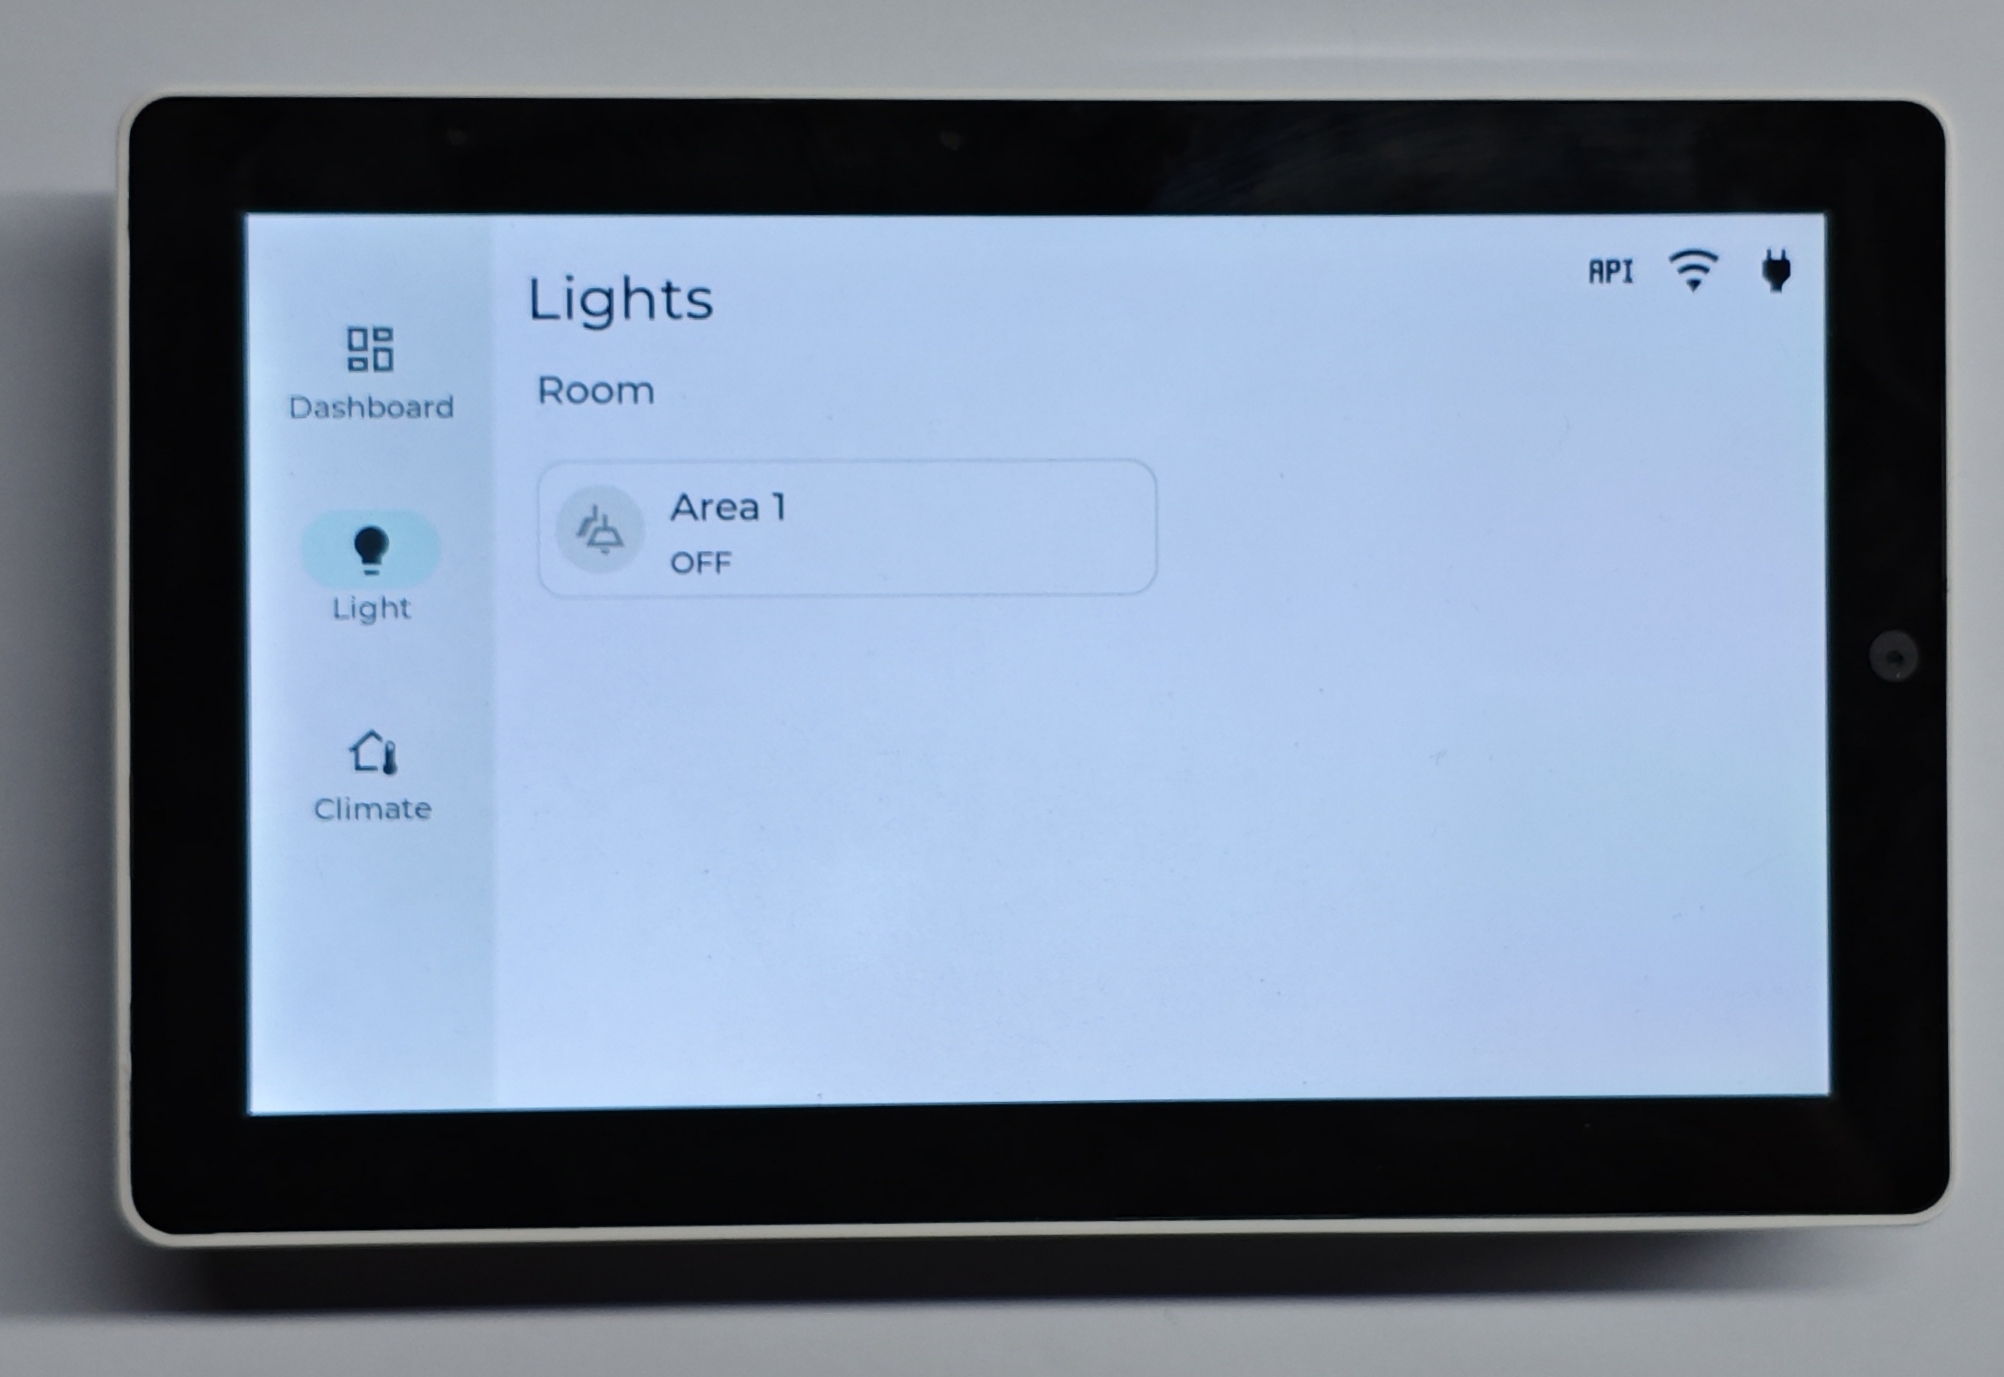
Click the Icon Button inside to turn the light on/off.
If you click the blank area of the card, a light control modal will open for controlling brightness and RGB color.
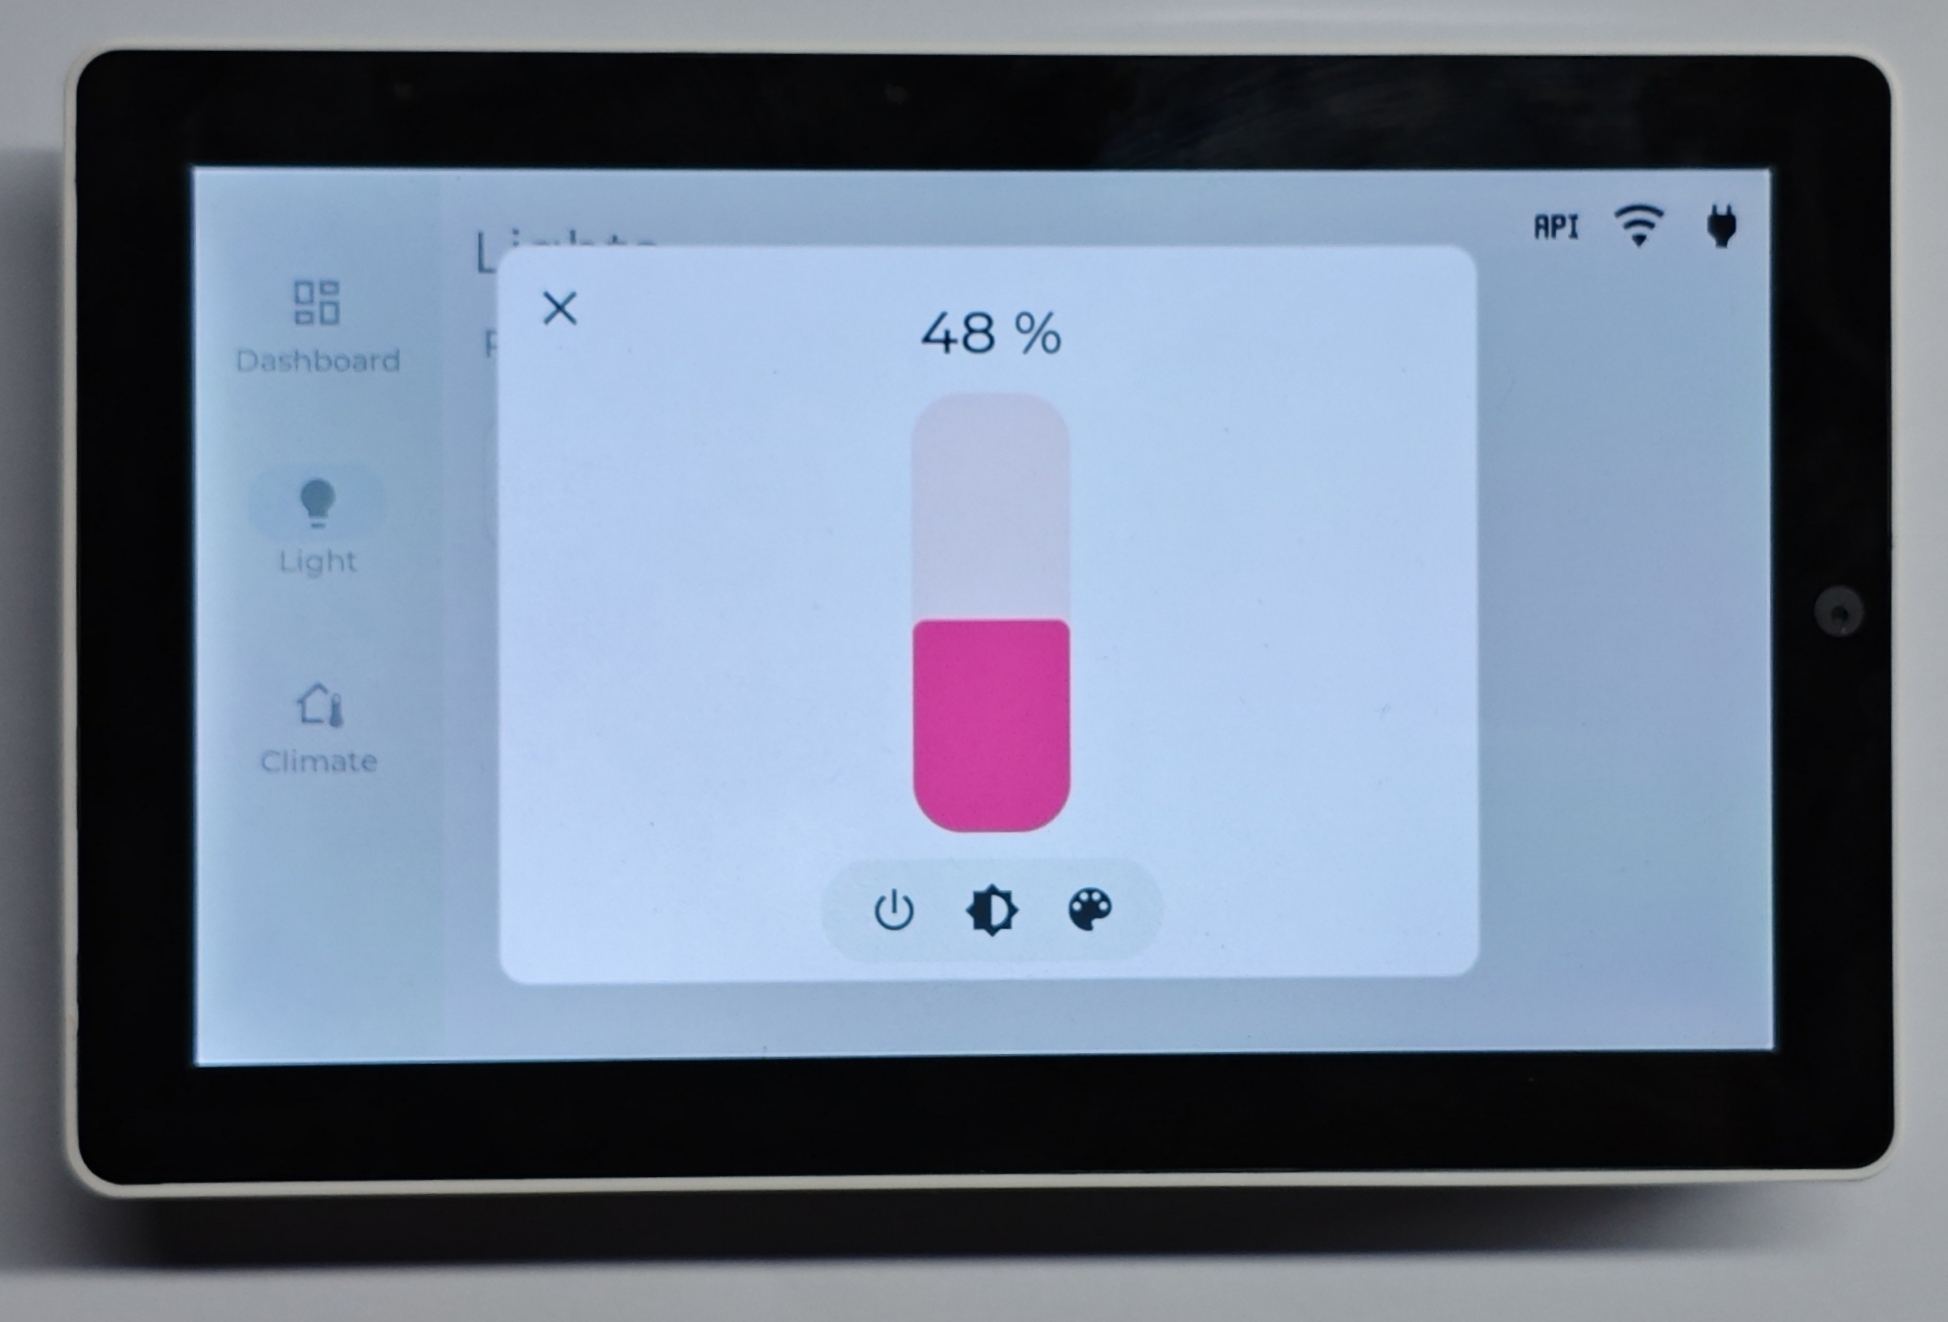 NoteThe configuration for setting RGB light color depends on a Home Assistant Script. Refer to the "Adjusting Configuration" section below for details.
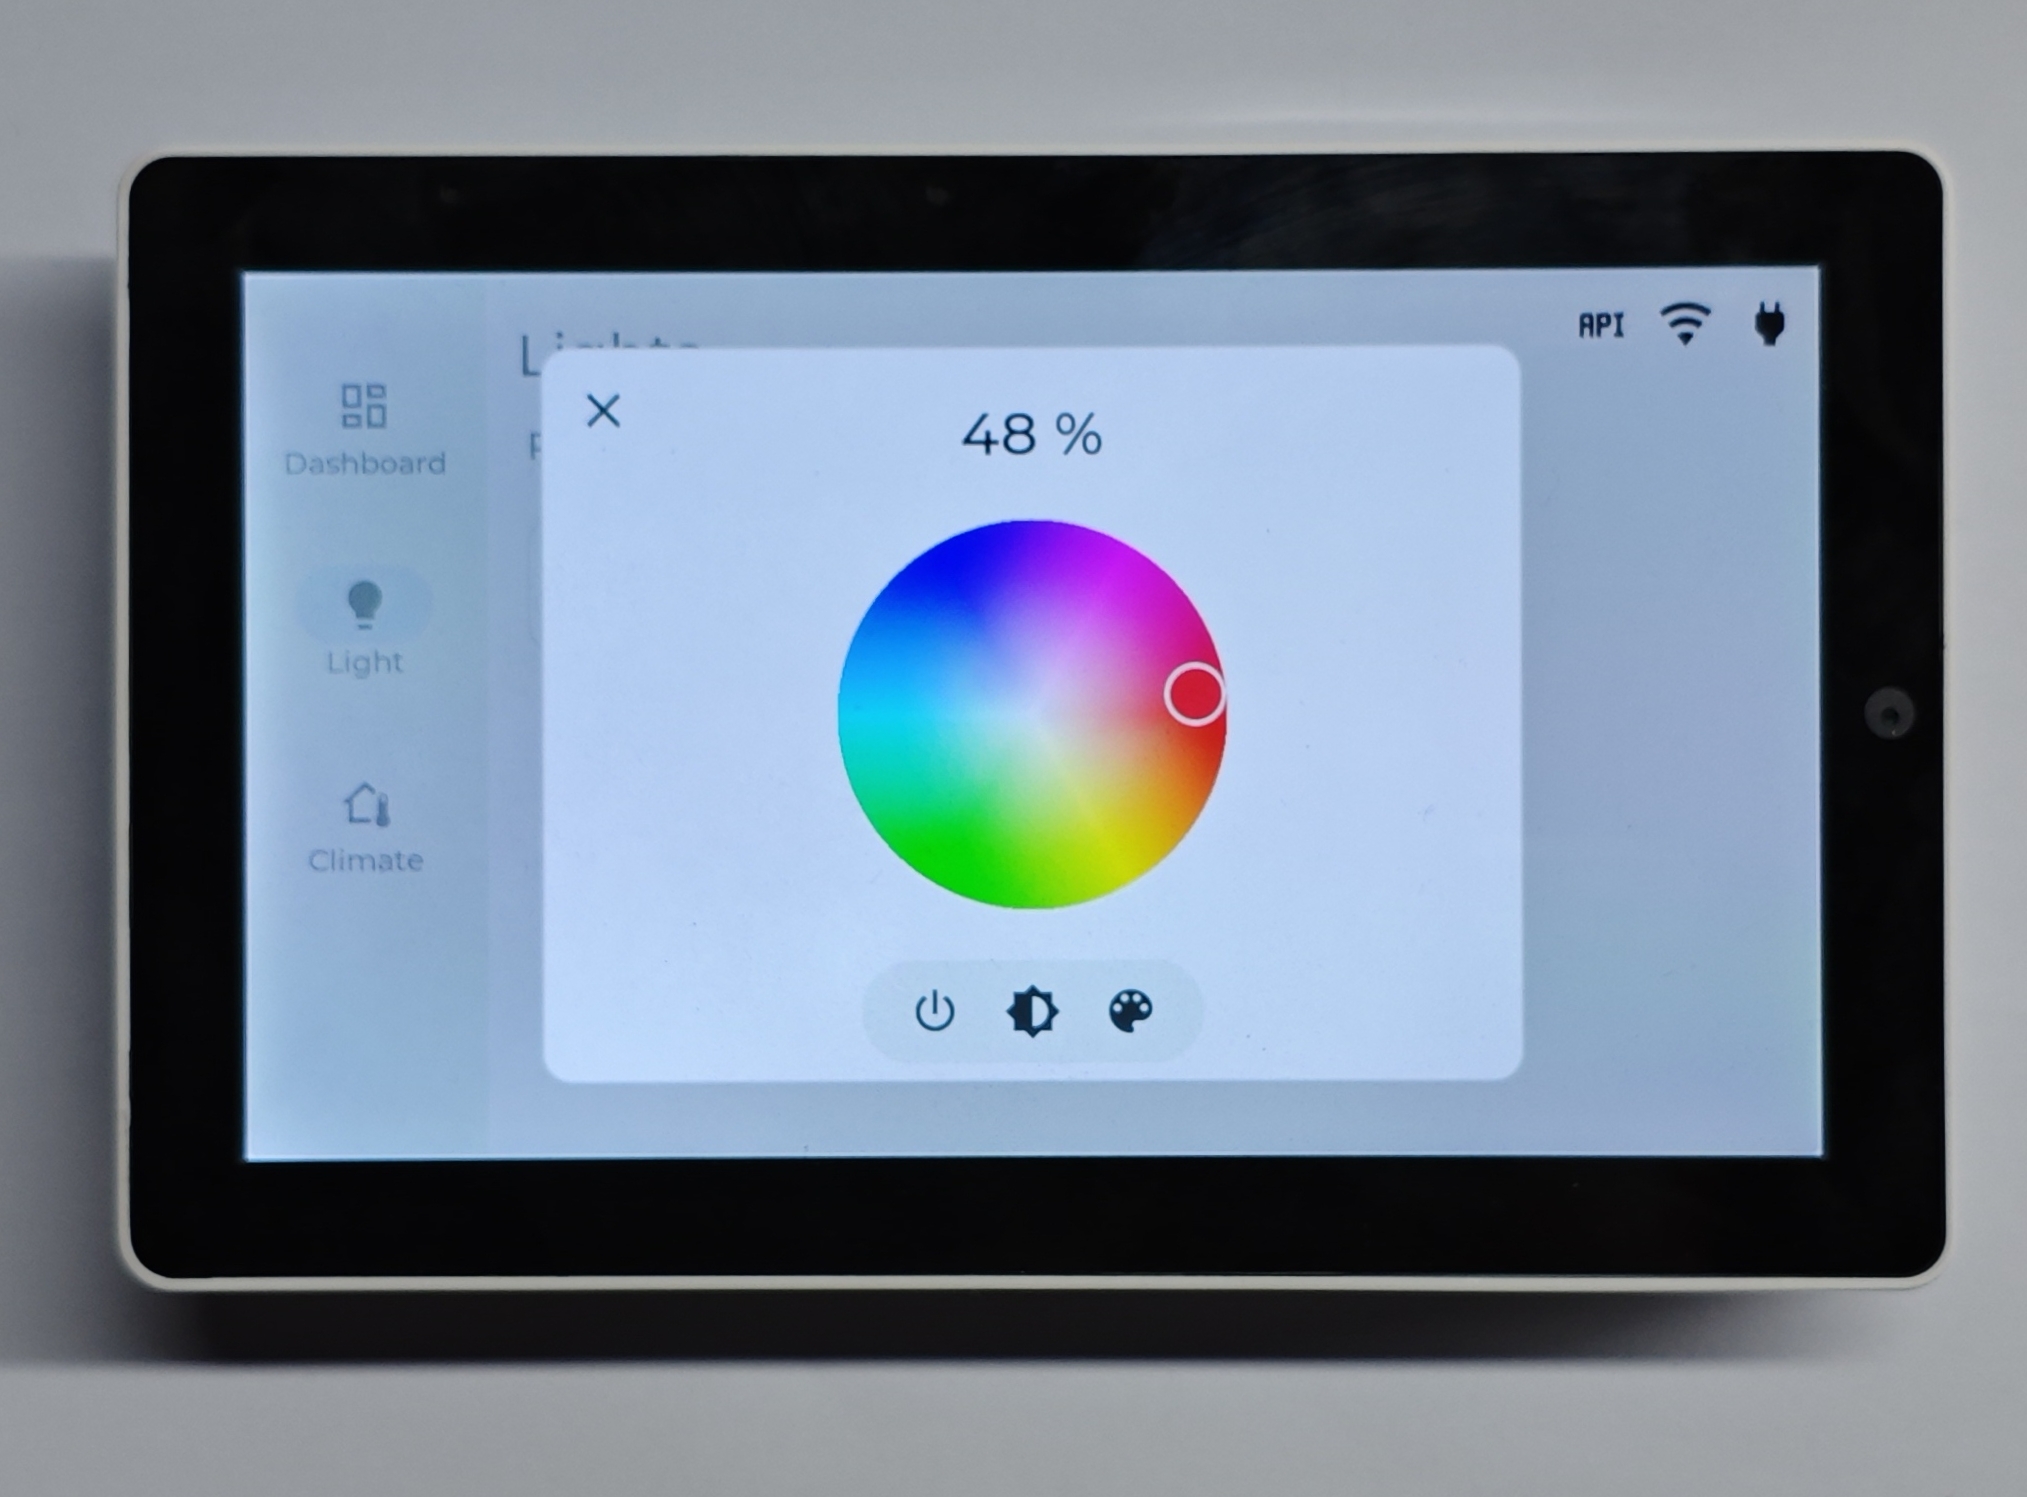
Climate Control:
Click the
Climatebutton on the left to show an example air conditioner.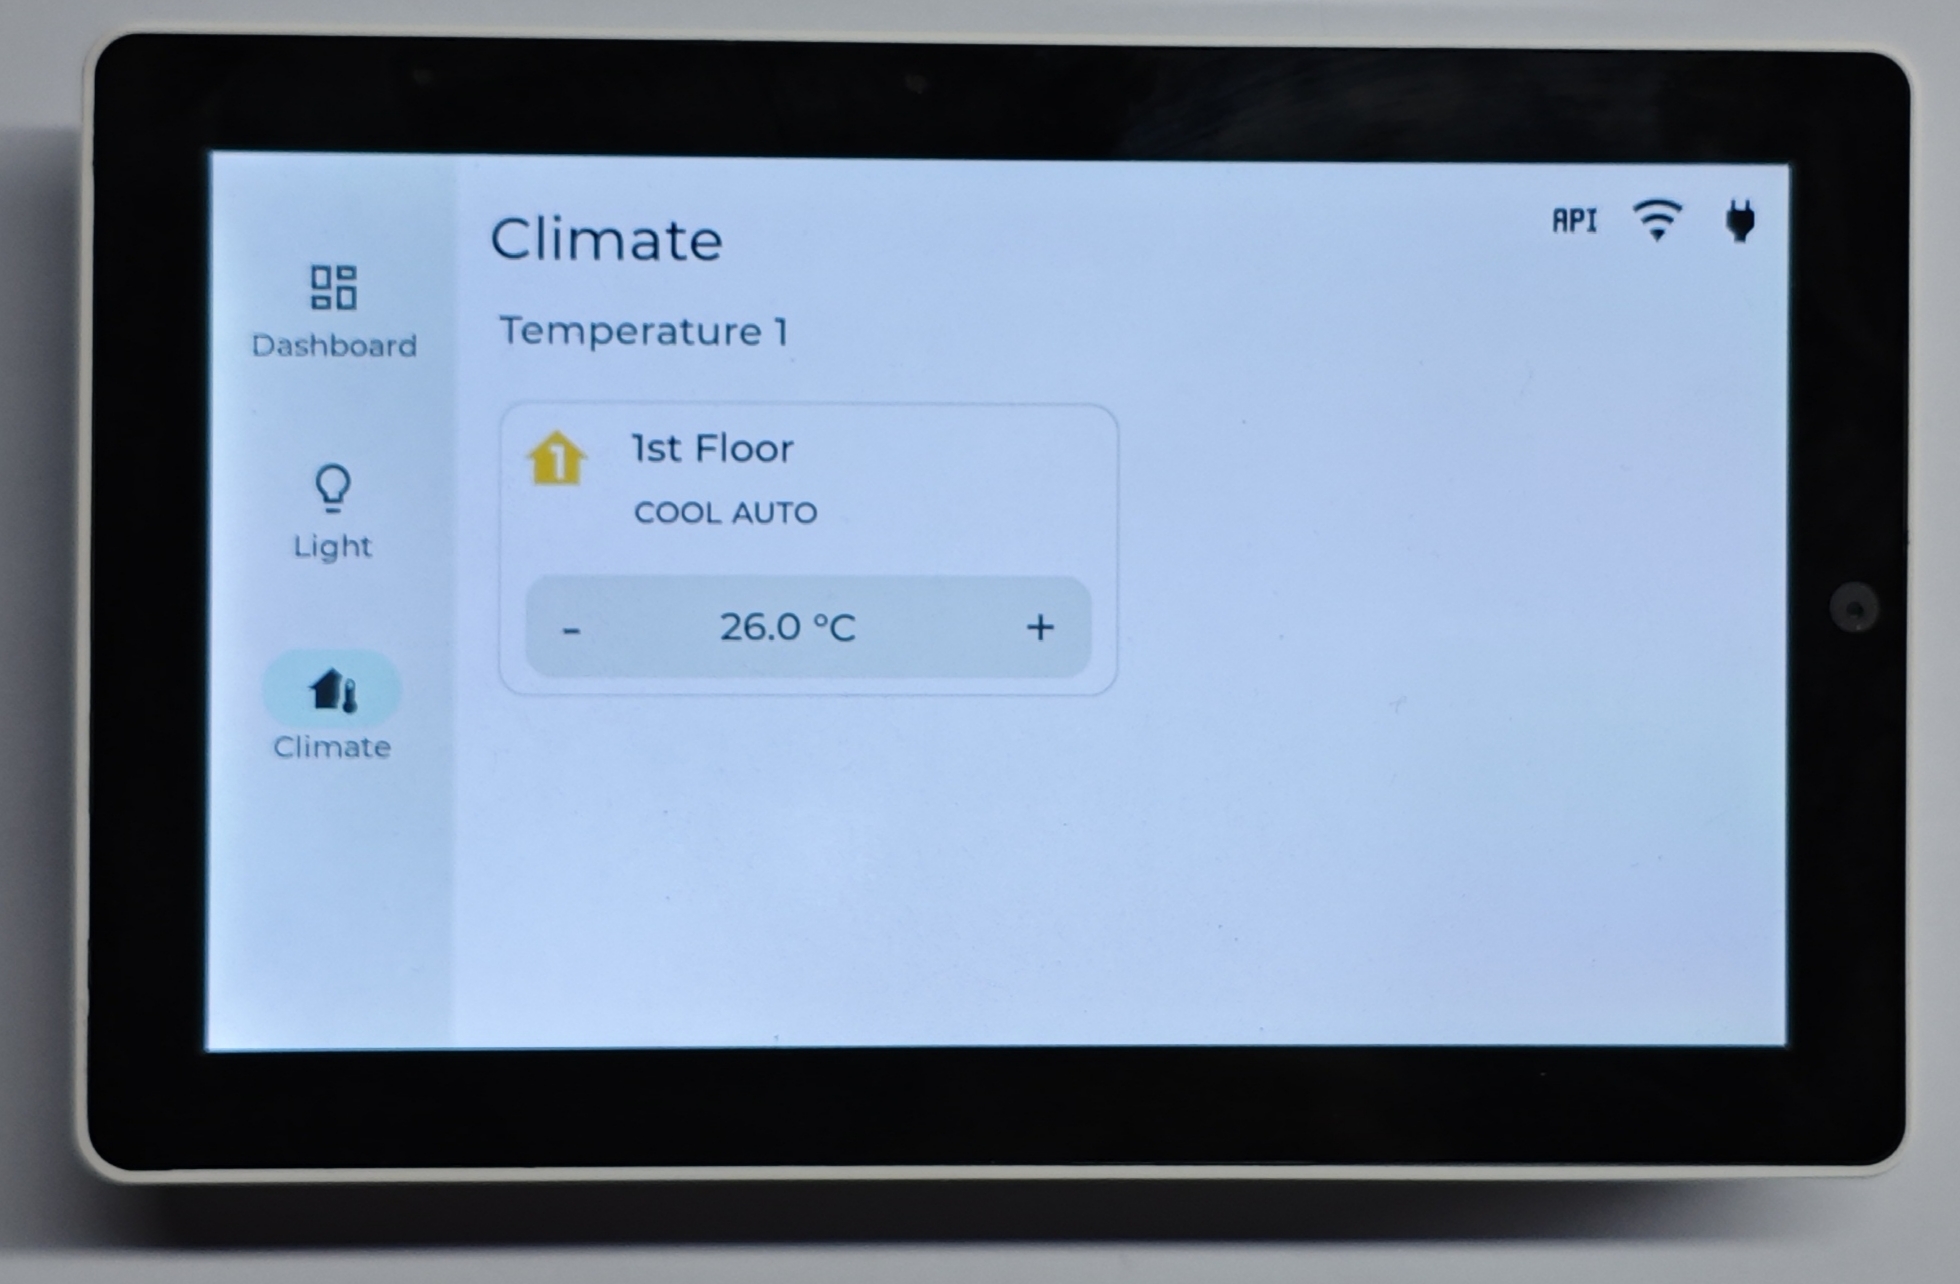
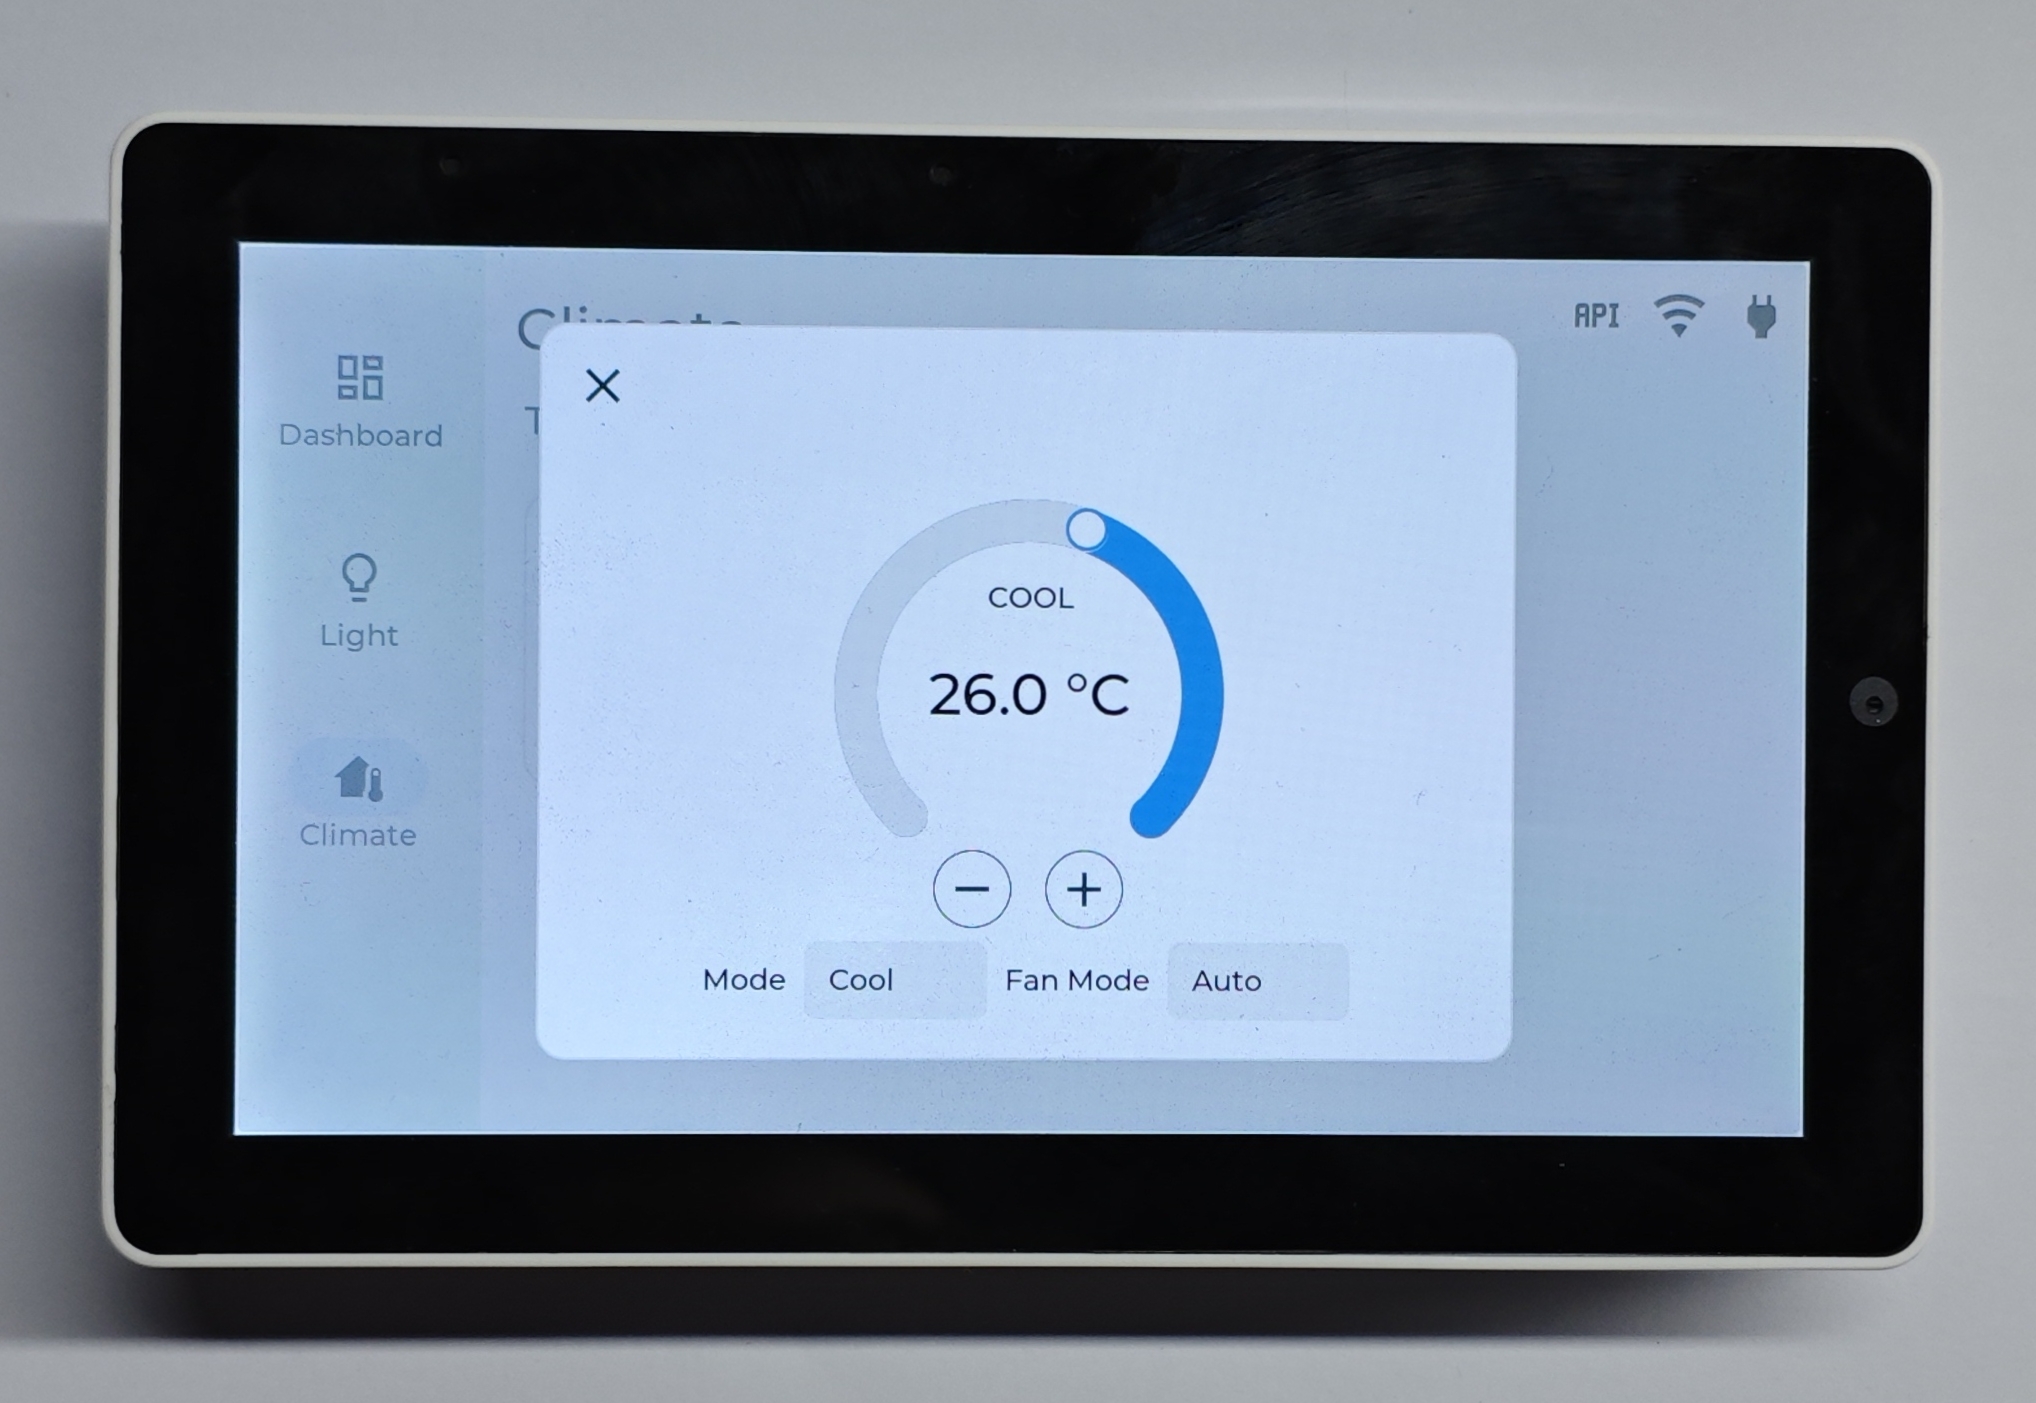
Click the
+and-on both sides of the Spinbox to adjust the target temperature (but you cannot set the AC state, such as auto/cool/heat, etc., from here).Clicking the blank area of the card opens a modal for adjusting mode, fan speed, temperature, etc.
Learn
This section introduces how to modify the configuration. You can try to configure your own lights, air conditioners, and other components into Tab5. This part is intended for users with ESPHome experience. Before this, you can refer to the integration methods provided by ESPHome:
- Remote light button describes how to add an LVGL light button to remotely control a light entity.
- Toggle state icon button is an advanced version of Remote light that modifies the LVGL UI based on the light switch status.
- Light brightness slider explains how to draw an LVGL Slider and bind it to light brightness.
- Native API Component explains how to call Home Assistant via
homeassistant.action, including an RGB light color setting case. - Climate control describes how to create an LVGL Spinbox and control entities like air conditioners/heaters.
- Home Assistant Text Sensor is a special Text Sensor type used to obtain status values and attribute values of entities on Home Assistant.
- Home Assistant Binary Sensor is a special Binary Sensor type used to obtain readings from Binary Sensors on Home Assistant.
- Home Assistant Sensor is a special Sensor type used to obtain readings from Sensor entities on Home Assistant.
After understanding these cases, we can roughly outline the current architecture.
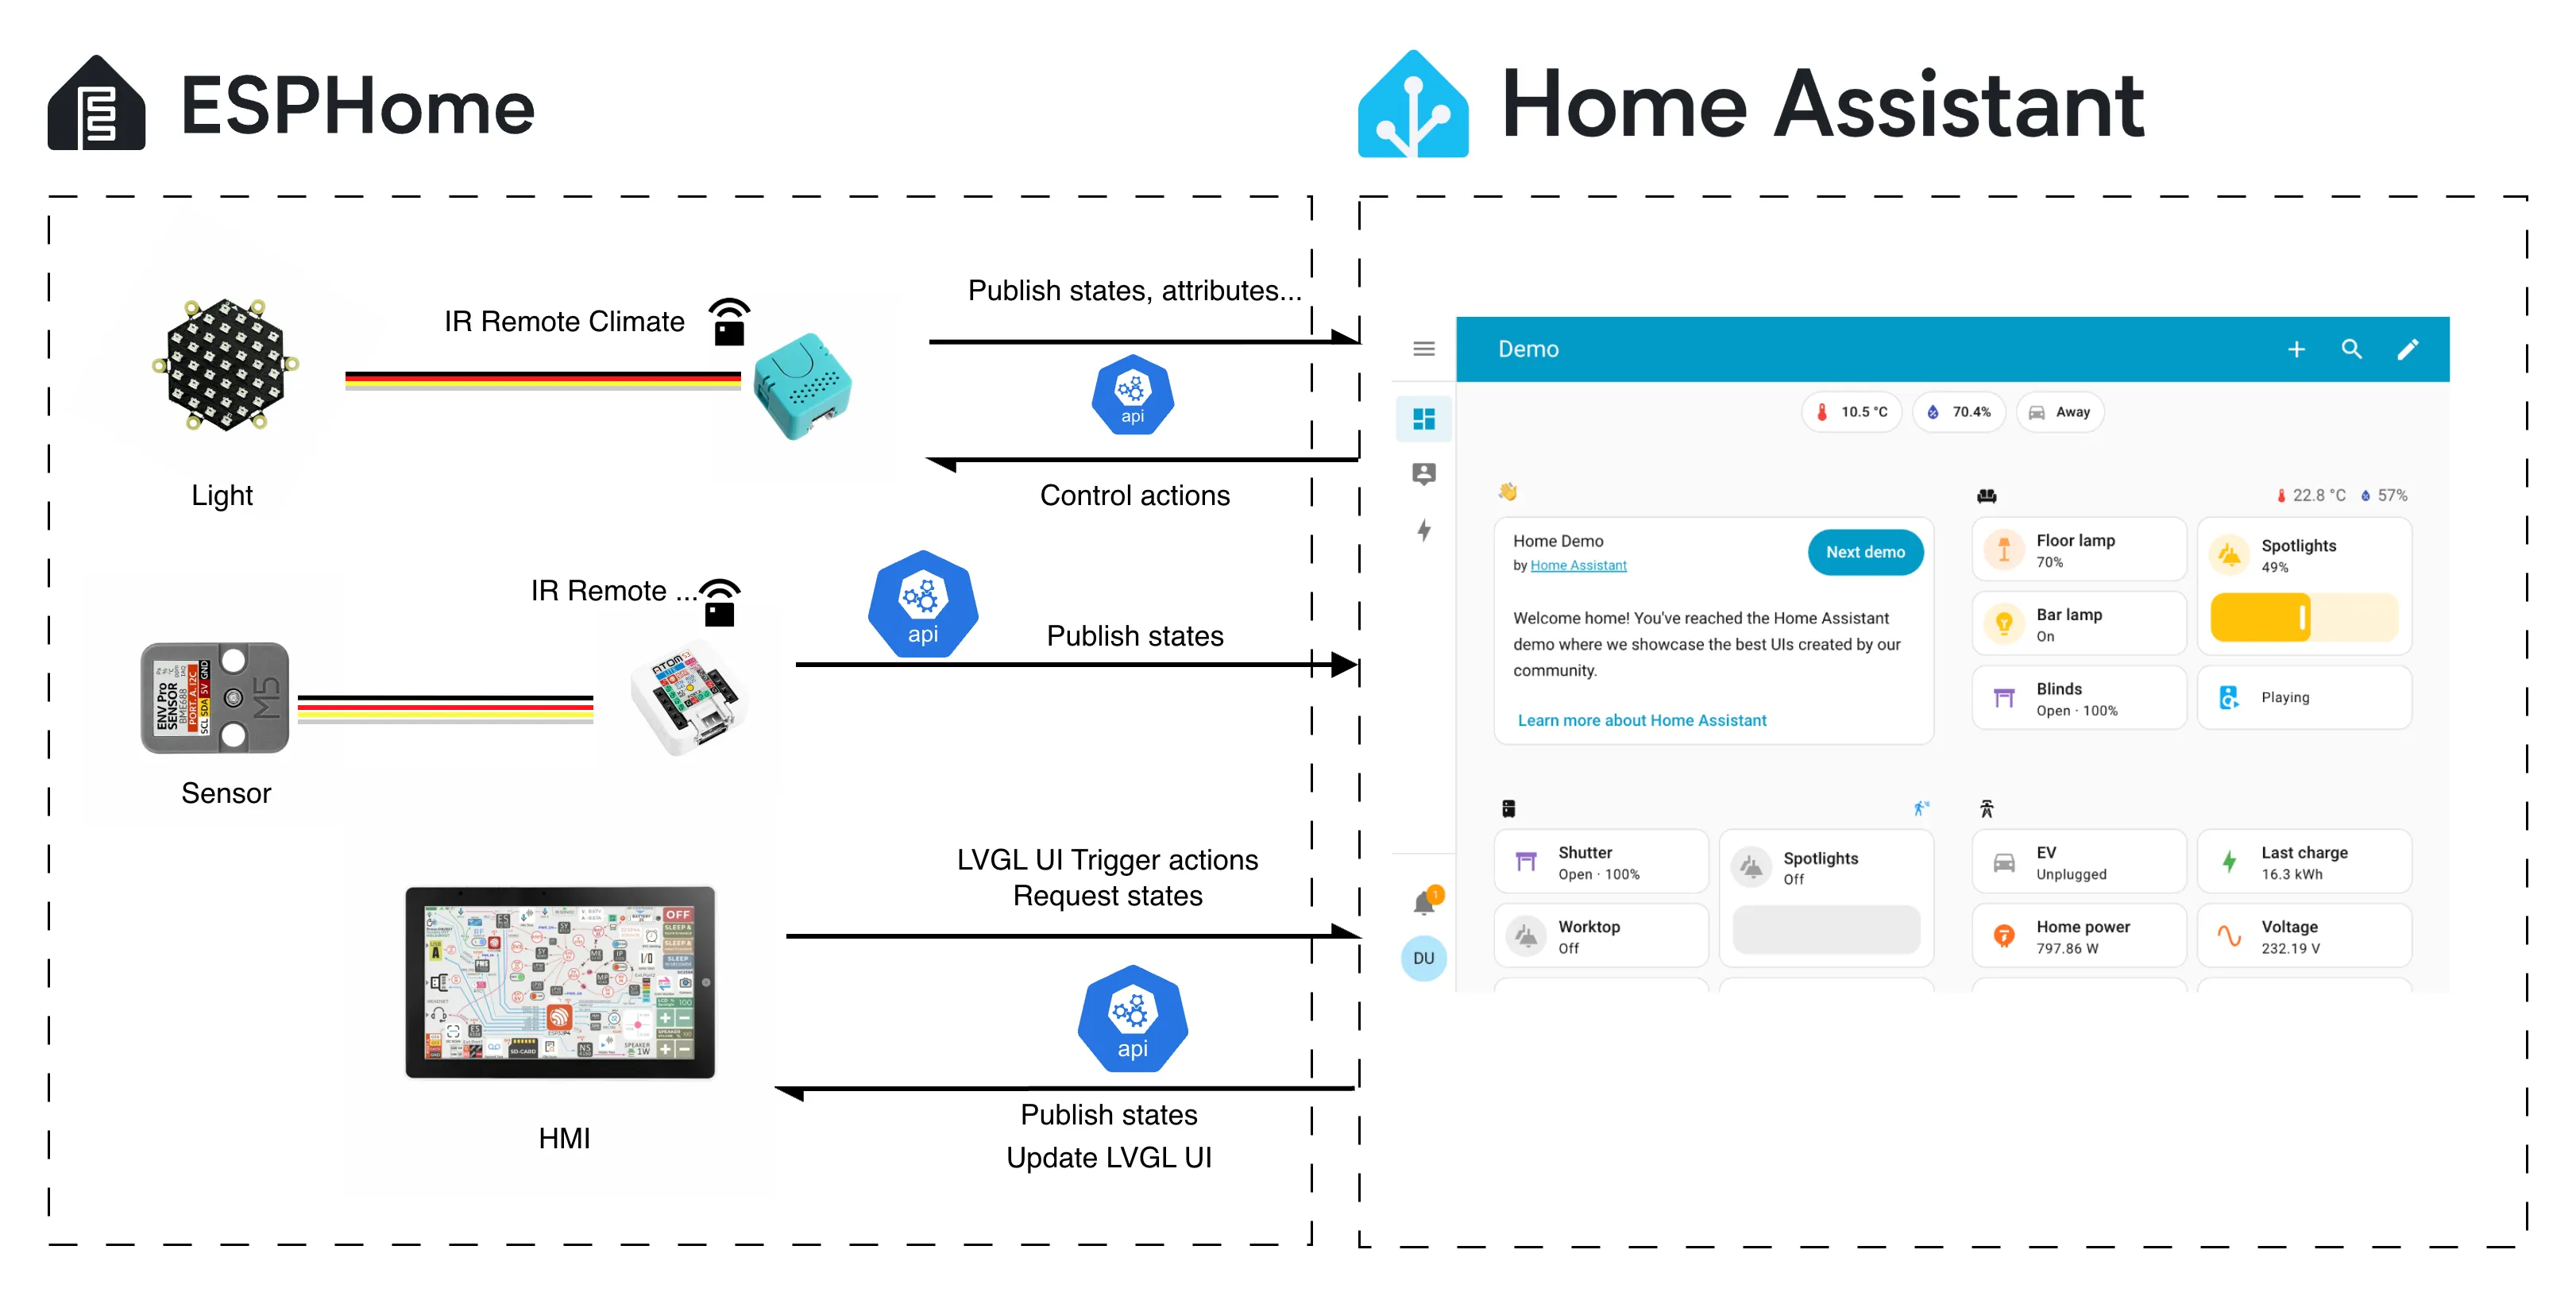
Light
Taking the light component as an example.
In LVGL (mainly defined in the tab5-lvgl.yaml file), we draw components such as Icon Button, Slider, and a custom Color Palette. Of course, before this, ensure the light component is integrated into Home Assistant (and can be operated within Home Assistant). Since text_sensor is defined in the configuration file:
text_sensor:
  - platform: homeassistant
    id: demo_light
    entity_id: light.unit_neo_hex_unit_neohex
    on_value:
      then:
        - lvgl.widget.update:
            id: xxx
            ...

        - lvgl.label.update:
            id: xxx
            ...

  - platform: homeassistant
    id: demo_light_brightness
    entity_id: light.unit_neo_hex_unit_neohex
    attribute: brightness
    on_value:
      - lvgl.slider.update:
          id: xxx
          ...

      - lvgl.label.update:
          id: xxx
          ...

  - platform: homeassistant
    id: demo_light_color
    entity_id: light.unit_neo_hex_unit_neohex
    attribute: rgb_color
    on_value:
      ...
...- It has an
on_valueattribute for Automation callbacks. When updated data is received from Home Assistant, LVGL actions can be called within it to update UI content.
Developer tools -> States (e.g., search for light).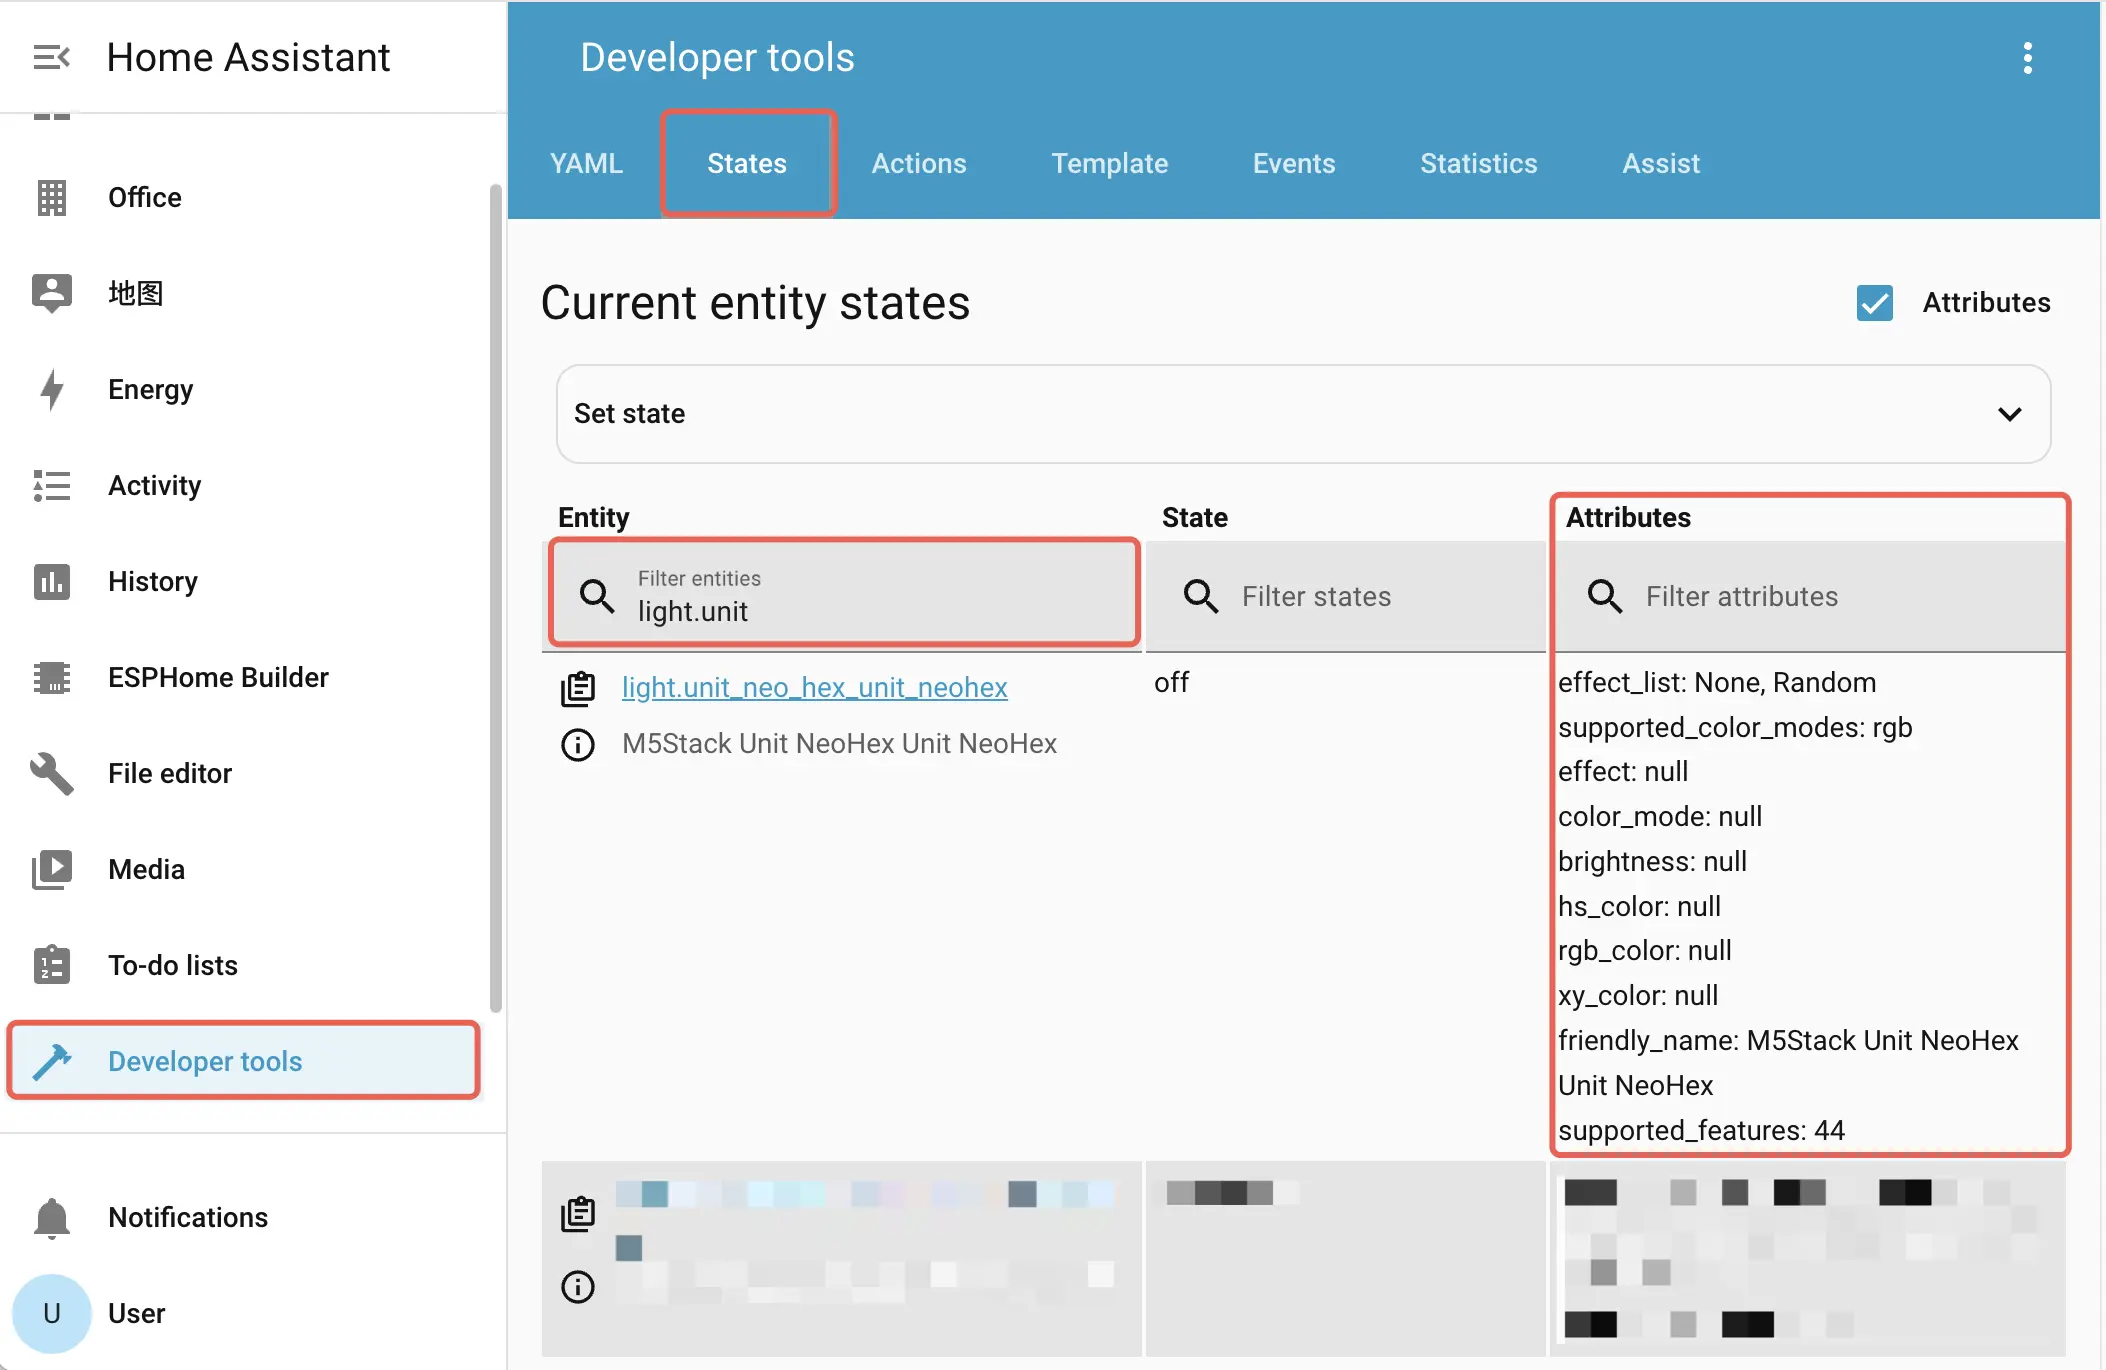
LVGL component event triggers can control lights via the
homeassistant.actionAPI:yaml1 2 3 4 5 6 7 8 9 10 11 12 13 14 15 16 17 18 19 20 21 22 23 24 25 26 27 28 29 30 31# Use a icon button to toggle the light ... - button: styles: card_sm_icon_btn id: demo_light_btn ... widgets: - label: id: demo_light_label ... text: "\U000F18DE" align: CENTER on_short_click: - homeassistant.action: action: light.toggle data: entity_id: light.unit_neo_hex_unit_neohex ... # Use a slider to control light brightness - slider: min_value: 0 max_value: 255 id: light_slider ... on_release: - homeassistant.action: action: light.turn_on data: entity_id: light.unit_neo_hex_unit_neohex brightness: !lambda return int(x); ...Different LVGL components have different triggers; refer to ESPHome - LVGL Widgets for details.
entity_id and attribute name in data. Home Assistant will reject invalid attribute changes. To know which actions can be triggered, go to Home Assistant Developer tools -> Actions. For example, search for light actions. Here, RGB color change is triggered by a Home Assistant script. For more on scripts and automation, refer to: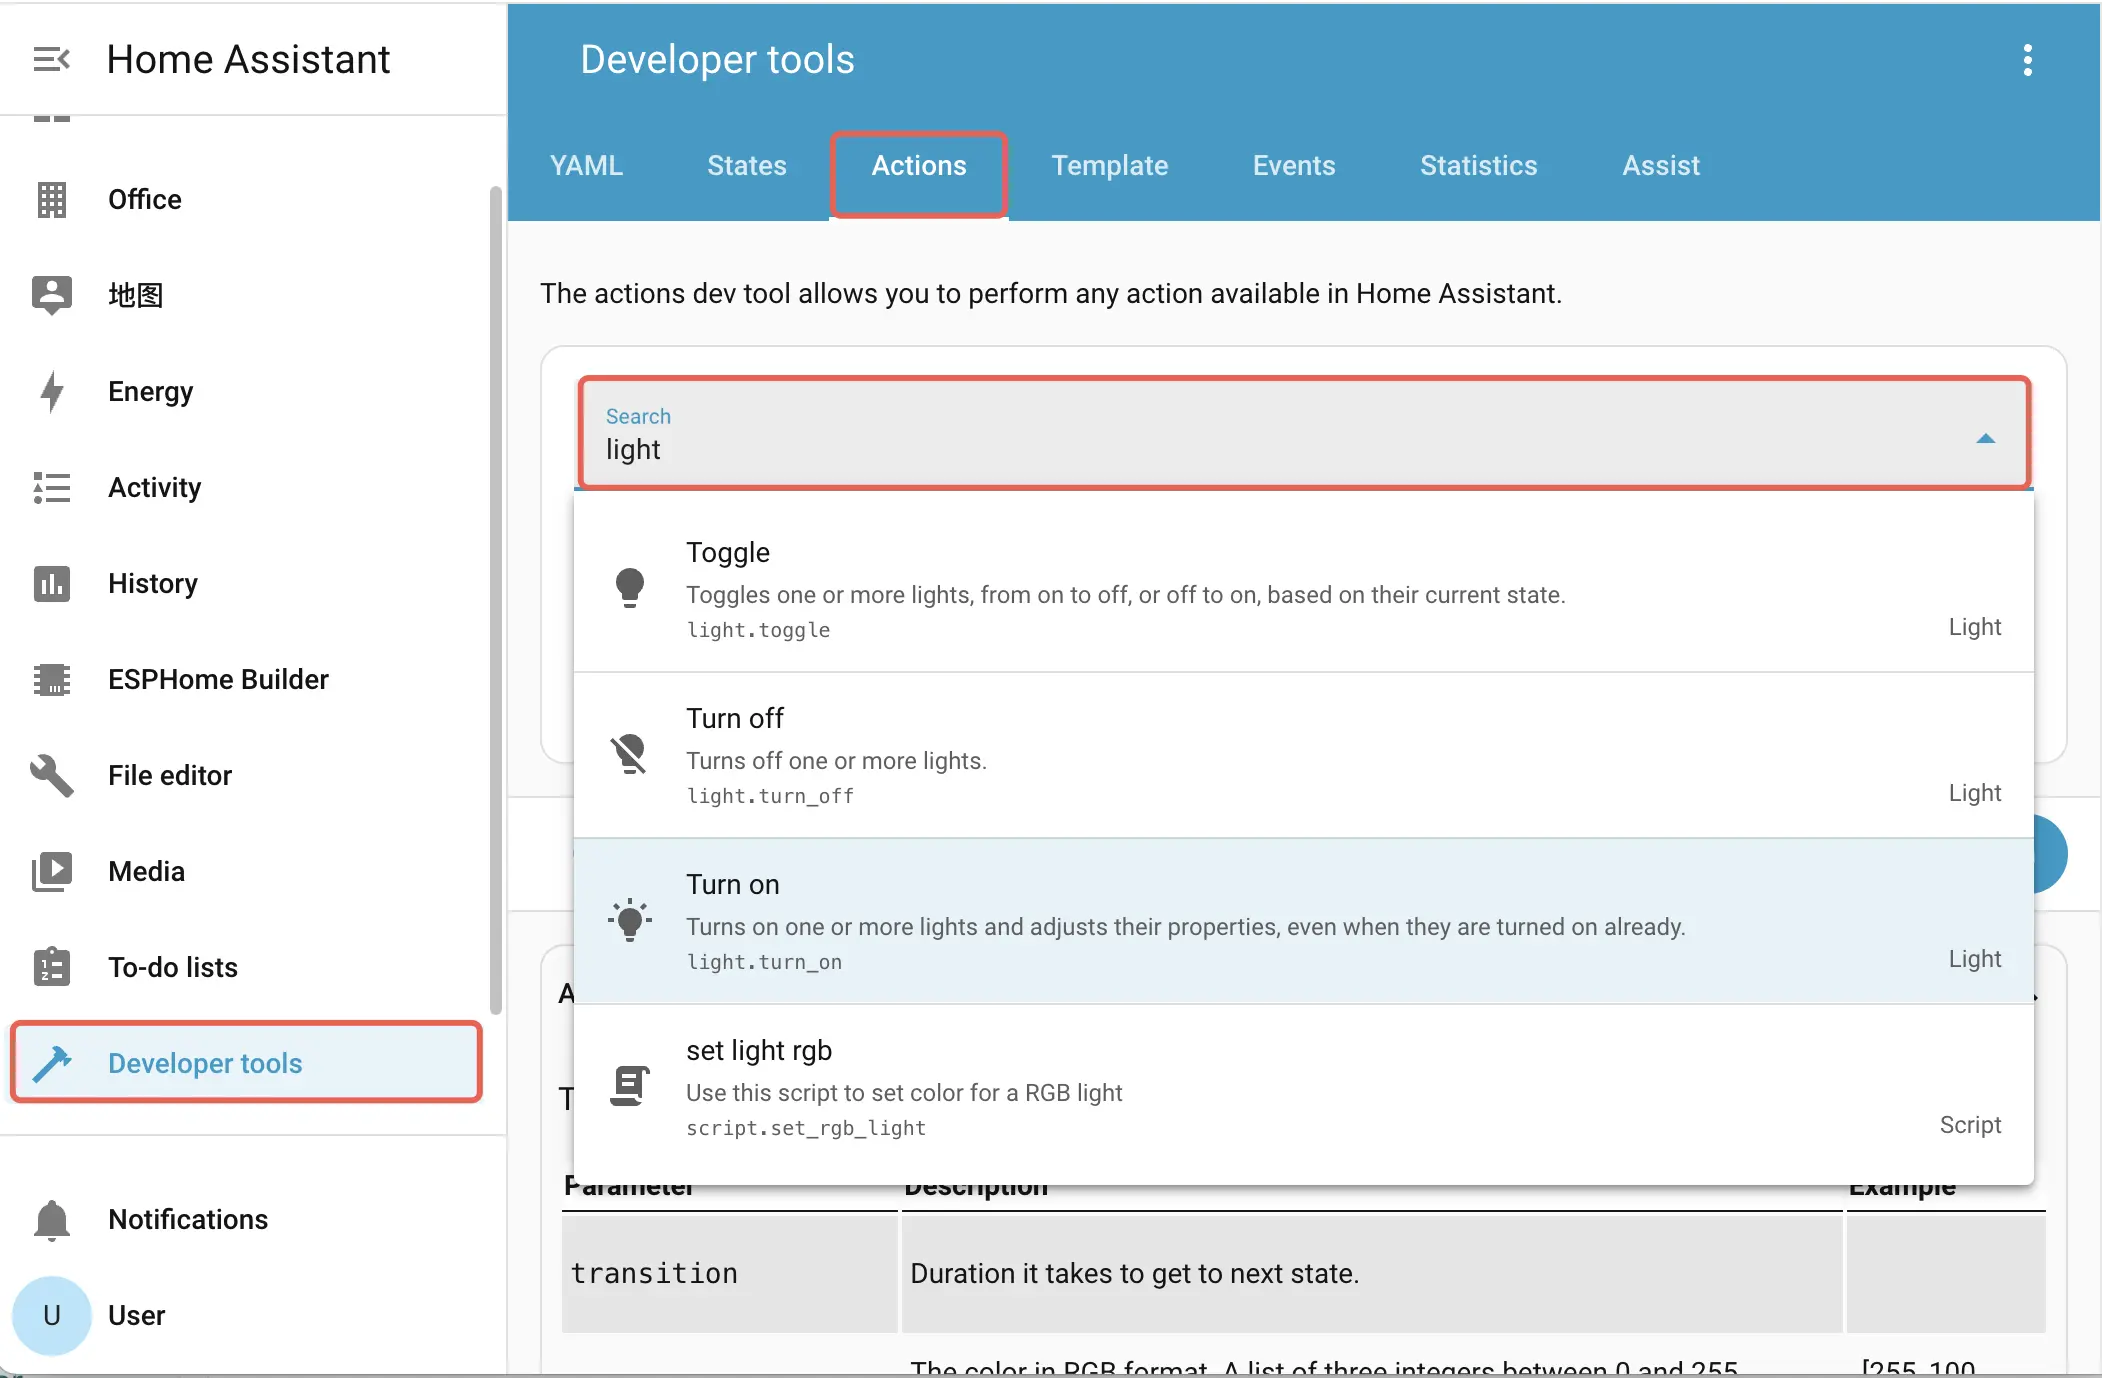
- Once understood, if you want to use your own Light entity:
- Add or modify the
entity_idandattributeyou want to update intext_sensor. If you need to update the LVGL UI, write the update actions. - In the LVGL component callback where you want to trigger light actions, modify the
entity_idunderdatainhomeassistant.actionto the appropriate ID and ensure the action exists.
- Add or modify the
Sensor
Similarly, for
Sensorentities, which mainly publish values (alsotext, ON/OFF states, etc.), specify theentity_idin the configuration file if you need to know a sensor value on Home Assistant.yaml1 2 3 4 5 6 7 8 9 10 11 12 13 14 15 16 17 18 19 20 21 22 23sensor: ... - platform: homeassistant id: cur_temp entity_id: sensor.temperature on_value: - lvgl.label.update: id: xxx - platform: homeassistant id: cur_humi entity_id: sensor.env_iv_kit_humidity on_value: - lvgl.label.update: id: xxx - platform: homeassistant id: cur_co2 entity_id: sensor.env_iv_kit_co2_equivalent on_value: - lvgl.label.update: id: xxx ...This allows Tab5 to read Home Assistant sensor data values and update the values to the LVGL UI via
on_value.To use your own sensor, just modify the
entity_id. To update the LVGL UI, you also need to write the corresponding script.
Settings -> Devices & services -> Entities in Home Assistant.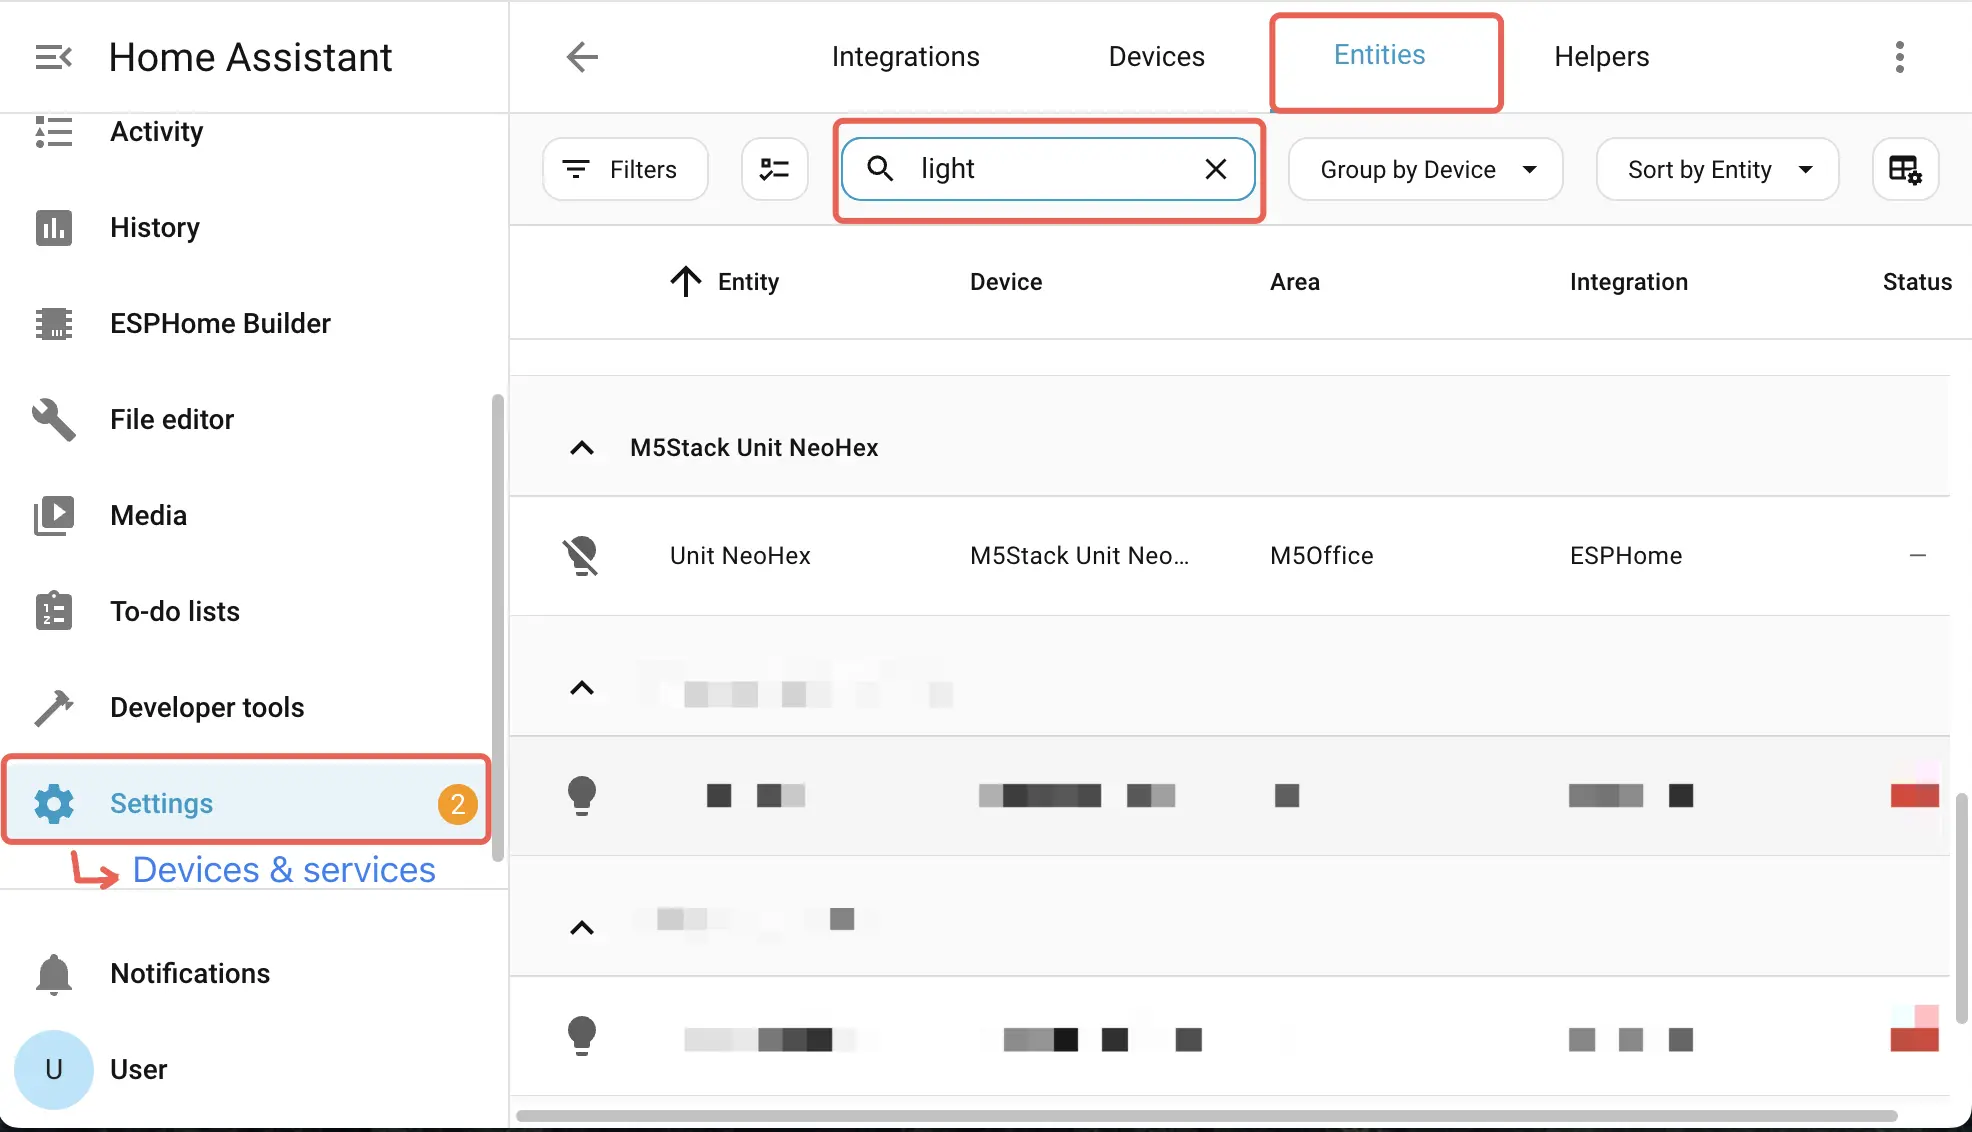
Protocol
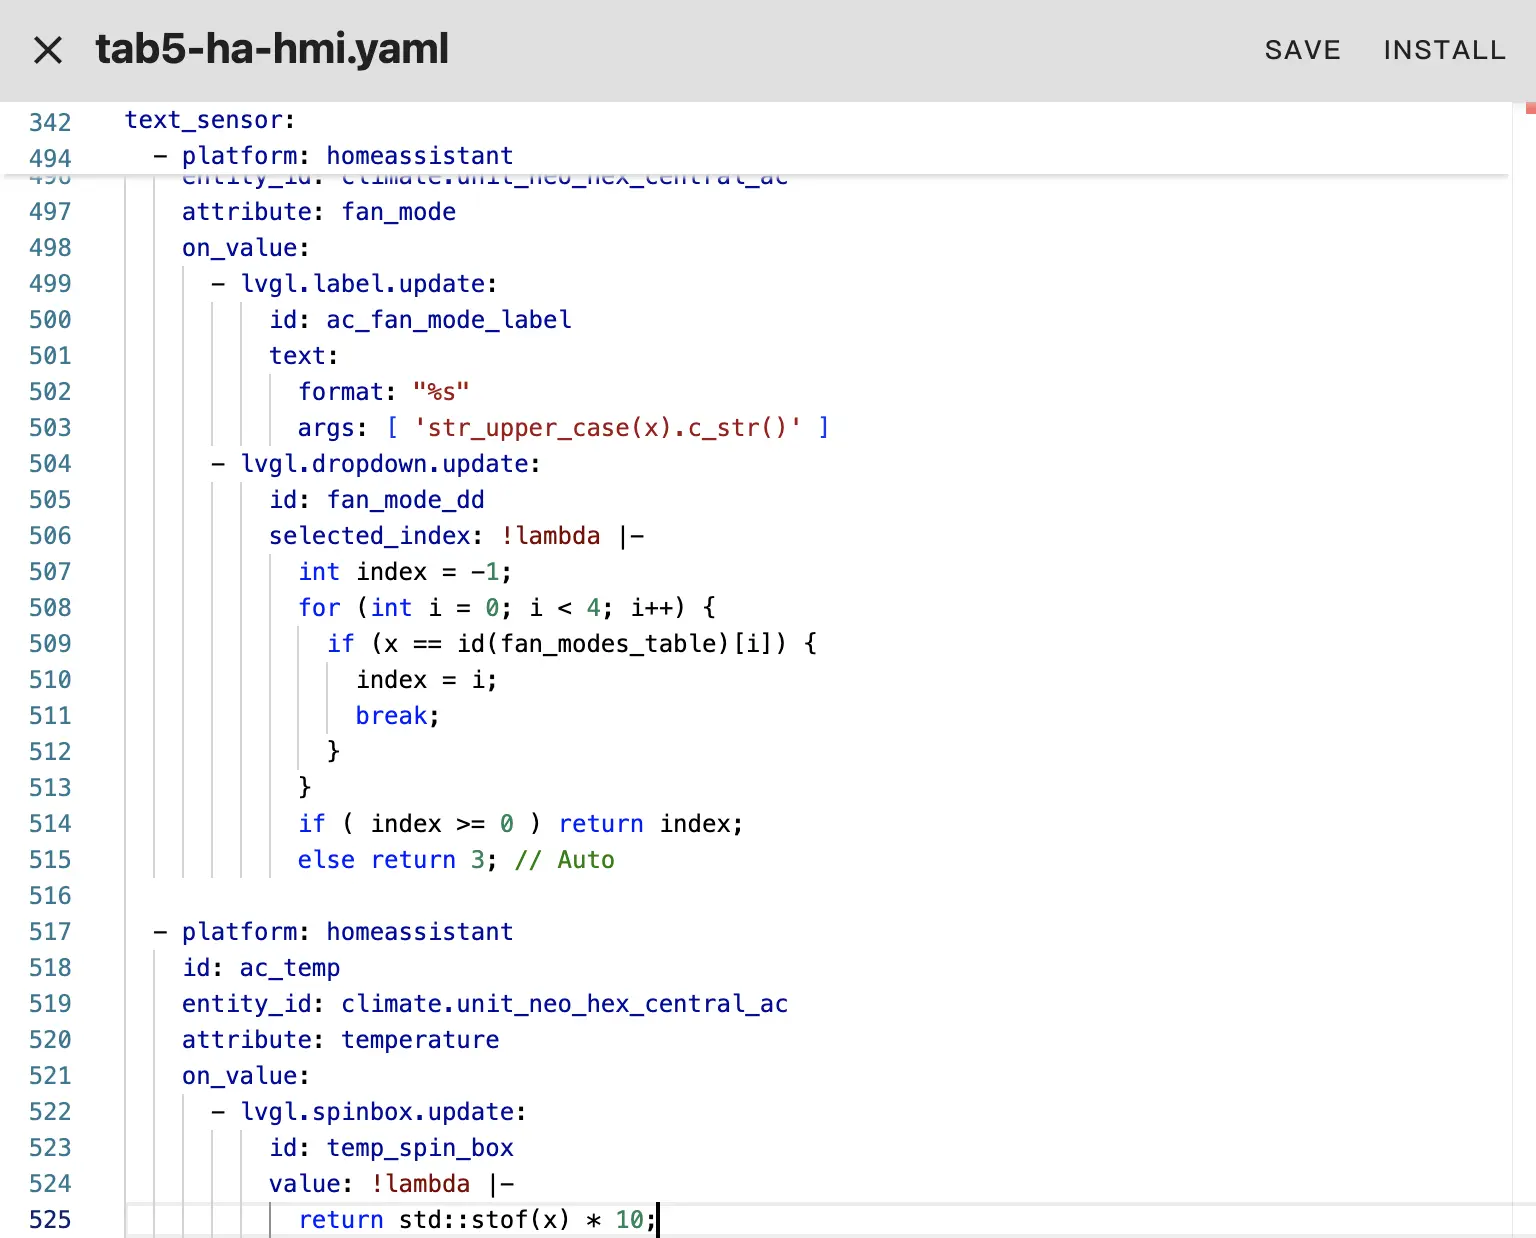
Similarly, there are attributes defined in the configuration regarding the
Climateentity:yaml1 2 3 4 5 6 7 8 9 10 11 12 13 14 15 16 17 18 19 20 21 22 23 24 25 26 27 28 29 30# AC Information - platform: homeassistant id: ac_state entity_id: climate.unit_neo_hex_central_ac on_value: - lvgl.label.update: id: xxx - lvgl.dropdown.update: id: xxx ... - platform: homeassistant id: ac_fan_mode entity_id: climate.unit_neo_hex_central_ac attribute: fan_mode on_value: - lvgl.label.update: id: xxx - lvgl.dropdown.update: id: xxx ... - platform: homeassistant id: ac_temp entity_id: climate.unit_neo_hex_central_ac attribute: temperature on_value: - lvgl.spinbox.update: id: xxx ...These attributes can be retrieved and updated on the UI.
LVGL UI controls the Climate component:
yaml1 2 3 4 5 6 7 8 9 10 11 12 13 14 15 16 17 18 19 20 21 22 23 24 25 26 27 28 29 30 31 32 33 34 35 36 37 38 39 40... - arc: id: ac_arc adjustable: true ... # Prevent frequent use of 'on_value' # In case of performance issue on_release: - lambda: id(set_ac_temp)->execute(float(x) / 10.0f); ... - dropdown: id: ac_mode_dd ... dir: TOP selected_text: "Off" options: - Heat_Cool - Heat - Cool - Dry - Only Fan - "Off" # In case conversions on_change: ... - lambda: id(set_ac_state)->execute(x); - dropdown: id: fan_mode_dd dir: TOP ... selected_text: "Auto" options: - High - Medium - Low - Auto on_change: ... - lambda: id(set_ac_fan_mode)->execute(x);Here, control is encapsulated into scripts, which can be found in tab5-scripts.yaml.
yaml1 2 3 4 5 6 7 8 9 10 11 12 13 14 15 16 17 18 19 20 21 22 23 24 25 26 27 28 29 30 31 32# This script was used on dropdown widget # to set ac state (ON/OFF/COOL/HEAT, etc) - id: set_ac_state parameters: ac_mode_idx: int then: - homeassistant.action: action: climate.set_hvac_mode data: entity_id: climate.unit_neo_hex_central_ac hvac_mode: !lambda return id(hvac_state_table)[ac_mode_idx]; - id: set_ac_fan_mode parameters: ac_fan_mode_idx: int then: - homeassistant.action: action: climate.set_fan_mode data: entity_id: climate.unit_neo_hex_central_ac fan_mode: !lambda return id(fan_modes_table)[ac_fan_mode_idx]; # This script was used on spinbox/arc widget # to set the temperature to climate entity # it doesn't turn on/off, use the dropdown instead - id: set_ac_temp parameters: temp_value: float then: - homeassistant.action: action: climate.set_temperature data: entity_id: climate.unit_neo_hex_central_ac temperature: !lambda return temp_value;Similarly, to adapt your own Climate component, modify the
entity_idand relevant attributes.