Home Assistant
Media Player
Expansion
Sensor
CM4Stack Home Assistant OS
This tutorial will demonstrate how to burn a Home Assistant image for CM4Stack to build a smart home control center.
1.Download the image file
| Image version | Download link |
|---|---|
| 2024-03-06-CM4StackOS-haos_rpi4-64-12.1 | Download |
2.Burn image
For Windows
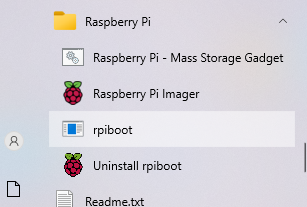
1.Download Raspberry Pi Imager, and complete the installation.
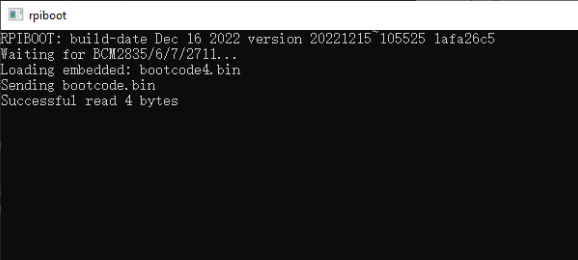
2.Download rpiboot.exe, and complete the installation.
3.Press and hold the BOOT button on the side of the CM4Stack, then use the USB cable to connect the device to the computer. Note: Press and hold the BOOT button first, then connect to the computer for power supply.

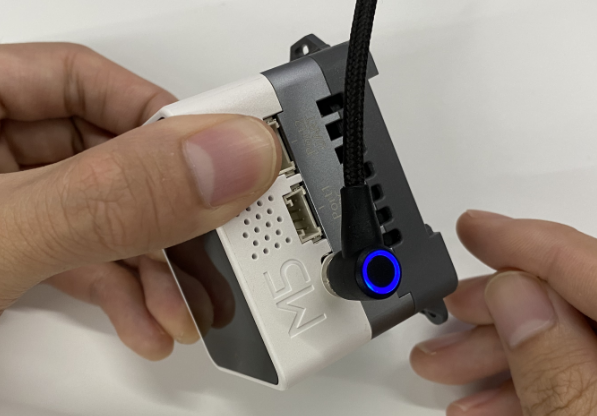
4.Run the rpiboot.exe.At this point the computer will recognize the new disk device. If the CM4Stack is not checked by clicking on the rpiboot_setup.exe file, try replacing the cable or re-running the power-up process.
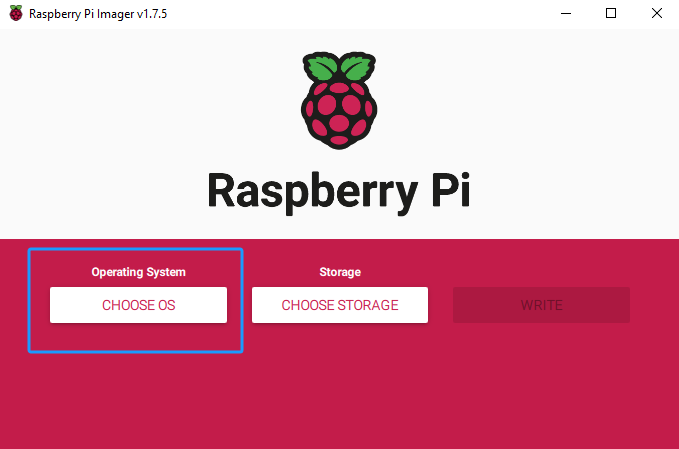
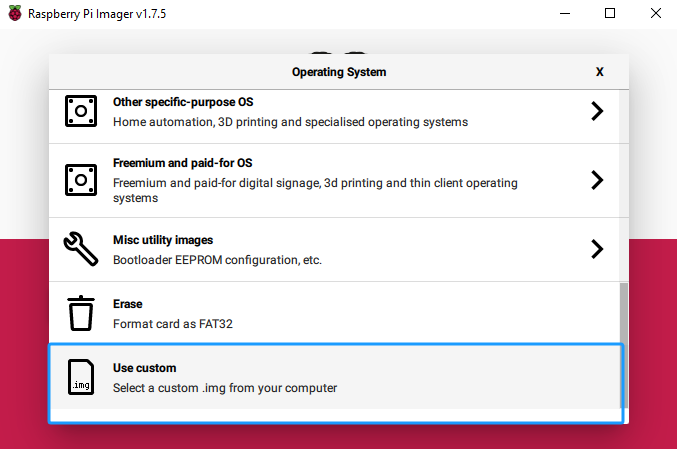
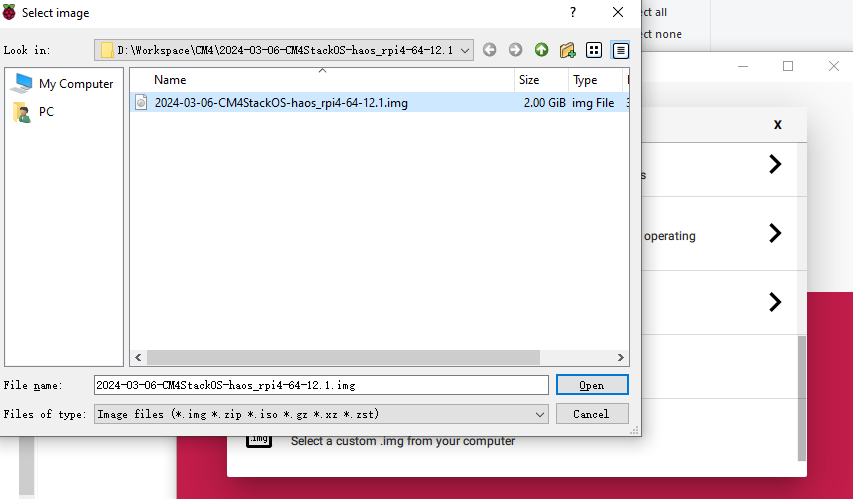
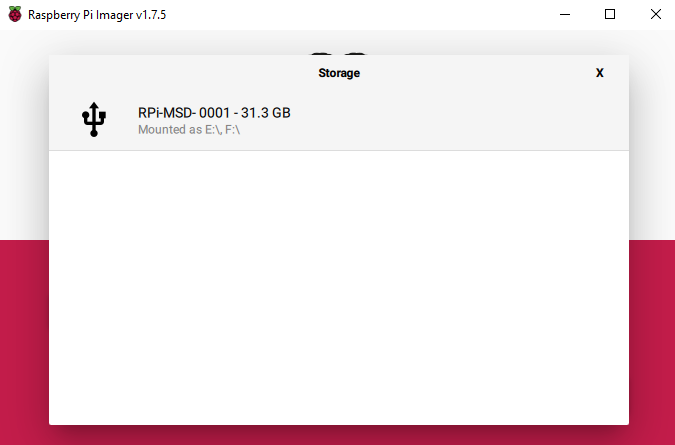
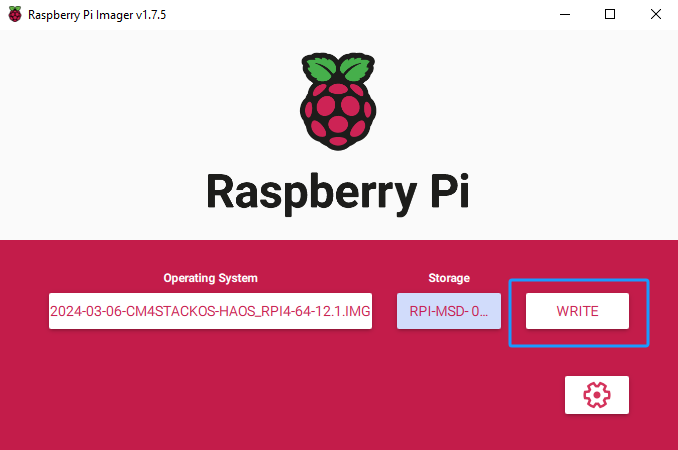
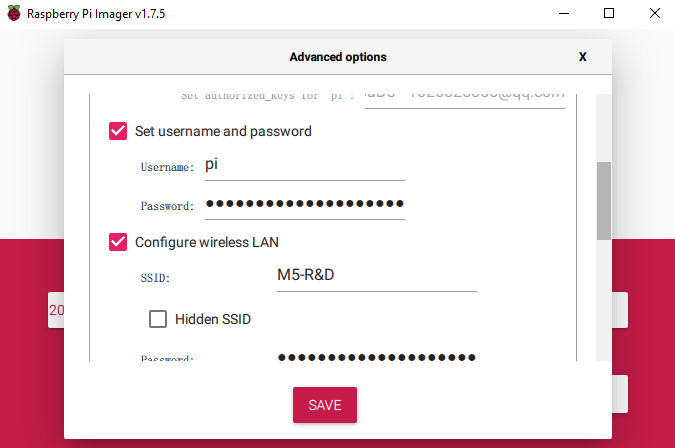
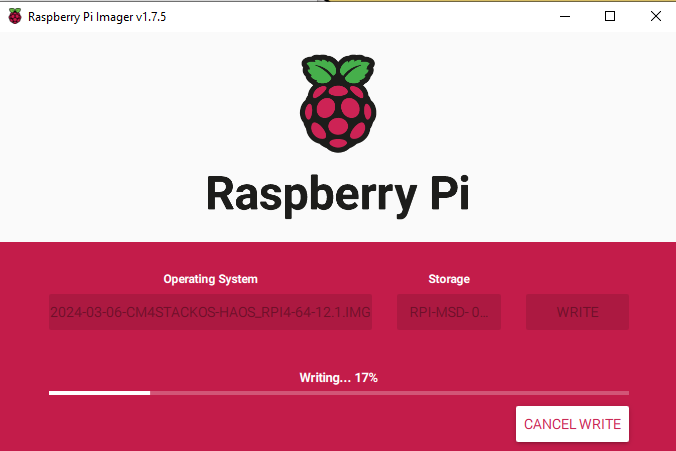
5.Open the official burning software Raspberry Pi Imager, click Custom System in System Selection, select the downloaded image file, and then select the disk and click NEXT to configure the device information, and start burning.
For linux
1.The linux environment requires manual compilation of the rpiboot tool, you can get the source code at its rpiboot Github.
sudo apt install git pkg-config make gcc libusb-1.0-0-dev

git clone --depth=1 https://github.com/raspberrypi/usbboot
cd usbboot
make2.Press and hold the BOOT button on the side of the CM4Stack, then use the USB cable to connect the device to the computer. Note: Press and hold the BOOT button first, then connect the device to the computer for power supply. Then execute the rpiboot program.
sudo ./rpiboot3.The burning system can be performed using the official burning software Raspberry Pi Imager Ubuntu, and the procedure is the same as that for Windows. The .img file extracted from the image file can also be burned directly using the dd command. The following burn commands are for reference only and should be used after replacing the disk objects.
sudo dd if=./2024-03-06-CM4StackOS-haos_rpi4-64-12.1.img of=/dev/sda bs=1M status=progress oflag=dsync3.Startup
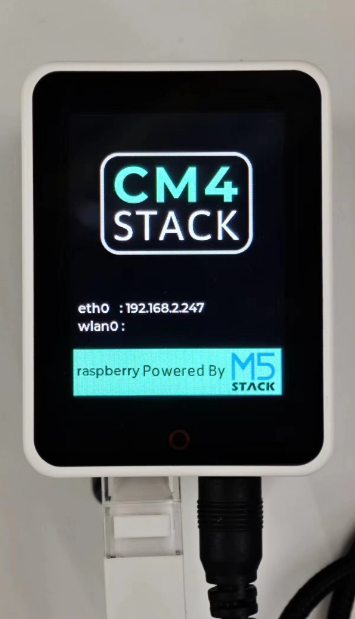
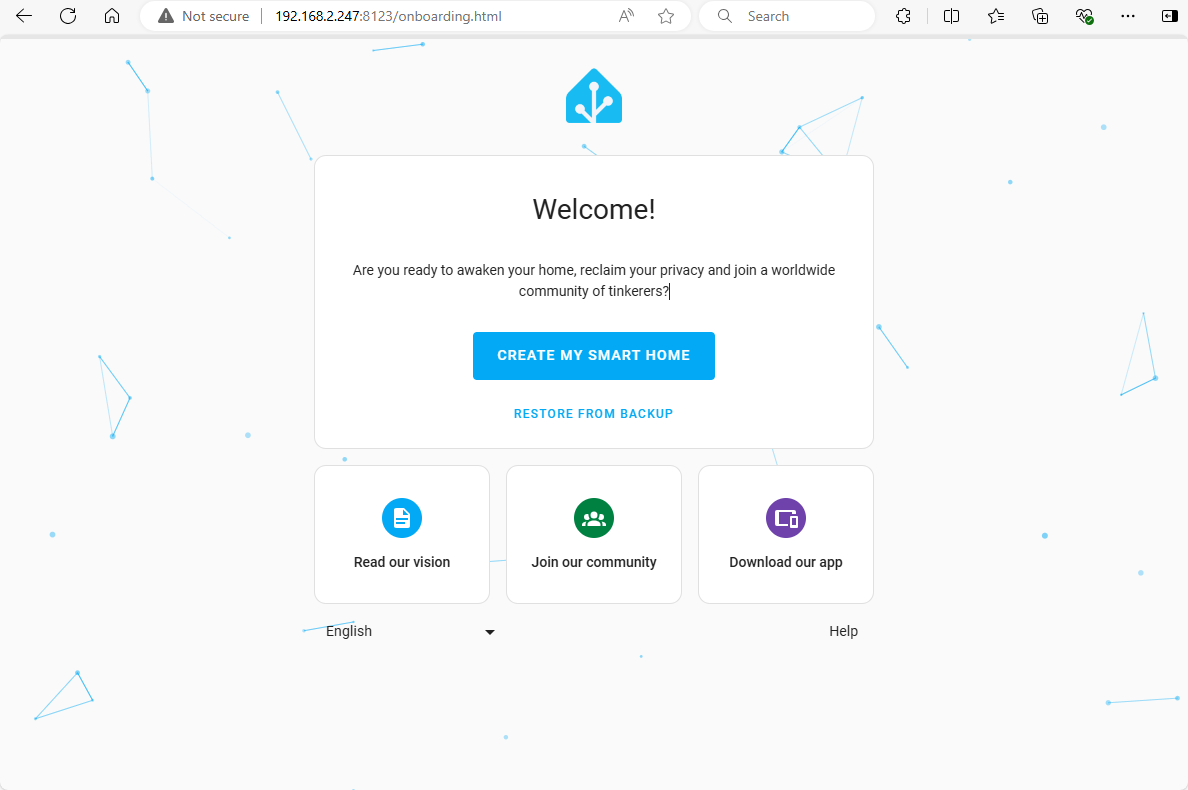
To connect the CM4Stack to power and Ethernet, once it starts, the device screen will display the current IP address. Other devices on the same local area network can access the Home Assistant Dashboard page via IP:8123. During the first boot of Home Assistant OS, it will download resource files from the network, which may take several tens of minutes. If the initialization takes an unusually long time or fails to proceed, try switching to a network environment configured with a proxy.
http://xxx.xxx.xxx.xxx:8123/