

ESP-IDF Quick Start
Devices & Examples
Core2
CoreS3
Dial
Tab5
Unit PoE-P4
Zigbee
Dial ESP-IDF BSP Tutorial
This tutorial introduces how to integrate the Dial Board Support Package (BSP) in the ESP-IDF development environment to quickly initialize and manage onboard peripheral drivers, improving development efficiency.
1. Preparation
- Environment Setup: This tutorial is based on Ubuntu for ESP-IDF development environment setup. For other platforms, please refer to the ESP-IDF - Getting Started Guide for detailed instructions.
ESP-IDF Version
This tutorial recommends using ESP-IDF version
v5.4.1- Use Git to clone the esp-idf repository, switch to the specified branch, and run scripts to install the required toolchain.
Note
There is a space between the
"." and ./export.sh in the . ./export.sh command, which is equivalent to source ./export.shgit clone -b v5.4.1 --recursive https://github.com/espressif/esp-idf.git
cd esp-idf
./install.sh
. ./export.sh- The
idf.pycommands used later depend on ESP-IDF. Before running any command, you need to call. ./export.shin the project directory to activate the environment variables. For more details, refer to ESP-IDF - Getting Started Guide.
2. Project Creation
- Open a terminal and go to the working directory. Create a project folder called
dial_projects. Enter the folder and activate the ESP-IDF environment variables by runningexport.shfrom the esp-idf repository. The following commands assumedial_projectsandesp-idfare at the same directory level. Adjust paths as needed. Execute the following to create a blank project template namedmy_project.
mkdir dial_projects
cd dial_projects
. ../esp-idf/export.sh
idf.py create-project my_project- Enter the project folder and add the M5Stack Core2 BSP using the Espressif Component Registry.
cd my_project
idf.py add-dependency "espressif/m5dial^2.0.0"- Set the target chip platform:
idf.py set-target esp32s33. Example Program
- Open the entry file of the blank template and copy the following example program into it:
vim main/my_project.c#include "freertos/FreeRTOS.h"
#include "freertos/task.h"
#include "esp_log.h"
#include "lv_demos.h"
#include "bsp/esp-bsp.h"
static char *TAG = "app_main";
#define LOG_MEM_INFO (0)
void app_main(void) {
/* Initialize display and LVGL */
bsp_display_start();
/* Set display brightness to 100% */
bsp_display_backlight_on();
ESP_LOGI(TAG, "Display LVGL demo");
bsp_display_lock(0);
lv_demo_widgets(); /* A widgets example */
// lv_demo_music(); /* A modern, smartphone-like music player demo. */
// lv_demo_stress(); /* A stress test for LVGL. */
// lv_demo_benchmark(); /* A demo to measure the performance of LVGL or
// to compare different settings. */
bsp_display_unlock();
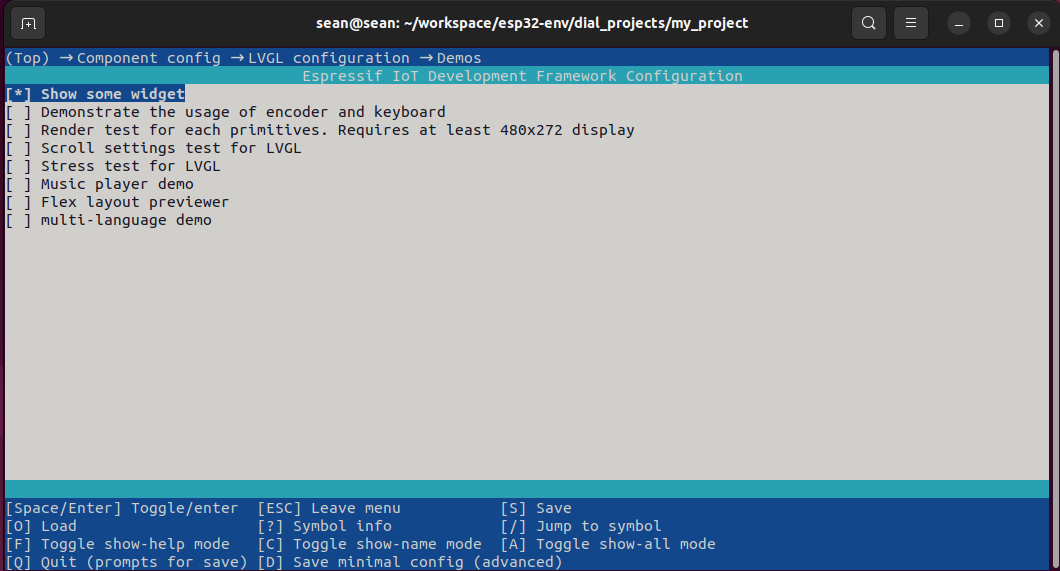
}- This example program demonstrates how to drive the screen to display LVGL component demos. You can also switch different demo comments to compile other display examples. Before using a demo, enable the corresponding LVGL demo in
idf.py menuconfigunderComponent config->LVGL Configuration->Demos.
4. Build and Flash
- Execute the following command to compile and flash the program:
idf.py flash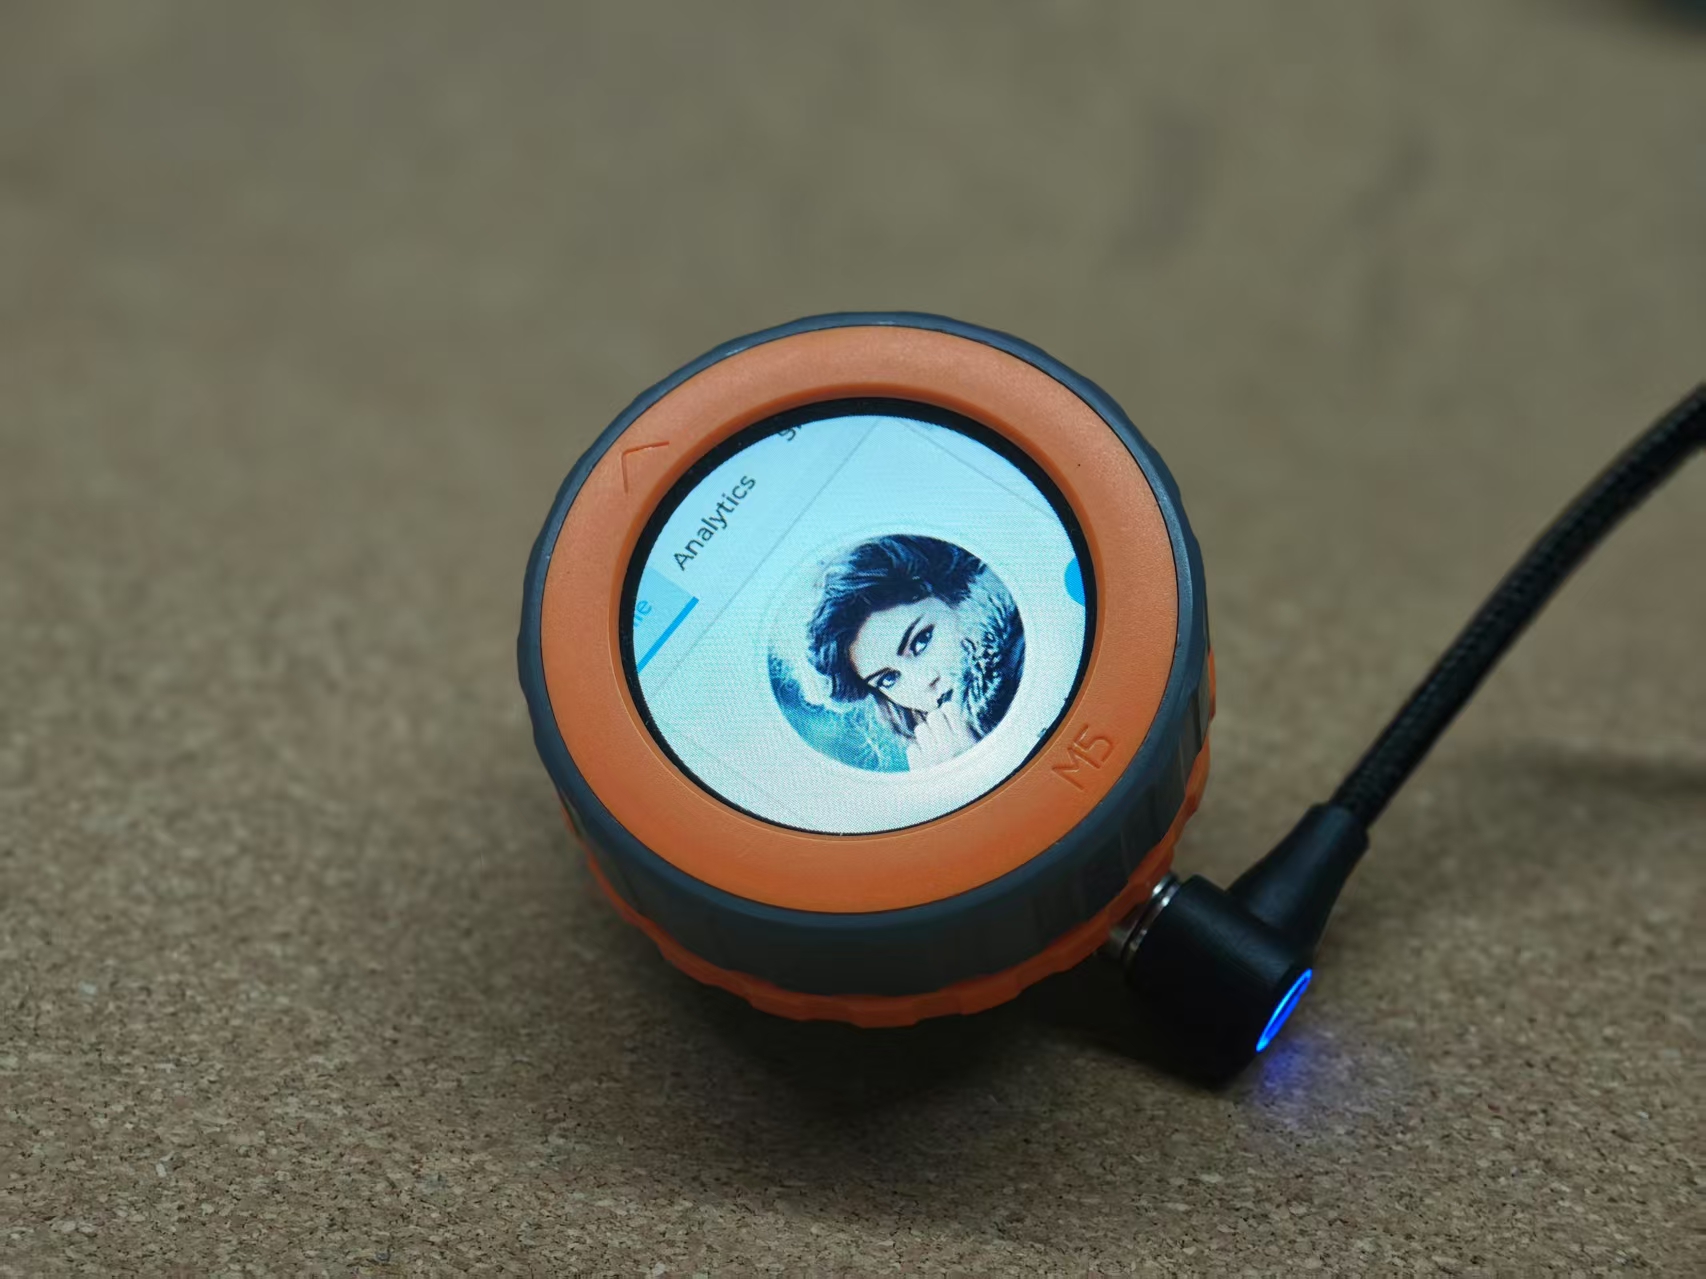
Page Tools