


Home Assistant
语音助手
功能套件
传感器
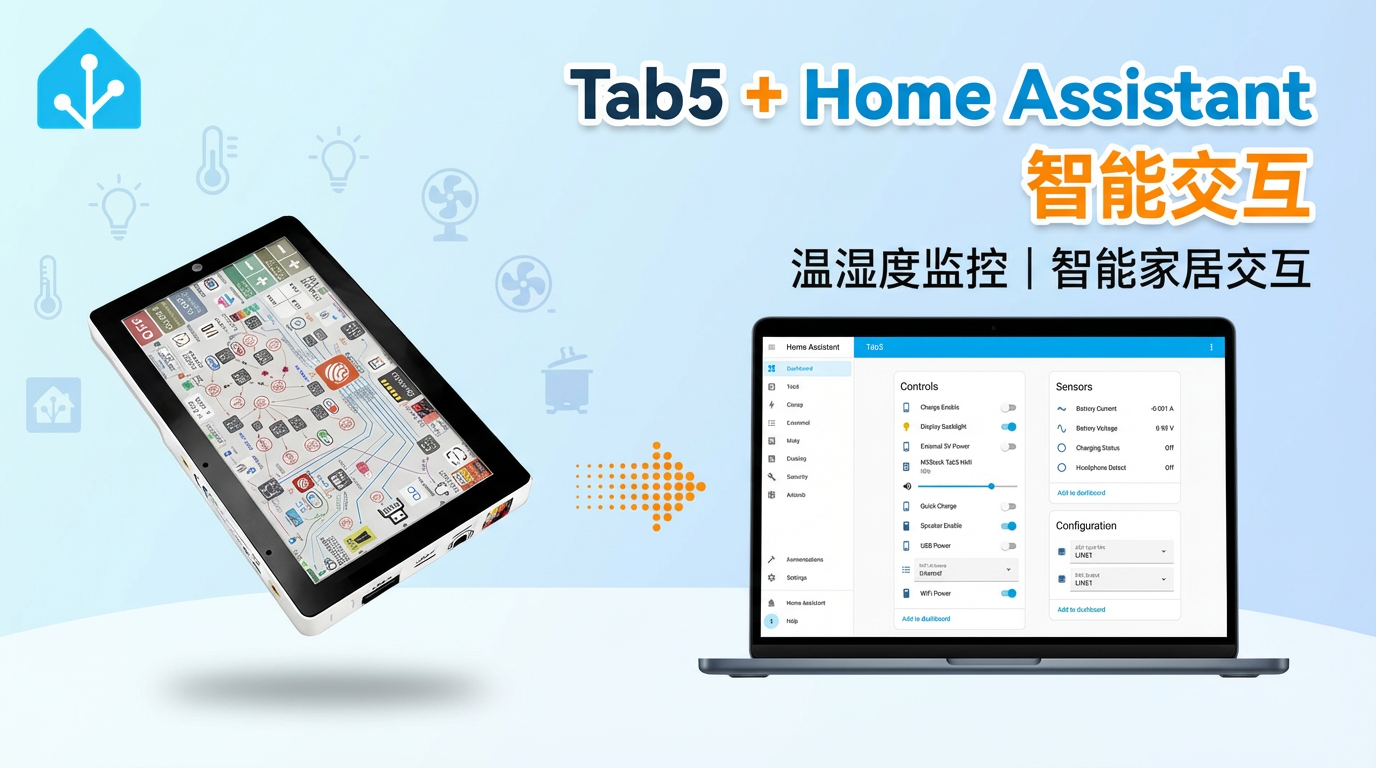
Tab5 Home Assistant HMI 案例
本章节介绍将 Tab5 变为 Home Assistant 人机交互设备的实现方法和配置细节。
在这个案例中我们会用到几个 Home Assistant 中的实体,主要是温湿度传感器 (Unit ENV-Pro),一个 RGB 灯 (Unit NeoHEX) 和一个红外远程空调实体。本案例使用的是 Atom EchoS3R 作为平台,来集成温湿度、灯光和红外组件。
准备工作
- 一台 Home Assistant 主机。
- 安装并且启用了 ESPHome Builder 加载项。
- 确保温湿度传感器 (Unit ENV-Pro)、RGB 灯 (Unit NeoHEX)、红外远程空调实体已被集成至 Home Assistant 中。
- 参考文档:
- Unit ENV-Pro
- Unit NeoHEX
- IR Remote Climate
注意事项
- 案例在 ESPHome
2025.10.3下编译,如果遇见编译或上传问题,考虑将 ESPHome 切换至此版本。 - 案例仅做为演示,配置文件的内容可能更改。对于在 2025 年 10 月 14 日之后生产的产品,LCD / 触摸屏的 IC 已被更换为 ST723,目前的配置暂不支持该 IC,我们会持续优化驱动支持。
创建设备
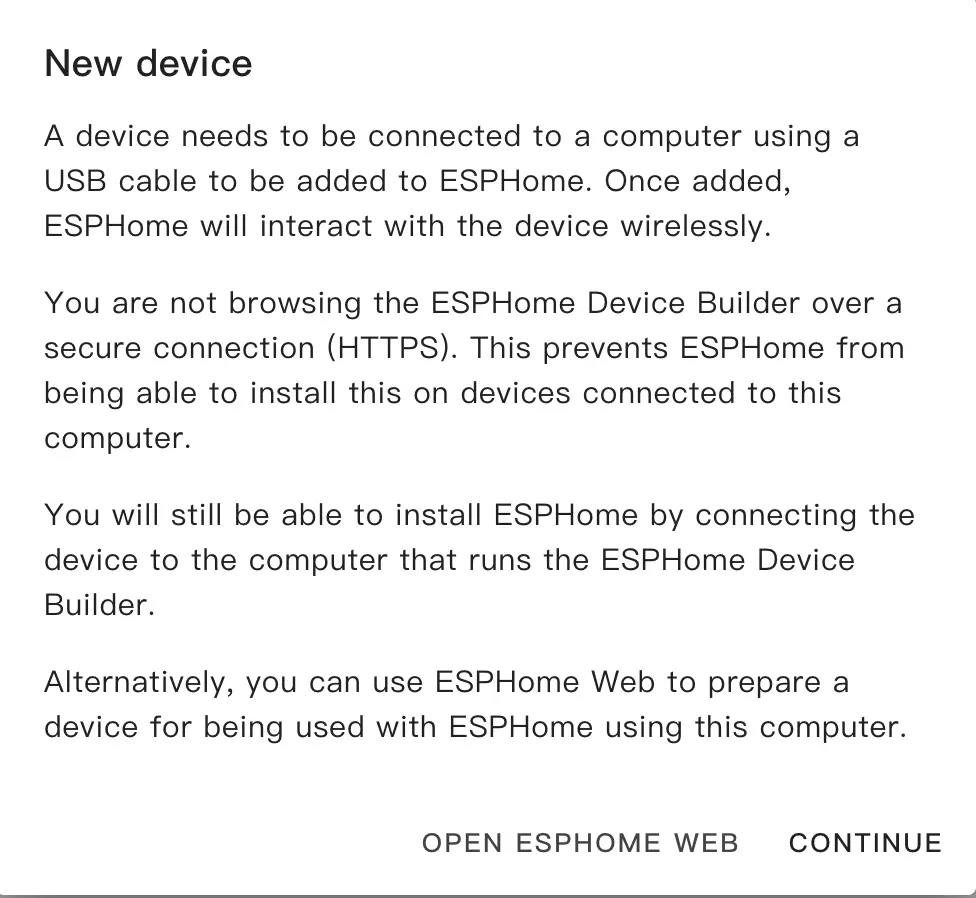
- 在 Home Assistant 中打开 ESPHome Builder,创建一个空的配置文件。
点击右下角的
NEW DEVICE按钮。弹出框单击
CONTINUE。
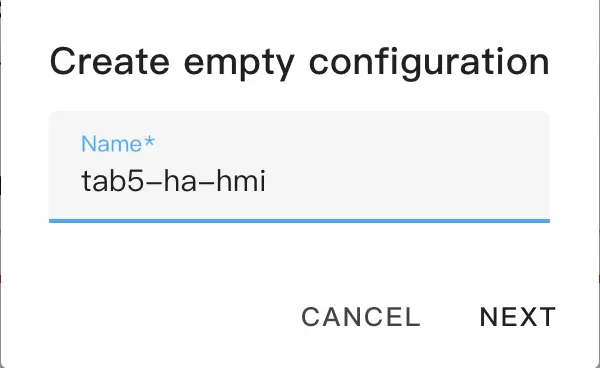
- 选择
Empty Configuration。
- 为文件命名 (可选)。
- 在新生成的配置文件处点击
EDIT。
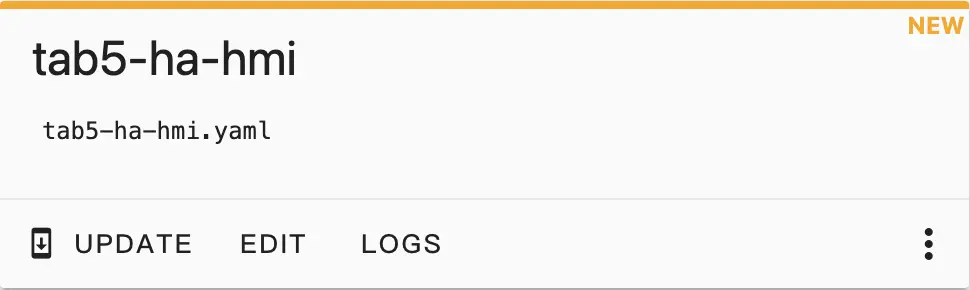
- 复制 tab5-ha-hmi.yaml 的内容到配置文件中。
- 根据需要,更改网络配置或者是 API 信息,比如创建一个 API Encryption Key 用于认证:
api:
  encryption:
key: "Your_Encryption_Key"- 依次点击右上角
SAVE和INSTALL,选择Manual download。

- 此时会生成代码并且编译工程。
- 当编译完成后,选择
Factory format下载固件。
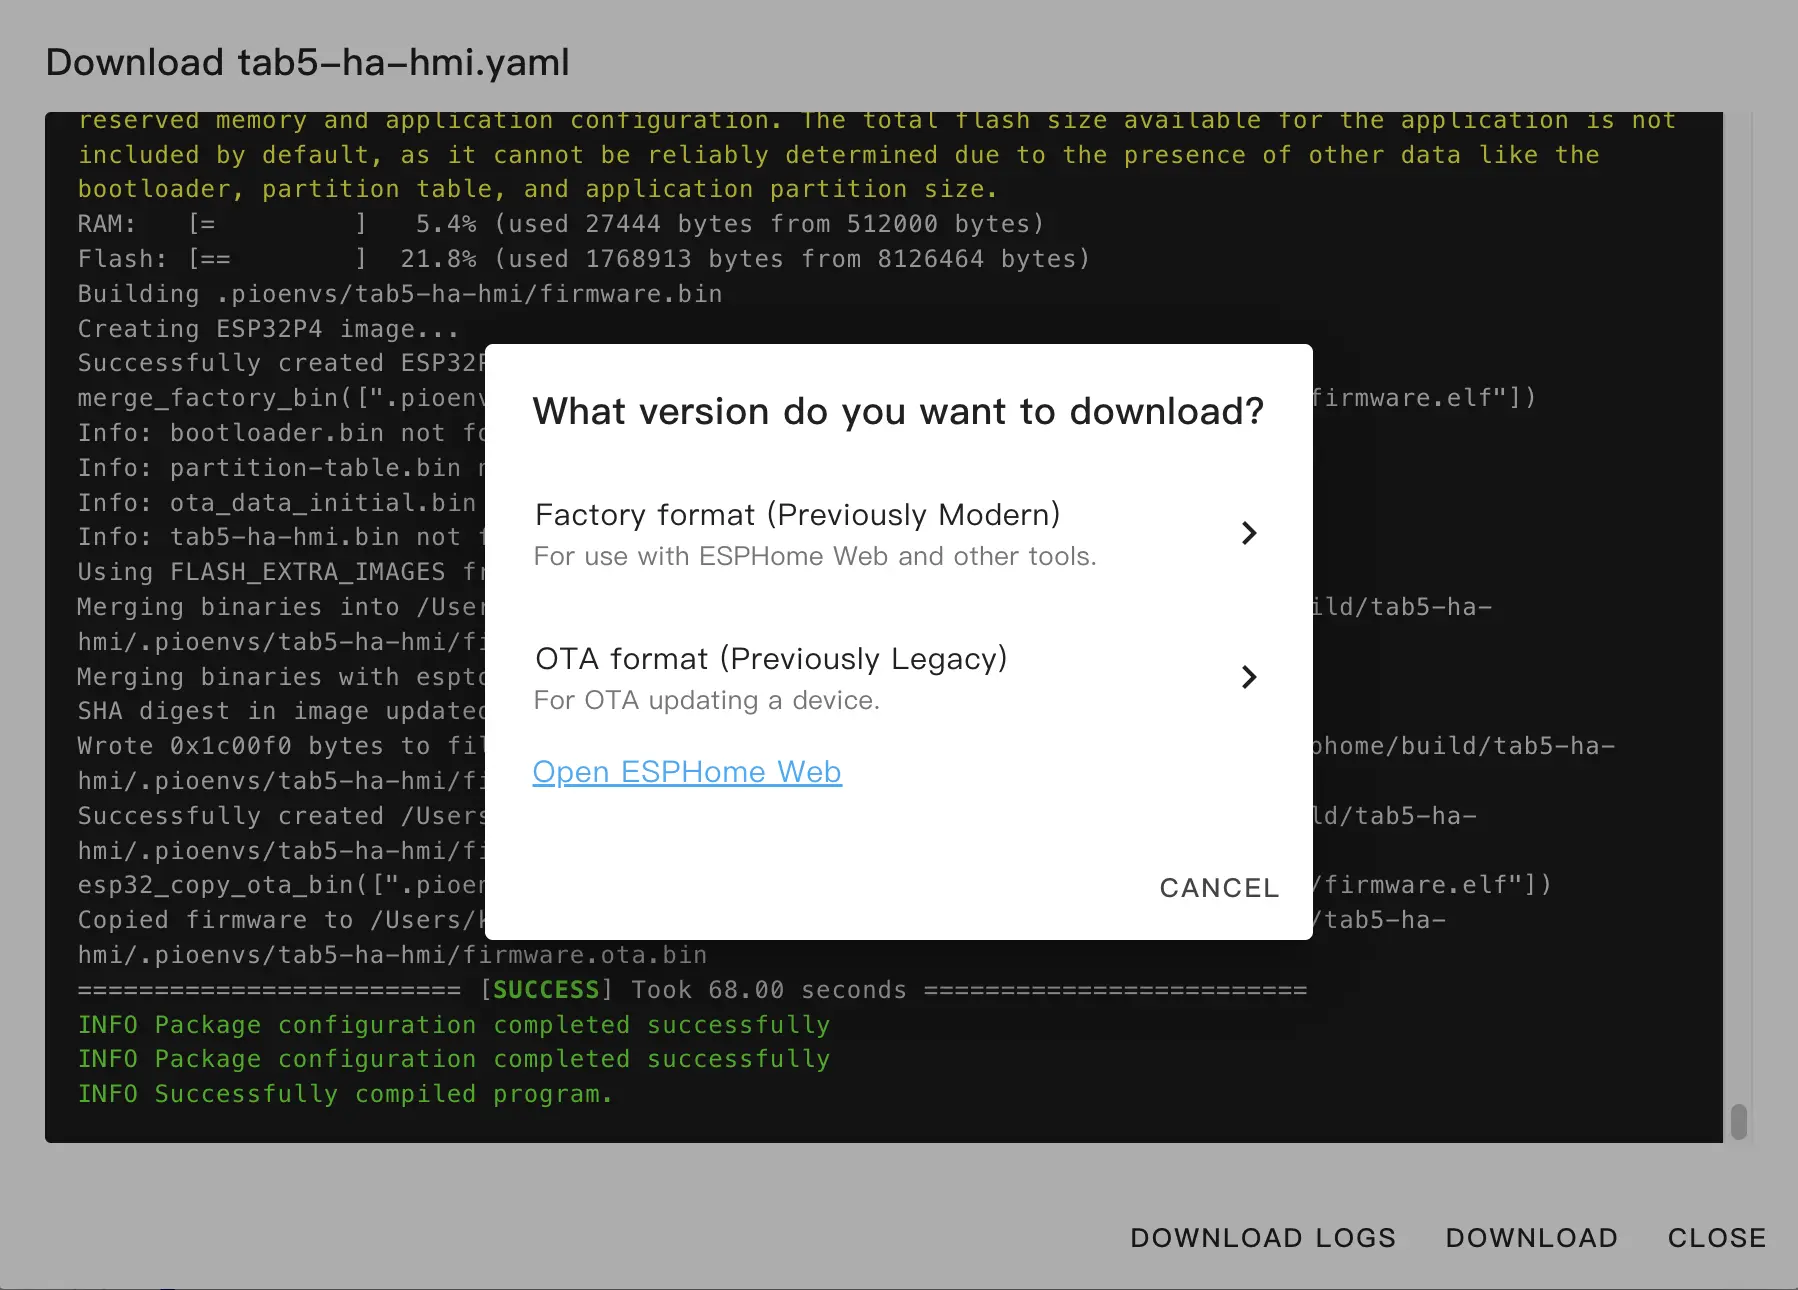
下载和烧录固件
- 下载固件:通过 ESPHome Builder 的
Manual download方式下载 Factory Format 固件。 - 使用 web 工具烧录固件:
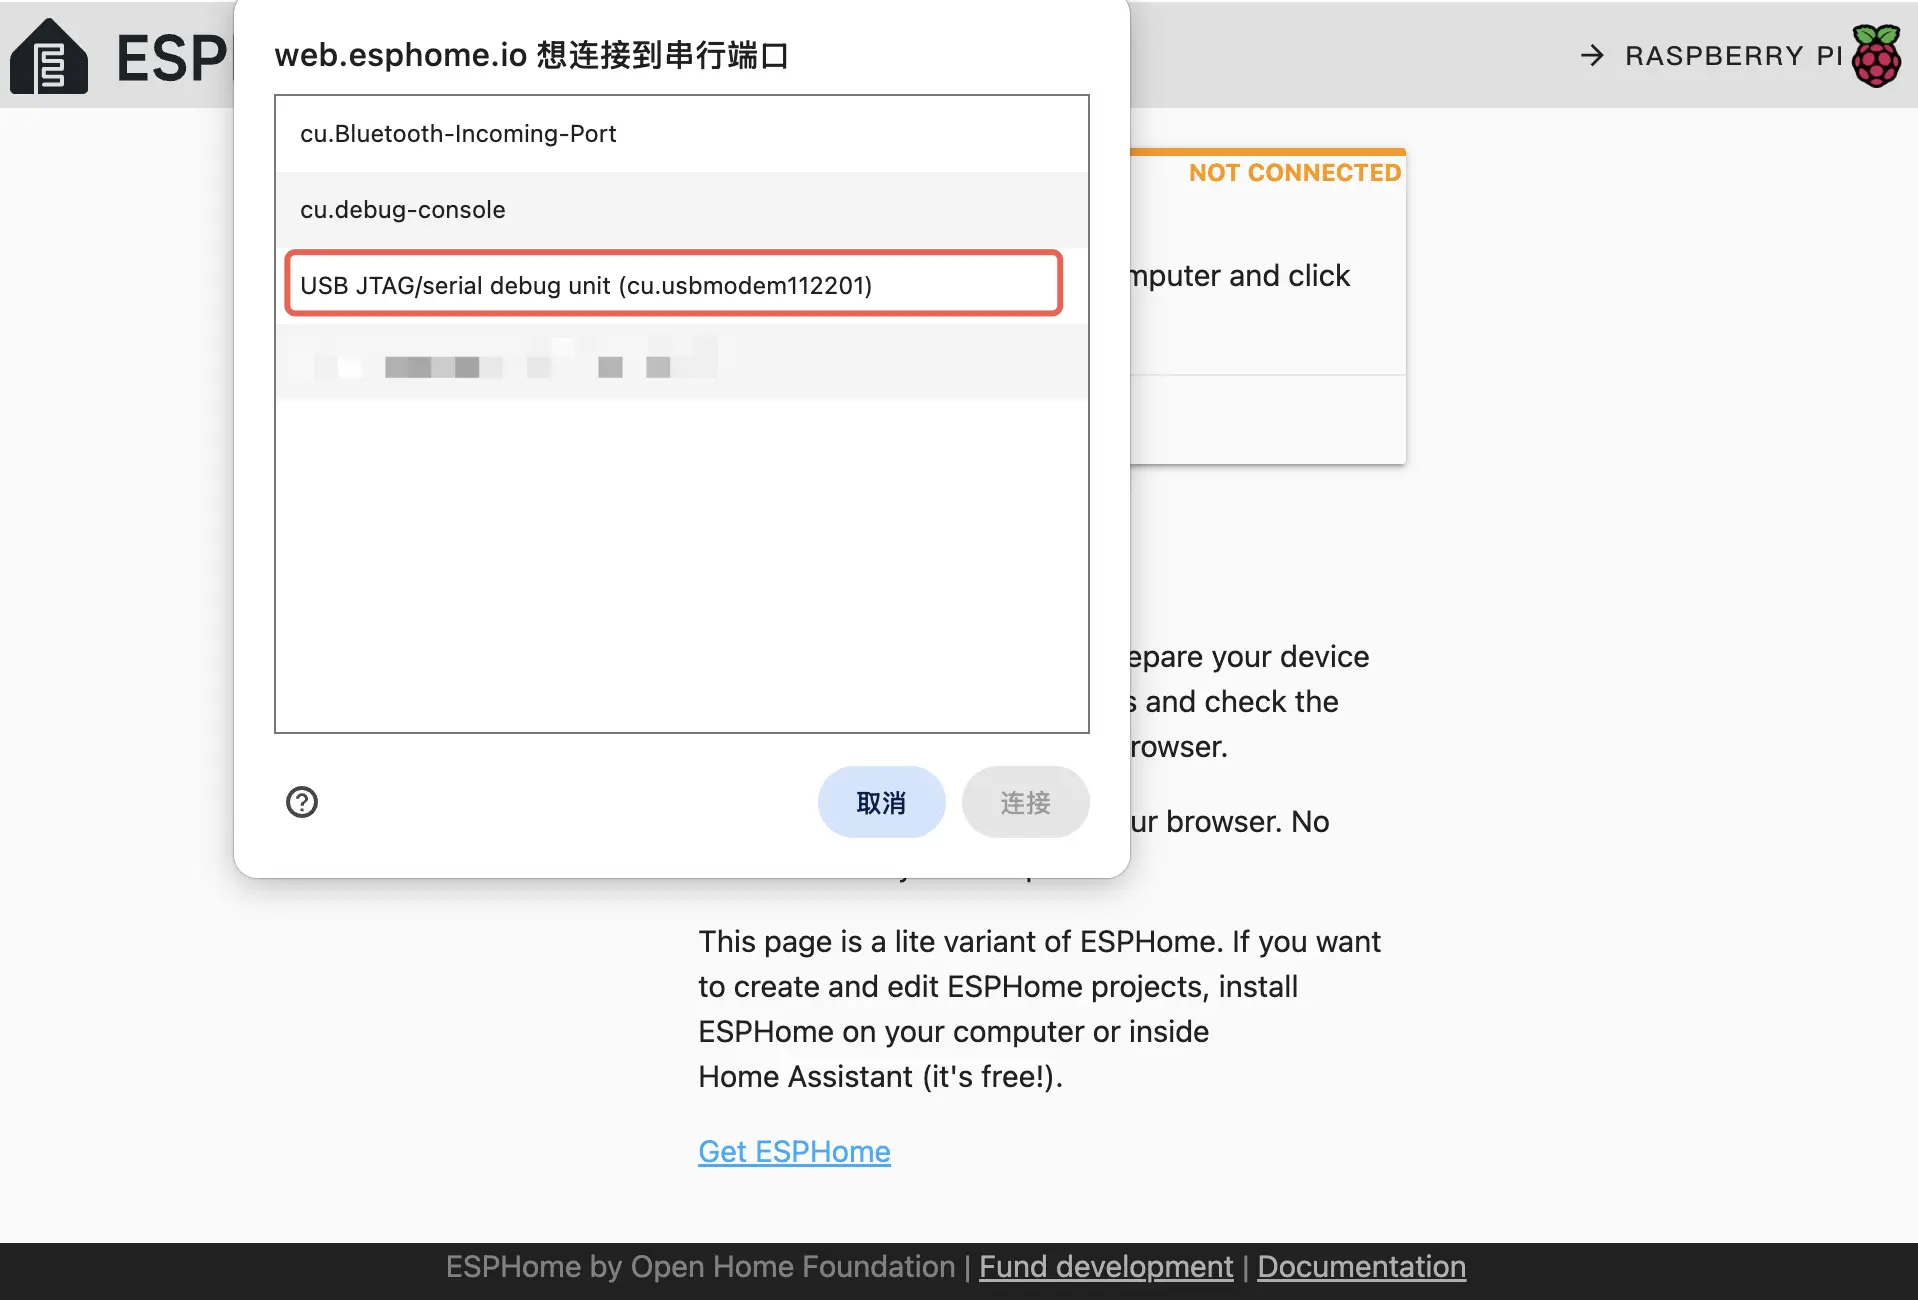
打开浏览器,访问 ESPHome Web 上传固件。
使用 USB-C 数据线将 Tab5 连接至主机,点击
CONNECT,选择设备连接。
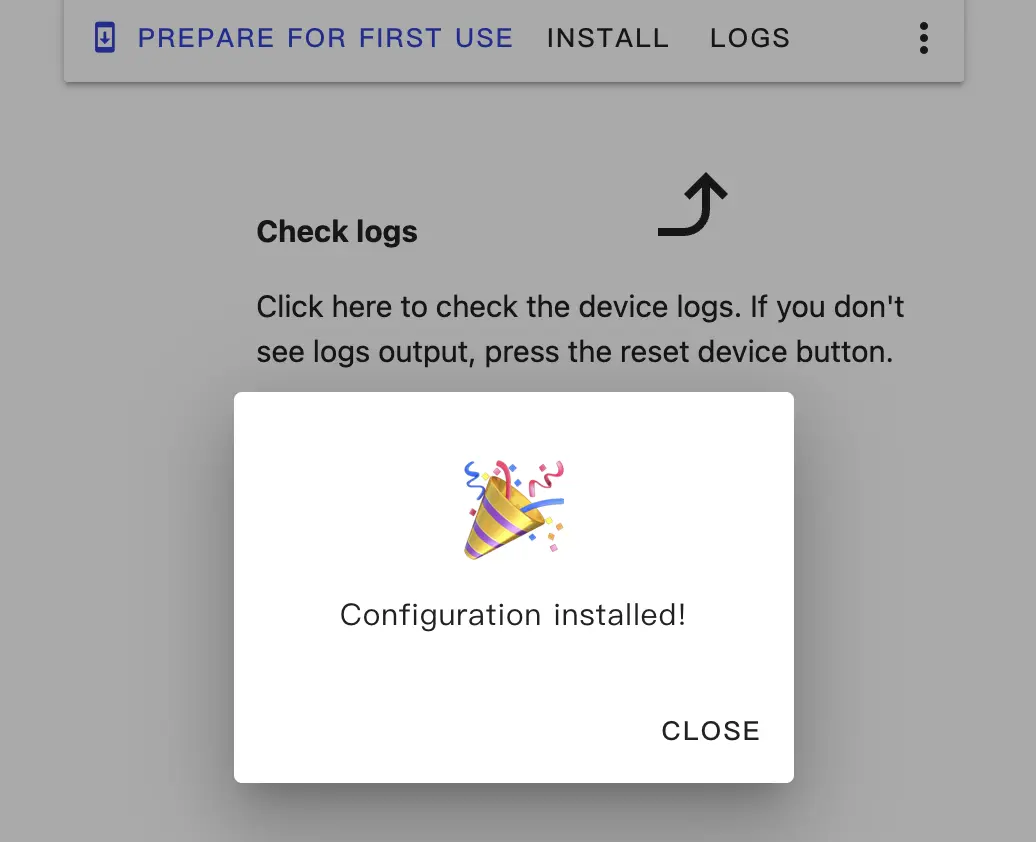
- 点击
INSTALL,选择之前下载的固件上传,再次点击INSTALL,将固件烧录至设备。
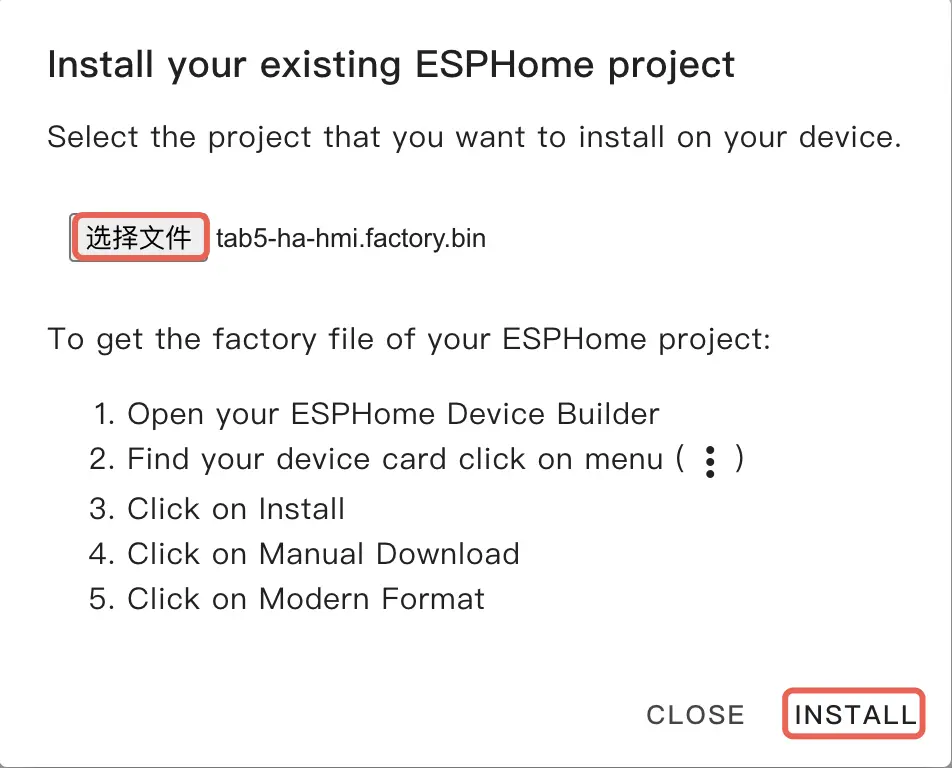
- 当烧录完成后,设备会自动重置。
开始使用
HMI 集成
- 当设备重启后,会自动连接之前配置的网络,正常情况下可以在
Settings->Devices & services发现设备。
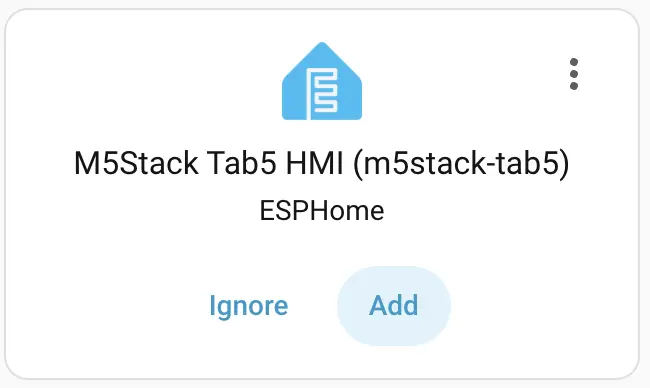
点击
Add将 Tab5 集成进入 Home Assistant,如果此前设置了 API Encryption Key,此处可能需要填入 API Encryption Key 验证。Tab5 的 Dashboard 示例:
允许 Tab5 执行 Home Assistant Action
- 当设备添加完成后,在 Home Assistant 中点击
Settings会发现一个待修复的问题。
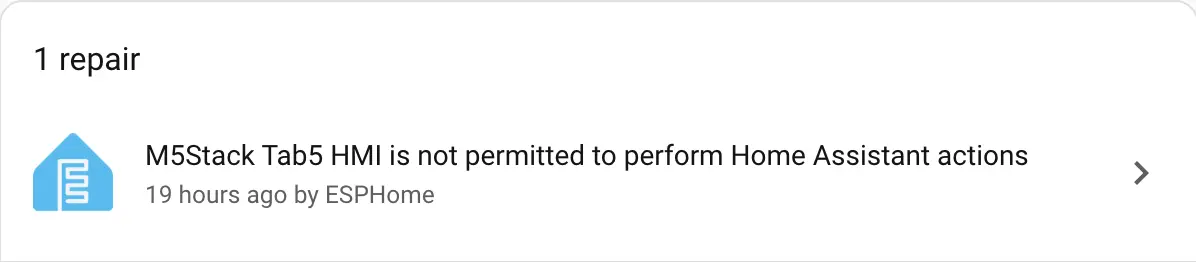
- 查看详情:
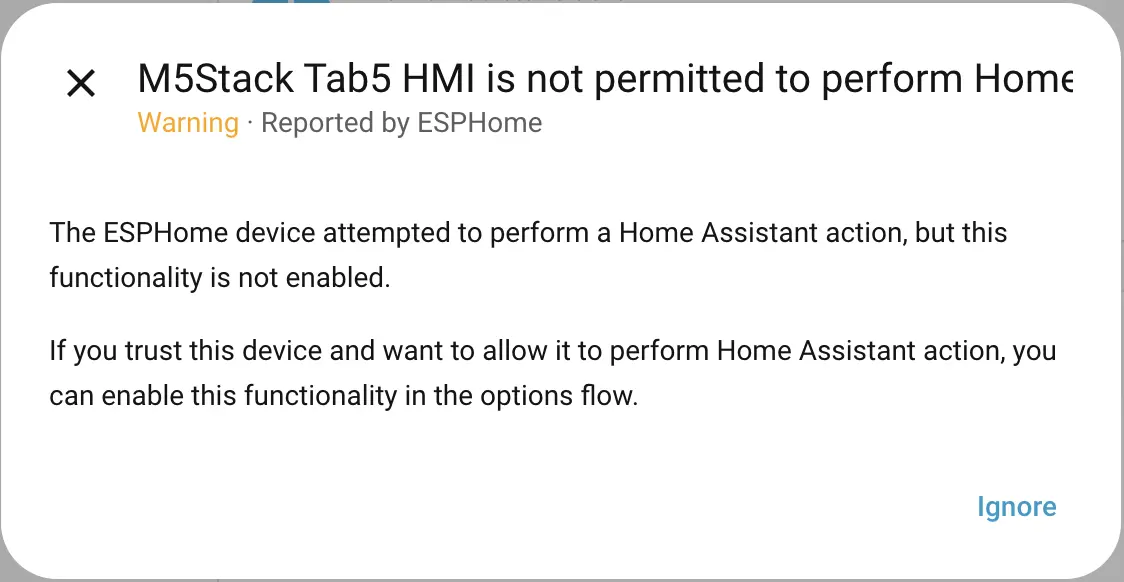
该问题告诉我们,Tab5 尝试访问 Home Assistant 上集成的实体并且修改某些属性,但是默认情况下 Home Assistant 不允许设备执行操作。
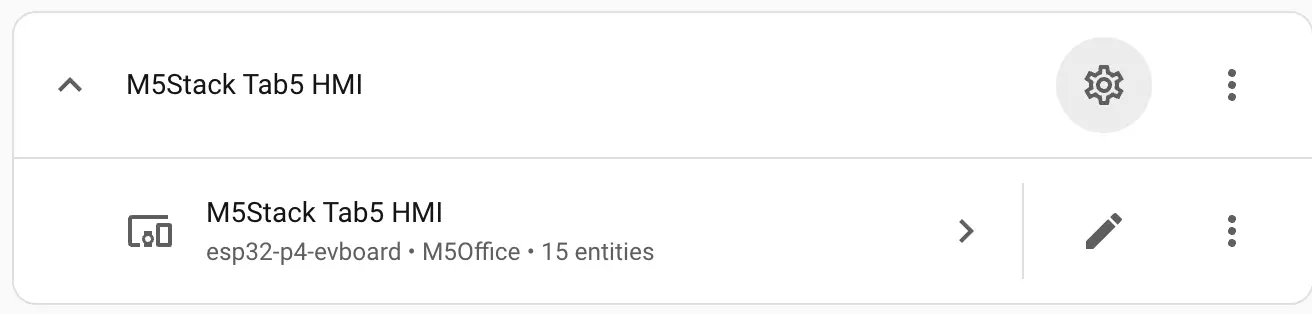
- 解决方案:
- 打开
Settings->Device & services->ESPHome,找到 Tab5 设备。
- 点击右上的设置图标,勾选
Allow the device to perform Home Assistant actions。
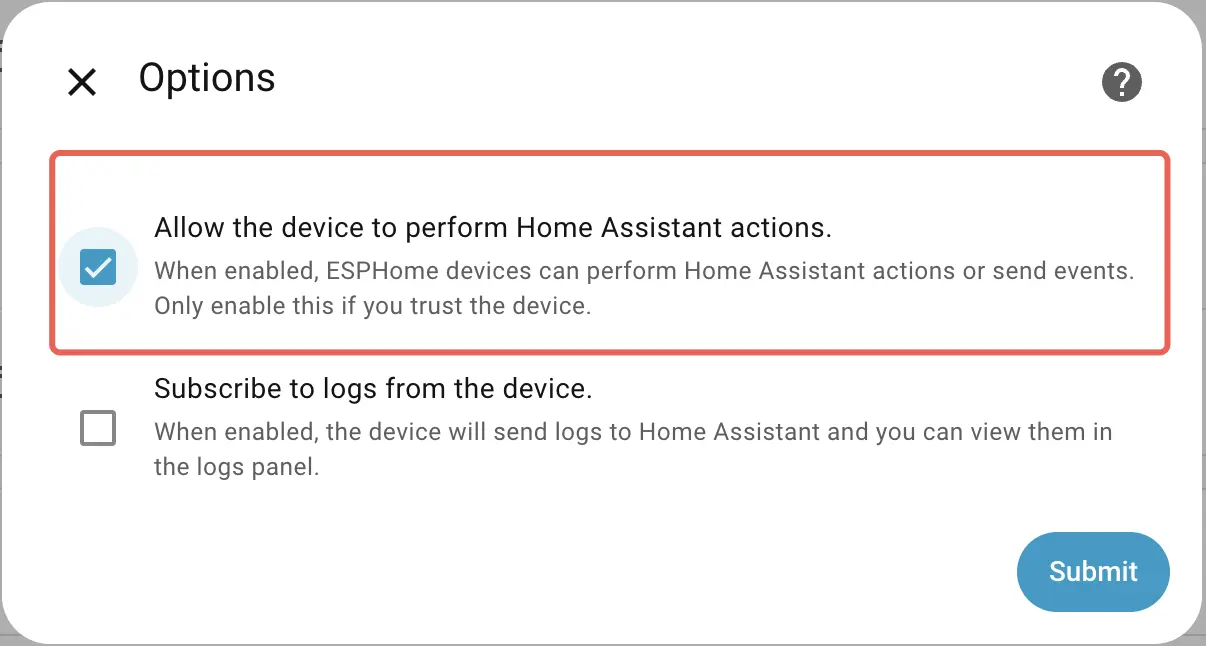
- 点击
Submit。自此 Tab5 就能控制已经配置的 Home Assistant 实体。
HMI 使用方法
- UI 主要是按照 Pages 分页展示,目前有三个页面,可以通过左侧 Sidebar 导航。Dashboard 页面主要展示一些简单信息,灯光页面可以操作某个具体的灯光实体,Climate 页面可以操控某个具体的空调。
- UI 设计和交互参考自 Home Assistant dashboard,在嵌入式设备上使用 LVGL 实现可能需要更多时间。
- 灯光控制:
- 点击侧边栏的
Light按钮,可以看见一个示例灯光。
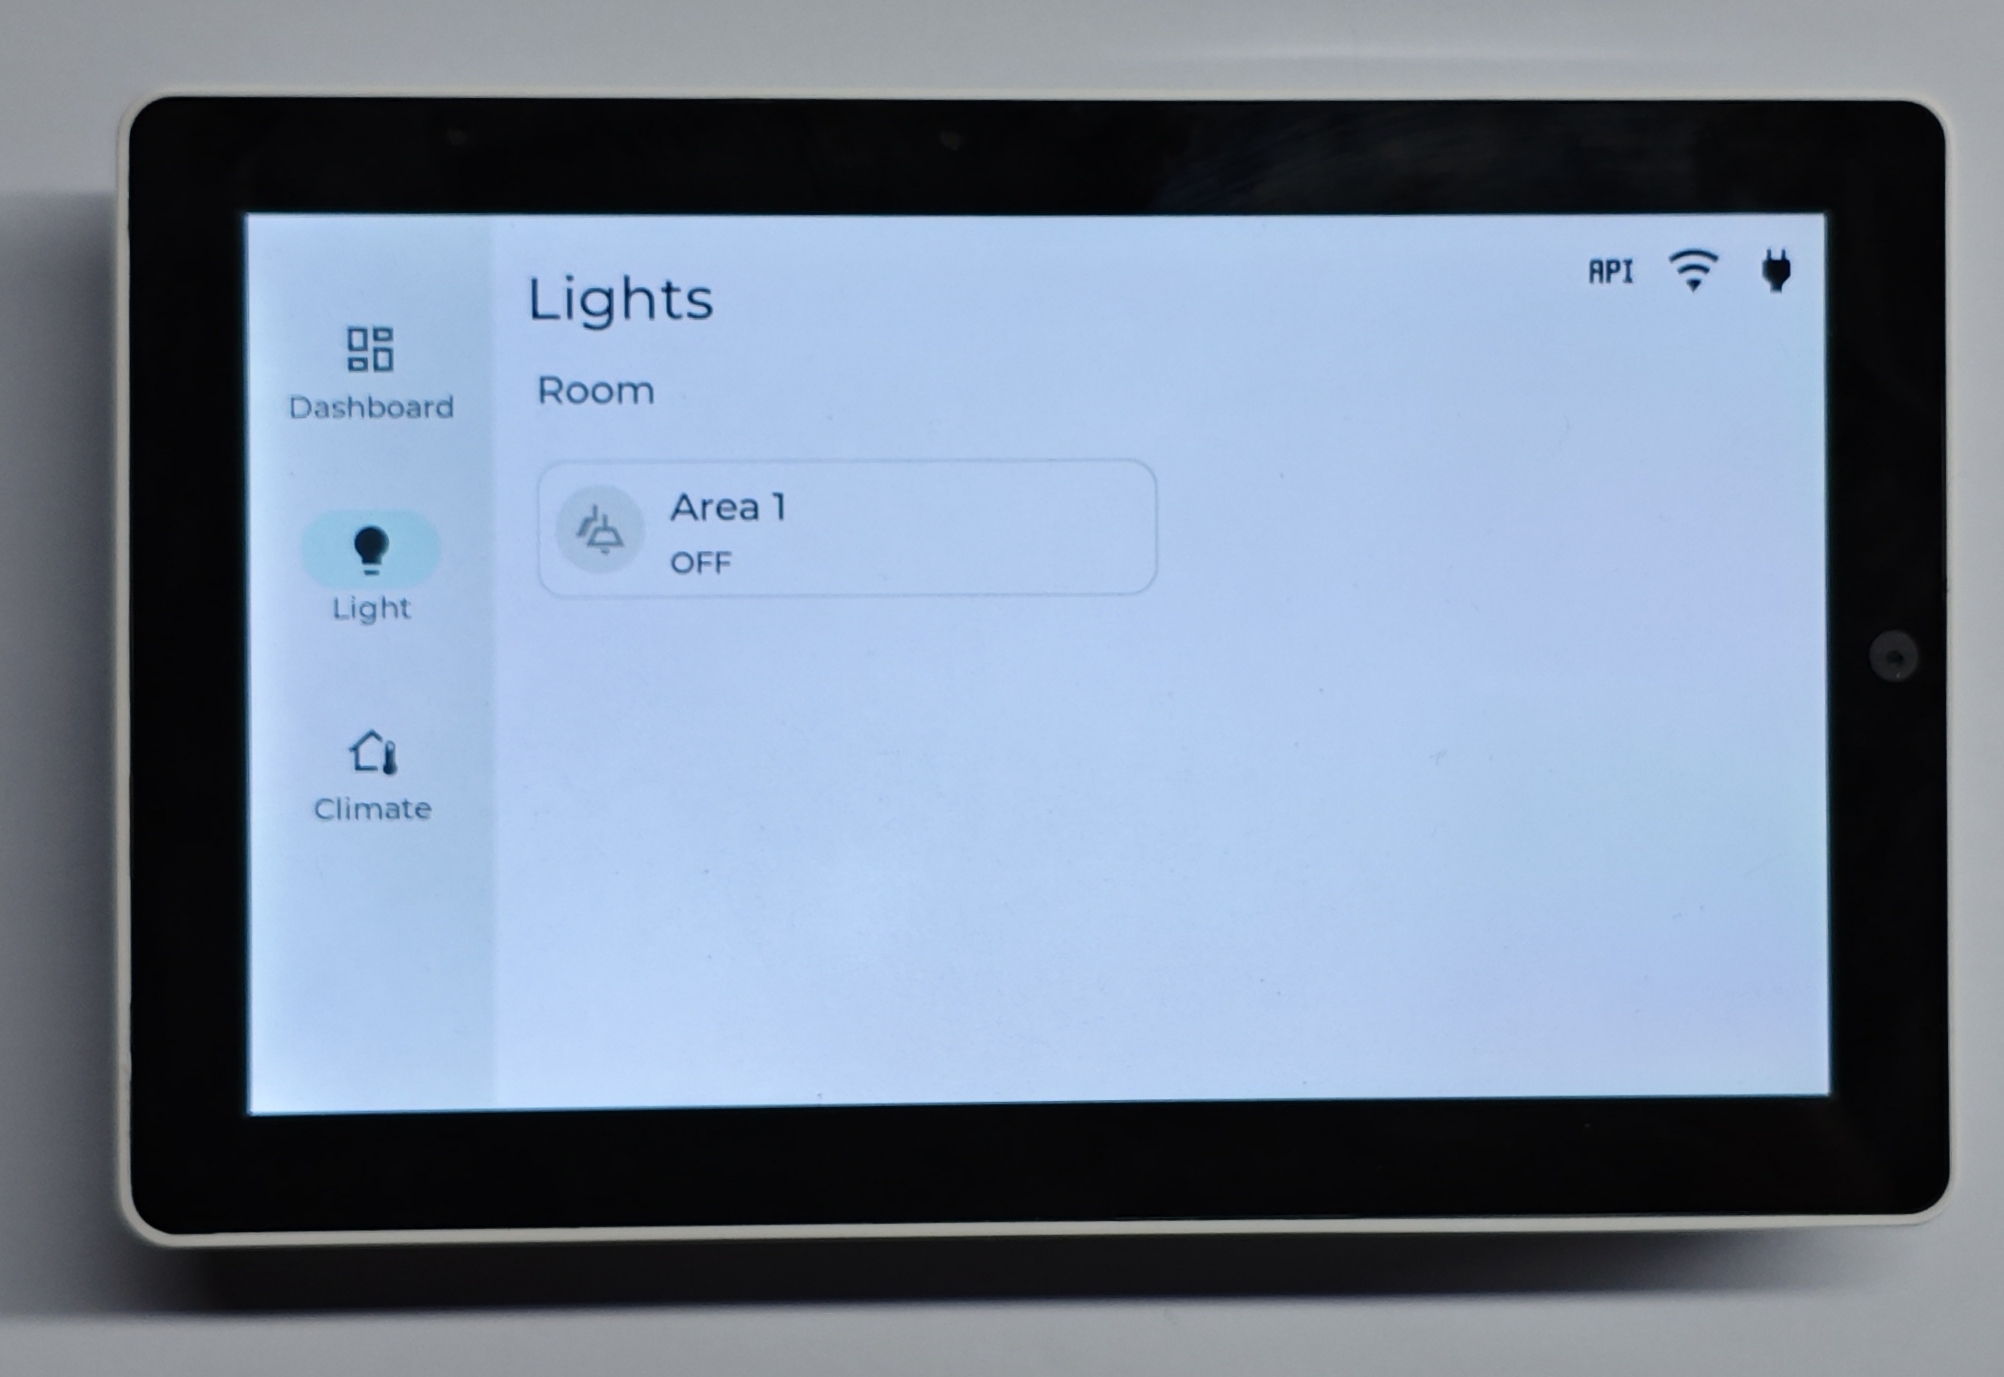
- 单击里面的 Icon Button,可以打开 / 关闭灯光。
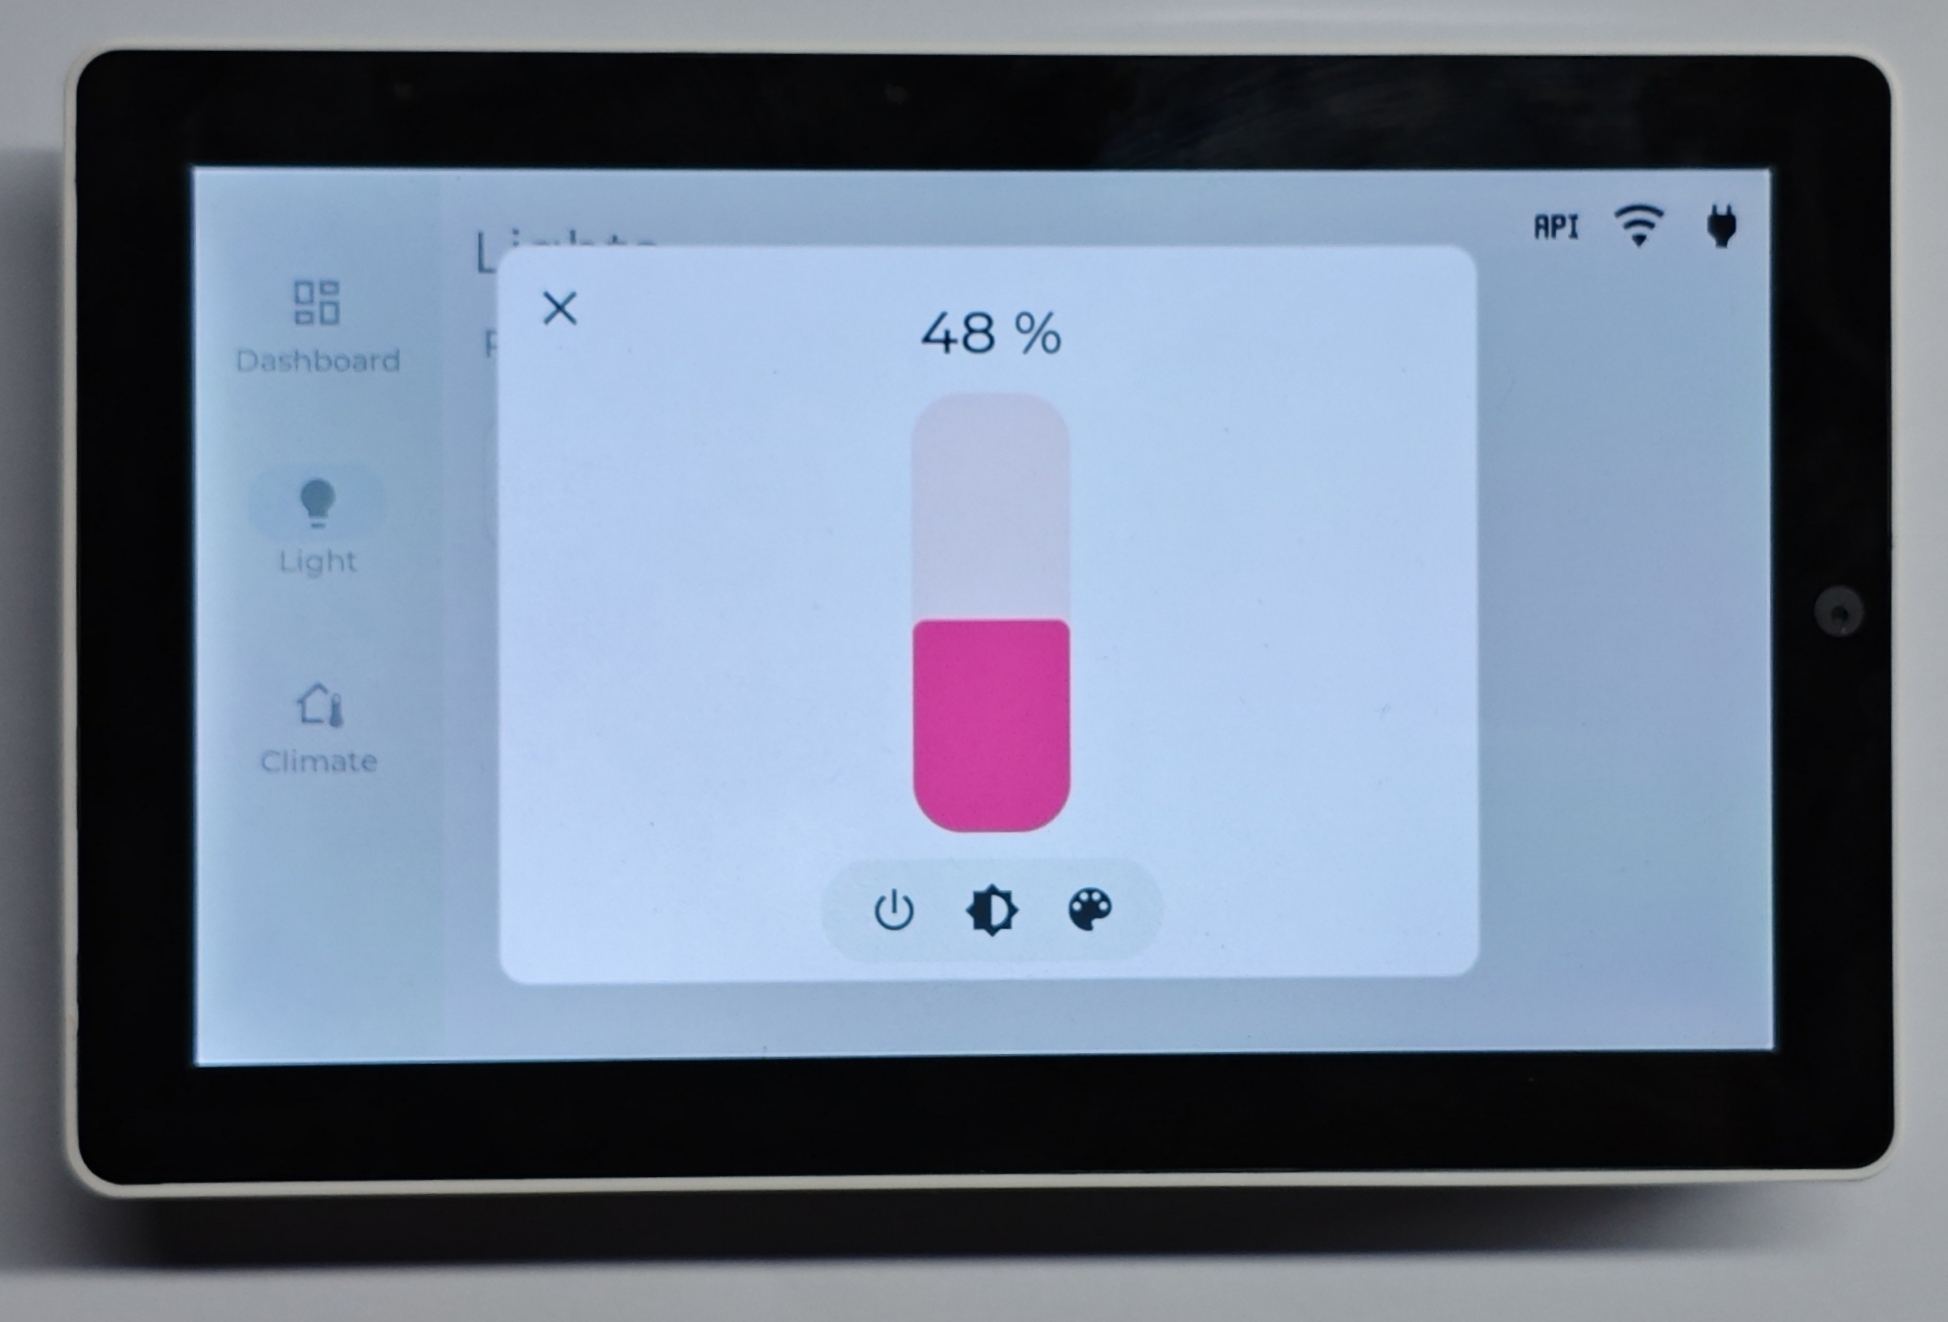
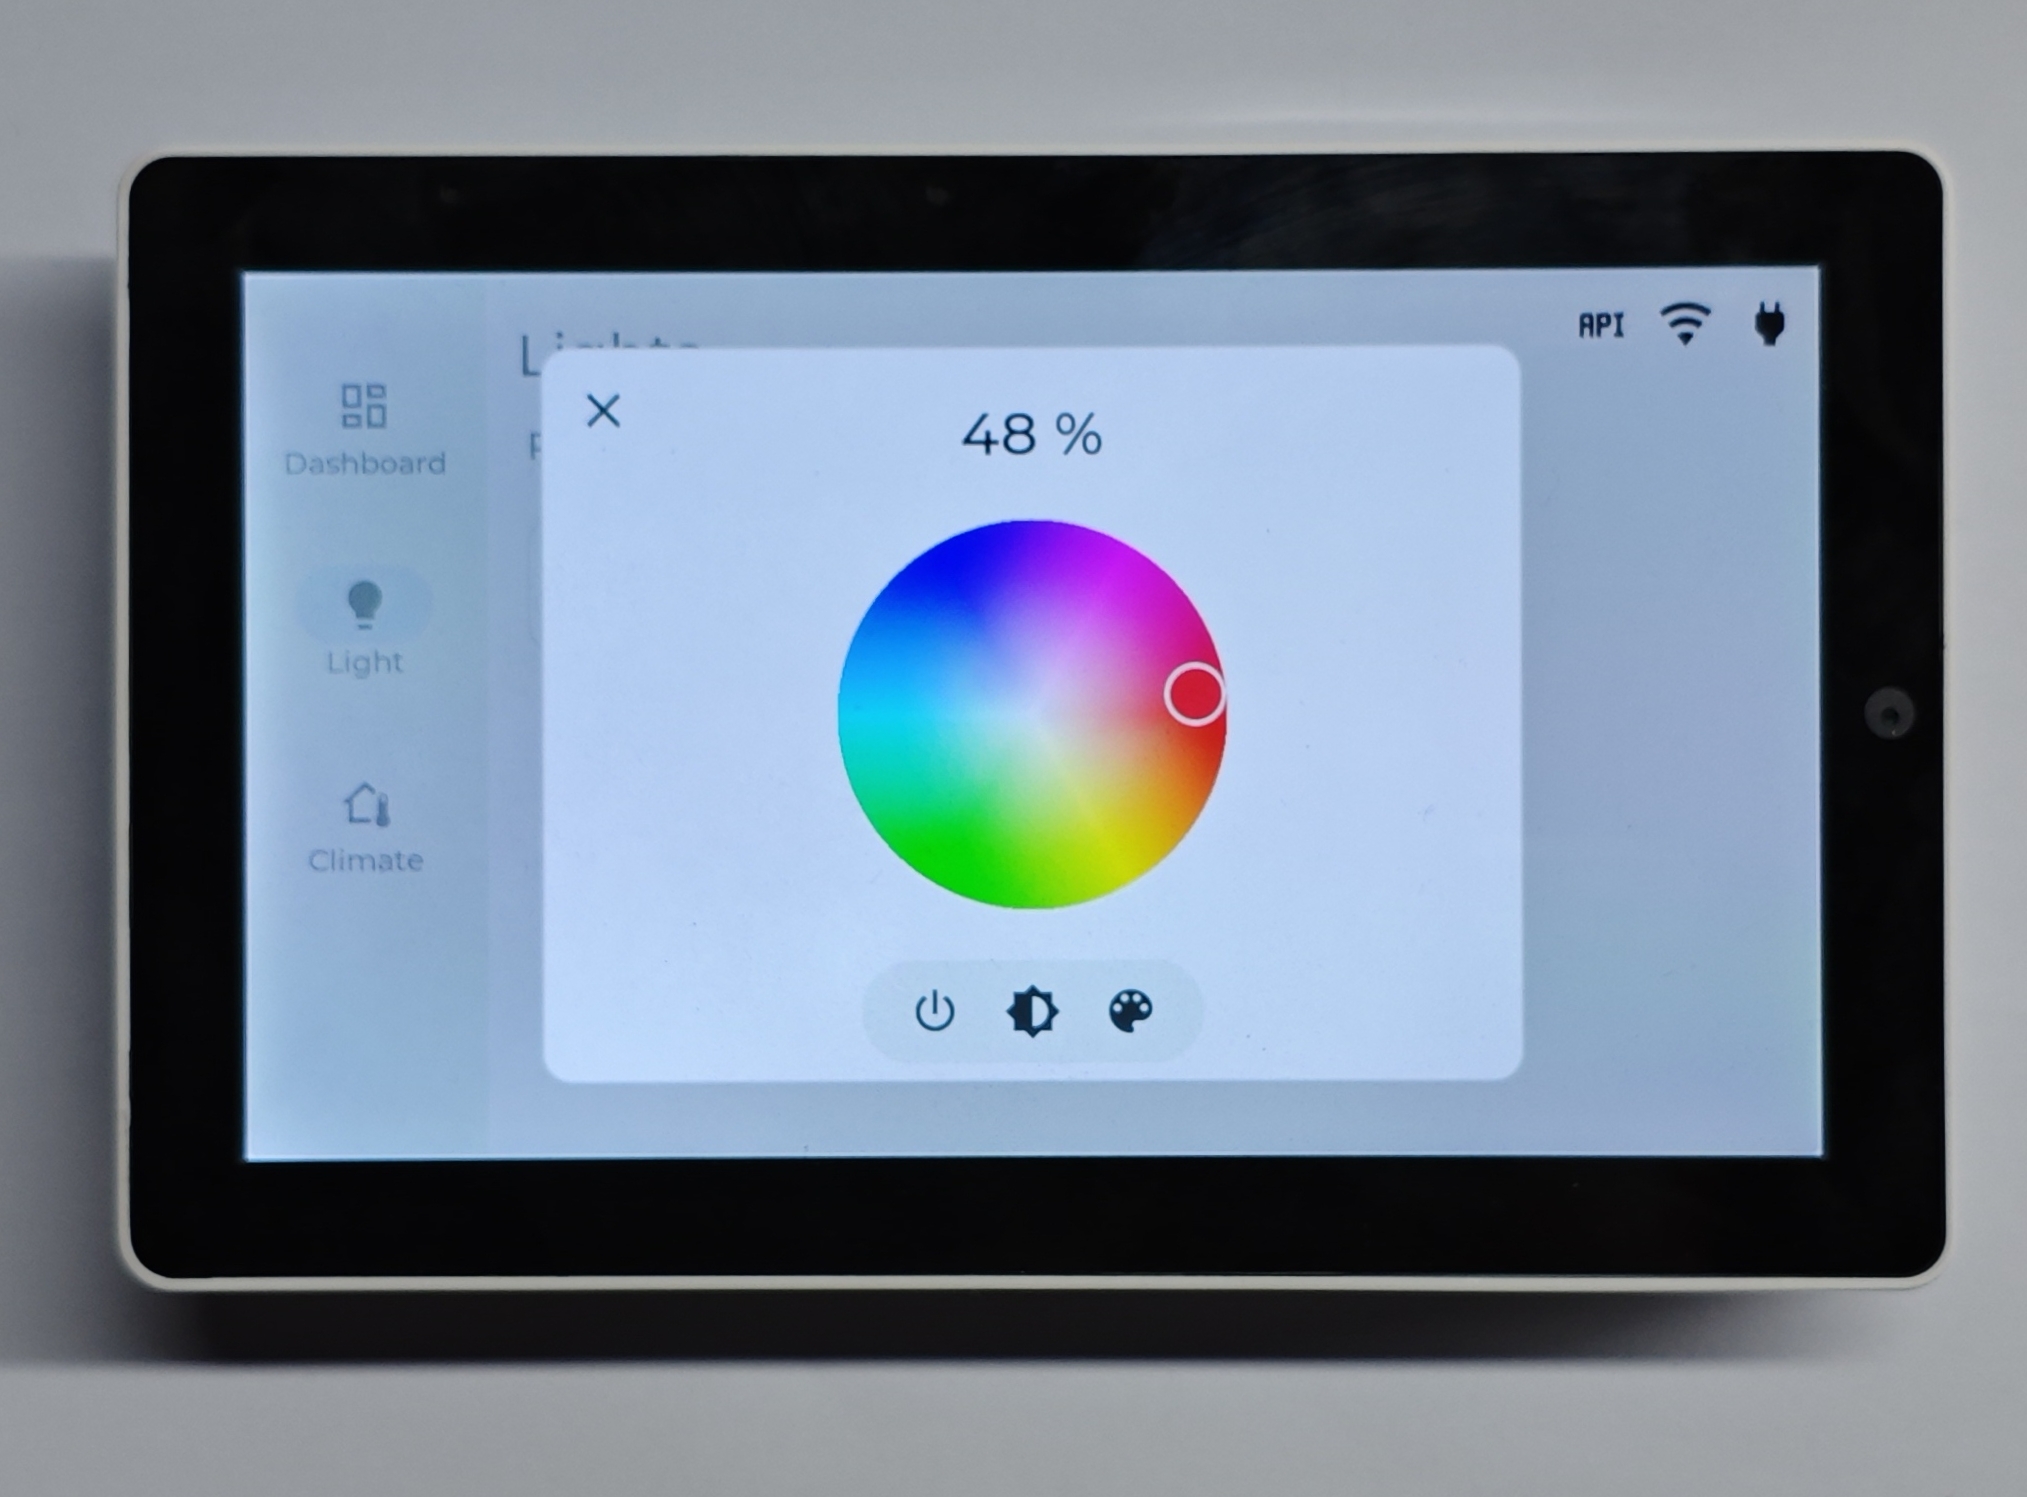
- 如果点击卡片的空白区域,可以打开灯光控制的模态框用于控制灯光亮度和 RGB 色彩。
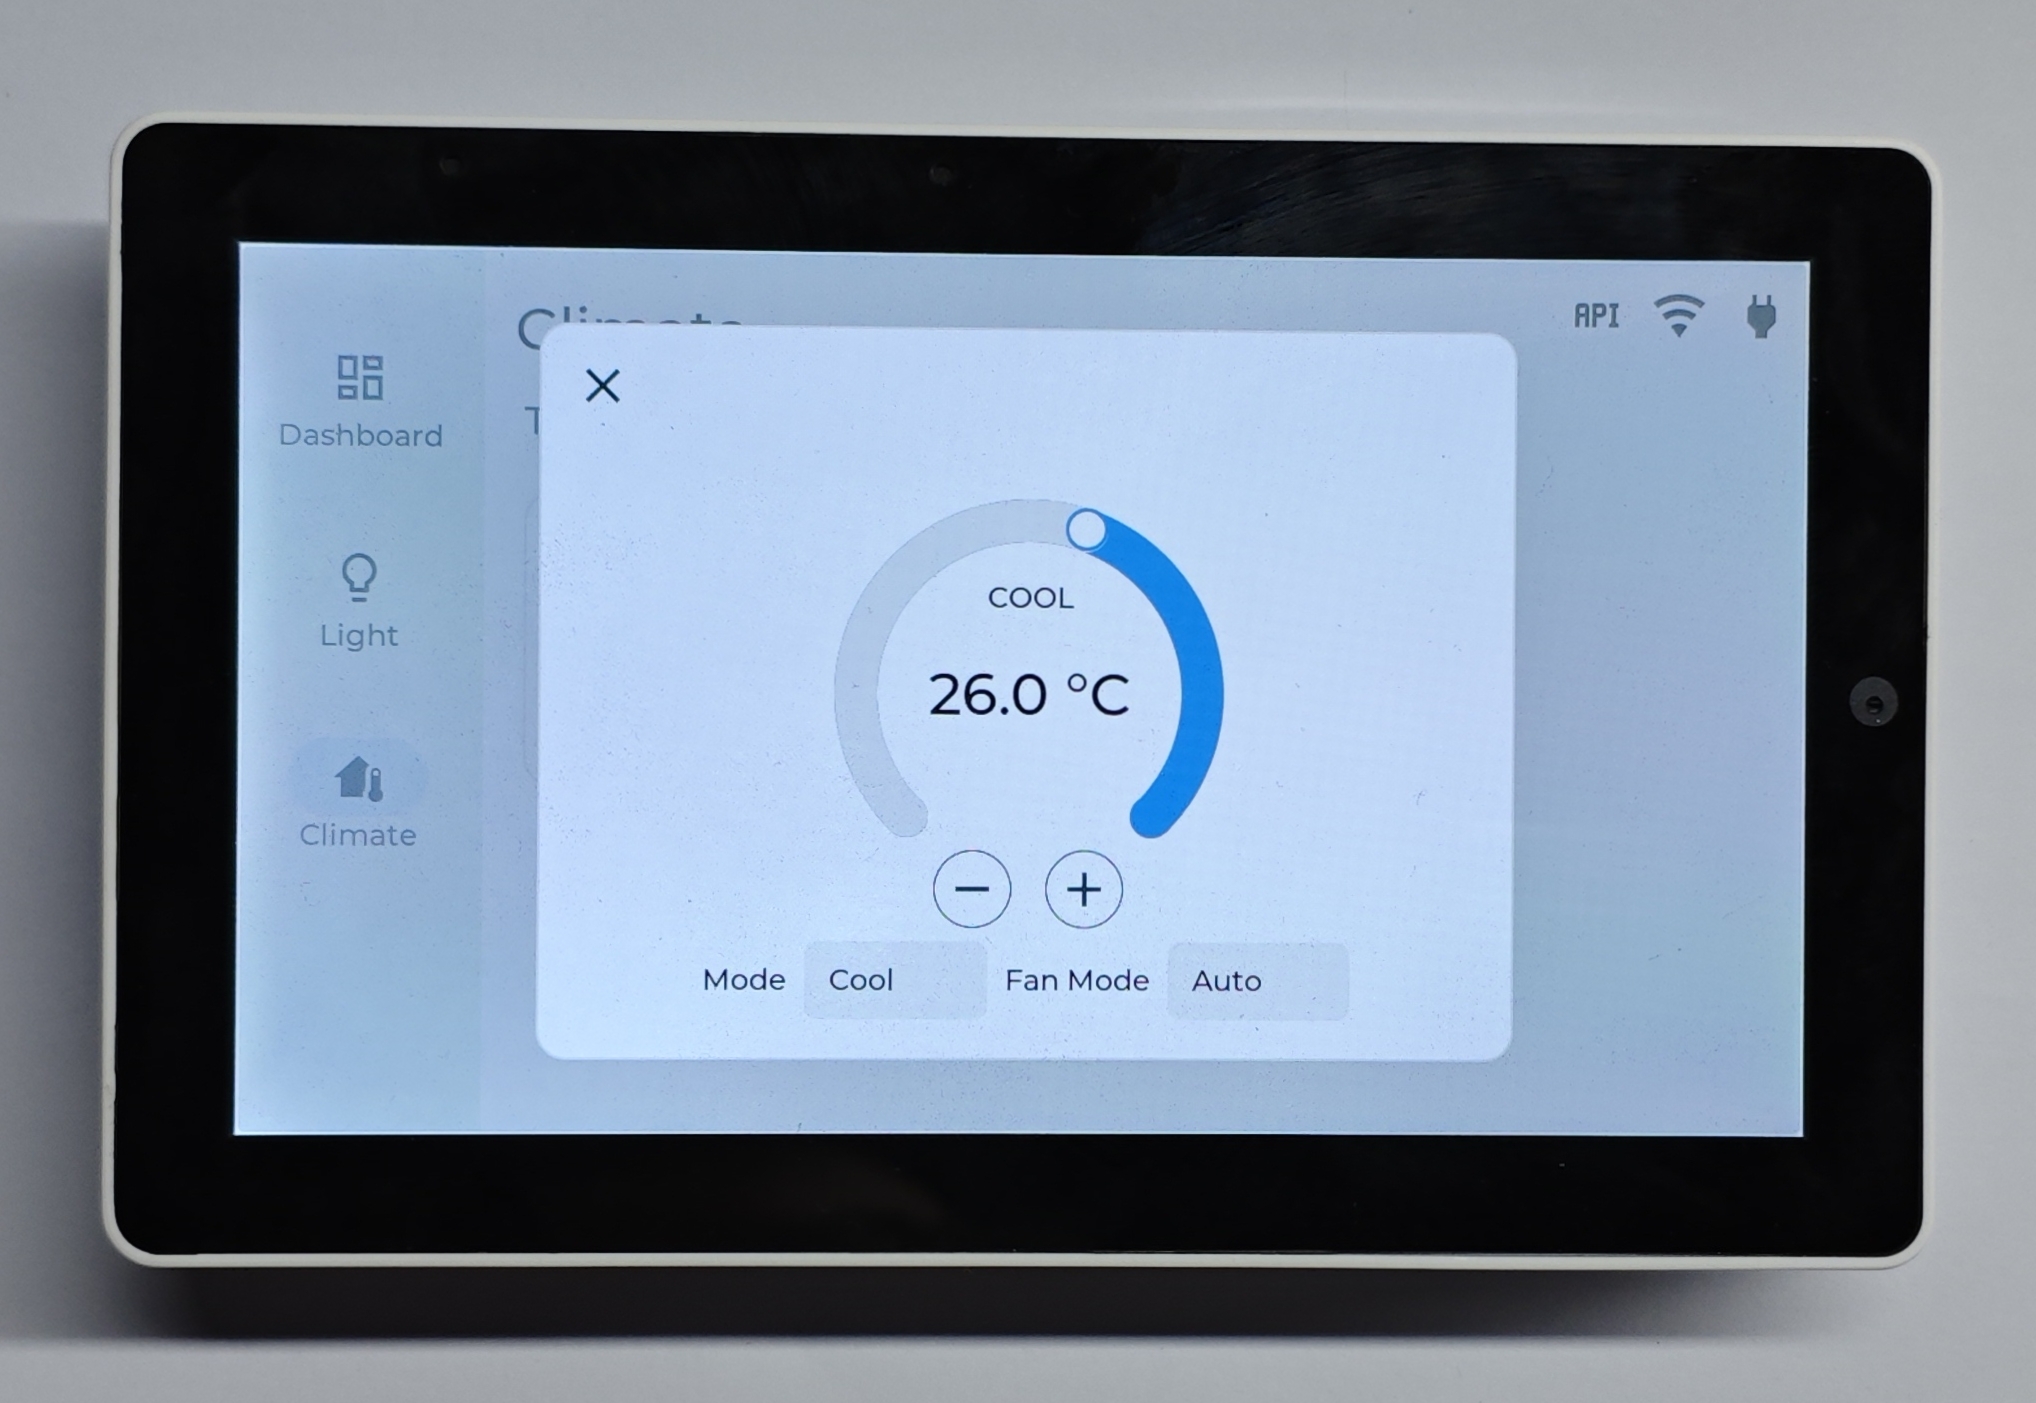
- 空调控制:
- 点击左侧的
Climate按钮,会出现一个示例的空调。
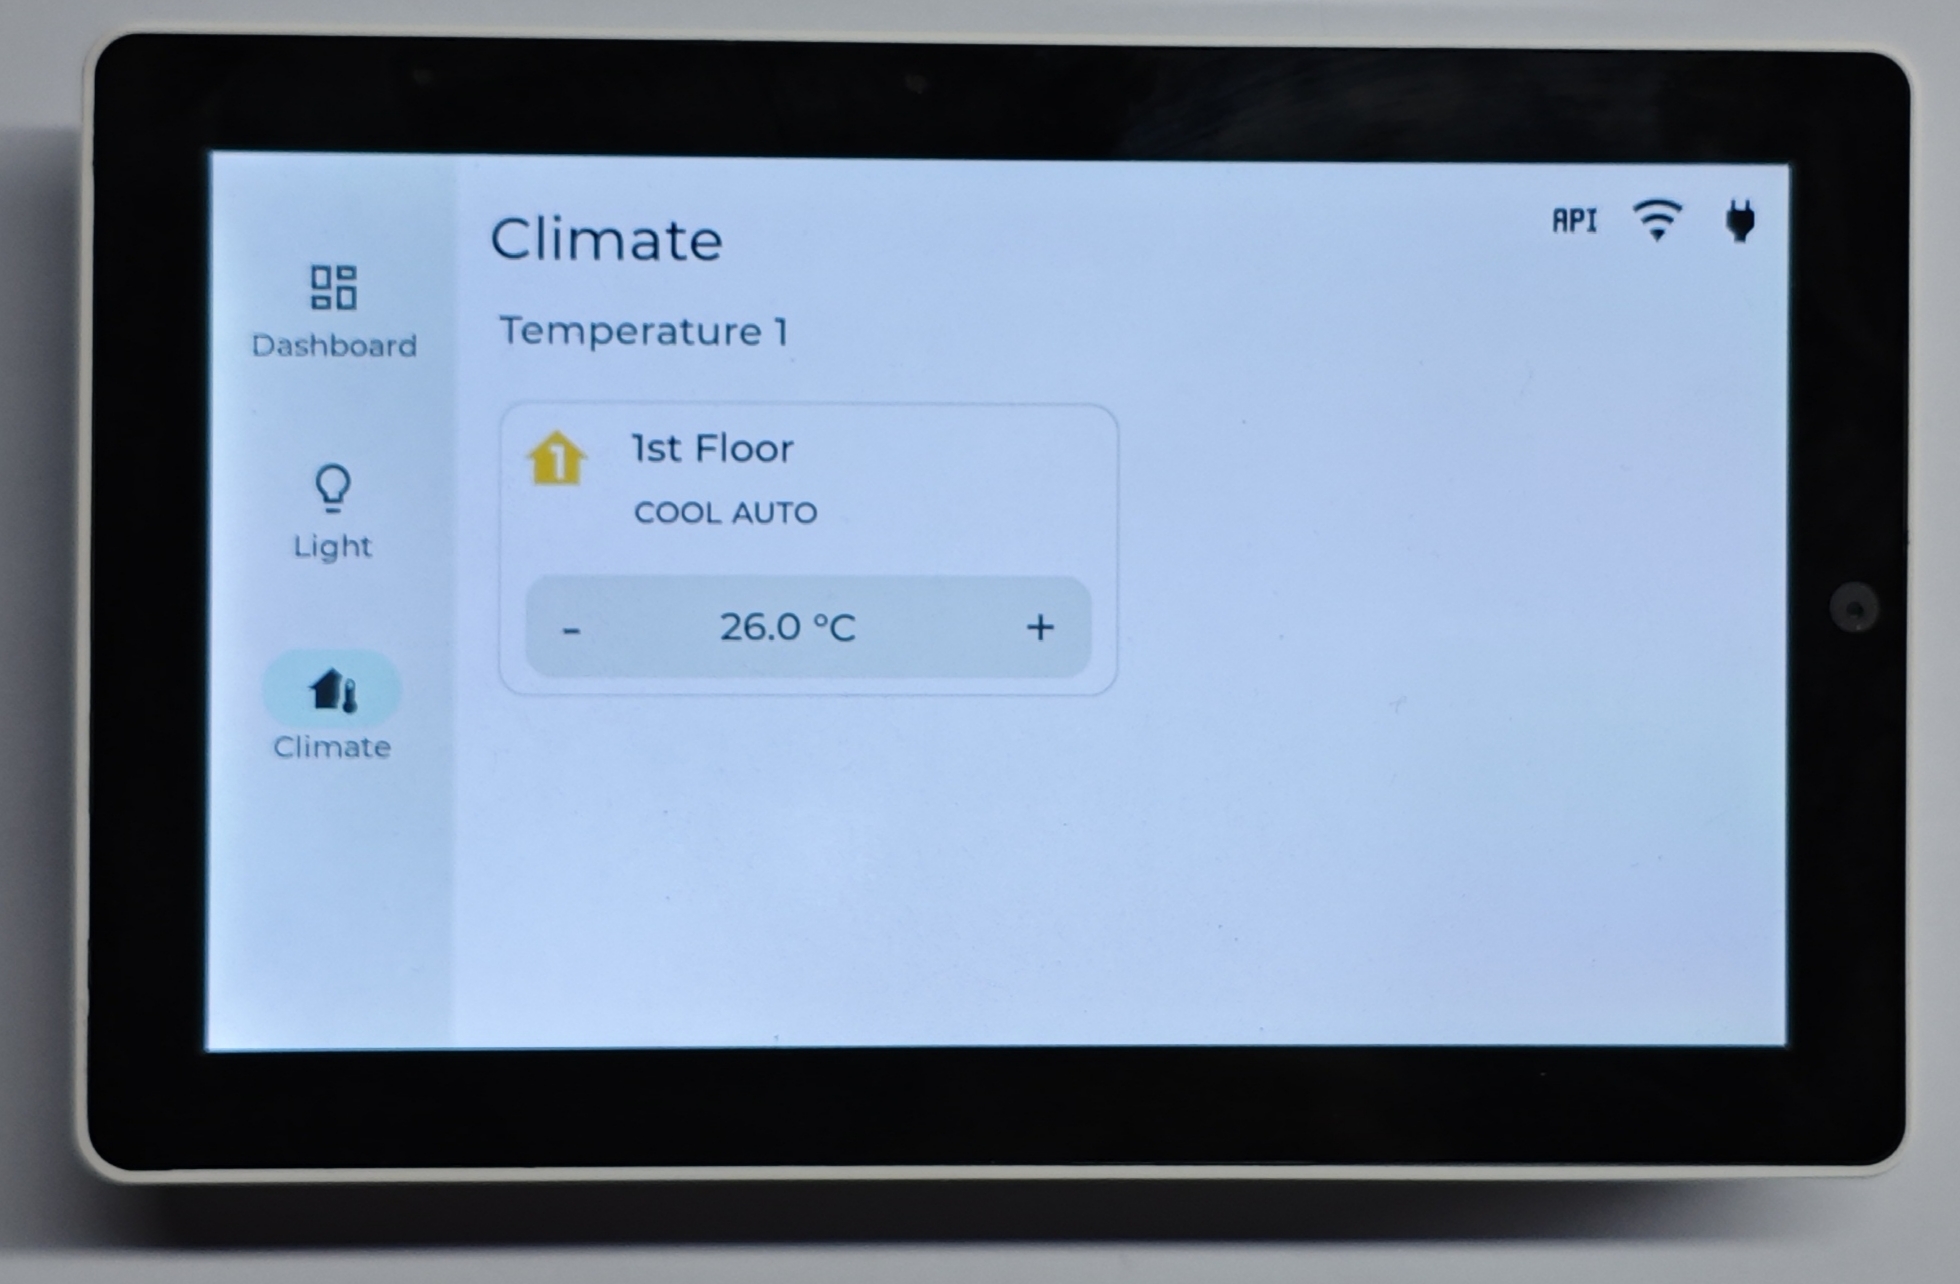
点击 Spinbox 两边的
+和-,会调整空调的目标温度(但无法设置空调状态,比如自动 / 制冷 / 制热等)。点击卡片的空白区域会打开模态框,用于调整模式,风速和温度等。
调整配置
这一部分将介绍如何修改配置,您可以尝试将自己的灯光、空调等组件配置到 Tab5 中,此部分仅针对有 ESPHome 使用经验的用户,在此之前,可以参考 ESPHome 提供的集成方式:
- Remote light button 介绍了如何添加一个 LVGL 的灯光按钮,使其可以远程控制一个灯光实体。
- Toggle state icon button Remote light 的进阶版本,可以根据灯光开关情况修改 LVGL UI。
- Light brightness slider 介绍了如何绘制一个 LVGL Slider 并且绑定灯光亮度。
- Native API Component 介绍了如何通过
homeassistant.action来调用 Home Assistant,其中包含了一个设置 RGB 灯光颜色的案例。 - Climate control 介绍了如何创建一个 LVGL Spinbox 并且控制如空调 / 加热器等实体。
- Home Assistant Text Sensor 特殊的 Text Sensor 类型,用于获取 Home Assistant 上实体的状态值和属性值。
- Home Assistant Binary Sensor 特殊的 Binary Sensor 类型,用于获取 Home Assistant 上的 Binary Sensor 的读数。
- Home Assistant Sensor 特殊的 Sensor 类型,用于获取 Home Assistant 上的 Sensor 实体的读数。
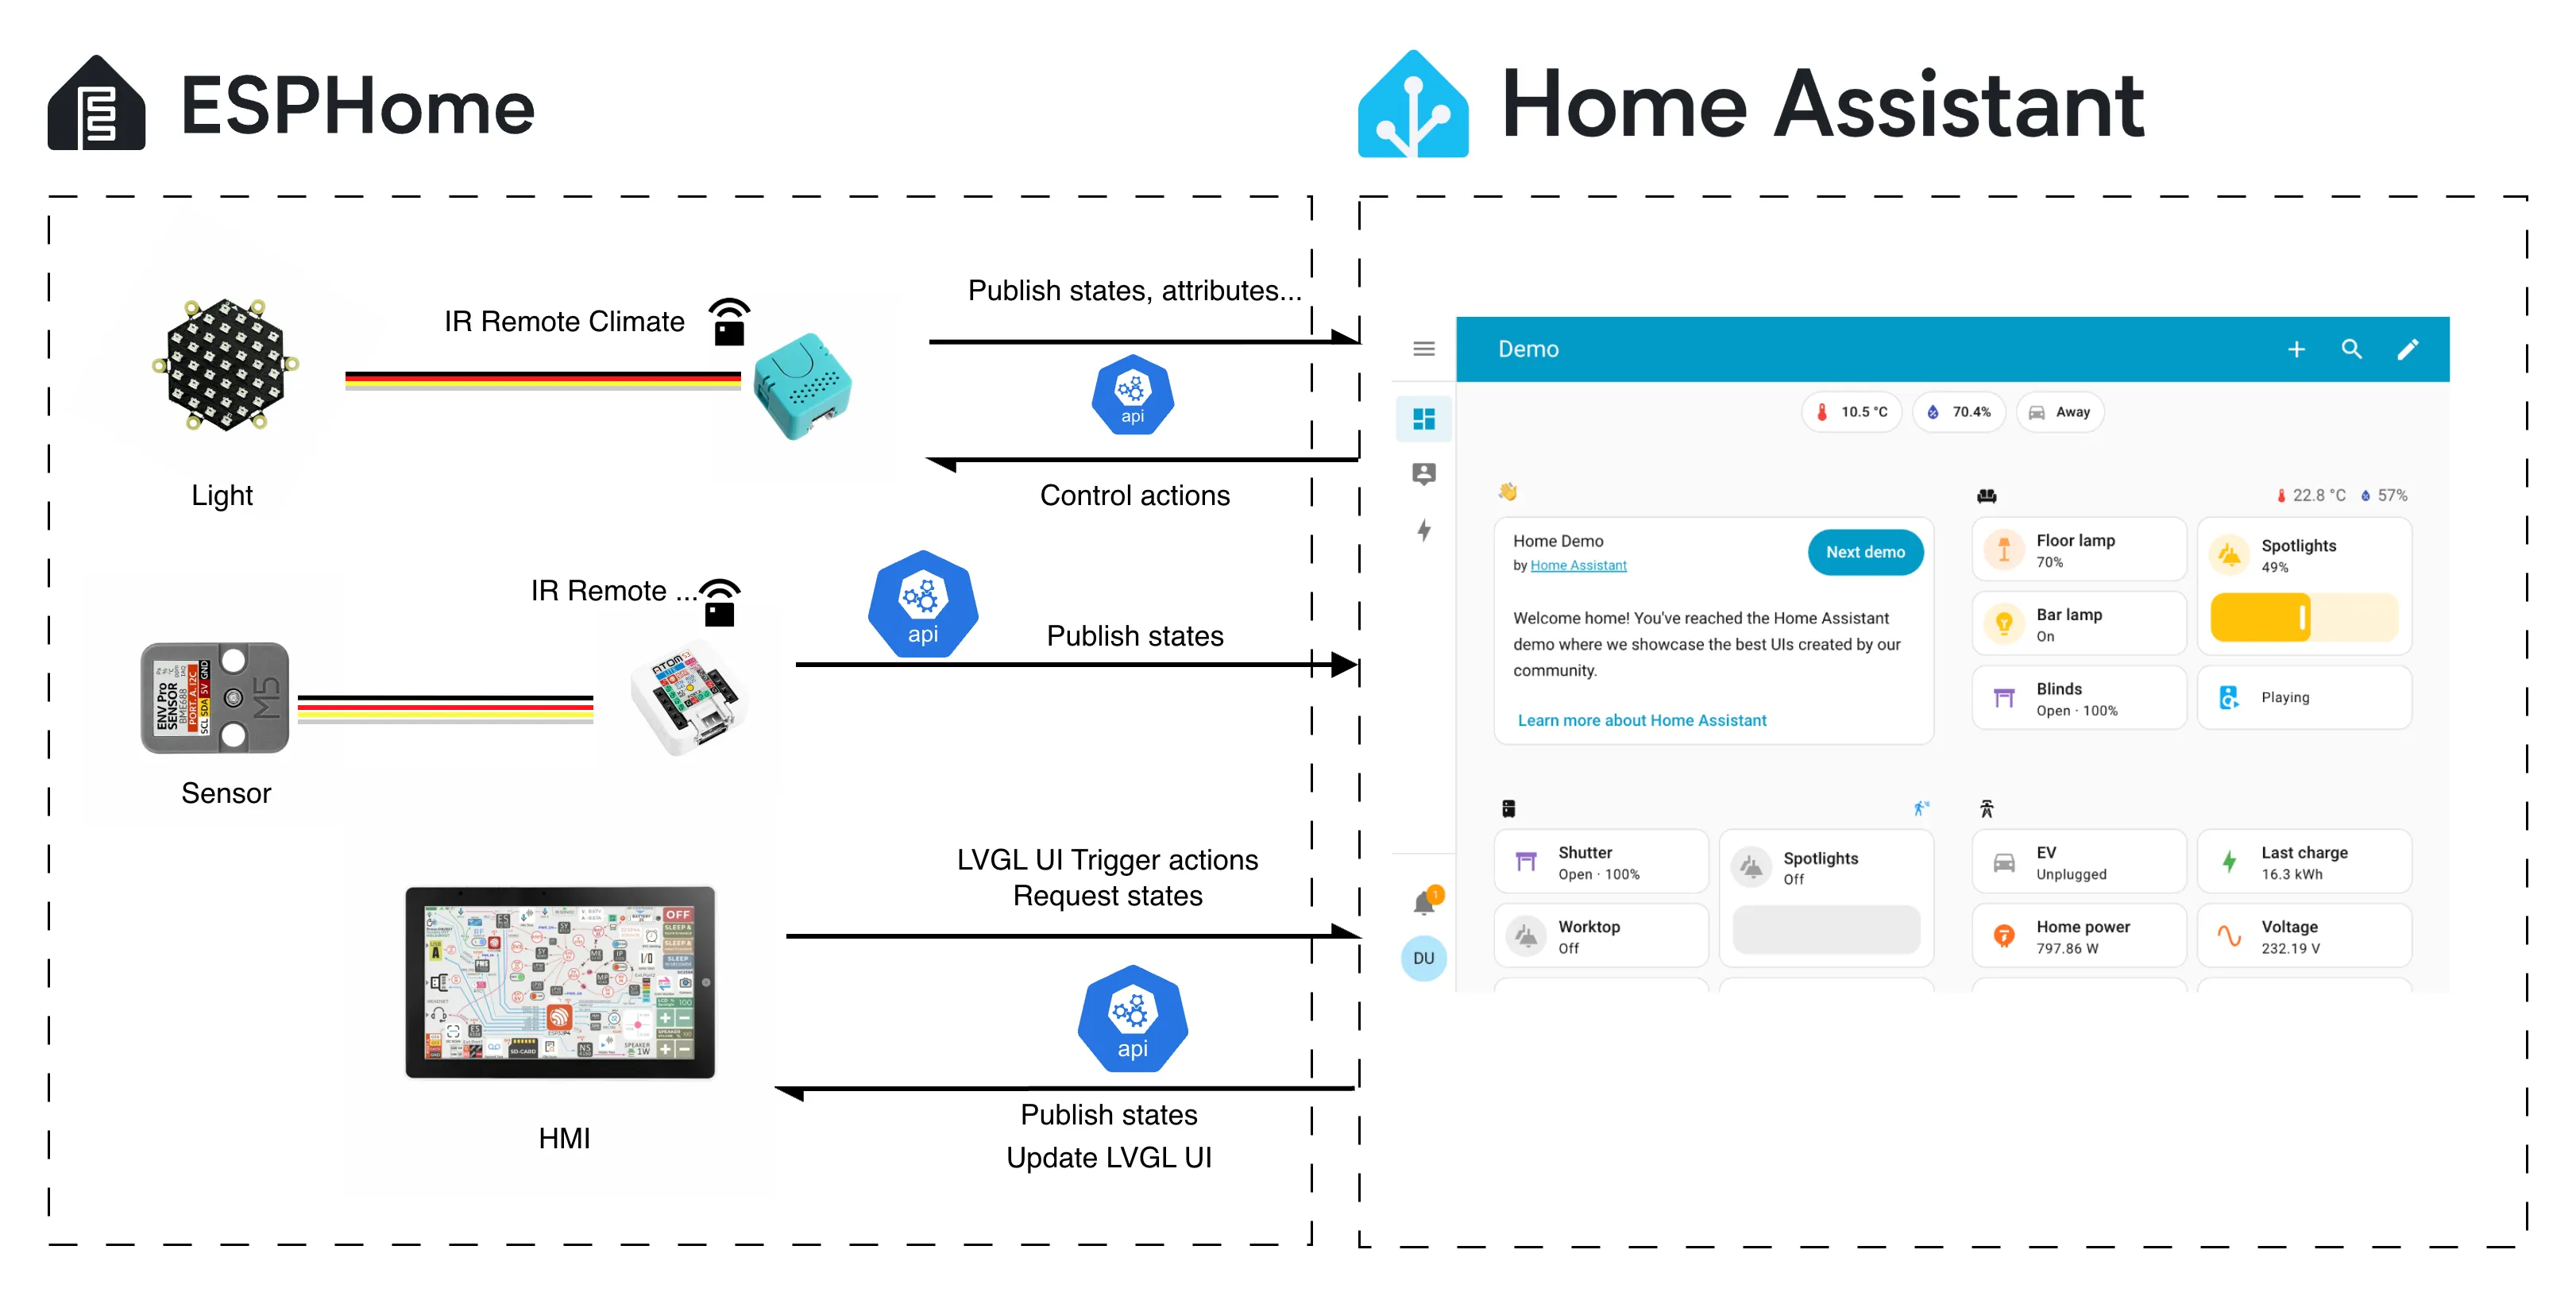
了解了上面这些案例后,我们就可以大概绘制出目前的一个架构。
灯光
下面就以灯光组件作为一个范例。
在 LVGL(主要定义在 tab5-lvgl.yaml 文件)中,我们绘制了一些组件,譬如 Icon Button,Slider 还有一个自定义的 Color Palette(调色盘)。当然在此之前,确保已经将灯光组件集成到了 Home Assistant 中(确保在 Home Assistant 中可以操作灯光)。由于在配置文件中定义的有 text_sensor:
text_sensor:
  - platform: homeassistant
    id: demo_light
    entity_id: light.unit_neo_hex_unit_neohex
    on_value:
      then:
        - lvgl.widget.update:
            id: xxx
            ...

        - lvgl.label.update:
            id: xxx
            ...

  - platform: homeassistant
    id: demo_light_brightness
    entity_id: light.unit_neo_hex_unit_neohex
    attribute: brightness
    on_value:
      - lvgl.slider.update:
          id: xxx
          ...

      - lvgl.label.update:
          id: xxx
          ...

  - platform: homeassistant
    id: demo_light_color
    entity_id: light.unit_neo_hex_unit_neohex
    attribute: rgb_color
    on_value:
      ...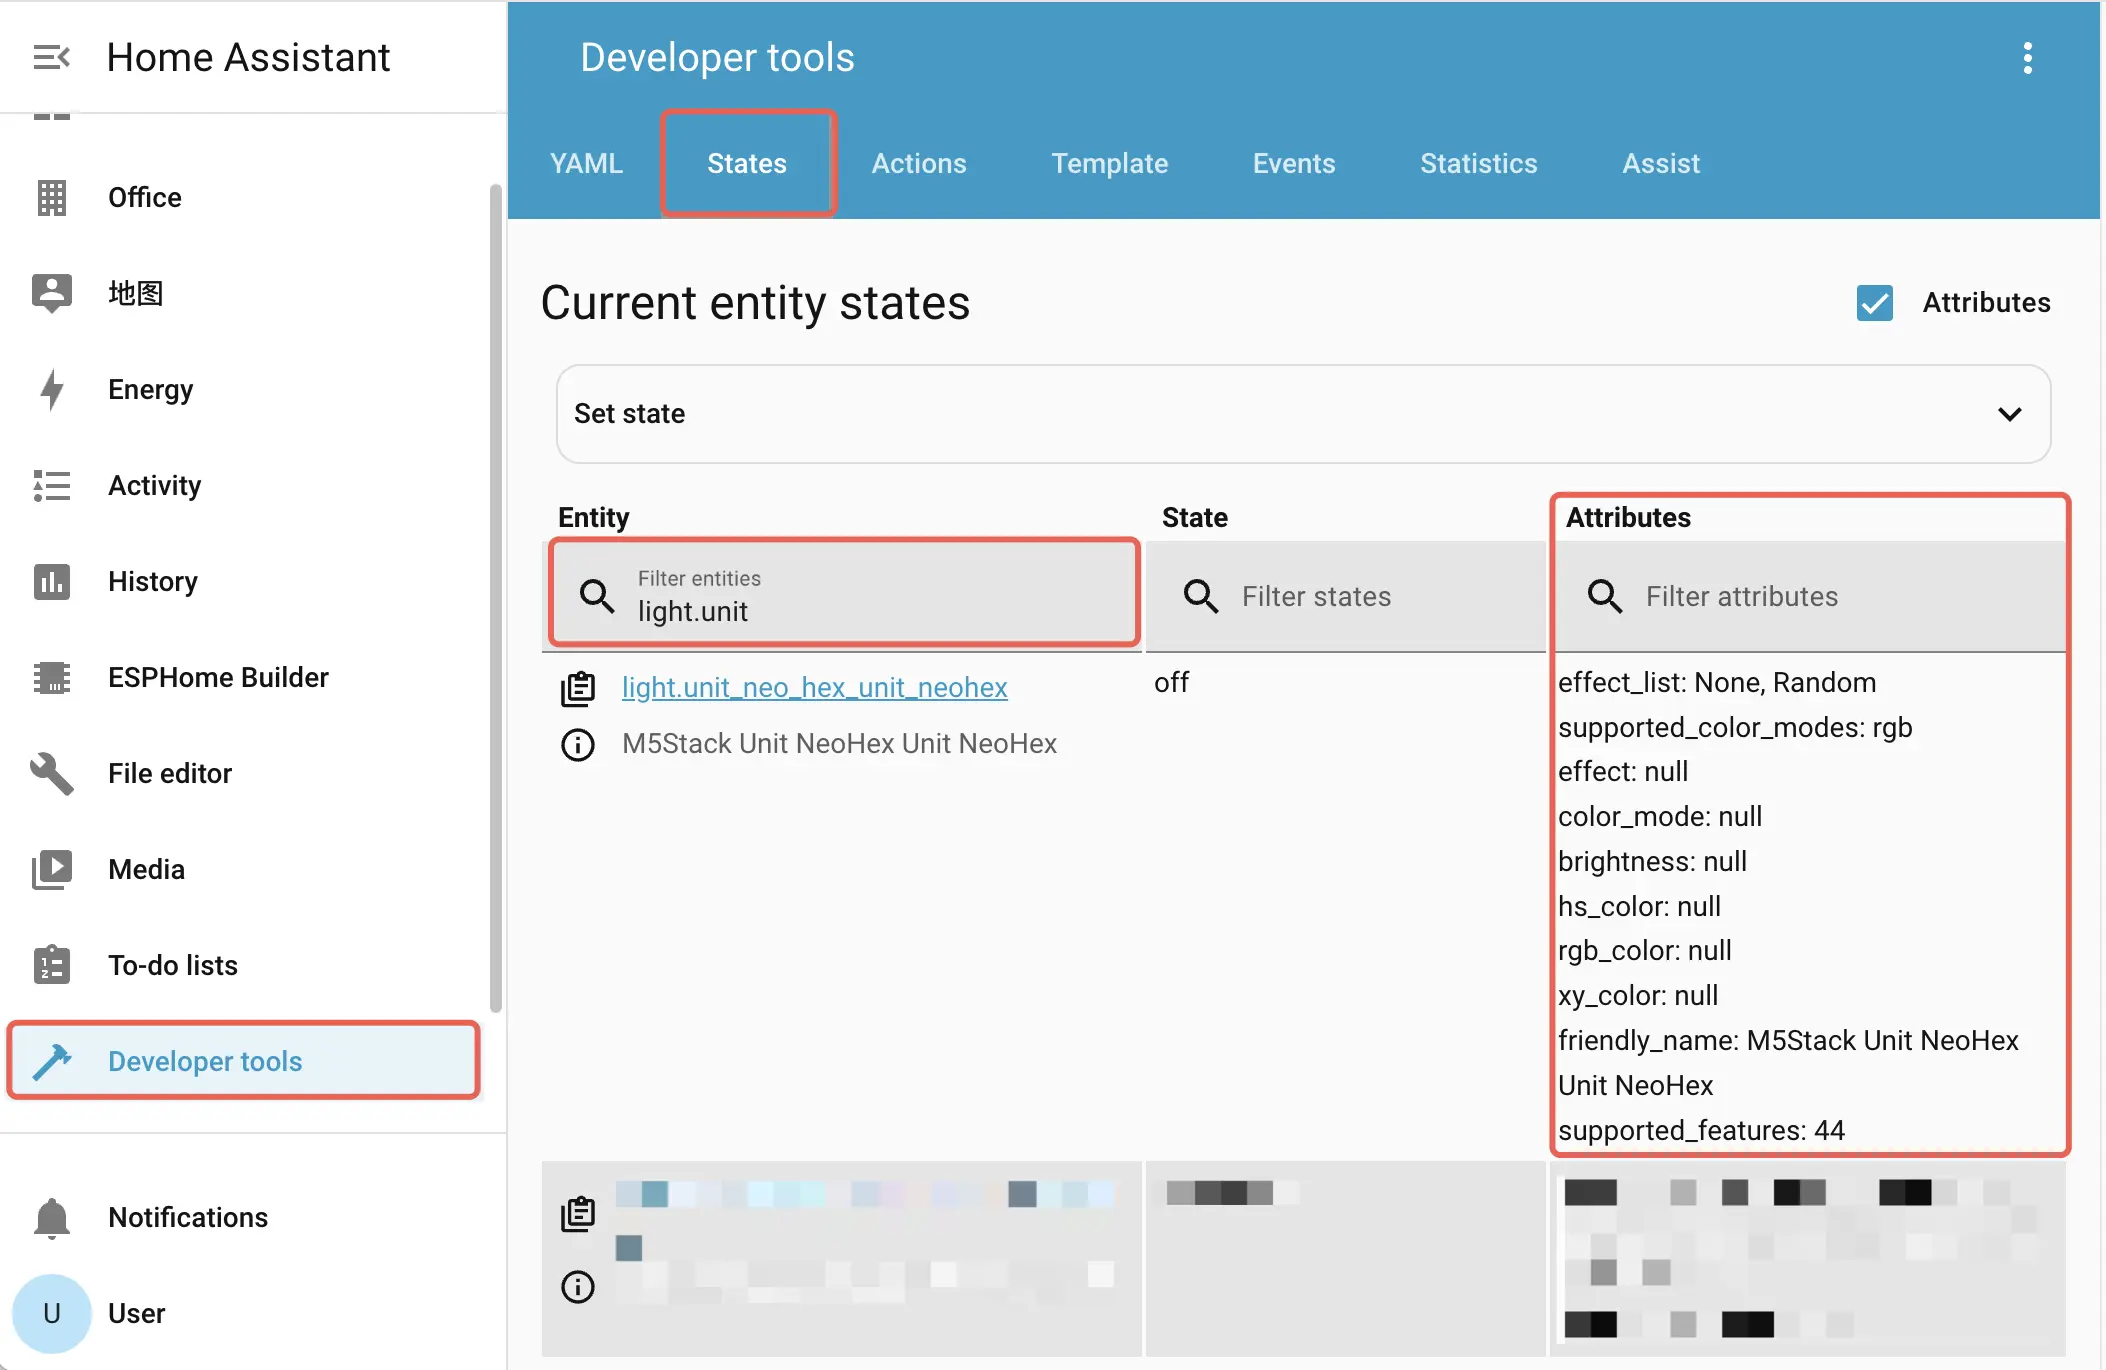
...- 它有一个
on_value属性用于自动化 (Automation) 的回调,当接收到 Home Assistant 更新的数据后,便可在其中调用 lvgl 相关动作 (actions) 用于更新 UI 内容。 #> 提示 | 灯光实体的各种属性,会由于灯的种类和配置不同而不同,可以在 Home Assistant 中找到Developer tools->States搜索相关属性(比如输入light查找)。
- 而 LVGL 的组件事件触发(trigger)可以通过
homeassistant.actionAPI 控制灯光:
   # Use a icon button to toggle the light
     ...
   - button:
       styles: card_sm_icon_btn
       id: demo_light_btn
       ...
       widgets:
         - label:
             id: demo_light_label
             ...
             text: "\U000F18DE"
             align: CENTER
       on_short_click:
         - homeassistant.action:
             action: light.toggle
             data:
               entity_id: light.unit_neo_hex_unit_neohex
     ...
   # Use a slider to control light brightness
   - slider:
       min_value: 0
       max_value: 255
       id: light_slider
       ...
       on_release:
         - homeassistant.action:
             action: light.turn_on
             data:
               entity_id: light.unit_neo_hex_unit_neohex
               brightness: !lambda return int(x);
...- 不同 LVGL 组件有不同的触发方式(Triggers),具体可以参考 ESPHome - LVGL Widgets。
data 中直接指定 entity_id 和属性名称进行更改,Home Assistant 会拒绝无效的属性更改,若要知道那些 action 可以被触发,可以打开 Home Assistant 的 Developer tools -> Actions 查看。比如搜索灯光有哪些 action 可以触发,此处 RGB 变色就是由 Home Assistant 脚本触发的,如需了解更多脚本和自动化内容,参考: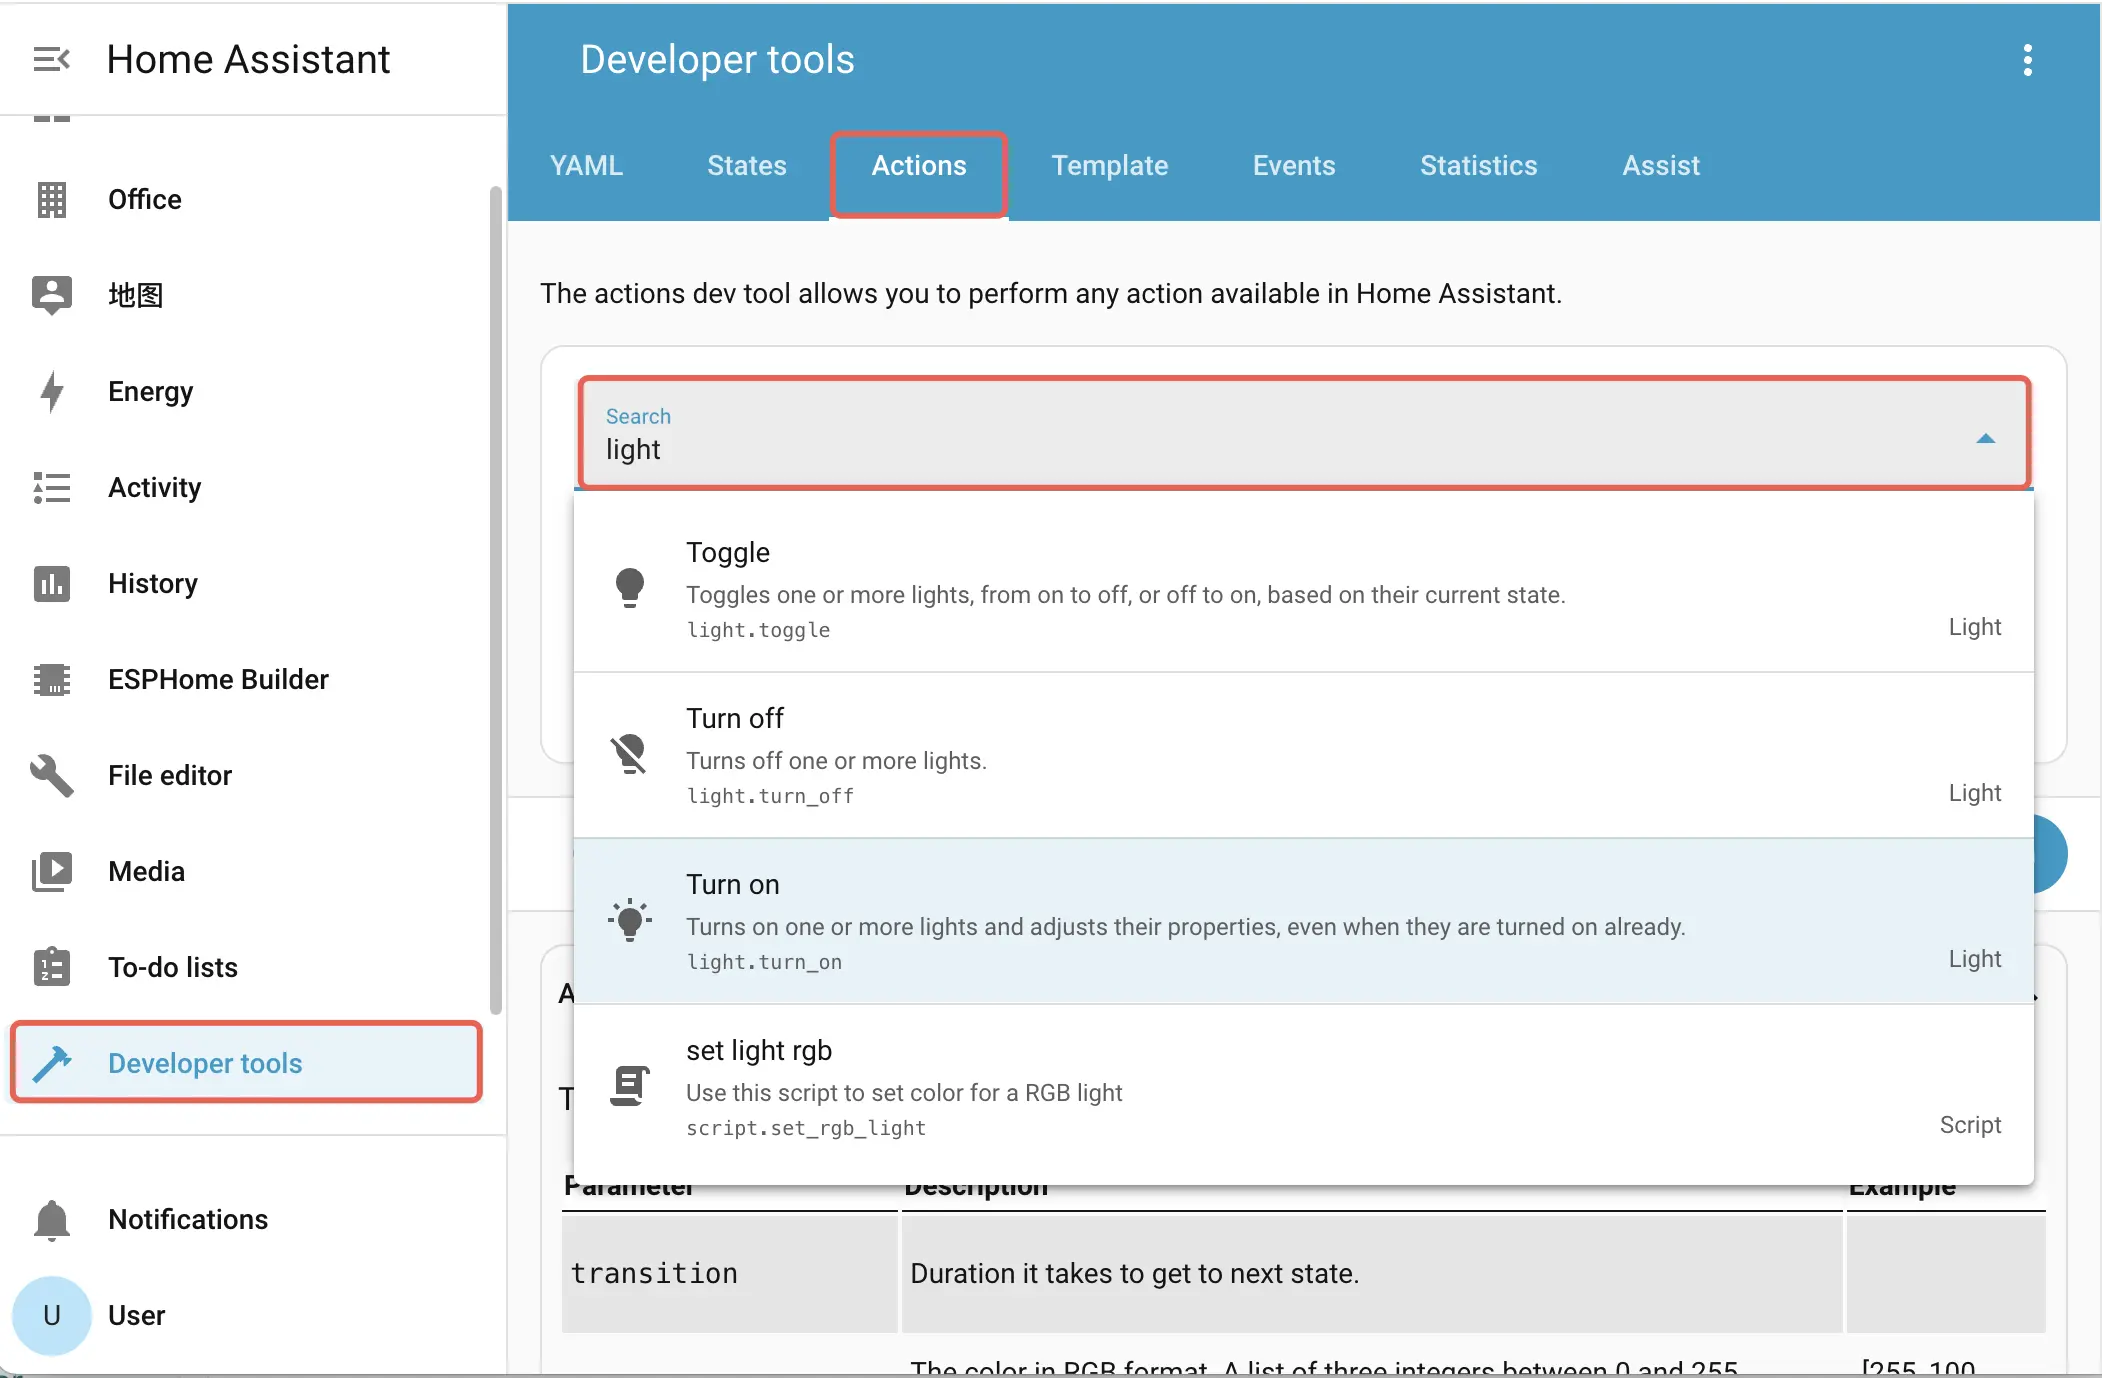
- 了解了上面这些内容后,如果想使用自己的 Light 实体:
- 在
text_sensor中添加或修改你想更新的entity_id和attribute,如果需要更新 LVGL UI,则需要编写更新的动作。 - 在自己希望触发灯光动作的 LVGL 组件回调中,将
homeassistant.action中data下的entity_id修改为合适的 id,并确保 action 已经存在。
传感器
- 同样,对于传感器
Sensor实体,其主要是发布数值(当然也有文字,ON/OFF 状态等),所以在配置文件中,如果需要知道 Home Assistant 上某个传感器的数值,也是指定entity_id即可。
   sensor:
     ...
   - platform: homeassistant
       id: cur_temp
       entity_id: sensor.temperature
       on_value:
         - lvgl.label.update:
             id: xxx

     - platform: homeassistant
       id: cur_humi
       entity_id: sensor.env_iv_kit_humidity
       on_value:
         - lvgl.label.update:
             id: xxx

     - platform: homeassistant
       id: cur_co2
       entity_id: sensor.env_iv_kit_co2_equivalent
       on_value:
         - lvgl.label.update:
             id: xxx
...这样 Tab5 便能读取到 Home Assistant 的传感器数据值,并且通过
on_value将值更新至 LVGL UI 界面。如需使用自己的传感器,只需修改
entity_id即可,如需更新 LVGL UI 则还需要编写相应的脚本。
Settings -> Devices & services 下的 Entities 找到各种实体。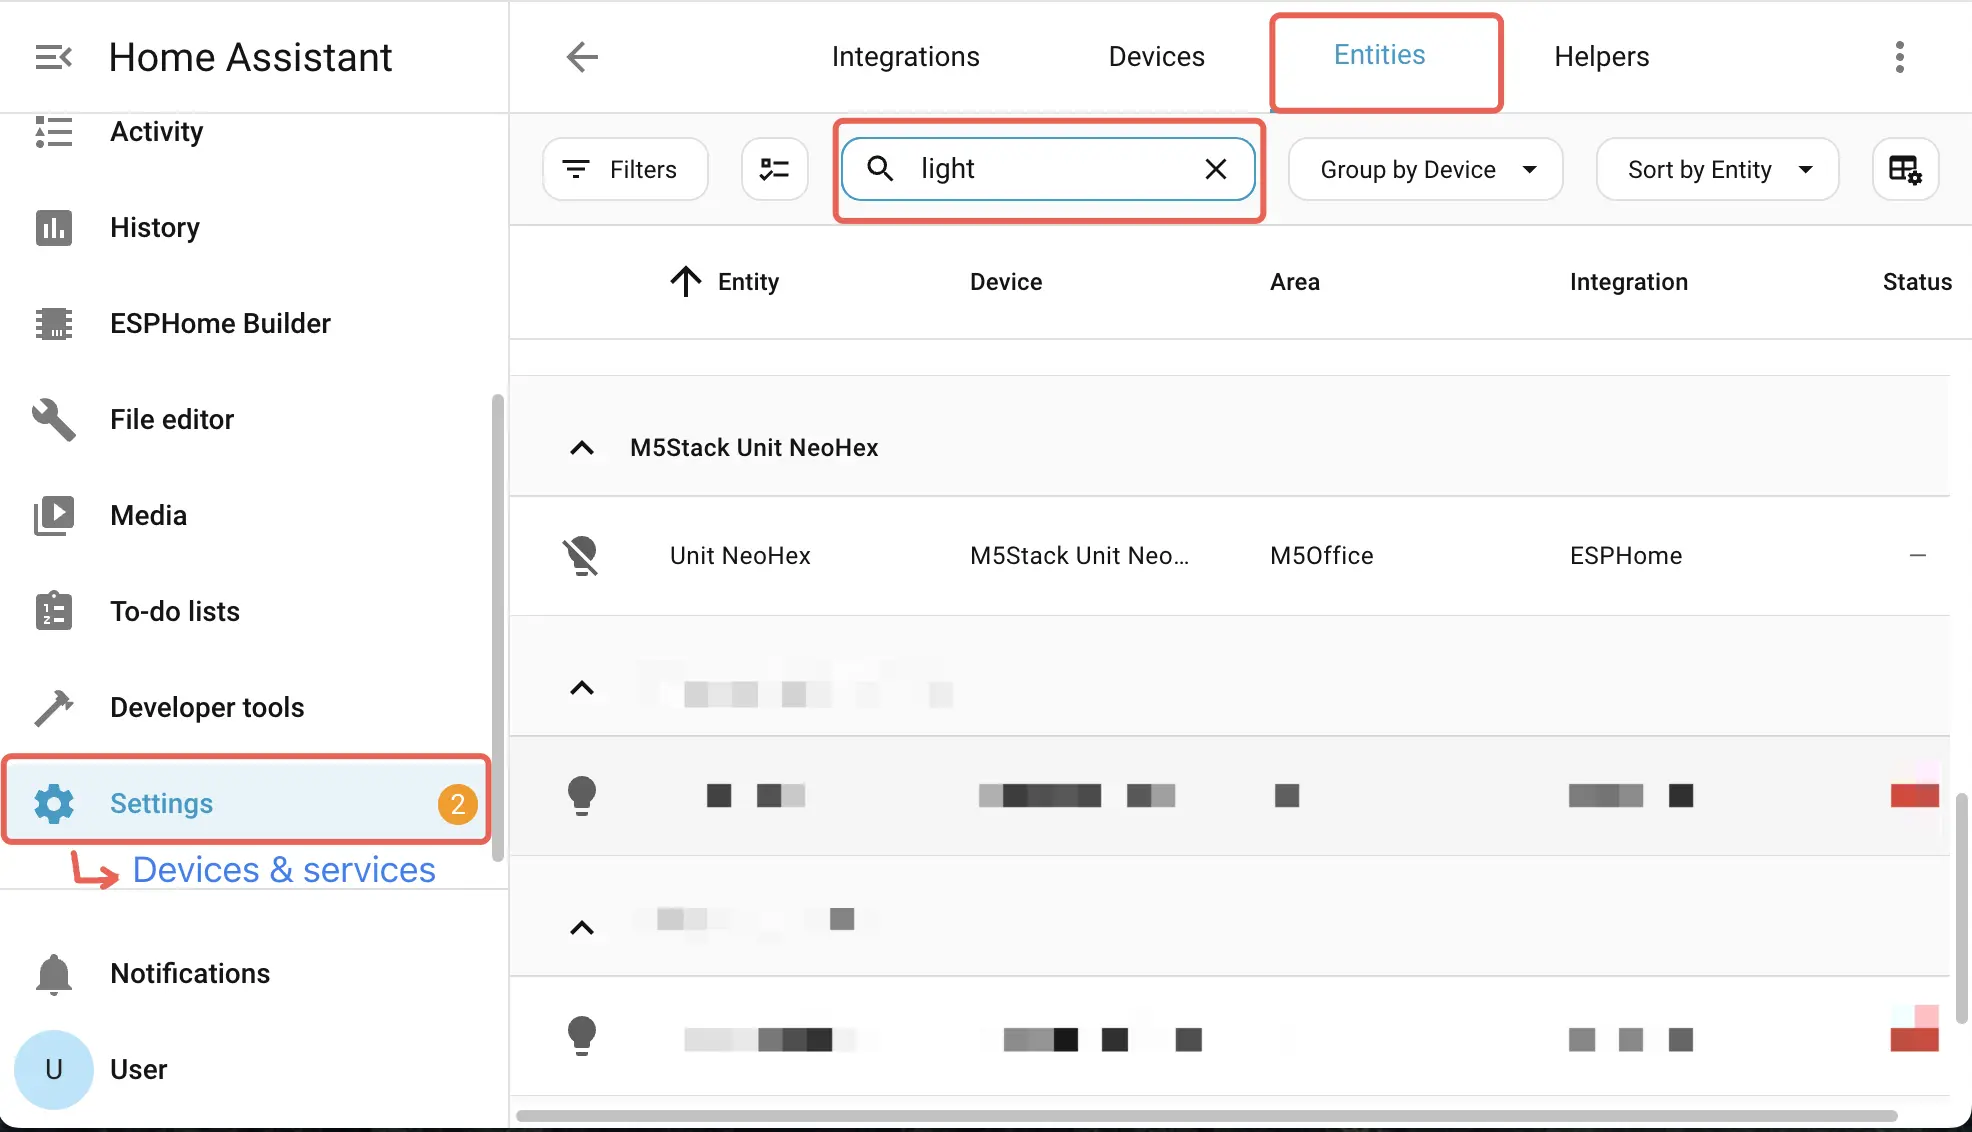
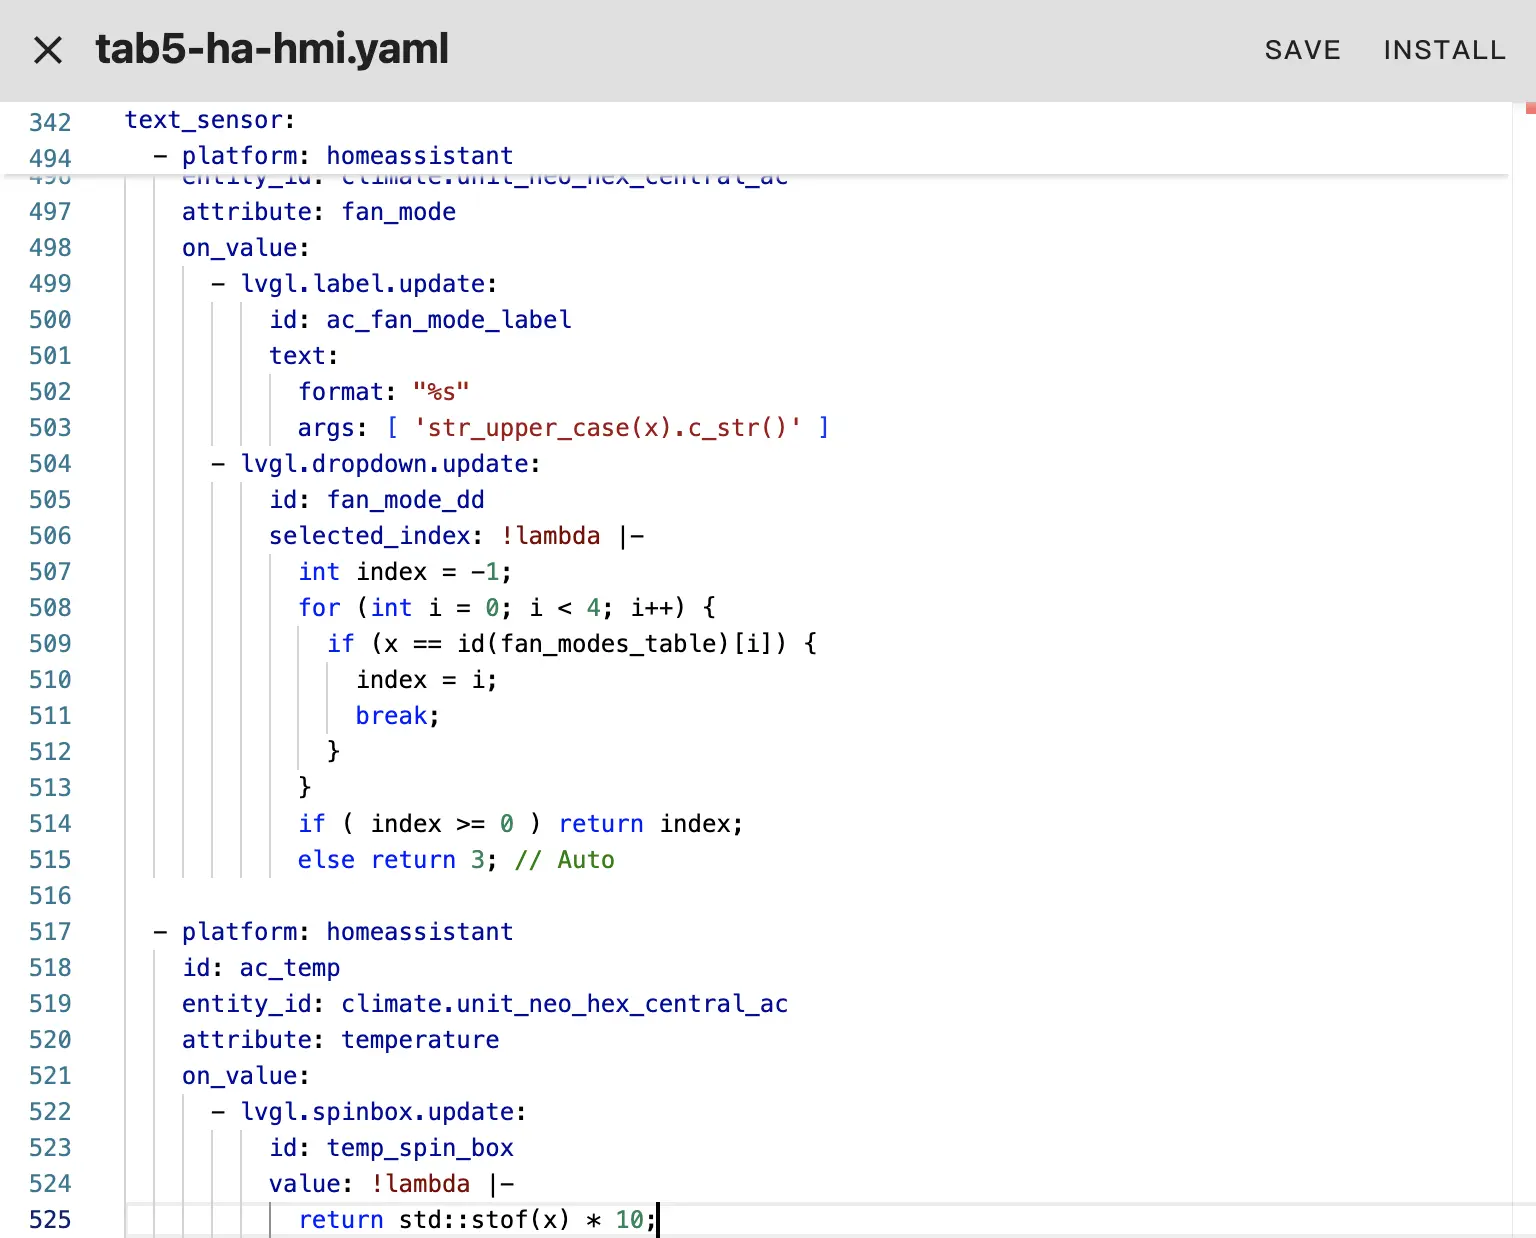
Climate
- 同样在配置中定义的有一些关于
Climate实体的属性:
   # AC Information
     - platform: homeassistant
       id: ac_state
       entity_id: climate.unit_neo_hex_central_ac
       on_value:
         - lvgl.label.update:
             id: xxx

         - lvgl.dropdown.update:
             id: xxx
       ...
     - platform: homeassistant
       id: ac_fan_mode
       entity_id: climate.unit_neo_hex_central_ac
       attribute: fan_mode
       on_value:
         - lvgl.label.update:
             id: xxx
         - lvgl.dropdown.update:
             id: xxx
       ...

     - platform: homeassistant
       id: ac_temp
       entity_id: climate.unit_neo_hex_central_ac
       attribute: temperature
       on_value:
         - lvgl.spinbox.update:
             id: xxx
...一样可以获取到这些属性,然后更新到 UI 上。
LVGL UI 控制 Climate 组件:
     ...
   - arc:
     id: ac_arc
     adjustable: true
     ...
     # Prevent frequent use of 'on_value'
     # In case of performance issue
     on_release:
       - lambda: id(set_ac_temp)->execute(float(x) / 10.0f);
     ...

   - dropdown:
   id: ac_mode_dd
   ...
   dir: TOP
   selected_text: "Off"
   options:
     - Heat_Cool
     - Heat
     - Cool
     - Dry
     - Only Fan
     - "Off" # In case conversions
   on_change:
     ...
     - lambda: id(set_ac_state)->execute(x);

   - dropdown:
     id: fan_mode_dd
     dir: TOP
     ...
     selected_text: "Auto"
     options:
       - High
       - Medium
       - Low
       - Auto
     on_change:
       ...
- lambda: id(set_ac_fan_mode)->execute(x);- 这里将控制封装成了脚本,可以在 tab5-scripts.yaml 中找到。
# This script was used on dropdown widget
# to set ac state (ON/OFF/COOL/HEAT, etc)
- id: set_ac_state
  parameters:
    ac_mode_idx: int
  then:
    - homeassistant.action:
        action: climate.set_hvac_mode
        data:
          entity_id: climate.unit_neo_hex_central_ac
          hvac_mode: !lambda return id(hvac_state_table)[ac_mode_idx];
- id: set_ac_fan_mode
  parameters:
    ac_fan_mode_idx: int
  then:
    - homeassistant.action:
        action: climate.set_fan_mode
        data:
          entity_id: climate.unit_neo_hex_central_ac
          fan_mode: !lambda return id(fan_modes_table)[ac_fan_mode_idx];
# This script was used on spinbox/arc widget
# to set the temperature to climate entity
# it doesn't turn on/off, use the dropdown instead
- id: set_ac_temp
  parameters:
    temp_value: float
  then:
    - homeassistant.action:
        action: climate.set_temperature
        data:
          entity_id: climate.unit_neo_hex_central_ac
temperature: !lambda return temp_value;- 同样,如果想要适配自己的 Climate 组件,可以修改
entity_id和相关属性。