


StackFlow AI Platform
Devices & Quick Start
Models
Qwen3
DeepSeek-R1
AI Pyramid Applications
Module LLM Applications
CV Vision Application
Vision Language Model (VLM)
Large Language Model (LLM)
Voice Assistant
Module LLM - Vision-Language Model
This example demonstrates how to use the M5ModuleLLM library on the Arduino platform to run vision-language model (VLM) tasks.
Preparation
Refer to Module LLM Arduino Quick Start to complete the basic setup and install the M5ModuleLLM driver library.
Refer to Module LLM Software Package Update Guide to install the following model packages:
apt install llm-vlmapt install llm-model-internvl2.5-1b-364-ax630c- The hardware used in this example includes:
VLM CoreS3
/*
 * SPDX-FileCopyrightText: 2024 M5Stack Technology CO LTD
 *
 * SPDX-License-Identifier: MIT
 */
#include <Arduino.h>
#include <M5Unified.h>
#include <M5ModuleLLM.h>

#include "M5CoreS3.h"

M5ModuleLLM module_llm;
String vlm_work_id;

void setup()
{
    M5.begin();
    M5.Display.setTextSize(2);
    M5.Display.setTextScroll(true);

    /* Init M5CoreS3 Camera */
    CoreS3.Camera.begin();
    CoreS3.Camera.sensor->set_framesize(CoreS3.Camera.sensor, FRAMESIZE_QVGA);

    /* Init module serial port */
    int rxd = M5.getPin(m5::pin_name_t::port_c_rxd);
    int txd = M5.getPin(m5::pin_name_t::port_c_txd);
    Serial2.begin(115200, SERIAL_8N1, rxd, txd);
    /* Init module */
    module_llm.begin(&Serial2);

    /* Make sure module is connected */
    M5.Display.printf(">> Check ModuleLLM connection..\n");
    while (1) {
        if (module_llm.checkConnection()) {
            break;
        }
    }

    /* Reset ModuleLLM */
    M5.Display.printf(">> Reset ModuleLLM..\n");
    module_llm.sys.reset();

    /* Setup VLM module and save returned work id */
    M5.Display.printf(">> Setup vlm..\n");
    vlm_work_id = module_llm.vlm.setup();
}

void loop()
{
    String question = "Describe the content of the image";

    M5.update();

    auto count = M5.Touch.getCount();

    static m5::touch_state_t prev_state;
    auto t = M5.Touch.getDetail();

    static int vlm_inference;

    if (t.wasClicked()) {
        static unsigned long lastClickTime = 0;
        unsigned long currentMillis        = millis();
        if (currentMillis - lastClickTime < 800) {
            vlm_inference = 2;
        }
        lastClickTime = currentMillis;
    }

    if (t.wasFlicked()) {
        vlm_inference--;
    }

    if (CoreS3.Camera.get()) {
        if (vlm_inference == 2) {
            uint8_t* out_jpg   = NULL;
            size_t out_jpg_len = 0;
            frame2jpg(CoreS3.Camera.fb, 50, &out_jpg, &out_jpg_len);
            module_llm.vlm.inference(vlm_work_id, out_jpg, out_jpg_len);
            free(out_jpg);
            delay(10);
            M5.Lcd.setCursor(0, 0);
            /* Push question to LLM module and wait inference result */
            module_llm.vlm.inferenceAndWaitResult(vlm_work_id, question.c_str(), [](String& result) {
                /* Show result on screen */
                M5.Display.printf("%s", result.c_str());
            });
            vlm_inference--;
        } else if (vlm_inference == 1) {
            delay(10);
        } else {
            CoreS3.Display.pushImage(0, 0, CoreS3.Display.width(), CoreS3.Display.height(),
                                     (uint16_t*)CoreS3.Camera.fb->buf);
        }
        CoreS3.Camera.free();
    }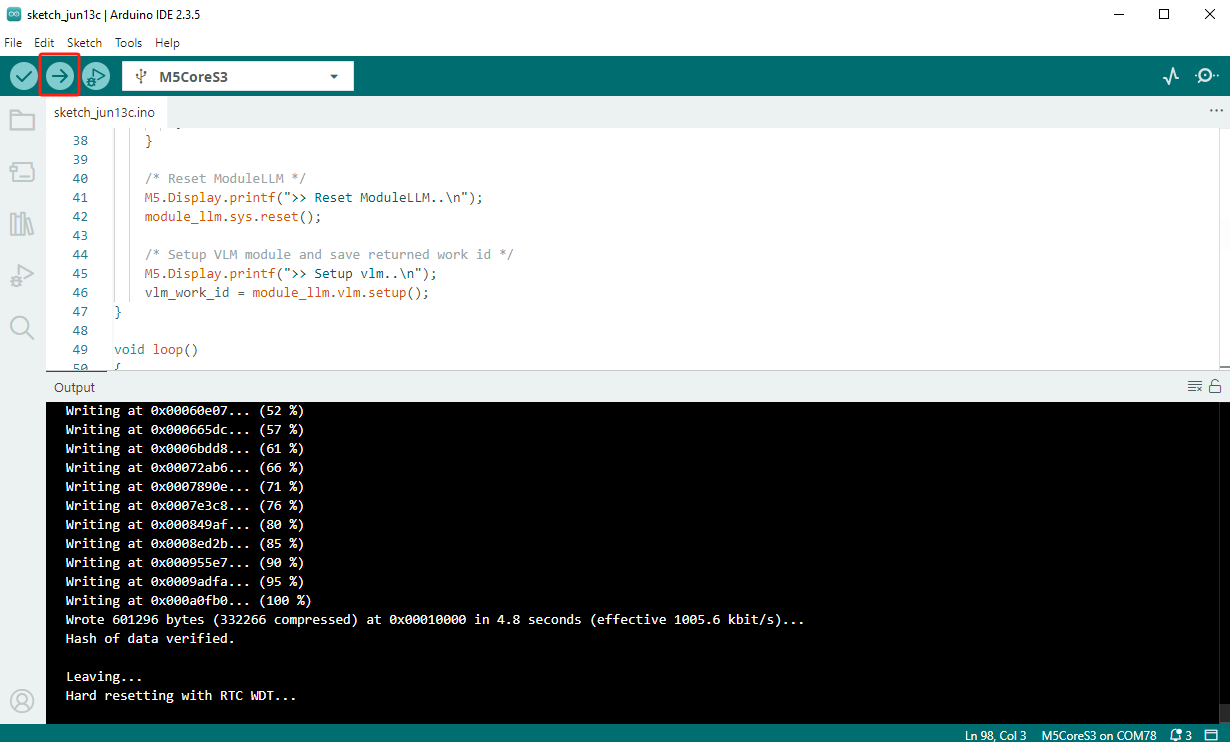
}- Upload the code to CoreS3.
- Wait for initialization to complete, and the camera view will be displayed. Double-tap the screen to take a photo and wait for the model to return the result.
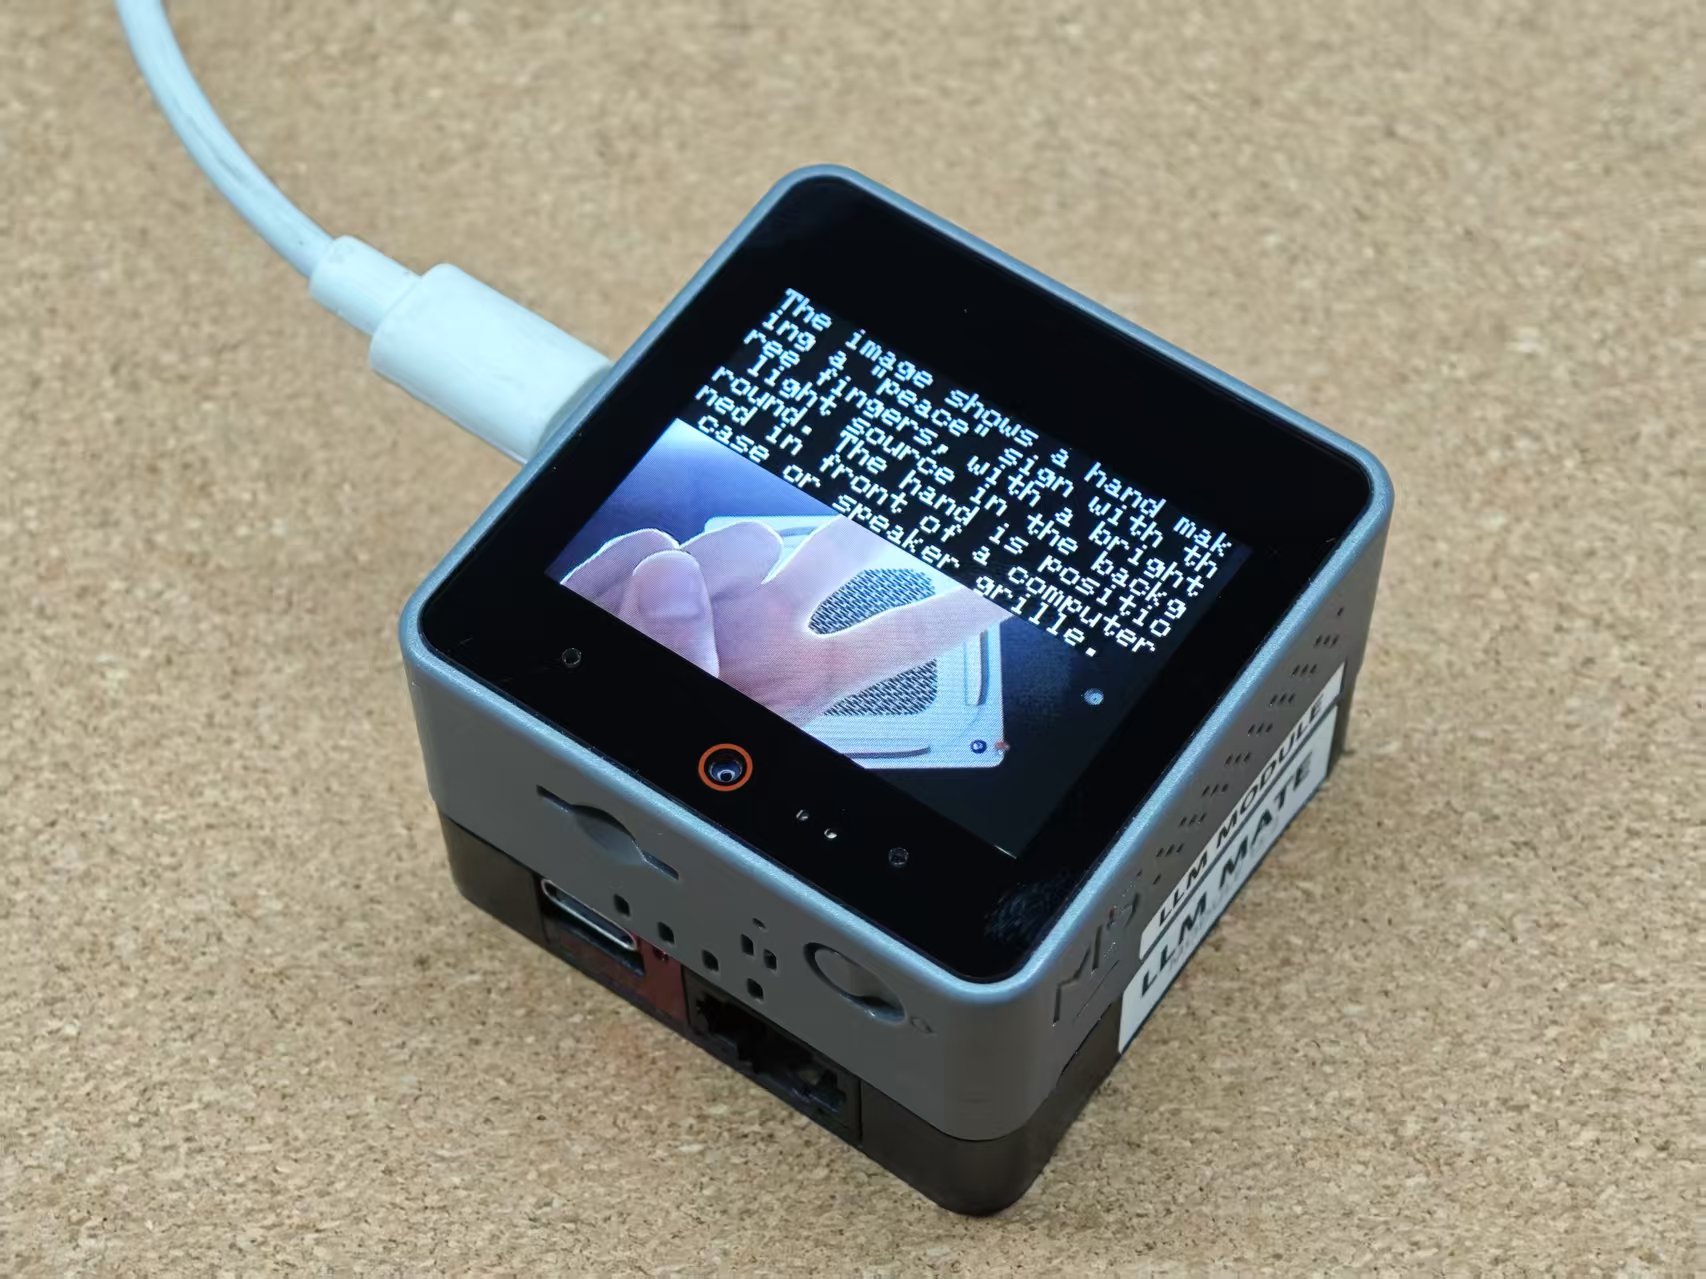
- Swipe the screen to clear the displayed text.