

StackFlow AI Platform
Devices & Quick Start
Models
Qwen3
DeepSeek-R1
AI Pyramid Applications
Module LLM Applications
CV Vision Application
Vision Language Model (VLM)
Large Language Model (LLM)
Voice Assistant
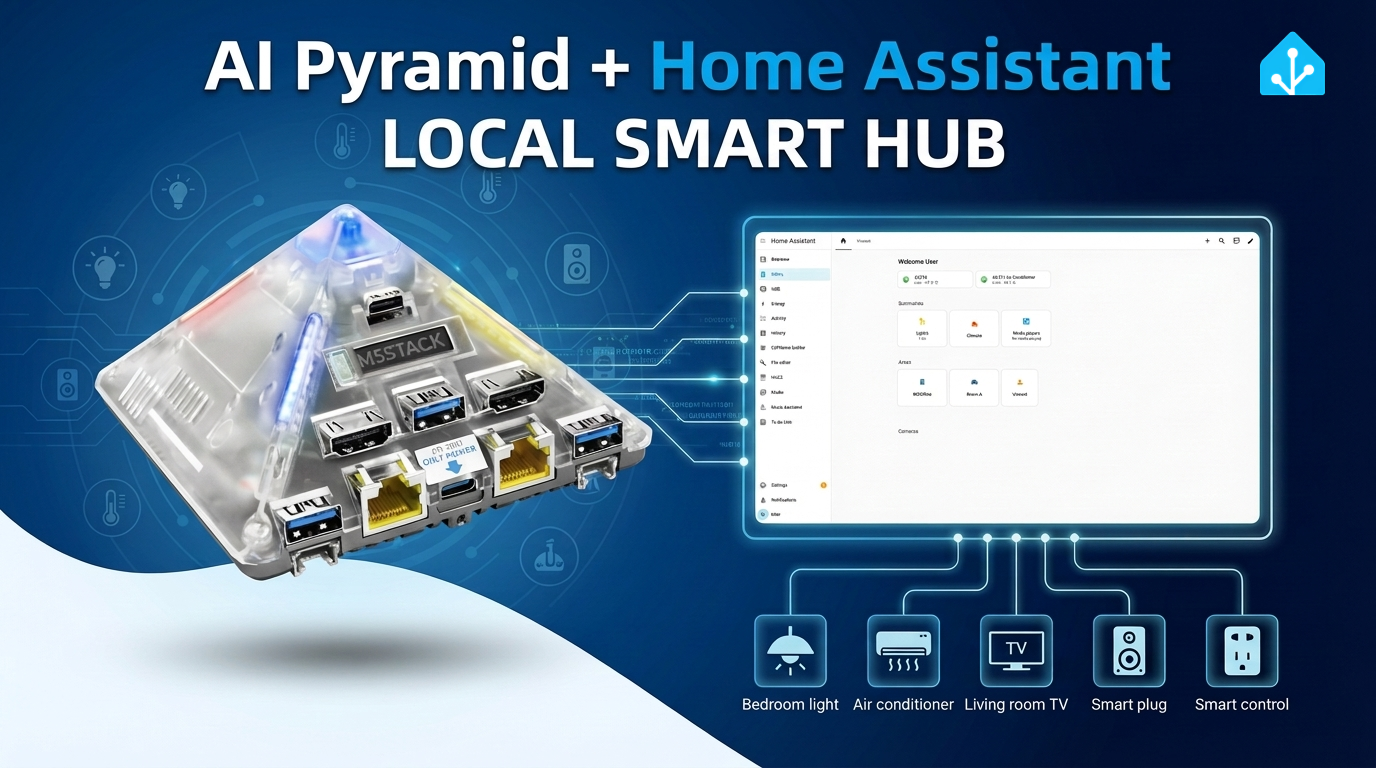
AI Pyramid Deploying Home Assistant (Docker)
1. Description
This document describes the basic process of deploying Home Assistant using Docker on the AI Pyramid platform. The documentation uses connecting the Atom VoiceS3R voice assistant device and controlling the onboard RGB LED of Atom-Lite as an example to demonstrate the configuration method for voice interaction control. It also introduces the implementation of integrating local voice services (STT/TTS) and local large language model conversation capabilities (Local LLM Conversation) as needed.
2. Preparation
- Power on the AI Pyramid and connect it to Ethernet to obtain the device IP address.
- Log in to the device via SSH (default username
root, password123456).
  #  ssh root@ IP Address
  ssh root@192.168.100.207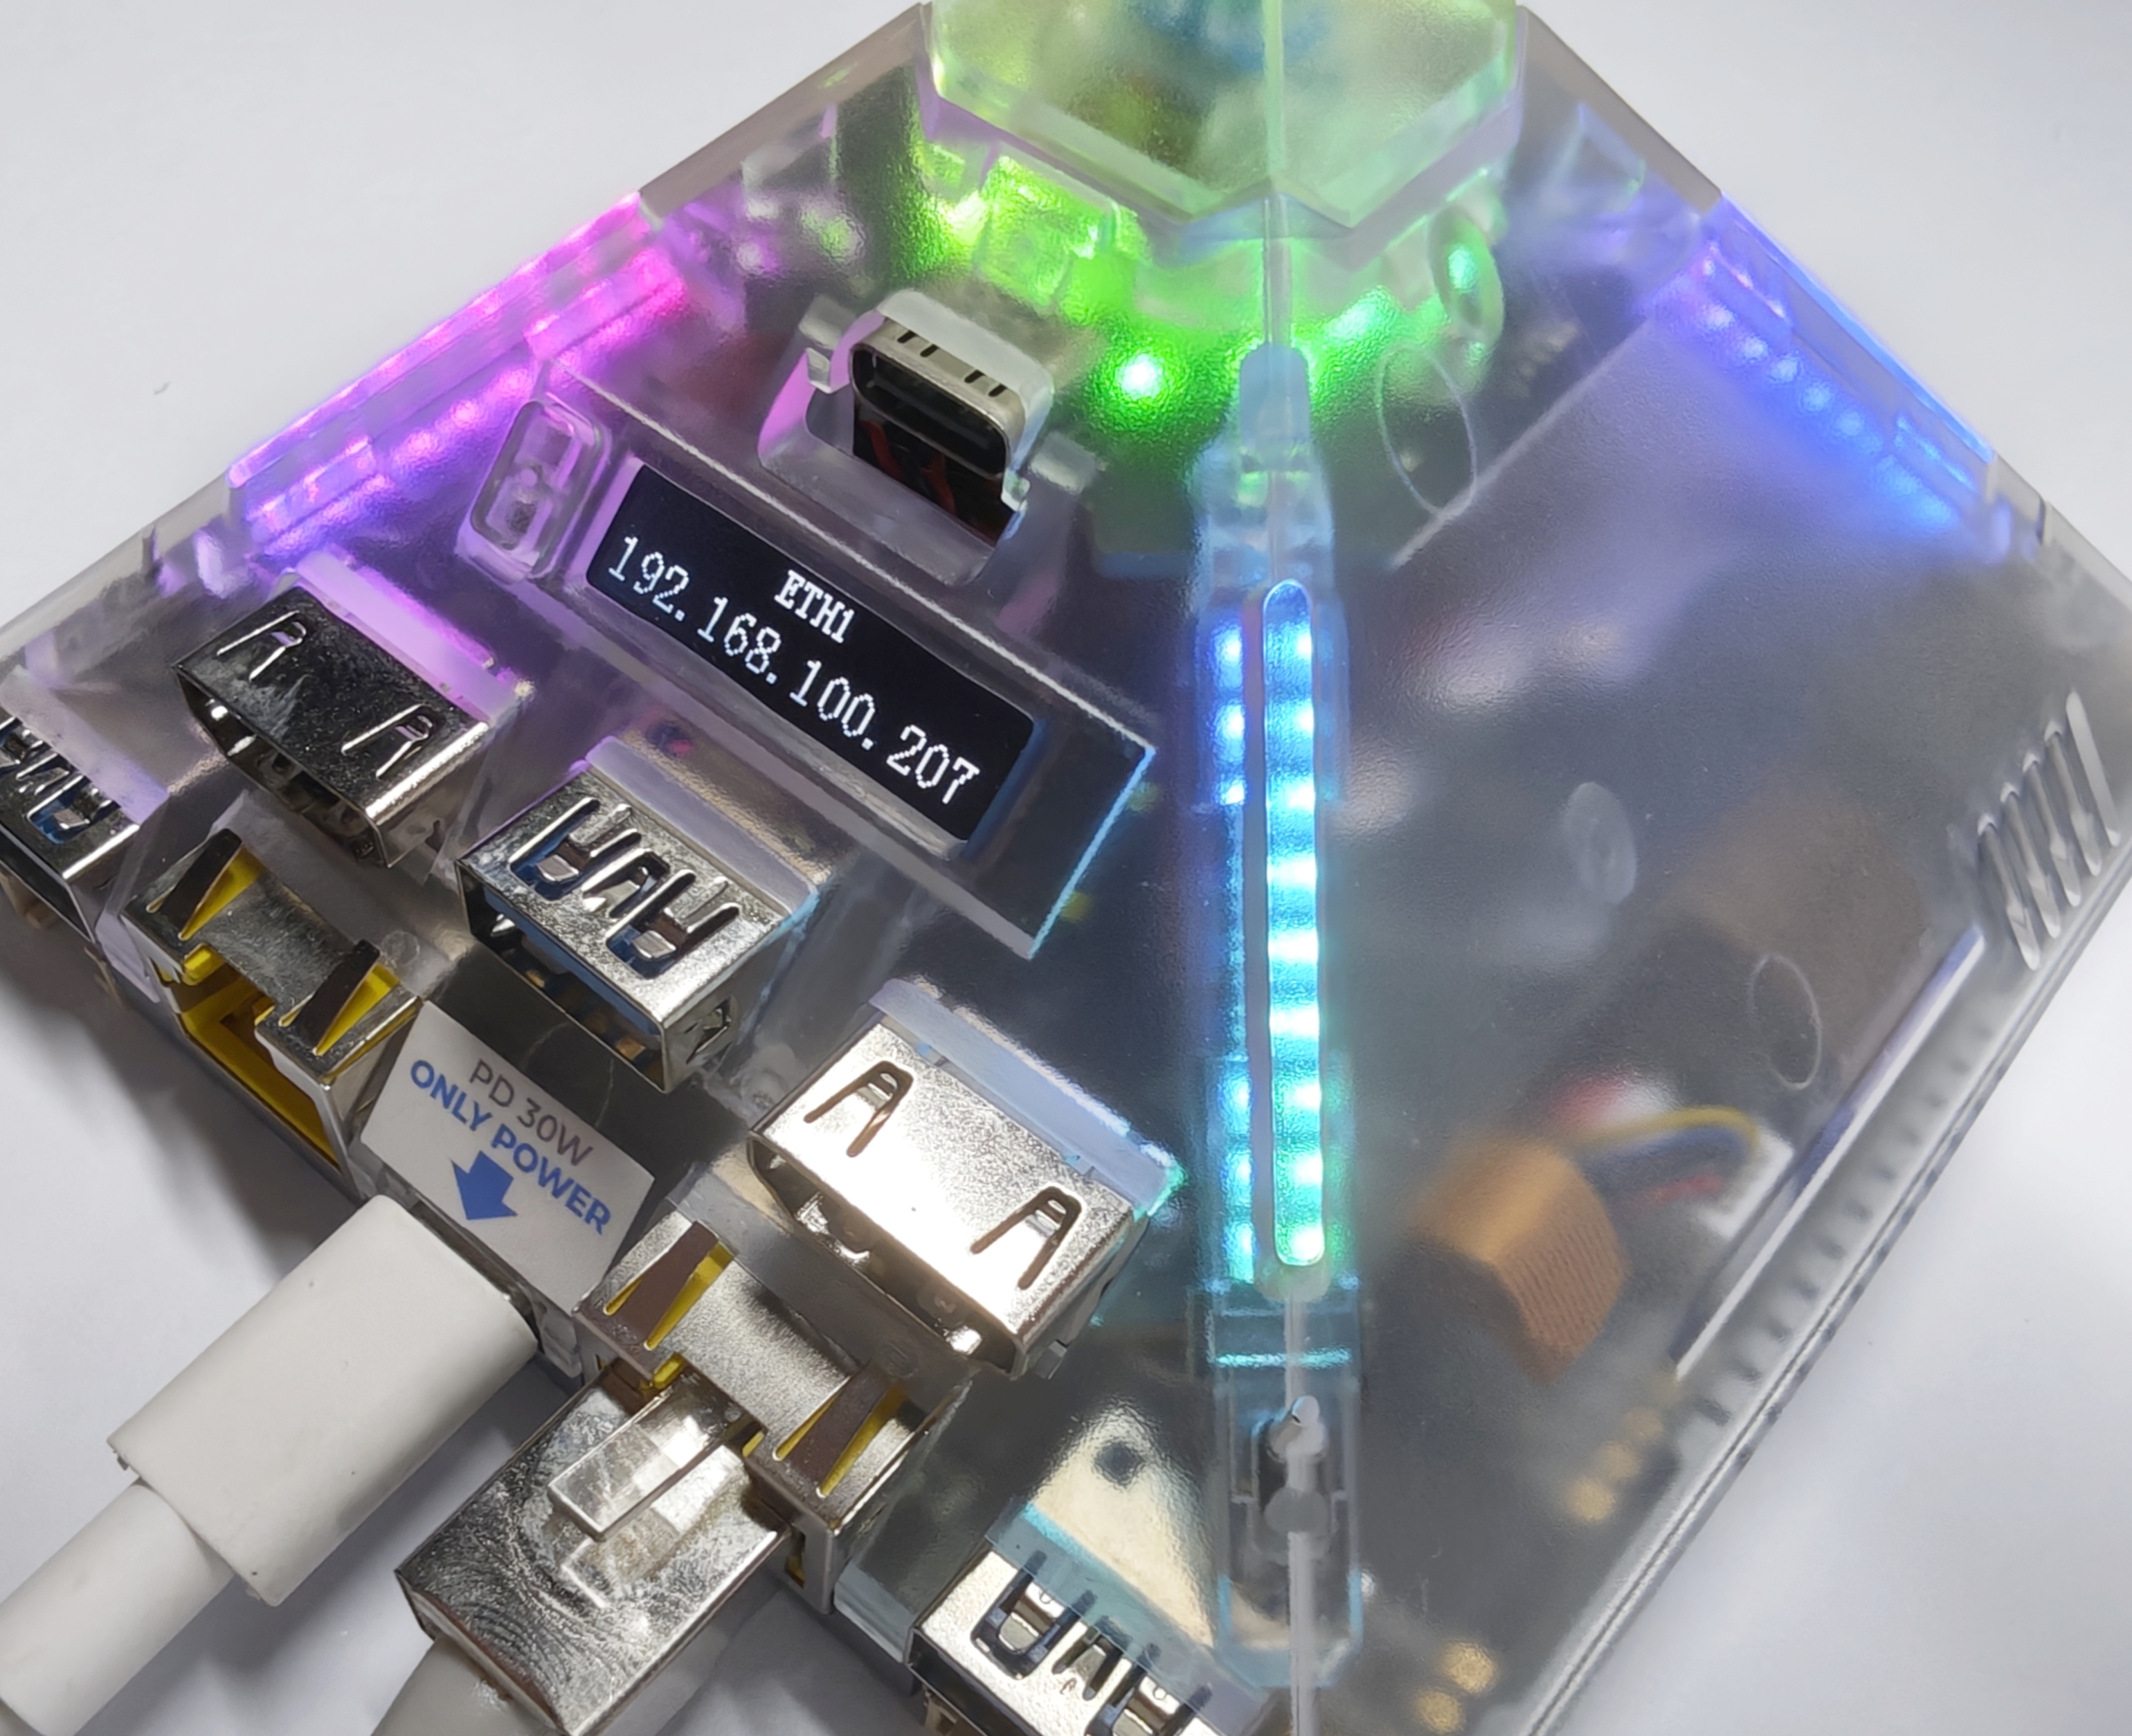
3. Installing Home Assistant
You can refer to the Home Assistant Official Installation Documentation or directly use the following Docker command.
/PATH_TO_YOUR_CONFIG: Replace with your local configuration directory, keeping the:/configmount.MY_TIME_ZONE: Replace with your time zone, for example,America/Los_Angeles. Refer to the IANA Time Zone Database for a list of time zones.
docker run -d \
  --name homeassistant \
  --privileged \
  --restart=unless-stopped \
  -e TZ=MY_TIME_ZONE \
  -v /PATH_TO_YOUR_CONFIG:/config \
  -v /run/dbus:/run/dbus:ro \
  --network=host \
  ghcr.io/home-assistant/home-assistant:stable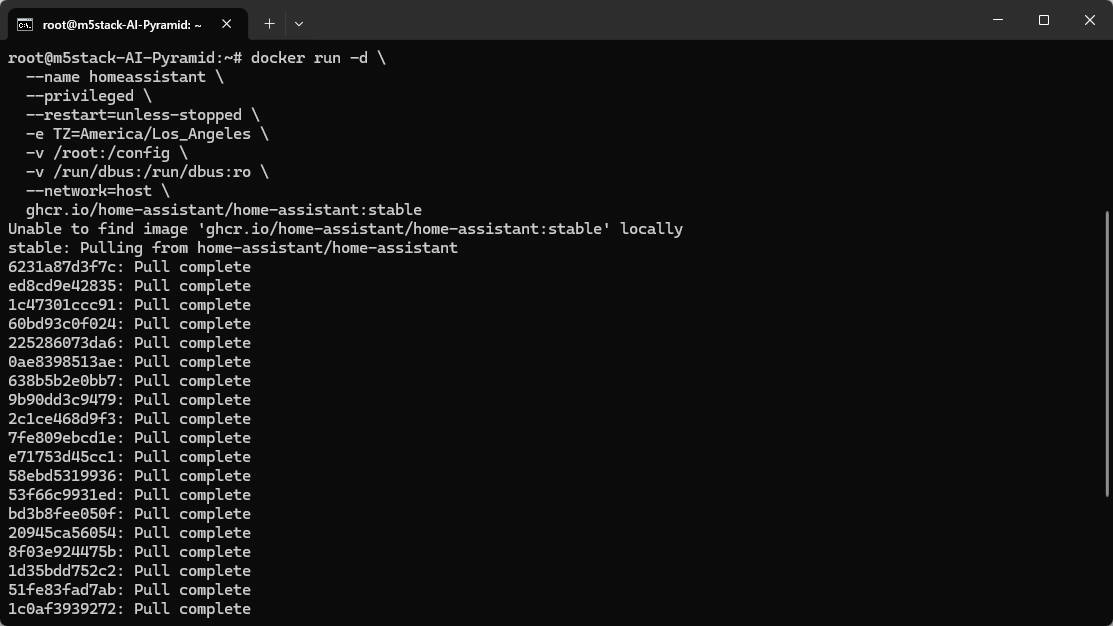
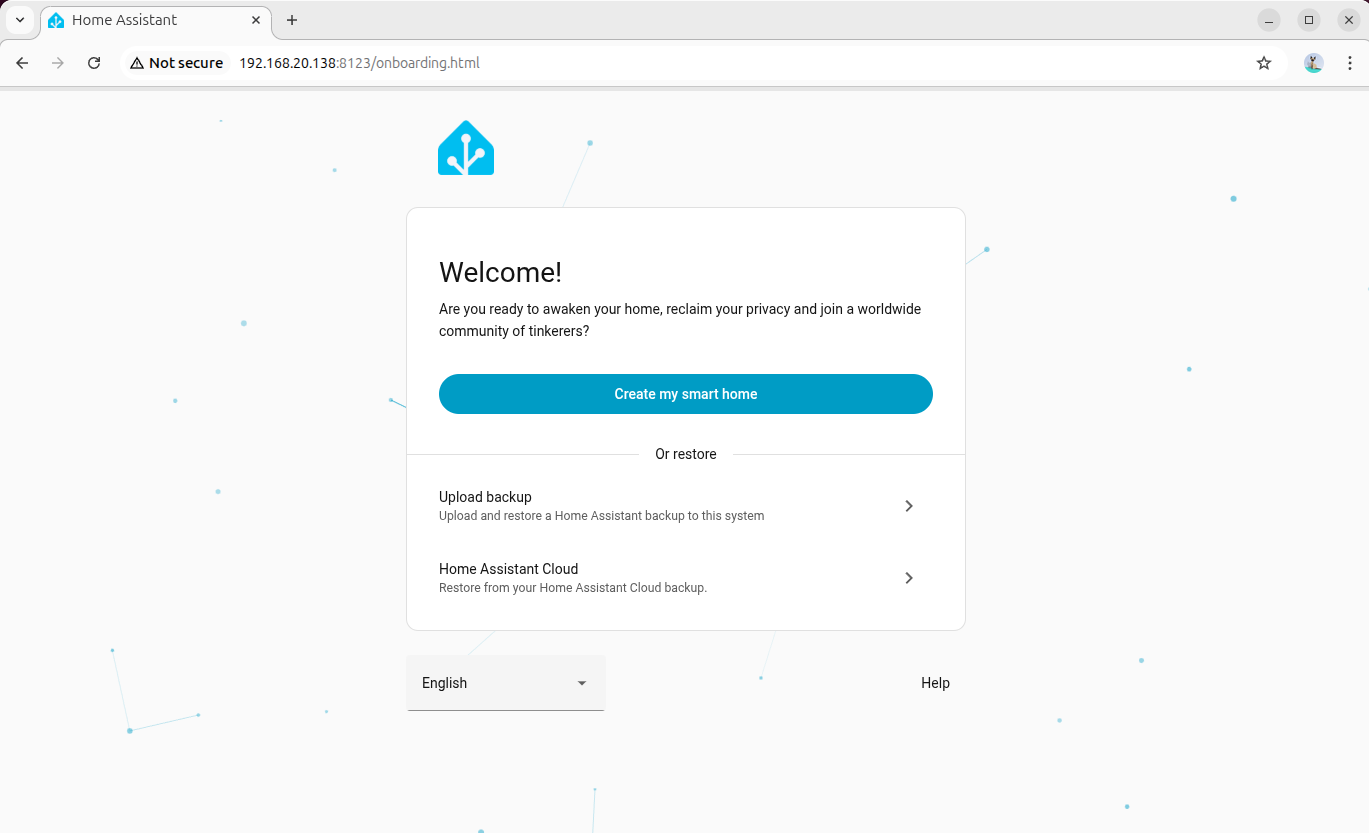
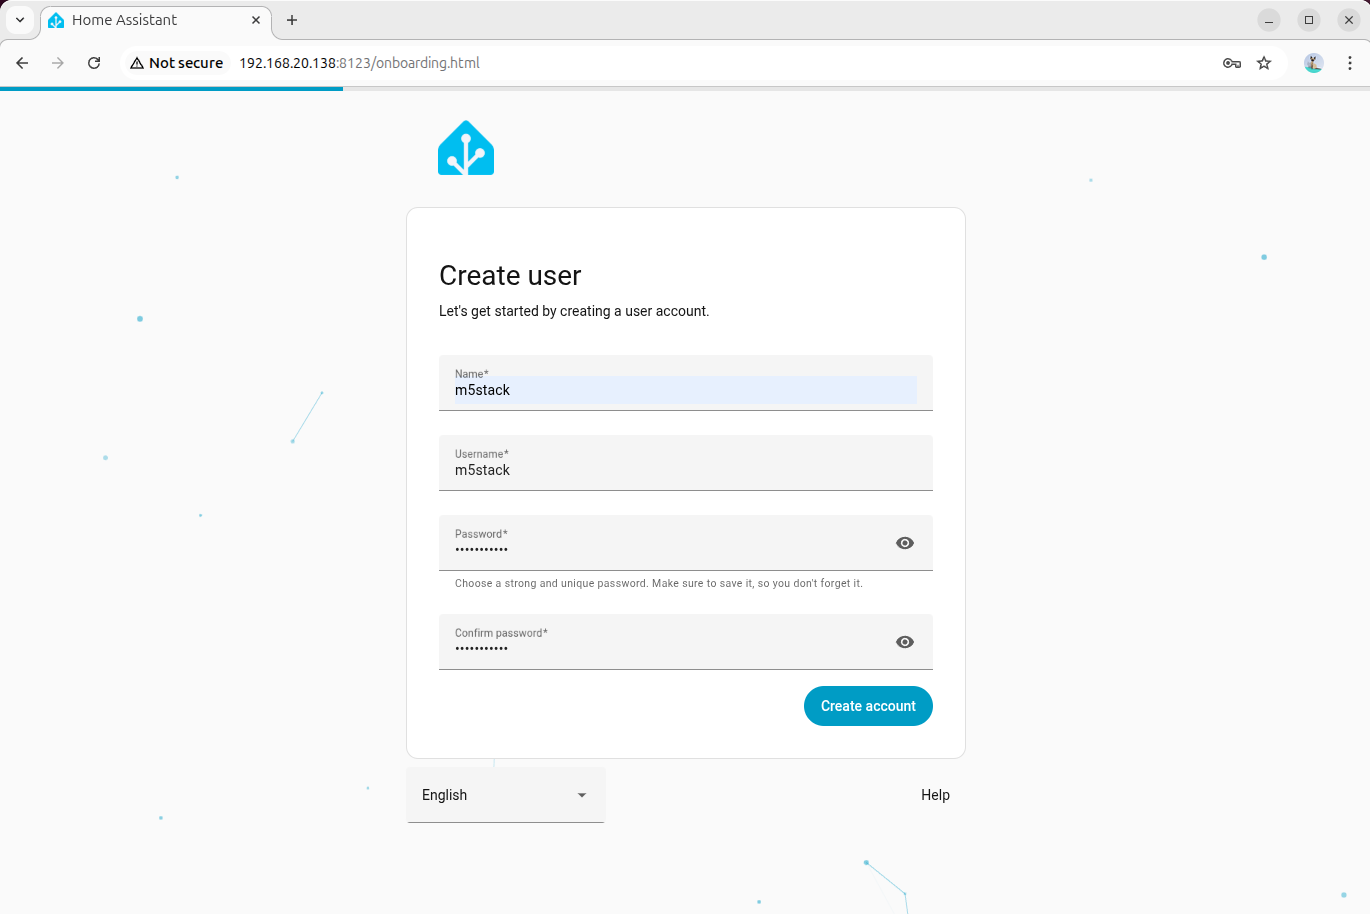
4. Initializing Home Assistant
- You can use the AI Pyramid's built-in browser or a browser on another device within the same local area network to access Home Assistant.
- Open the Home Assistant console page via the following two methods:
- Hostname:
http://homeassistant.local:8123/ - Device IP:
http://Device_IP:8123/
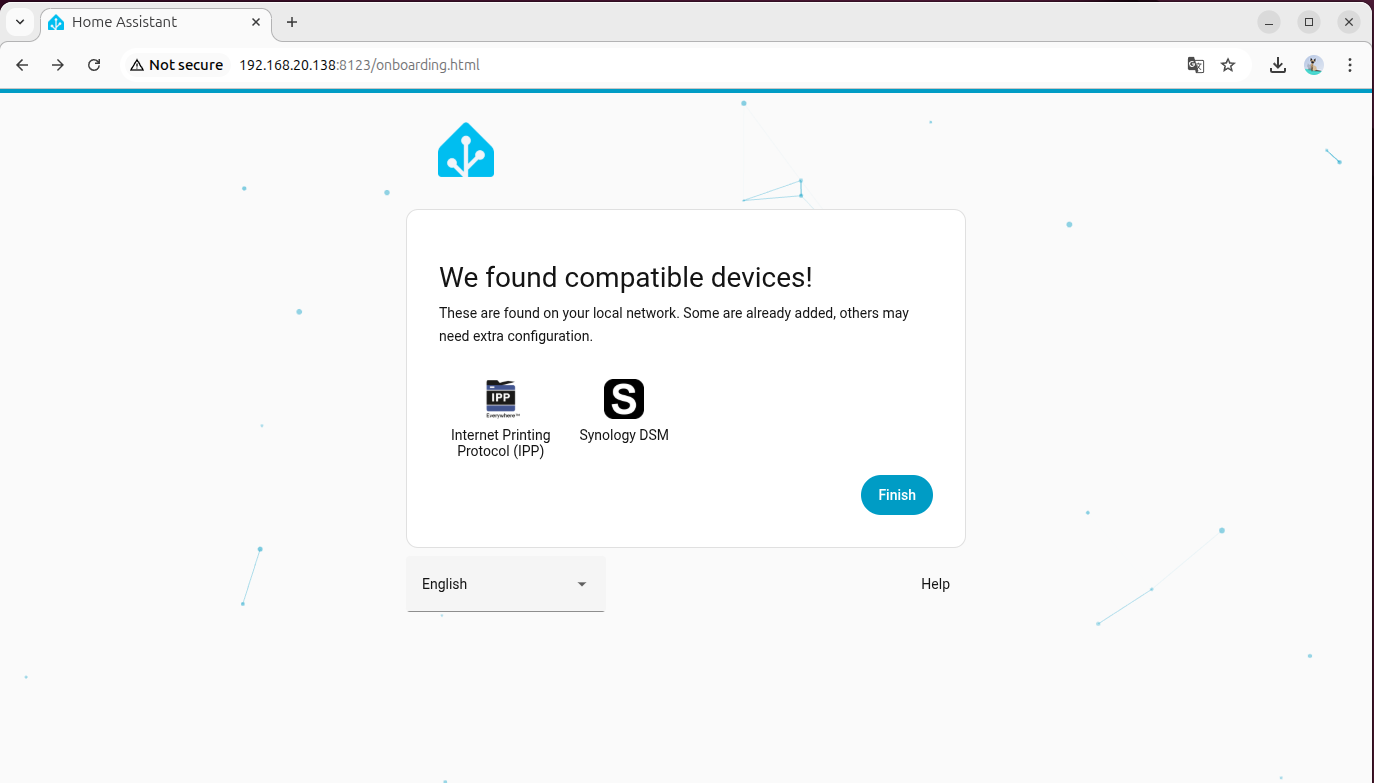
- Follow the initialization wizard to create an administrator account and complete the basic configuration.
5. Adding Voice Assistant Devices
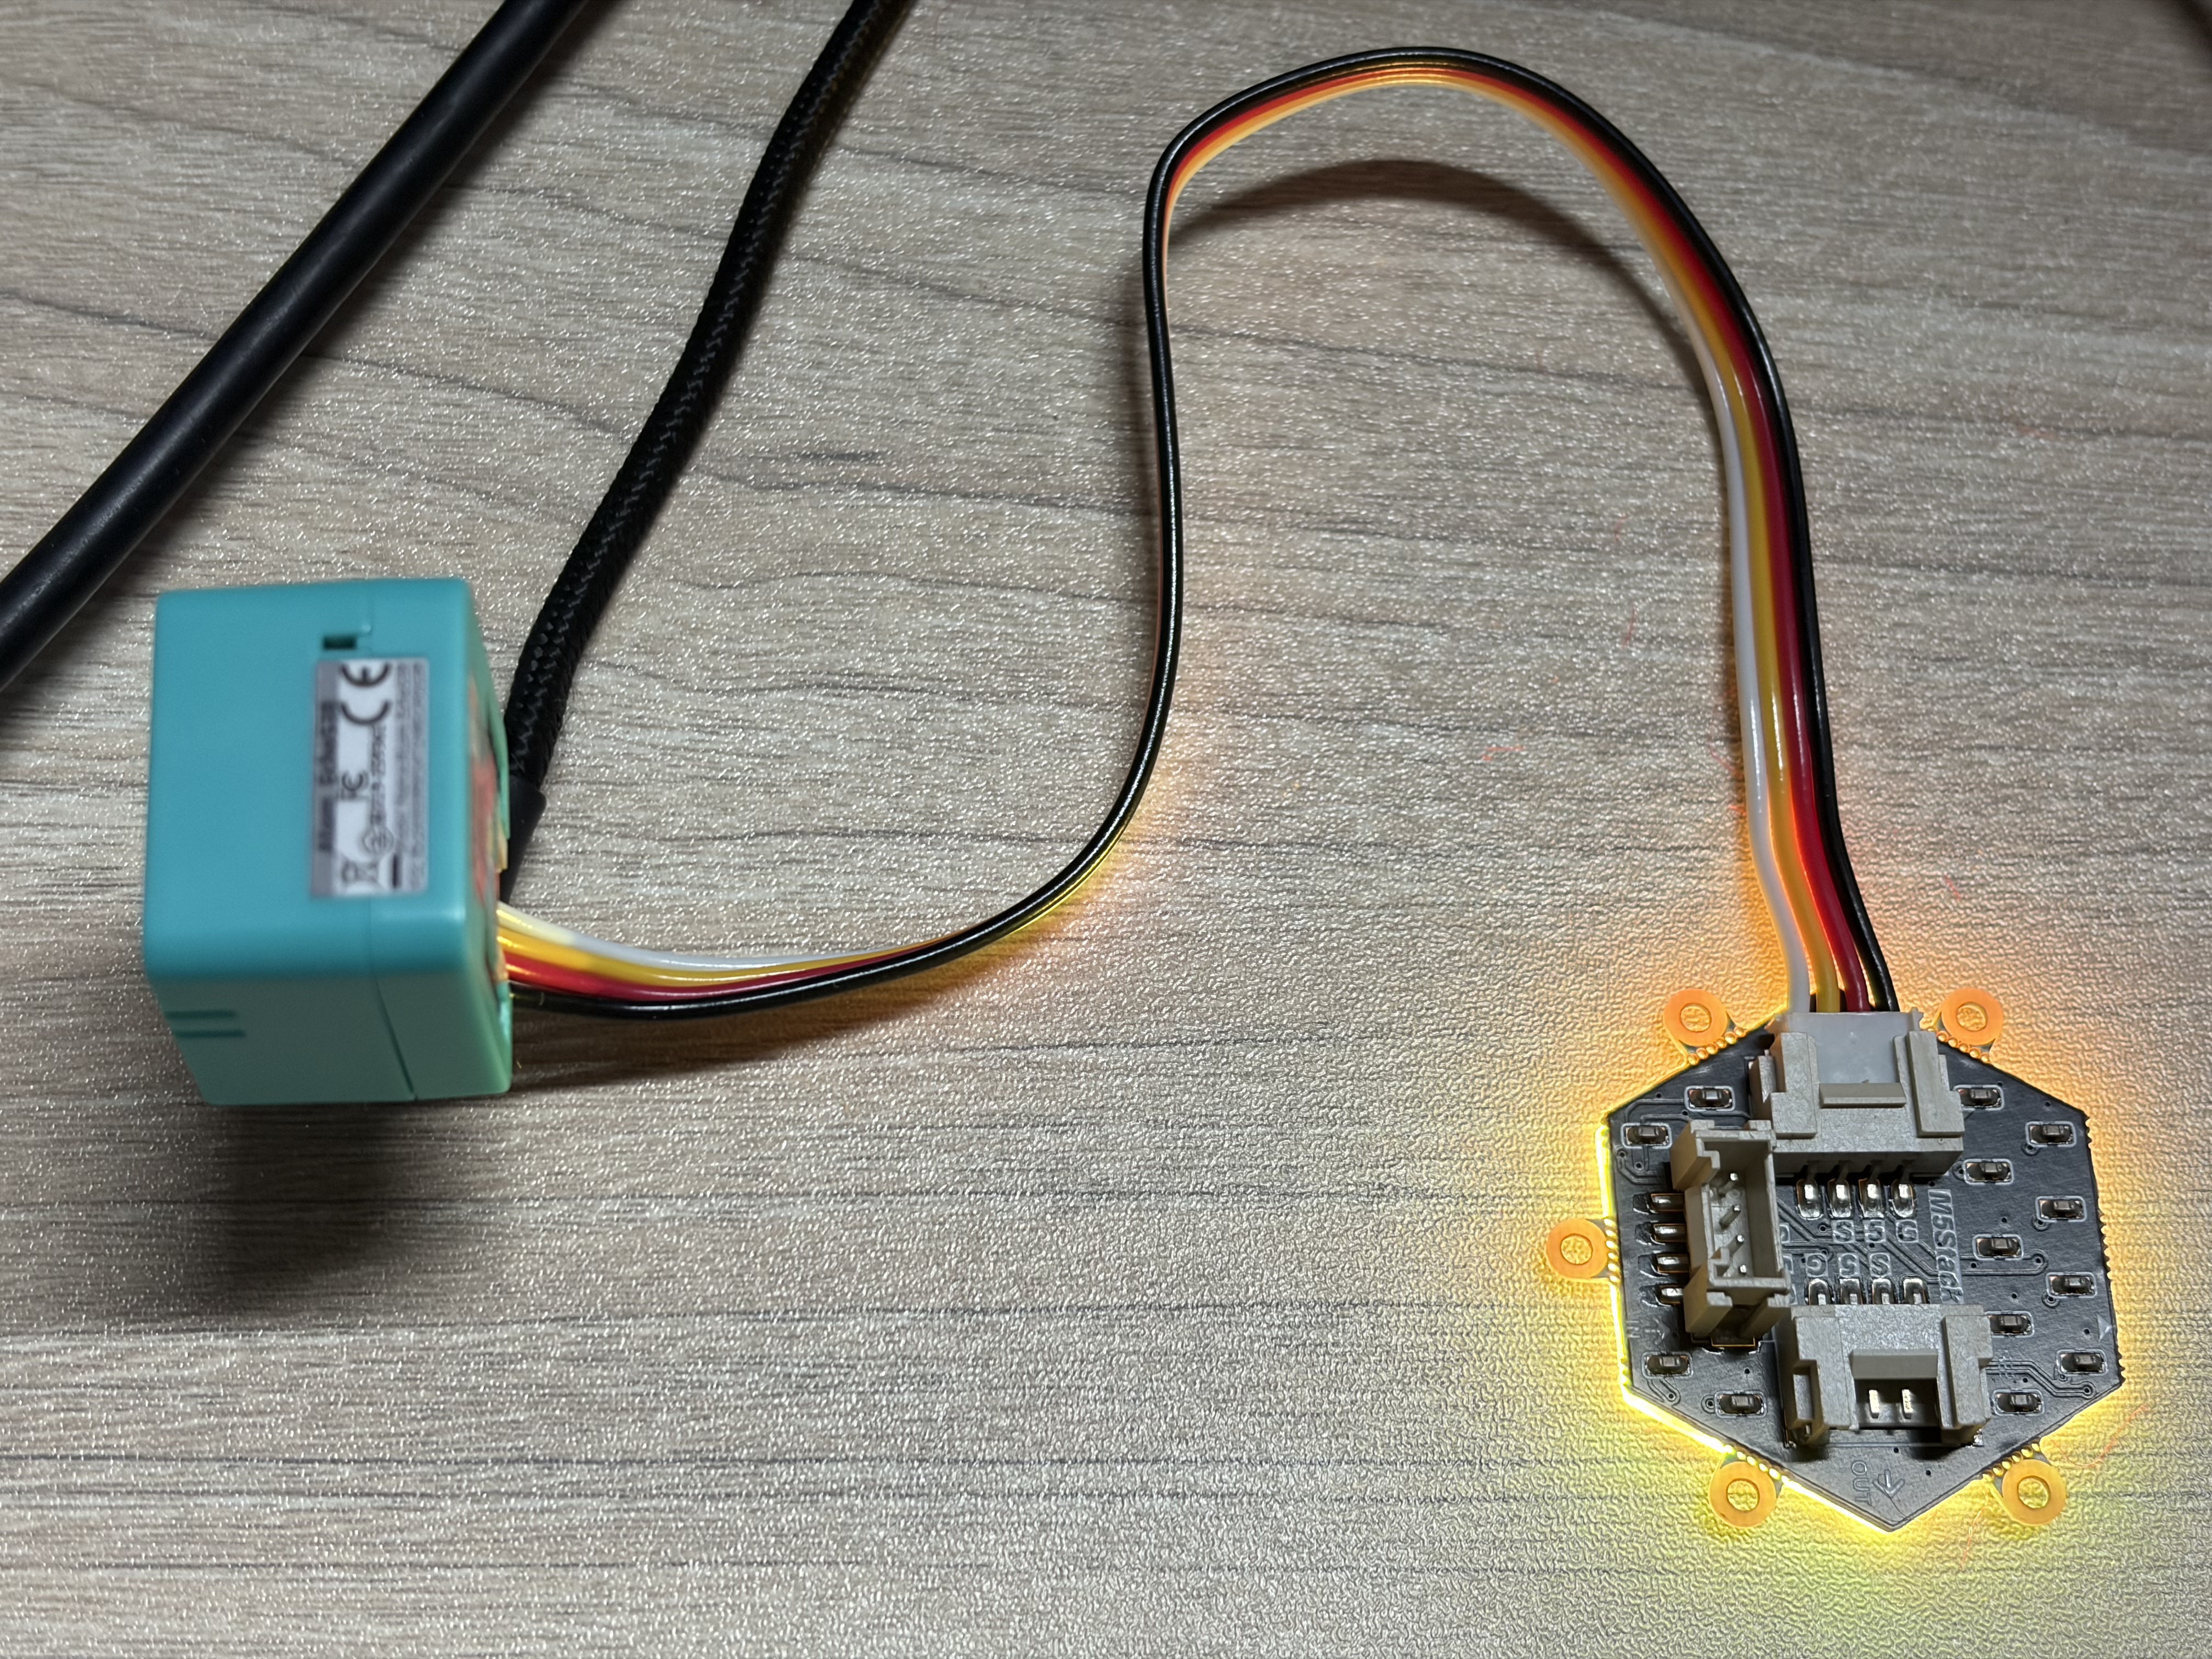
This tutorial uses the Atom VoiceS3R voice assistant + Atom-Lite RGB LED as an example. Please click the firmware flashing buttons below to flash the firmware online and complete the Wi-Fi configuration.
If the Wi-Fi configuration option is not provided after completing the firmware flashing, you can try resetting the device and clicking the flashing button again to connect.
- For detailed operations on adding the Atom VoiceS3R voice assistant, refer to the Home Assistant - Atom VoiceS3R Voice Assistant Tutorial
- For detailed operations on adding the Atom-Lite RGB LED, refer to the Home Assistant - Atom-Lite RGB LED Light Tutorial
6. Deploying Local Offline Voice Assistant (Wyoming Protocol)
This chapter is used to deploy a local voice pipeline on AI Pyramid and integrate it into the Home Assistant voice assistant workflow. Once completed, you can achieve:
- Local Speech-to-Text (STT)
- Local Text-to-Speech (TTS)
The overall process is divided into 4 phases: Environment Preparation, STT Integration, TTS Integration, and Joint Debugging Check.
6.1 Environment Preparation
Step 1: Disable Built-in Voice Demo
AI Pyramid comes pre-installed with a Local Voice Assistant Demo. To avoid port or service conflicts, please disable its auto-start entry and restart the device.
vim /etc/rc.local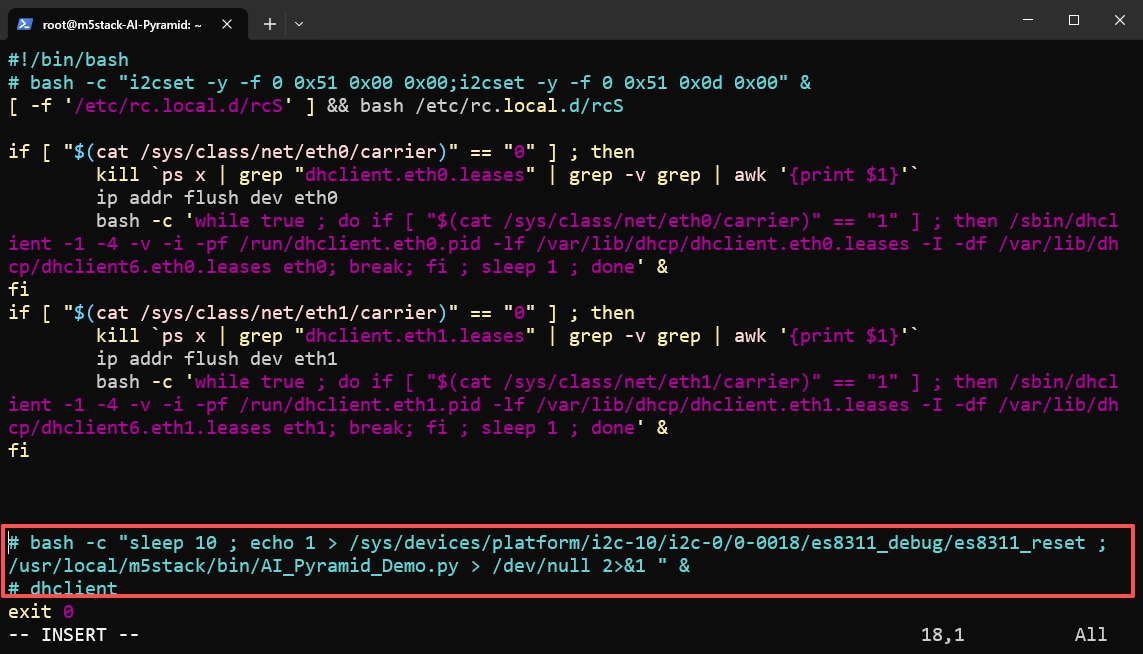
reboot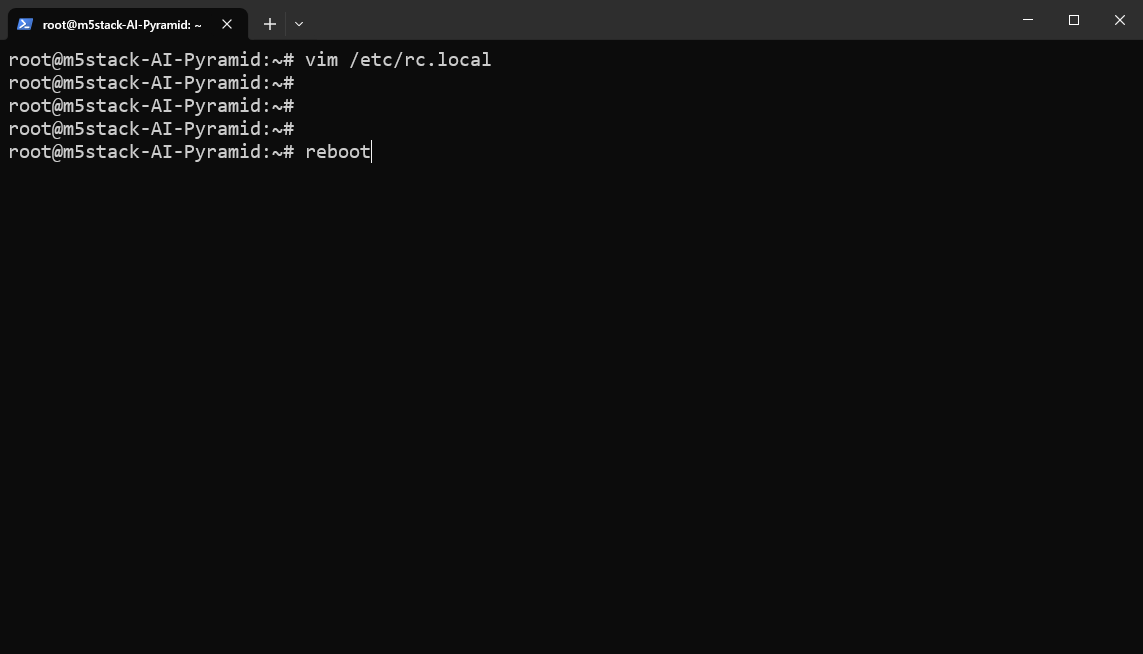
Step 2: Download and Extract Wyoming Service Script Package
Download and extract the local voice service script package. This package contains the core scripts used in subsequent steps:
wyoming_sensevoice_asr_service.py: STT service script (listening on port10300).wyoming_melotts_service.py: TTS service script (listening on port10200).ha_llm_proxy.py: Local LLM proxy script (listening on port8100), used for subsequent Local LLMs integration.
wget https://m5stack-doc.oss-cn-shenzhen.aliyuncs.com/1213/ai_pyramid_ha_local_voice_service.tar.gztar -zxvf ai_pyramid_ha_local_voice_service.tar.gz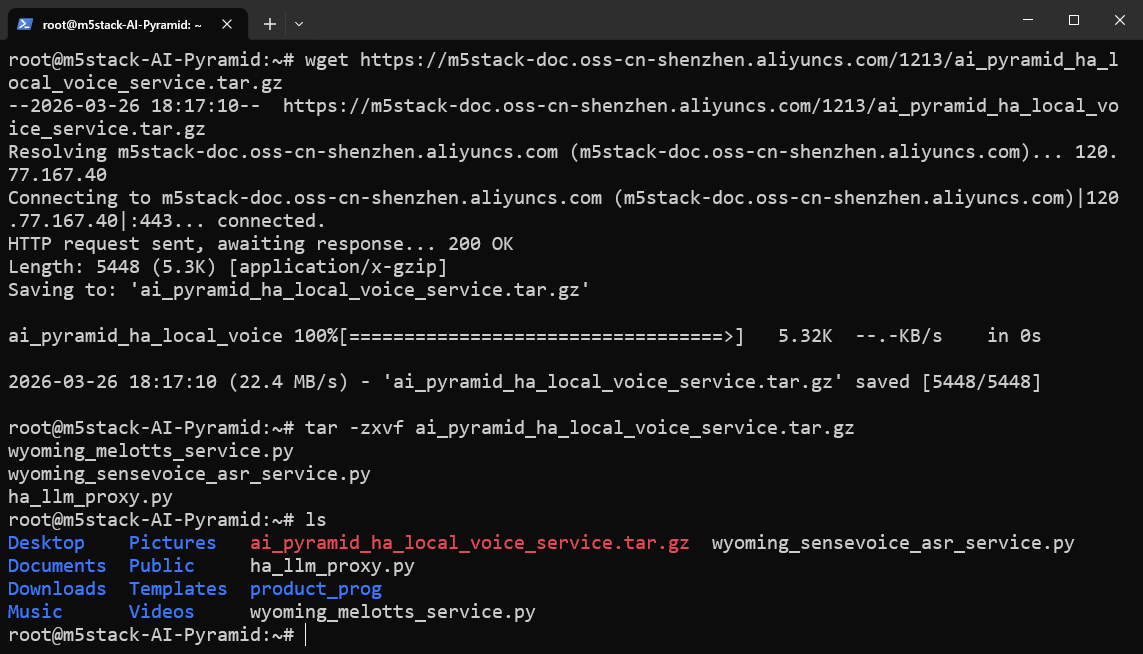
6.2 Integrating Speech-to-Text (STT)
Step 1: Install Dependencies and Models
apt update
apt install lib-llm llm-sys llm-asr llm-openai-api llm-model-sense-voice-small-10s-ax650
systemctl restart llm-*
pip install openai wyomingStep 2: Start STT Service in Background
nohup python3 wyoming_sensevoice_asr_service.py > asr_service.log 2>&1 &The service will start in the background, listening on the local port 10300 by default. You can use the following command to continuously view the logs:
tail -f asr_service.logWhen Server listening on tcp://0.0.0.0:10300 appears in the log, the STT service has started successfully.
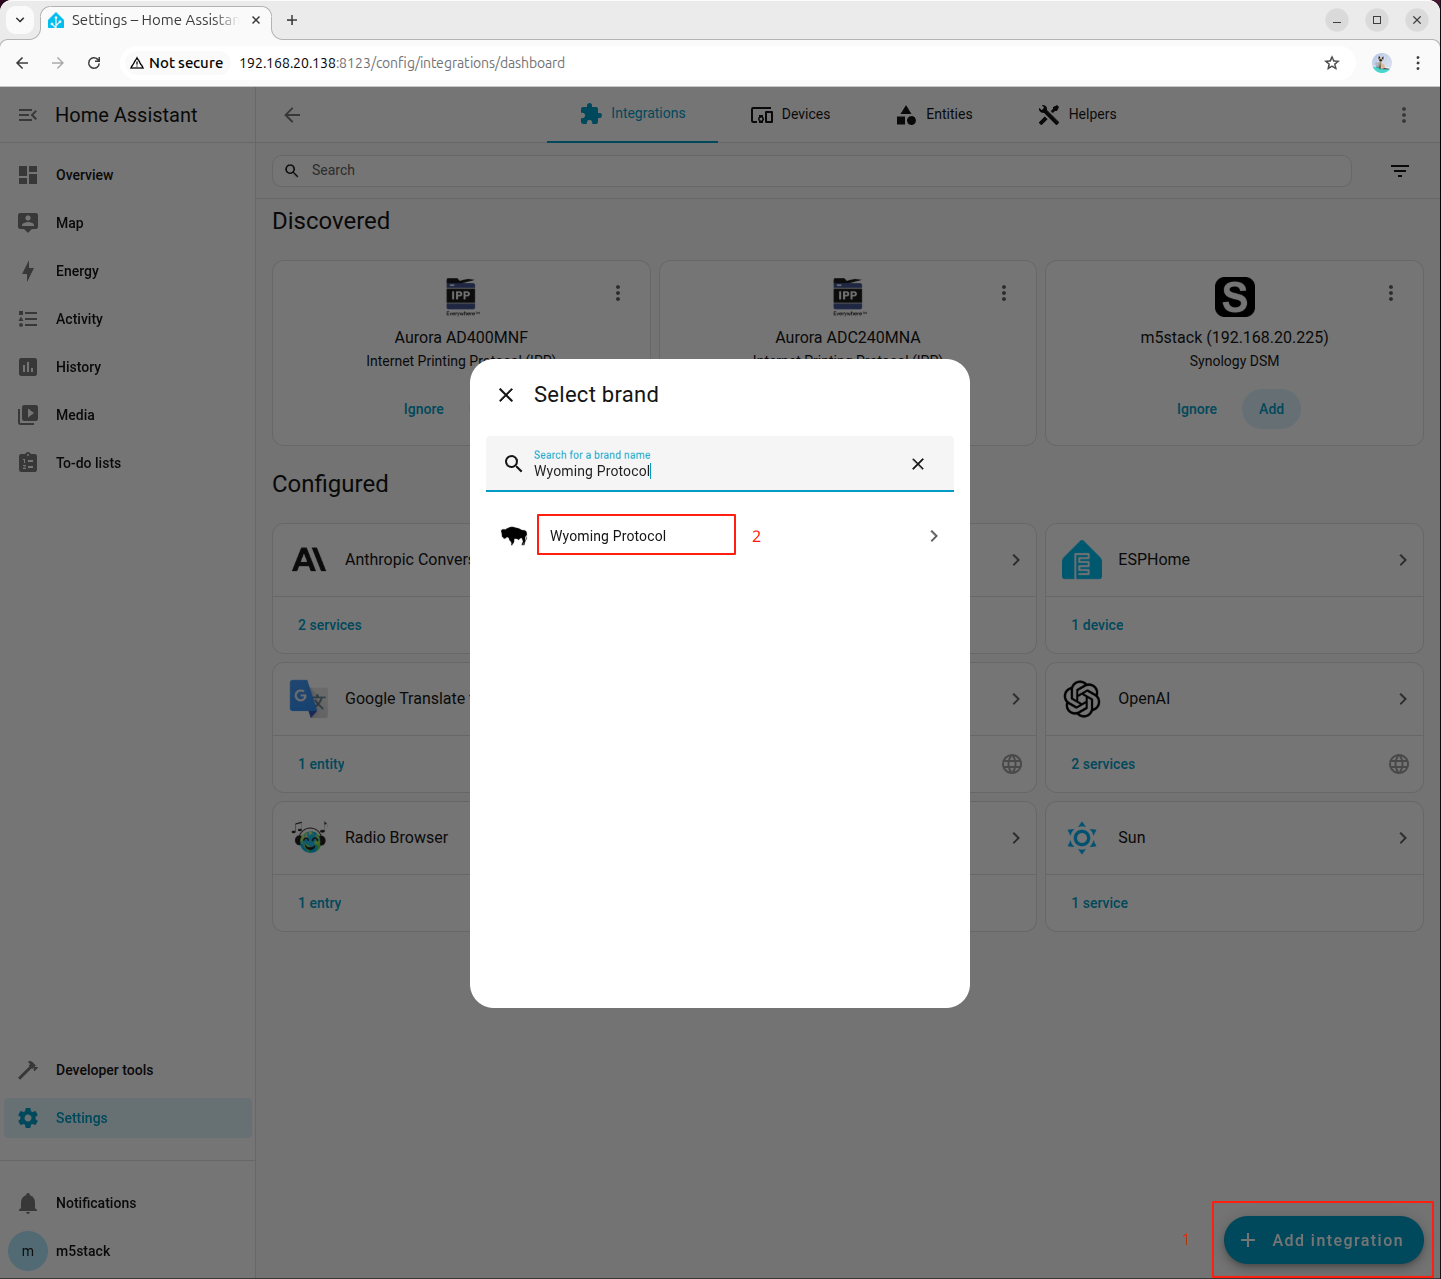
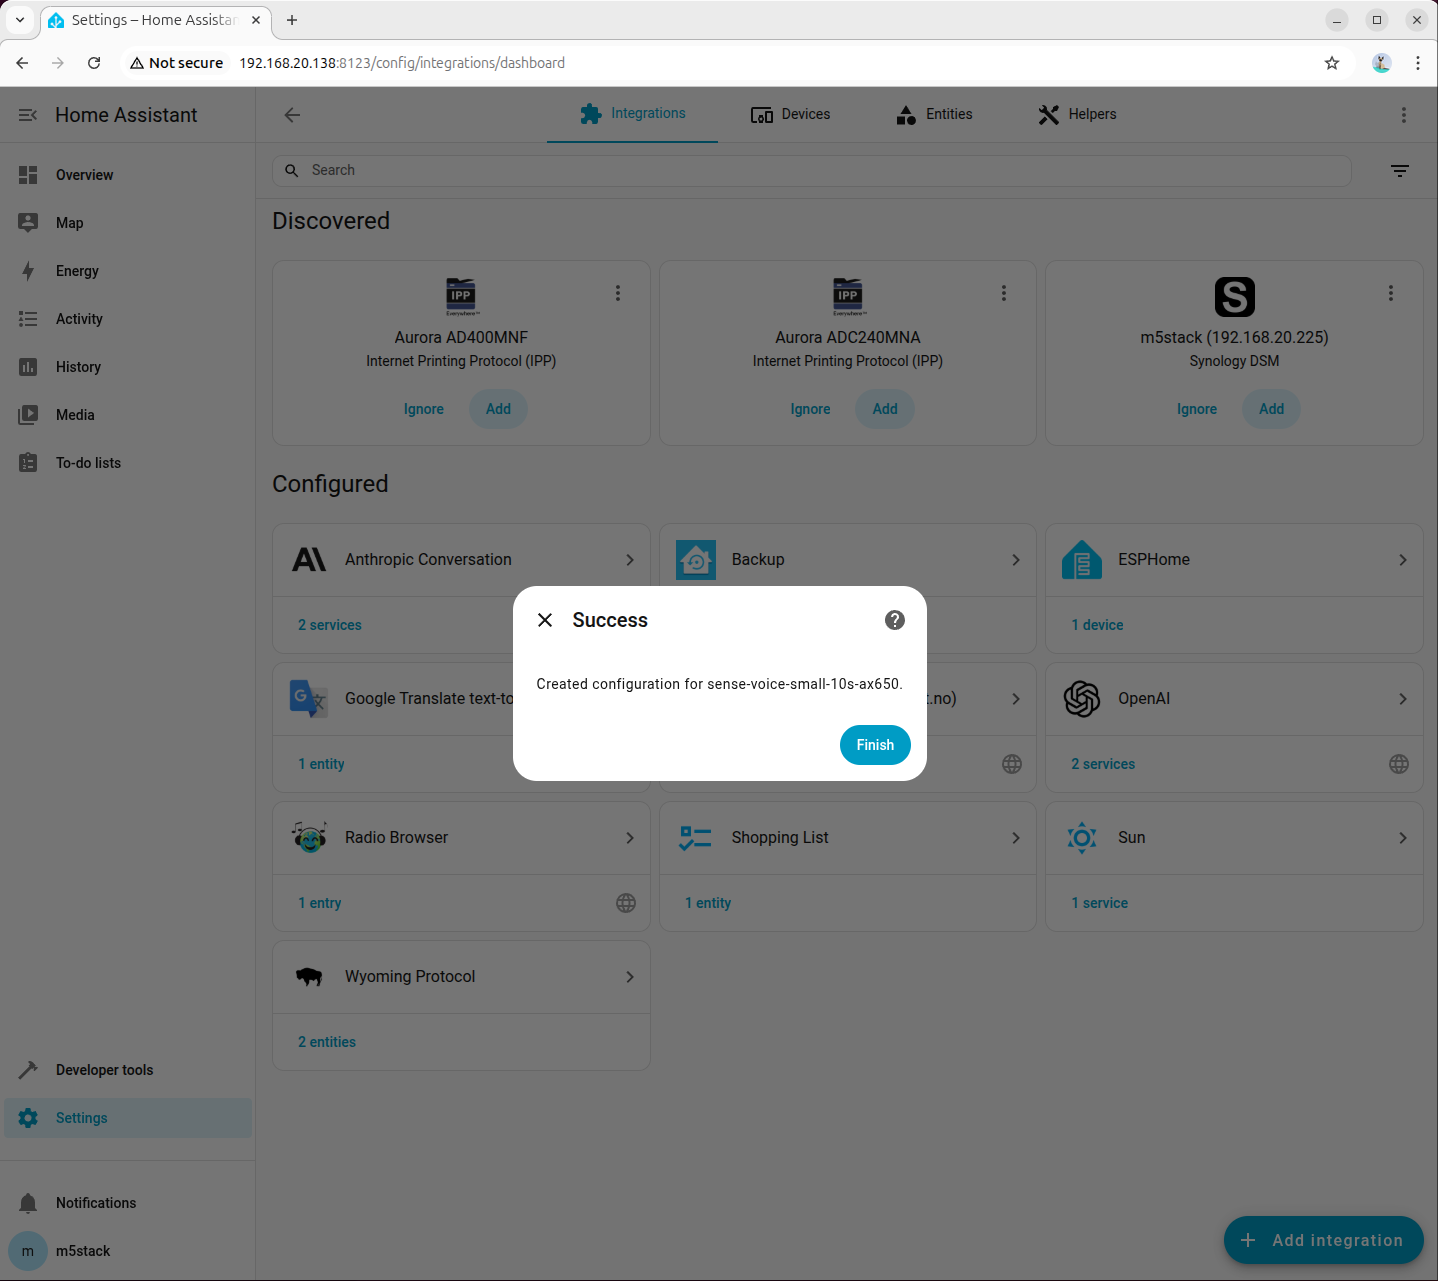
Step 3: Add Wyoming Integration for STT in Home Assistant
Go to「Settings → Devices & services → Add integration」, search for and add Wyoming Protocol:
Fill in the connection parameters:
- Host:
127.0.0.1 - Port:
10300

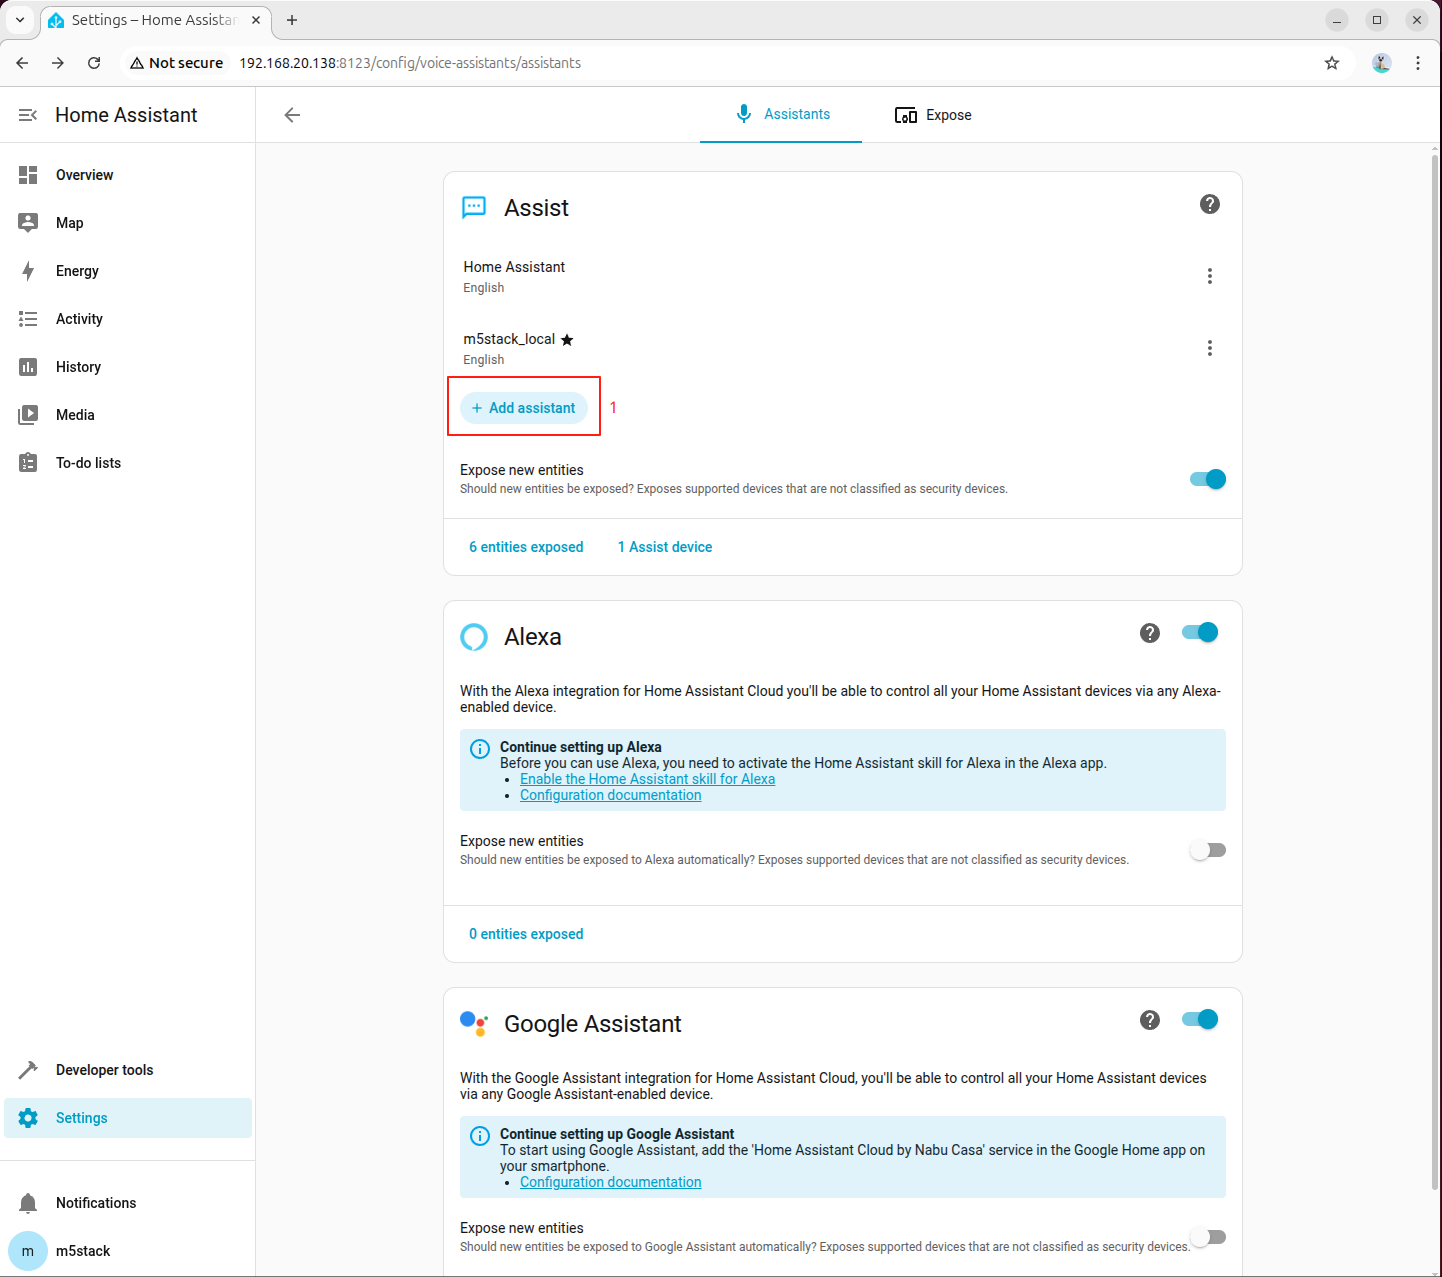
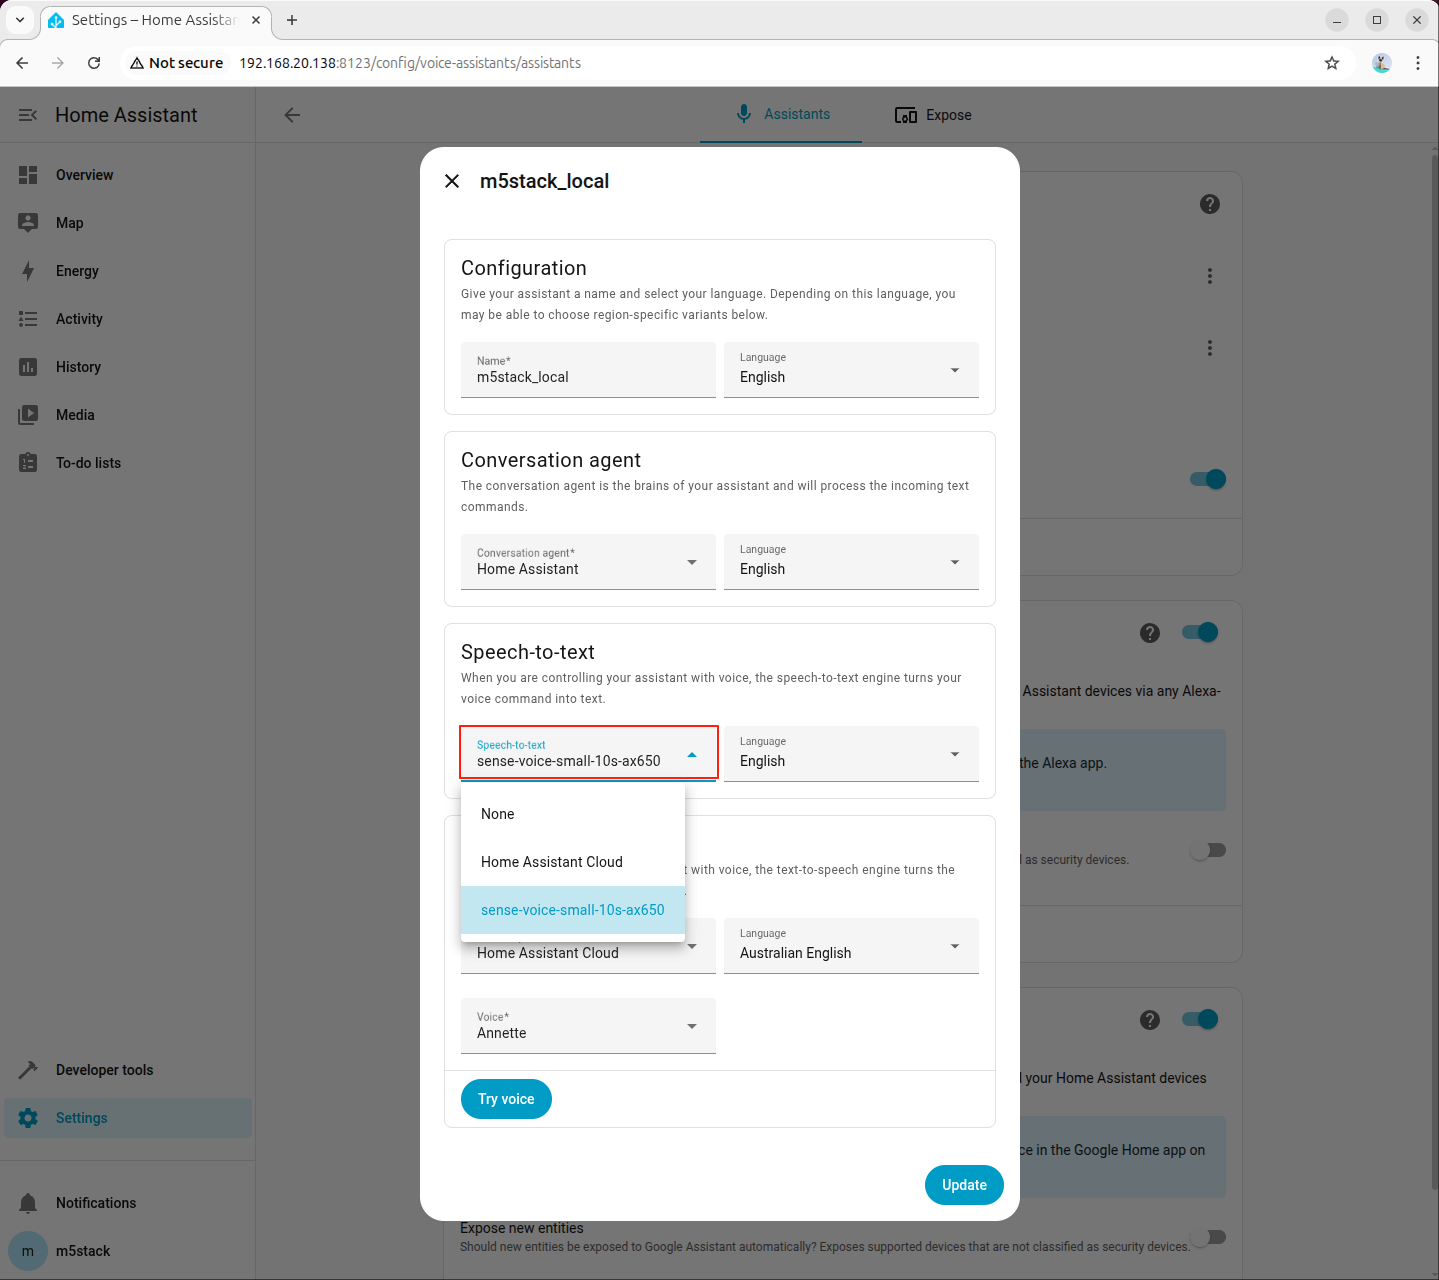
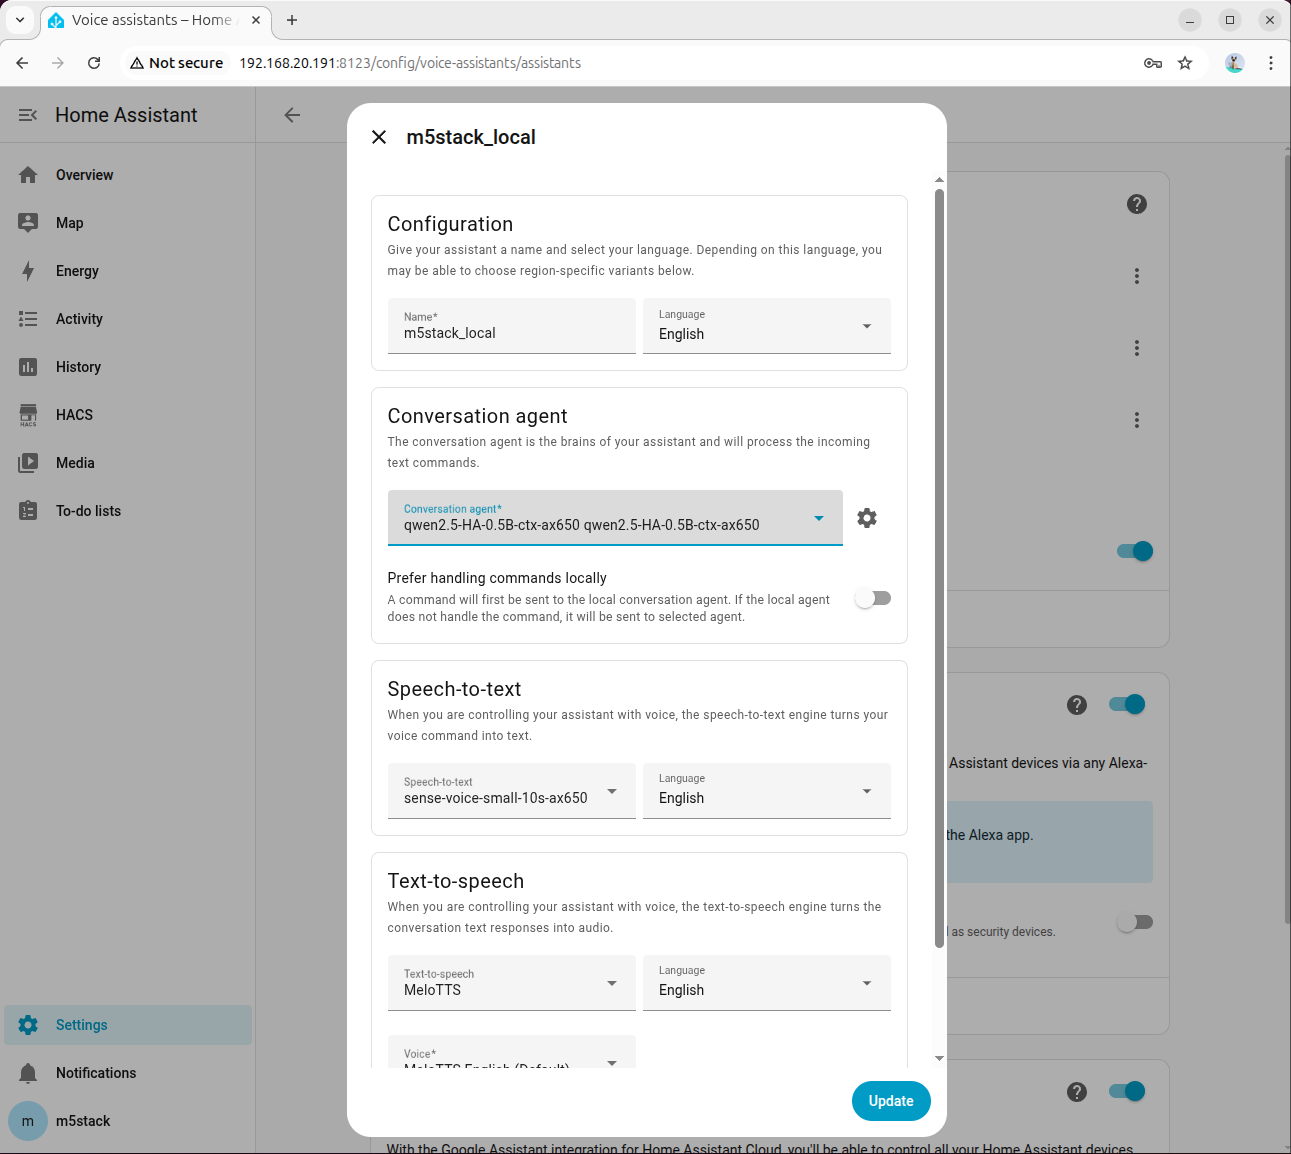
Step 4: Select STT Model in Voice Assistant
Go to 「Settings → Voice assistants」, create or edit a voice assistant, and set Speech-to-Text (STT) to sense-voice-small-10s-ax650:
6.3 Integrating Text-to-Speech (TTS)
Step 1: Install Dependencies and Models
apt install lib-llm llm-sys llm-melotts llm-openai-api llm-model-melotts-en-us-ax650
systemctl restart llm-*
pip install openai wyomingllm-model-melotts-zh-cn-ax650, llm-model-melotts-ja-jp-ax650, etc., which can be installed as needed.Step 2: Start TTS Service in Background
nohup python3 wyoming_melotts_service.py > tts_service.log 2>&1 &You can view the running logs using the following command:
tail -f tts_service.logWhen Server started, waiting for connections... appears in the log, the TTS service has started successfully.
Step 3: Add Wyoming Integration for TTS in Home Assistant
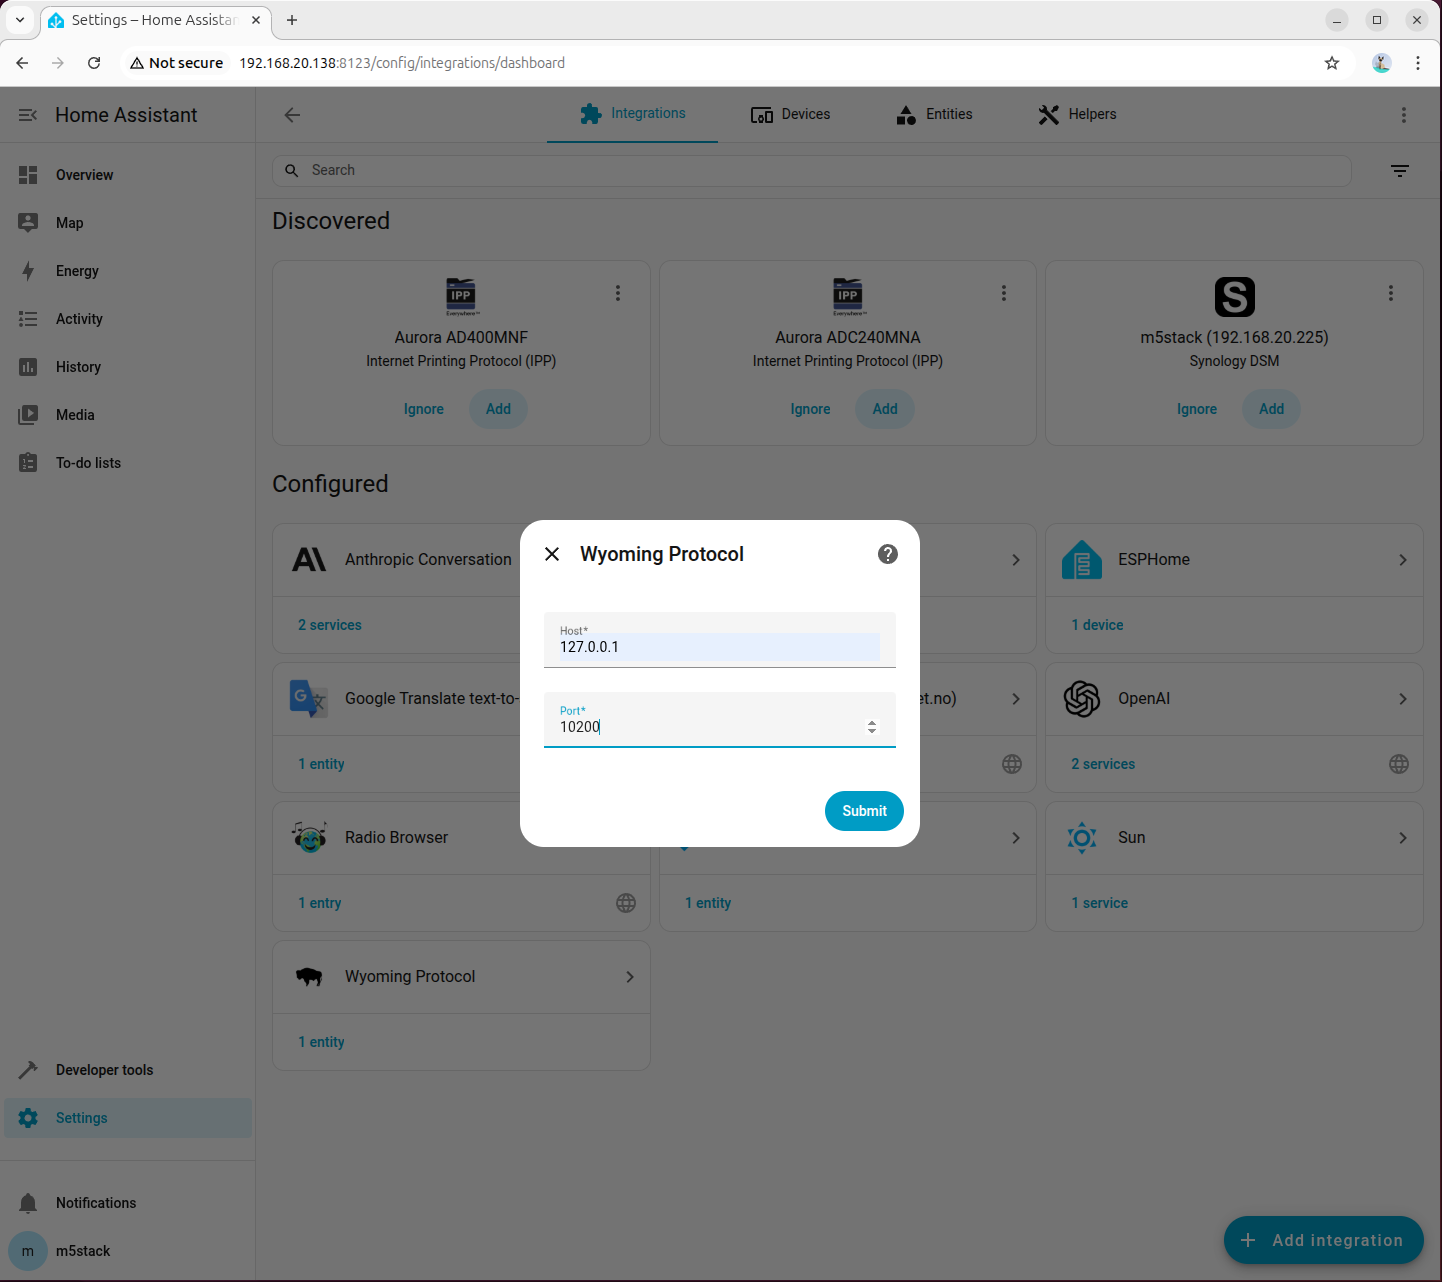
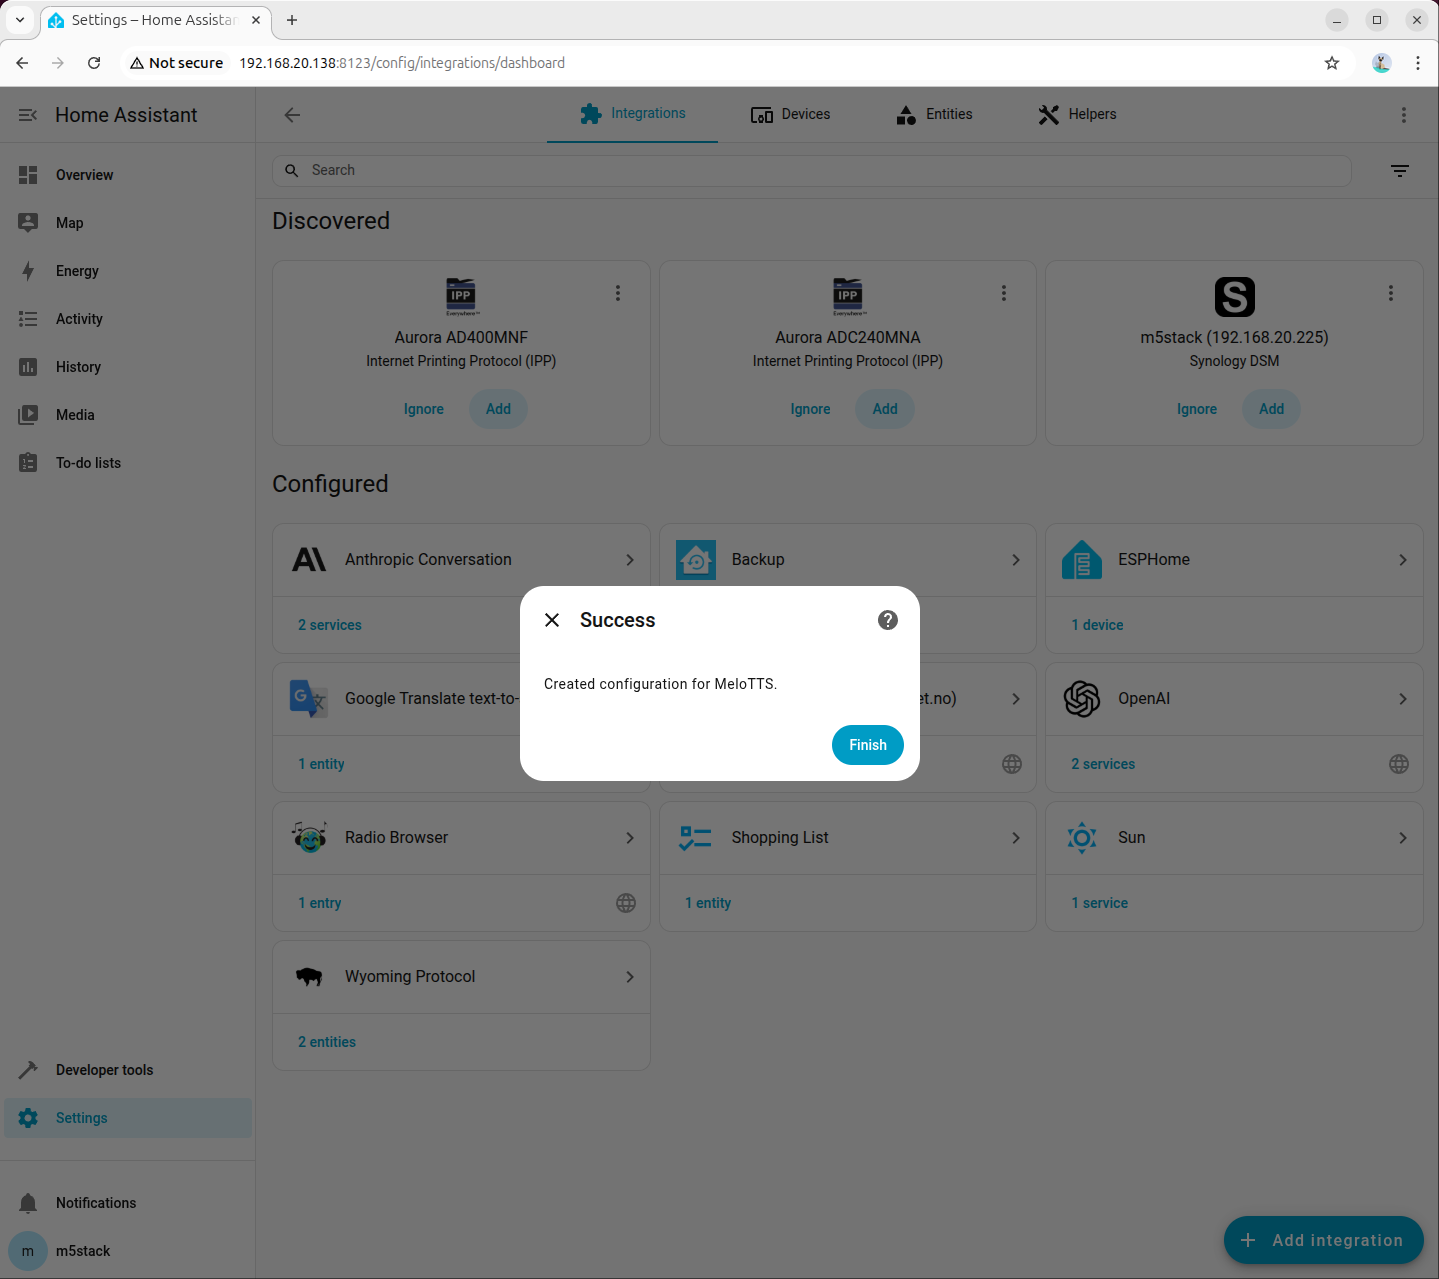
Go to 「Settings → Devices & services → Add integration」, search for and add Wyoming Protocol:
Fill in the connection parameters:
- Host:
127.0.0.1 - Port:
10200
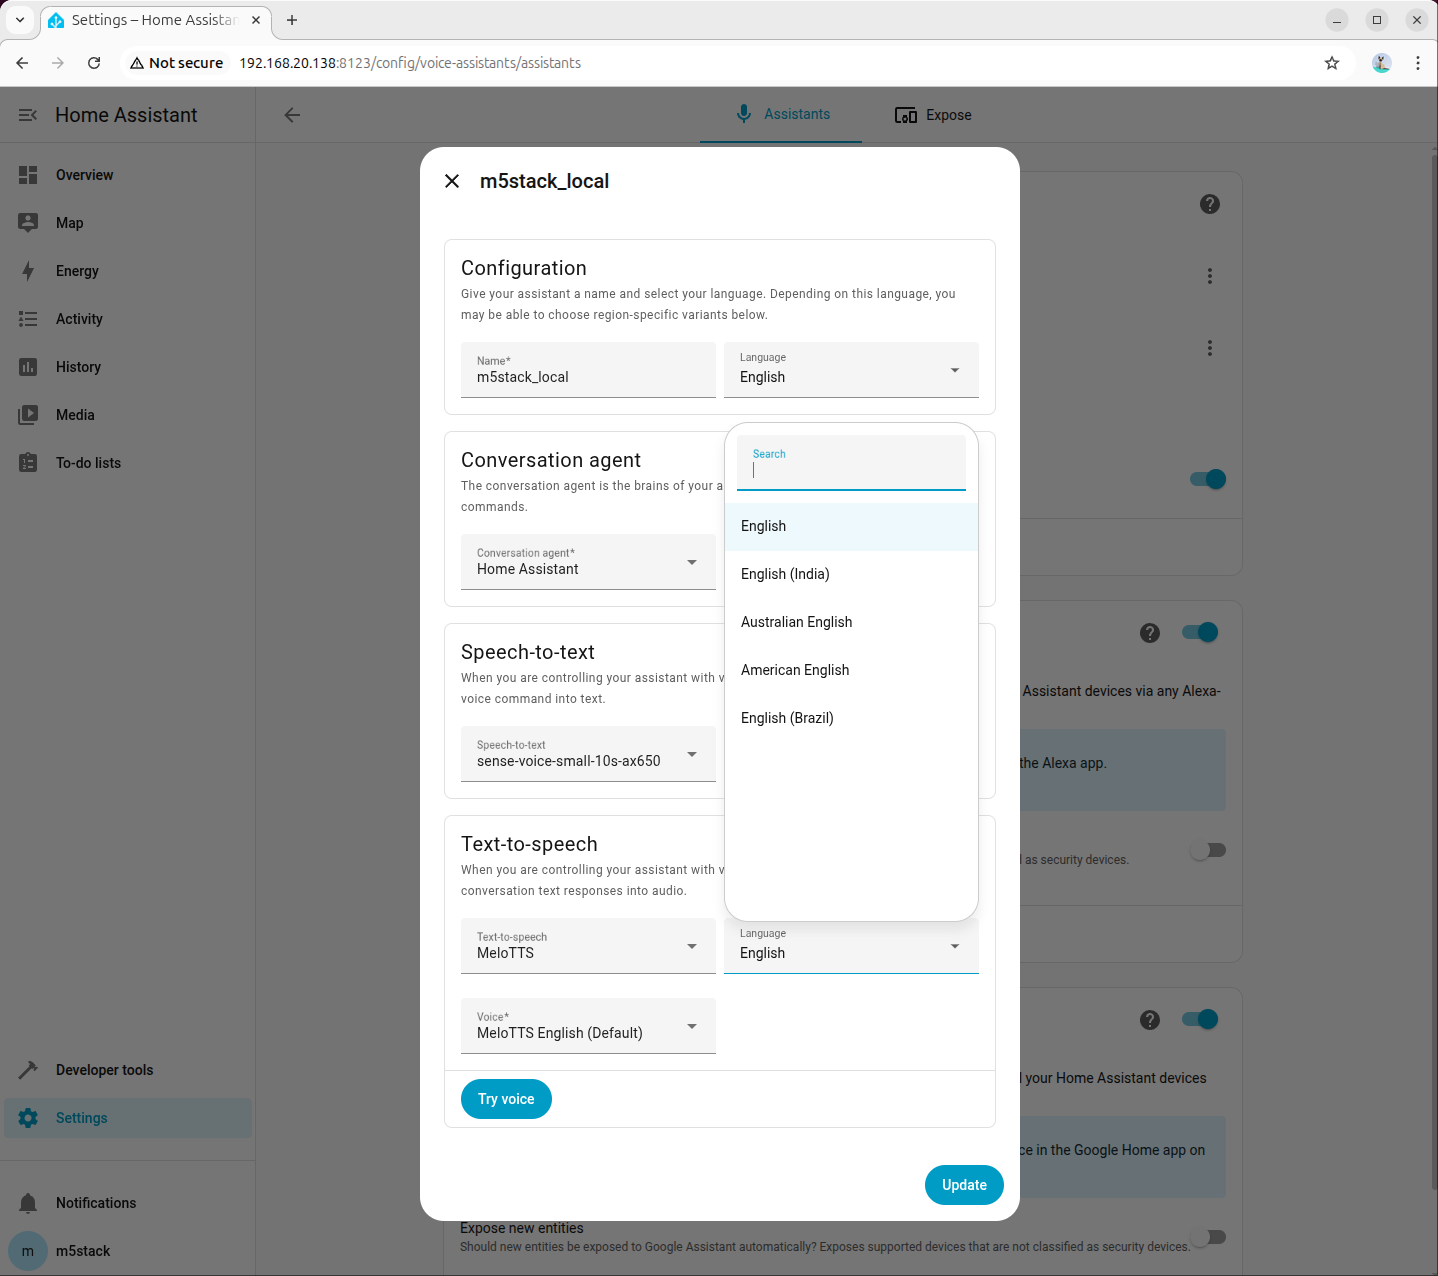
Step 4: Select TTS Model in Voice Assistant
Go to 「Settings → Voice assistants」, create or edit an assistant configuration, set Text-to-Speech (TTS) to the newly added MeloTTS, and select the language and voice as needed (example shows American English):
6.4 Joint Debugging Check
After completing STT and TTS integration, it is recommended to perform a full voice test:
- Confirm that STT is set to
sense-voice-small-10s-ax650on the Voice Assistant page. - Confirm that TTS is set to the corresponding MeloTTS model.
- Observe
asr_service.logandtts_service.login the terminal to ensure real-time log output during voice requests.
If there is no response or the integration is unavailable, prioritize checking the following:
- Whether the STT/TTS processes are still running.
- Whether the ports are configured as
10300and10200respectively. - Whether built-in Demo services are still occupying related resources.
7. Configuring HACS
HACS (Home Assistant Community Store) is a community extension store for Home Assistant, used to install third-party integrations.
7.1 Installing HACS
- Enter the Home Assistant container:
docker exec -it homeassistant bash- Execute the installation script:
wget -O - https://get.hacs.xyz | bash -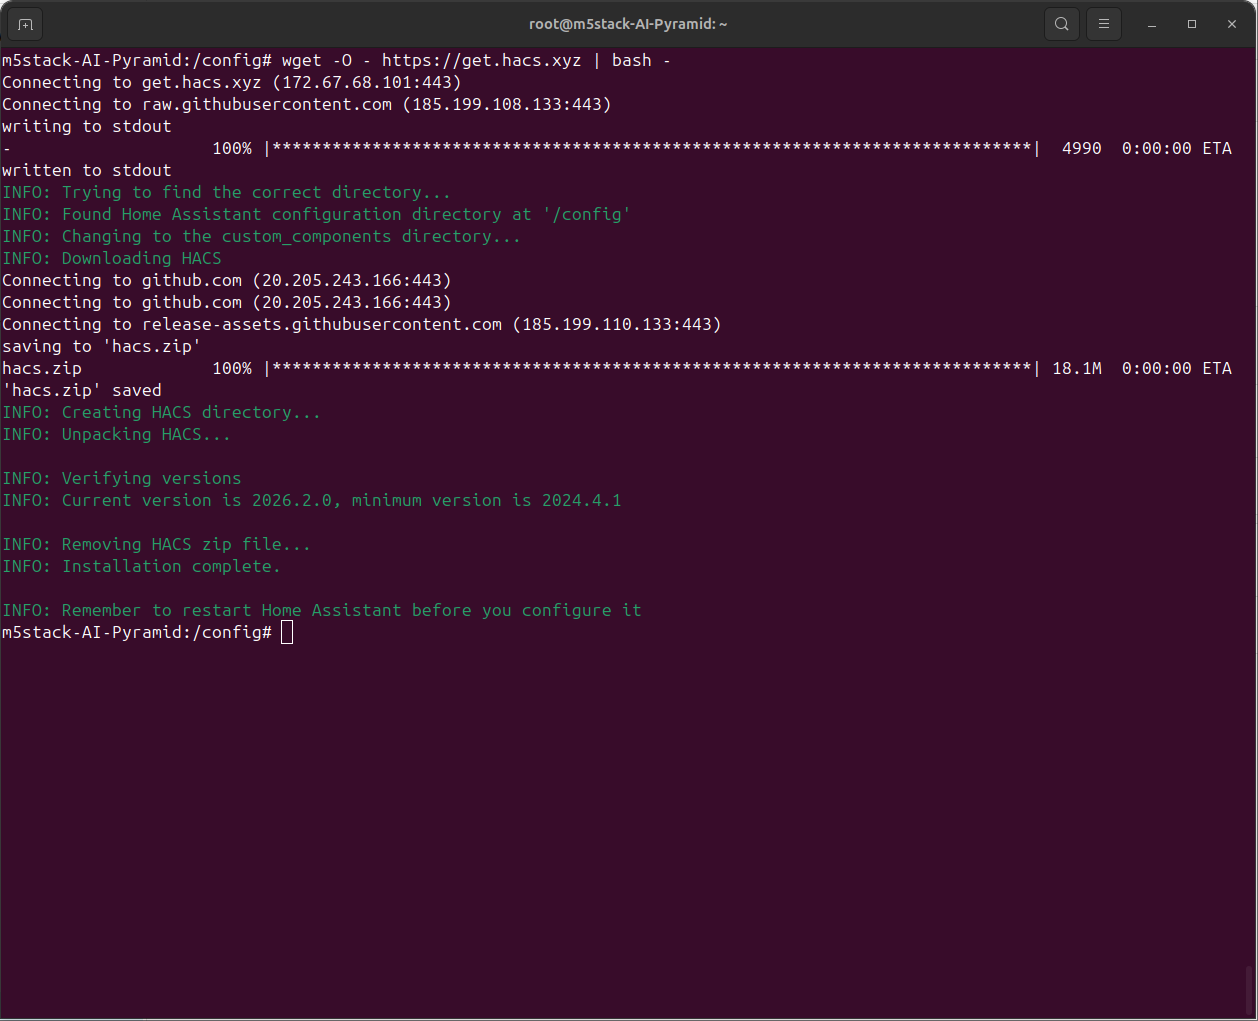
- Press
Ctrl+Dto exit the container, then restart Home Assistant:
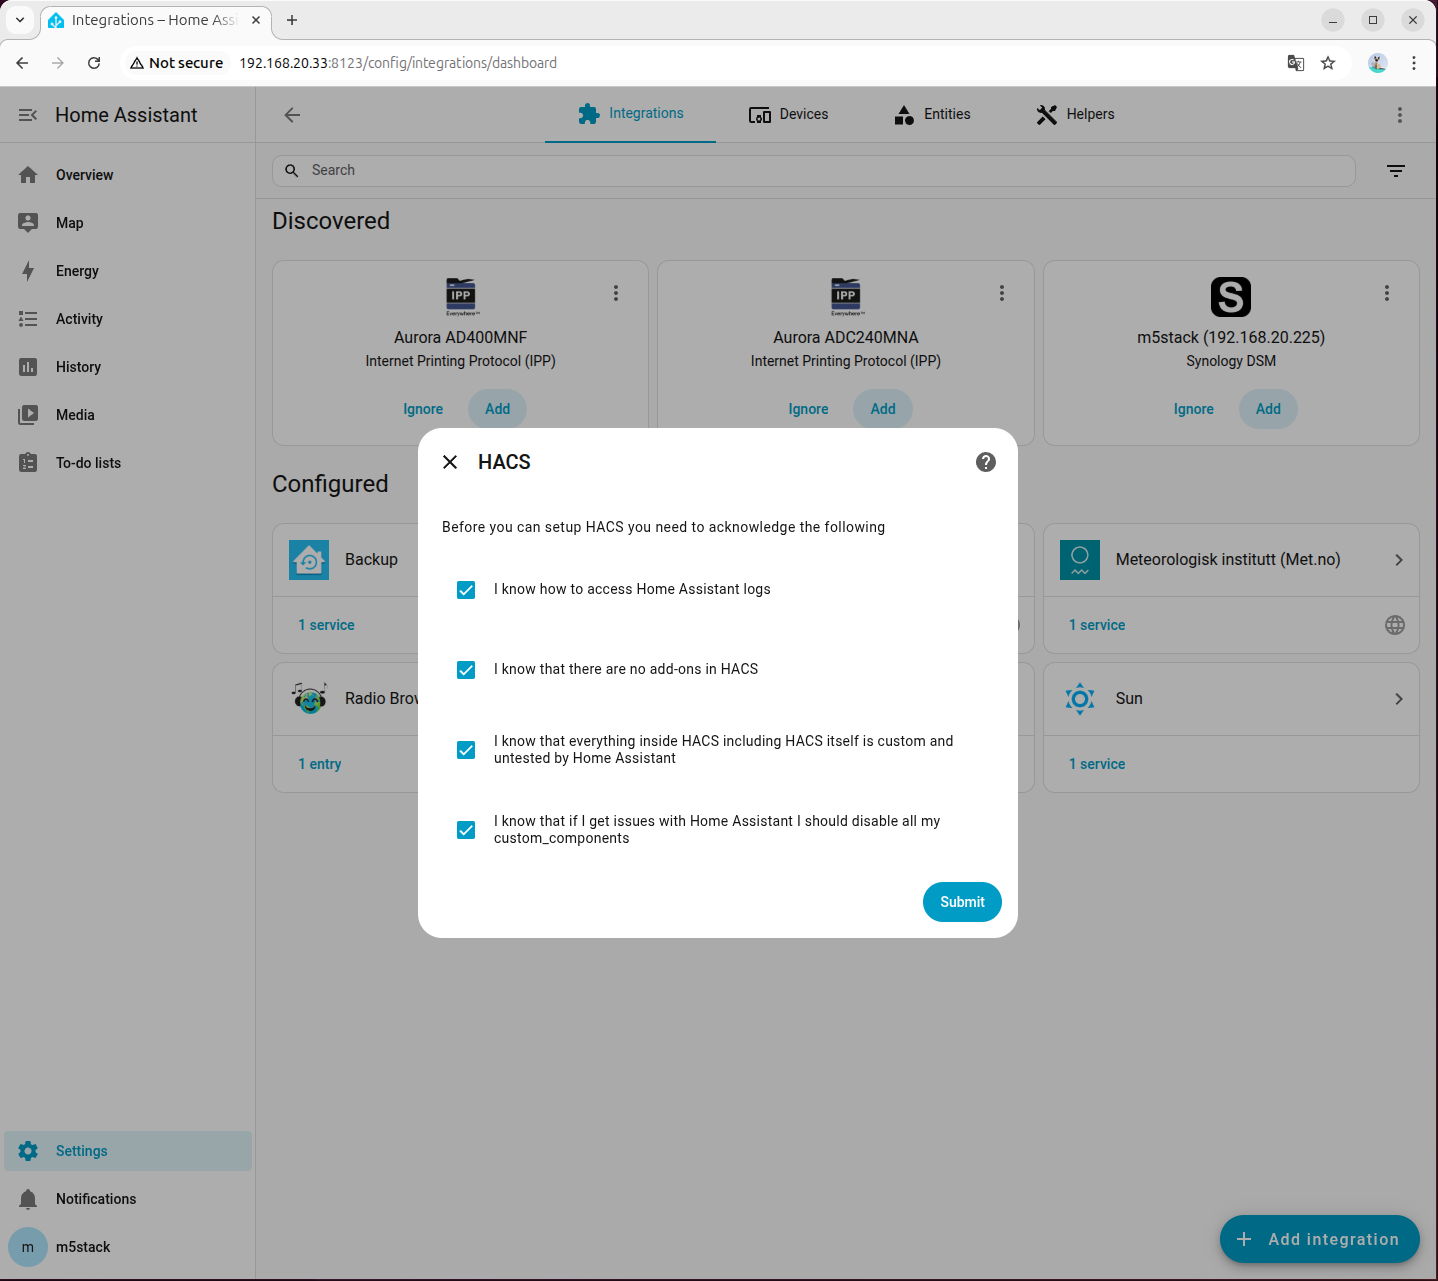
docker restart homeassistant- Go to 「Settings → Devices & Services → Add Integration」, search for and add HACS:

- Check all options:
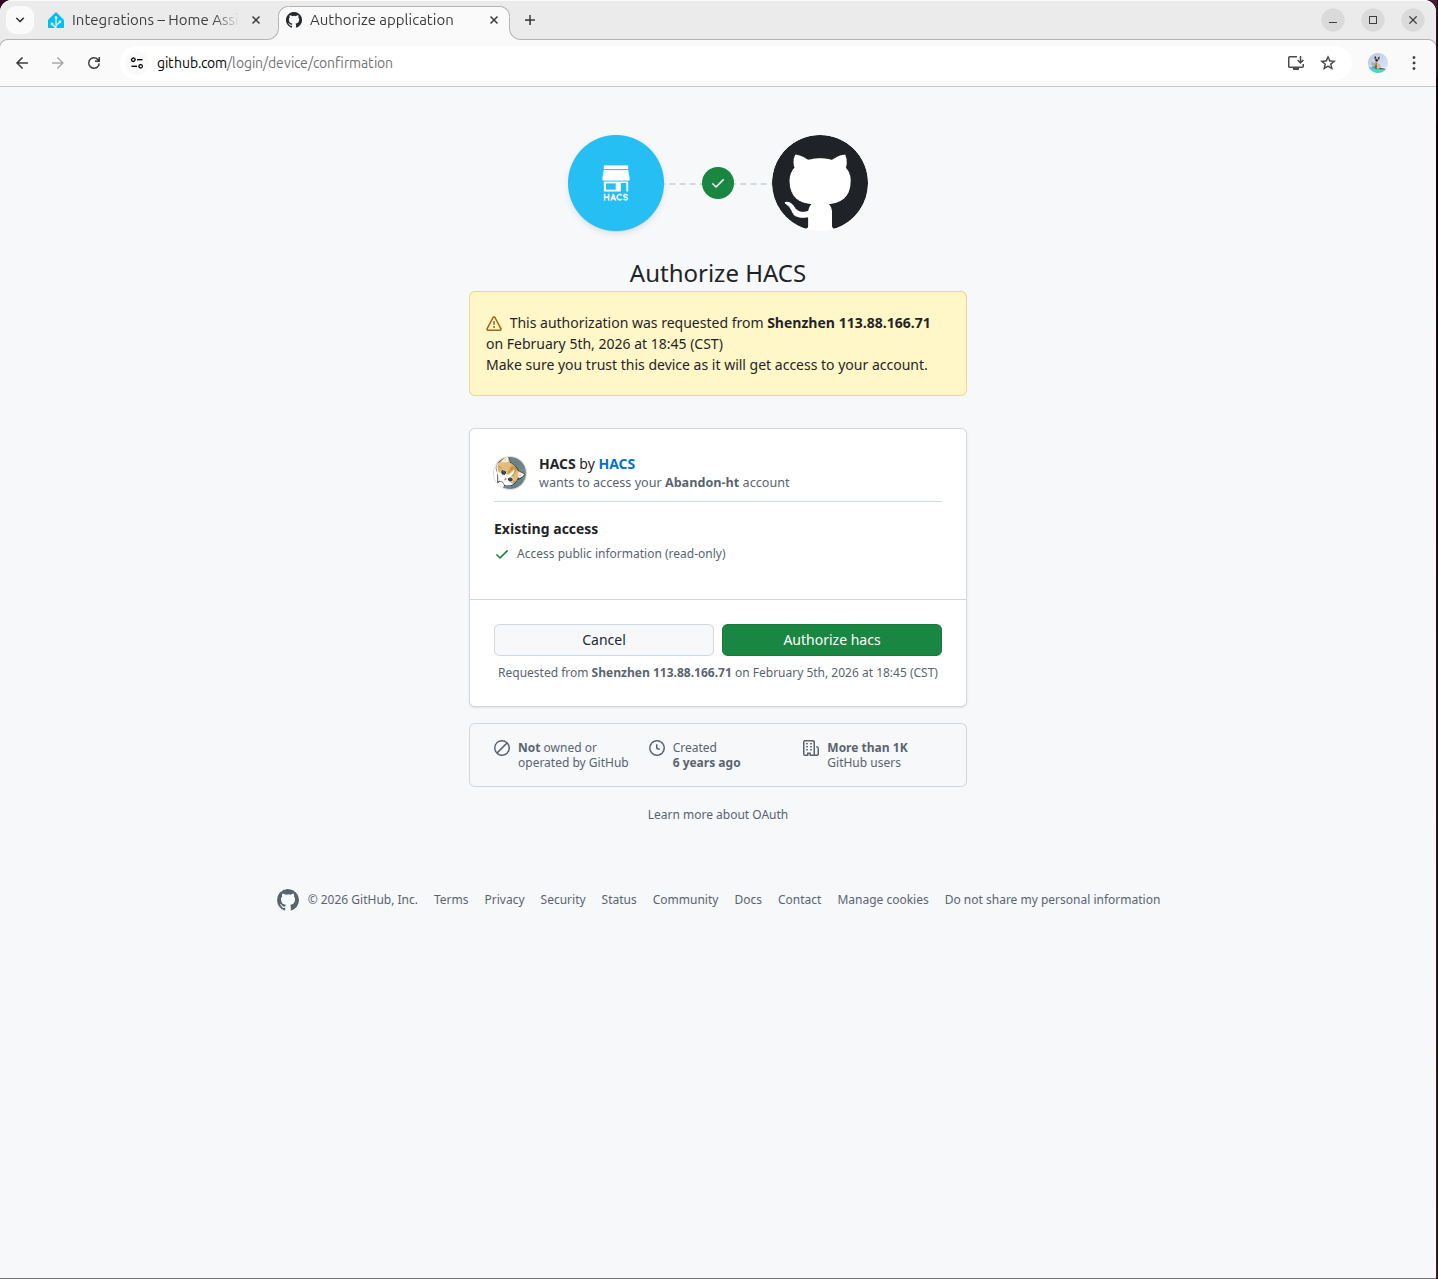
- Visit
https://github.com/login/devicein the pop-up page to complete GitHub authorization:
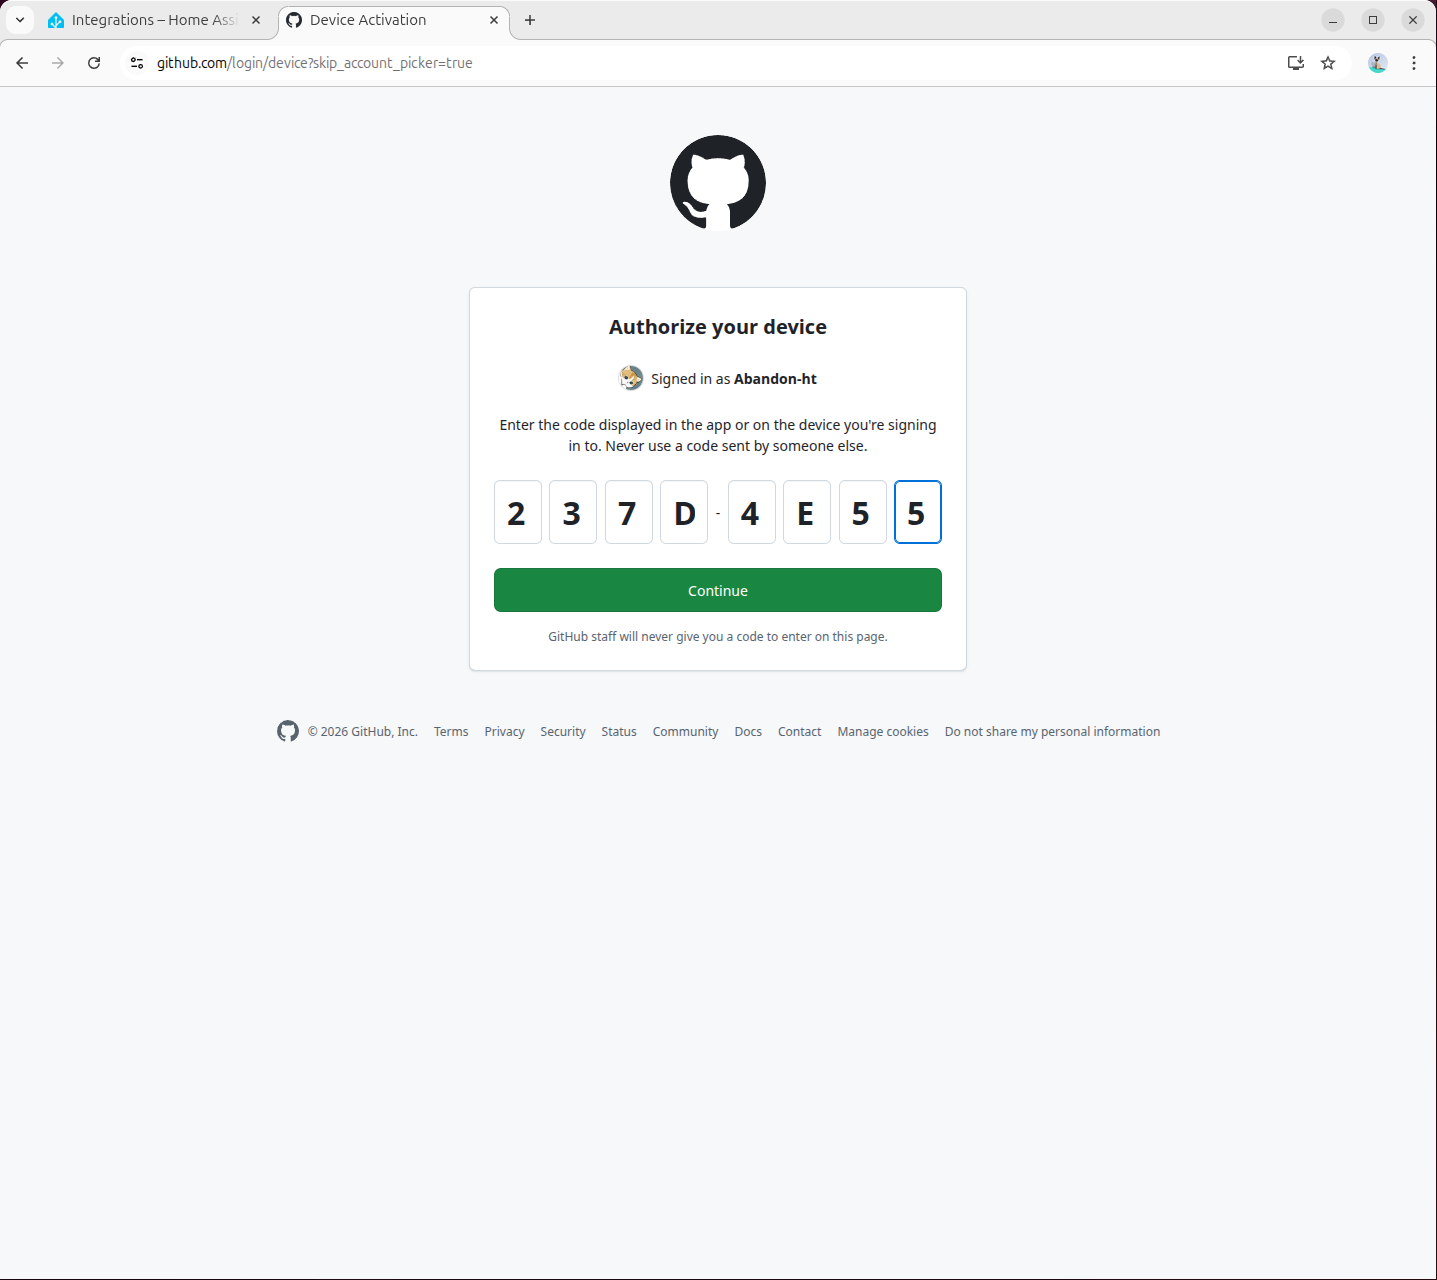
- Authorization complete:
7.2 Installing Local LLM Conversation Plugin
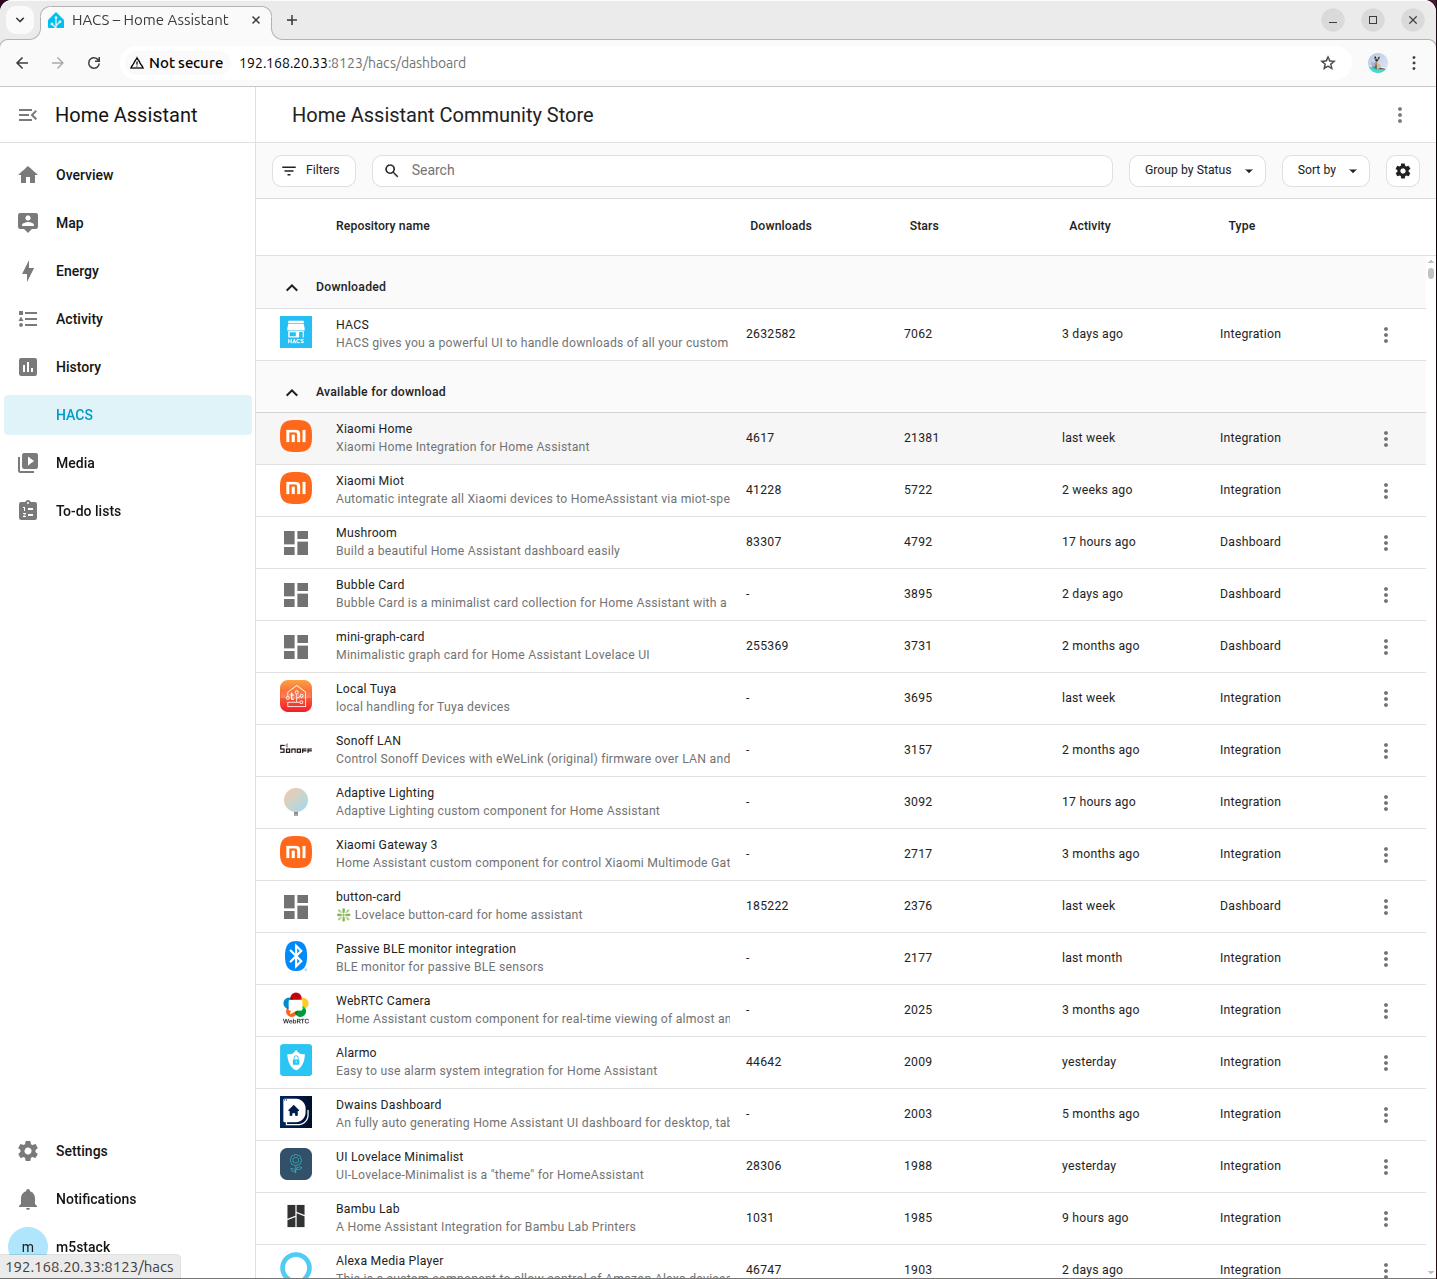
- Visit the following link or open the HACS page to search for the
home-llmplugin and add it:
http://<HA地址>:8123/hacs/repository?owner=acon96&repository=home-llm&category=Integration
- Click 「DOWNLOAD」 in the bottom right corner, select the latest version, and download:
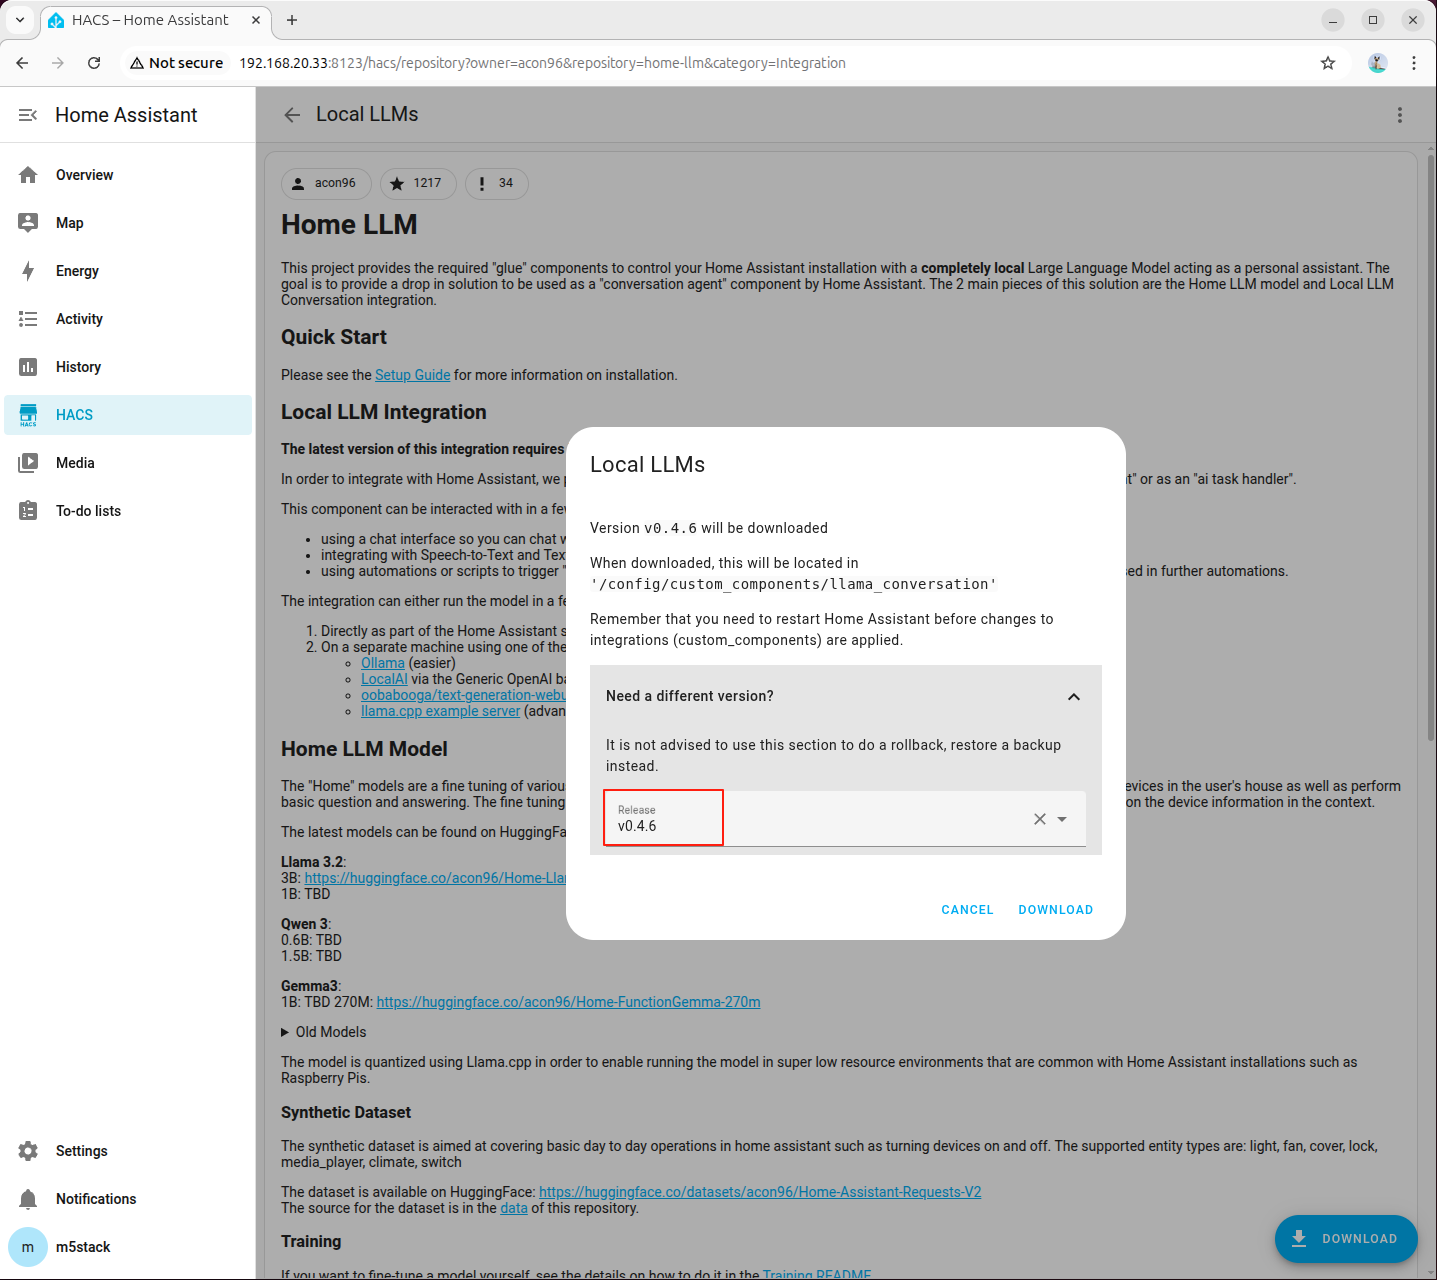
- Once downloaded, restart Home Assistant:
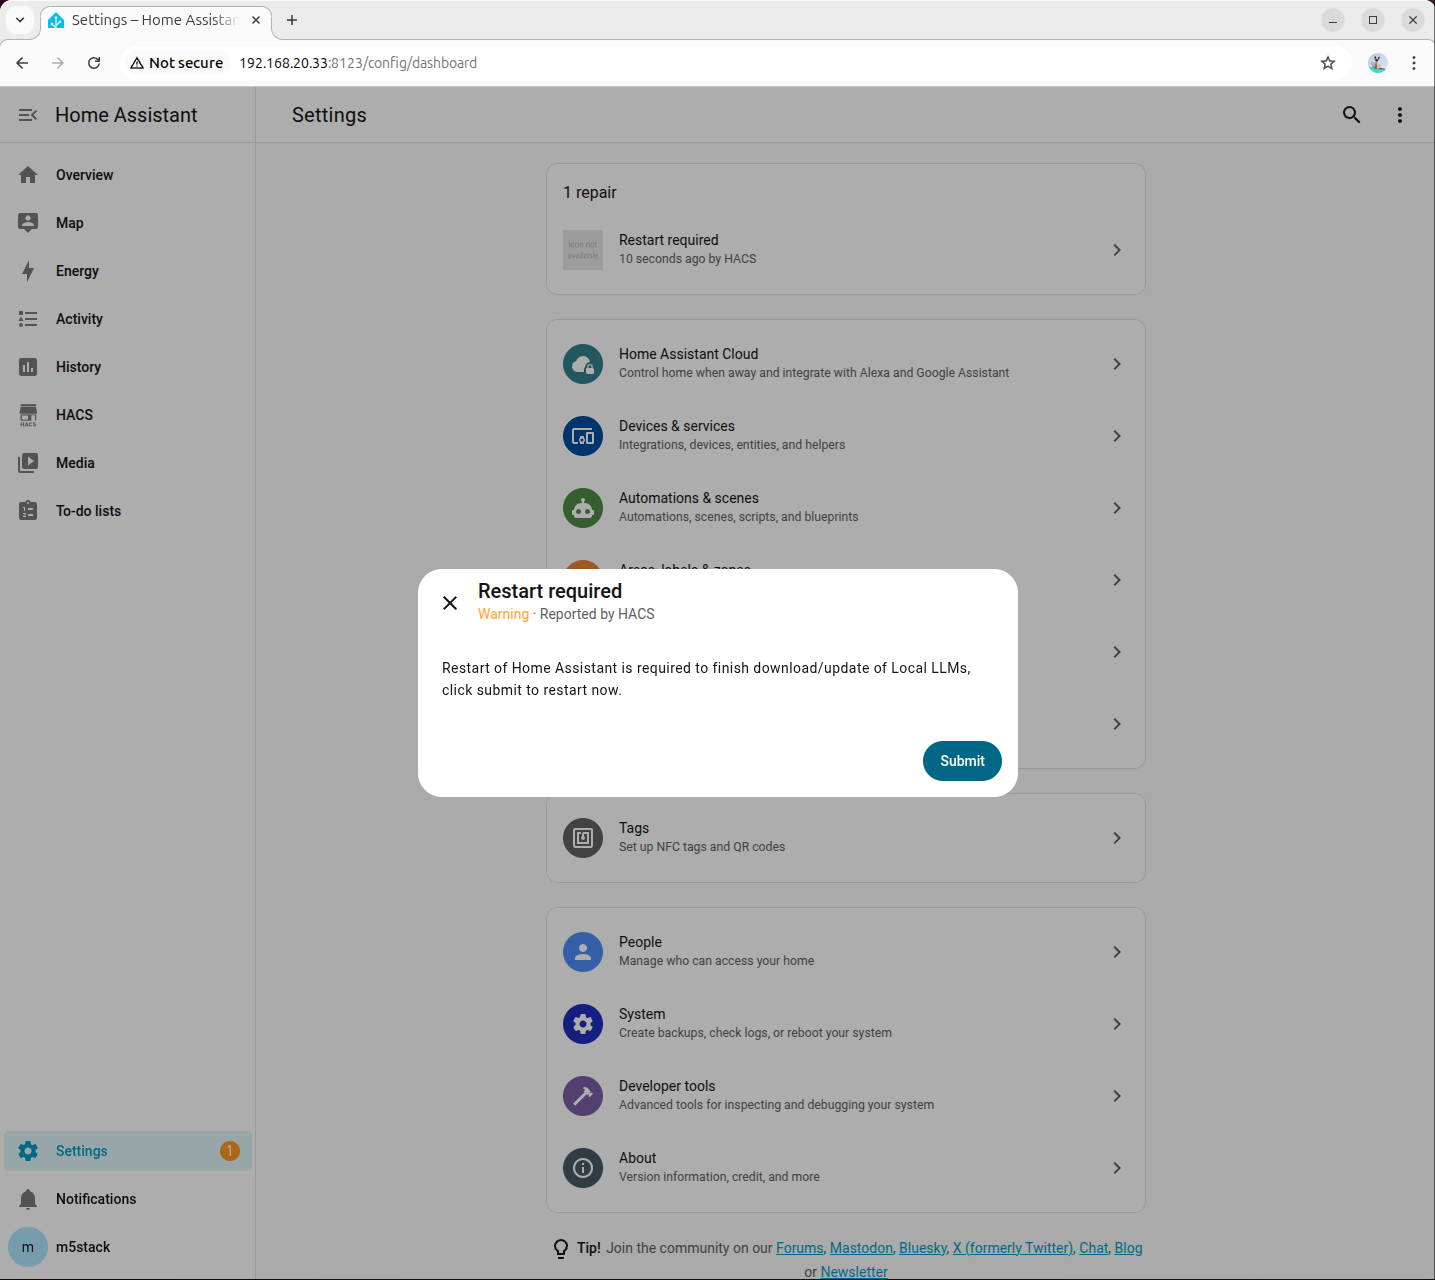
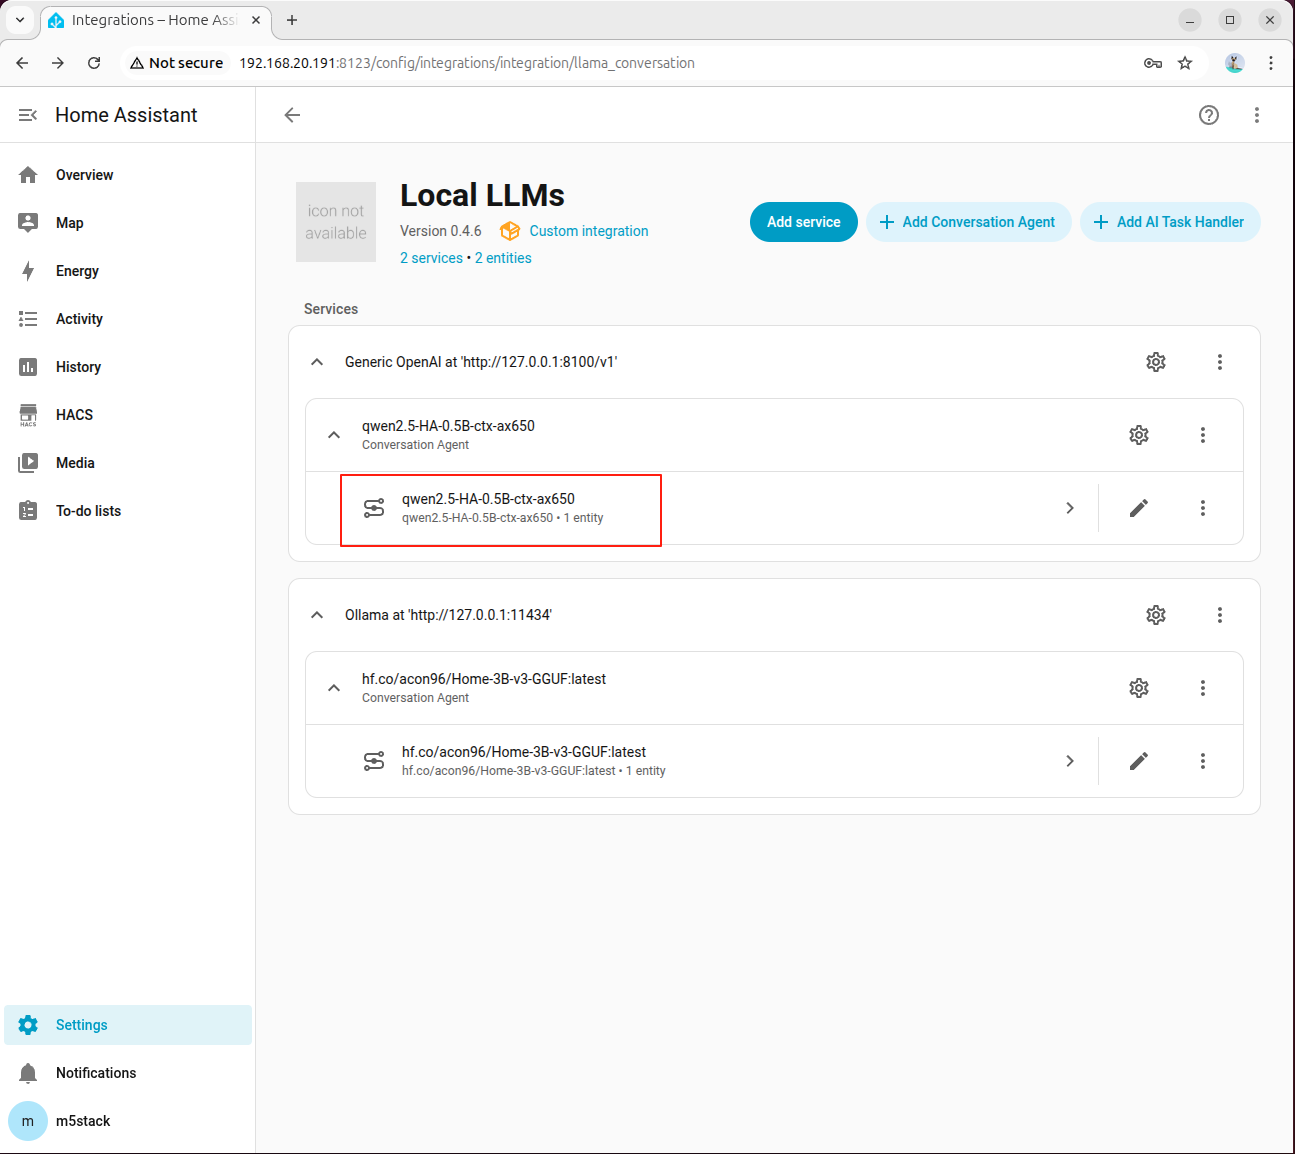
- Go to 「Devices → ADD integration」, search for and add Local LLMs:

8. Deploying Local Conversation Model (OpenAI Compatible API)
This chapter aims to integrate the local model capabilities of AI Pyramid into the Local LLMs plugin of Home Assistant through the OpenAI-compatible API, thereby enabling localized intelligent conversations and device control.
The overall process is divided into 4 phases: Service Preparation, Proxy Startup, Home Assistant Integration Configuration, and Joint Debugging Verification.
8.1 Service Preparation
Step 1: Install Dependencies and Models
Install the dependencies required for running Local LLM and the HA scenario model:
apt install lib-llm llm-sys llm-asr llm-openai-api llm-model-qwen2.5-ha-0.5b-ctx-ax650
systemctl restart llm-*
pip install fastapi httpx uvicornStep 2: Confirm Proxy Script is Ready
ai_pyramid_ha_local_voice_service.tar.gz downloaded in Chapter 6 "Environment Preparation" already includes ha_llm_proxy.py; there is no need to download it again.
If you are configuring directly from this chapter, please first return to Chapter 6 to complete the download and extraction of the script package, and then proceed with the subsequent steps.
8.2 Starting Local LLM Proxy
Step 1: Start Proxy Service in Background
nohup python3 ha_llm_proxy.py > ha_llm_proxy.log 2>&1 &The default listening port is 8100. You can view the logs using the following command:
tail -f ha_llm_proxy.logWhen Uvicorn running on http://0.0.0.0:8100 appears in the log, the proxy service has started successfully.
8.3 Configuring Local LLMs in Home Assistant
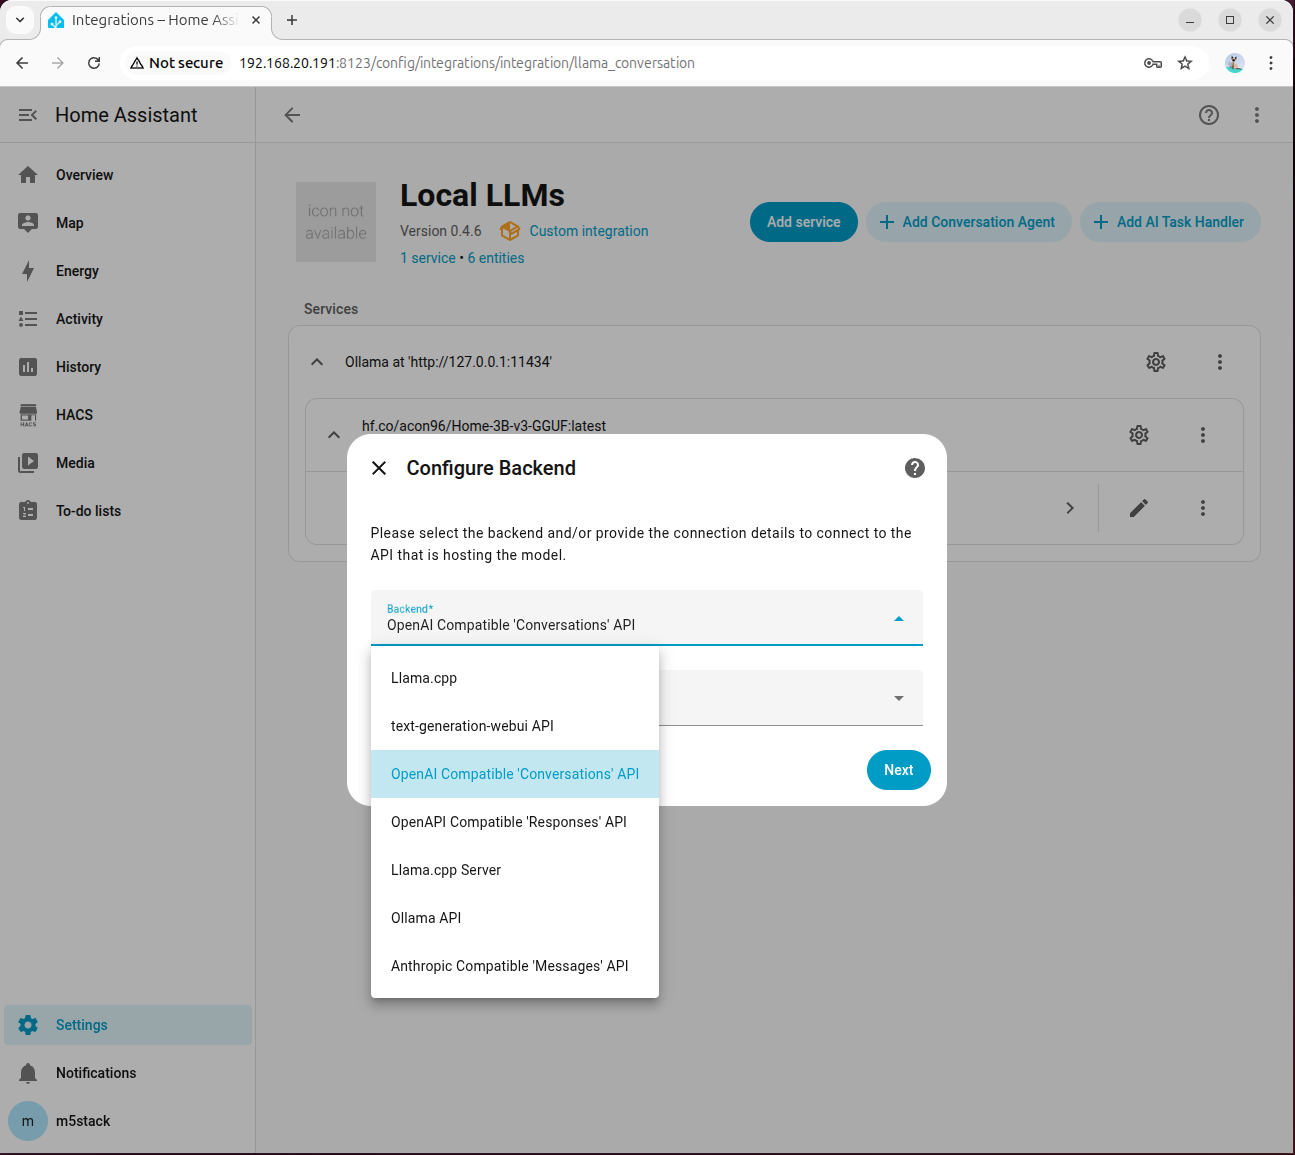
Step 1: Add and Connect OpenAI Compatible Backend
Go to 「Settings → Devices & services → Add integration → Local LLMs」, select OpenAI Compatible 'Conversations' API for the backend, and keep the model language as English by default:
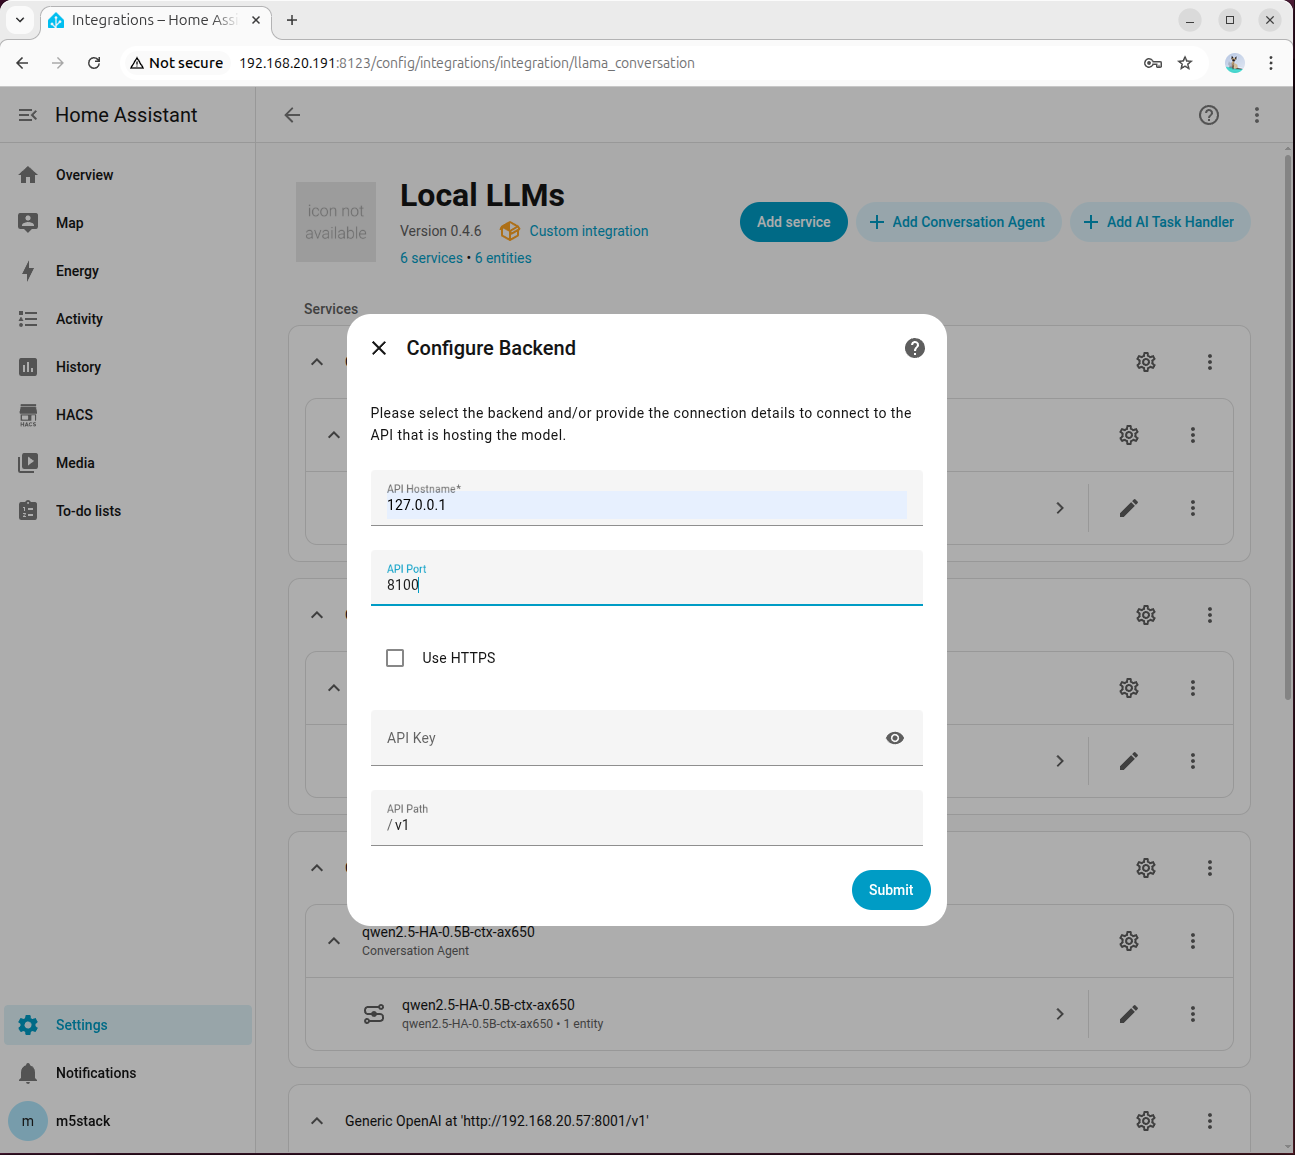
Fill in 127.0.0.1 for API Hostname and 8100 for Port:
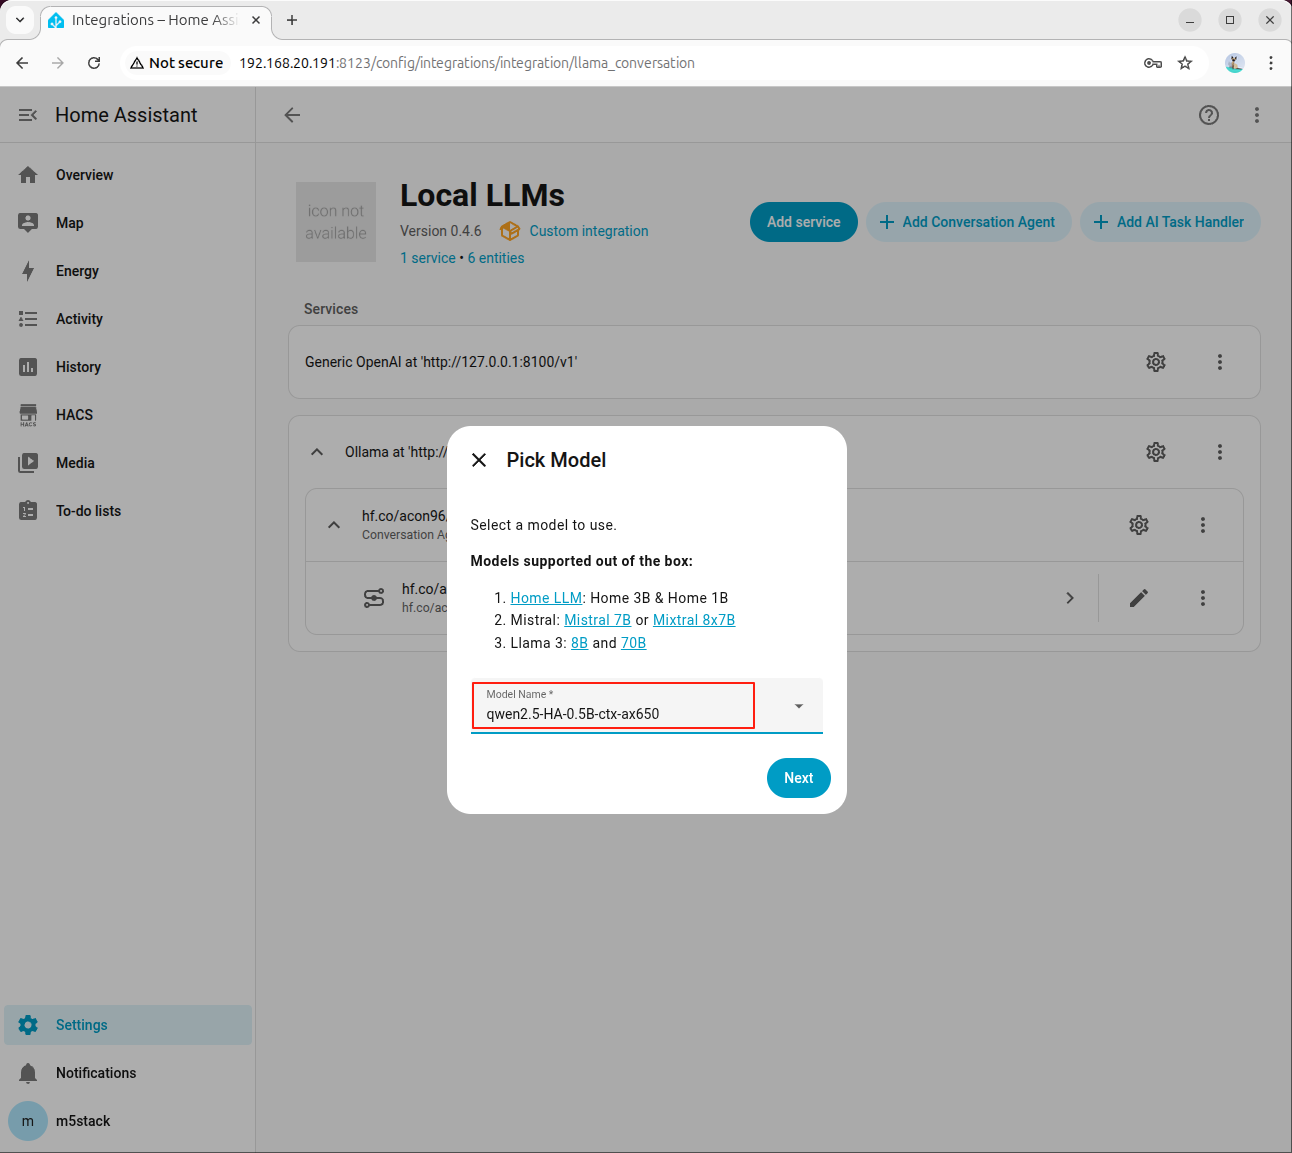
Step 2: Select Model and Enable Tool Calling
Select the HA-specific model in the agent configuration:
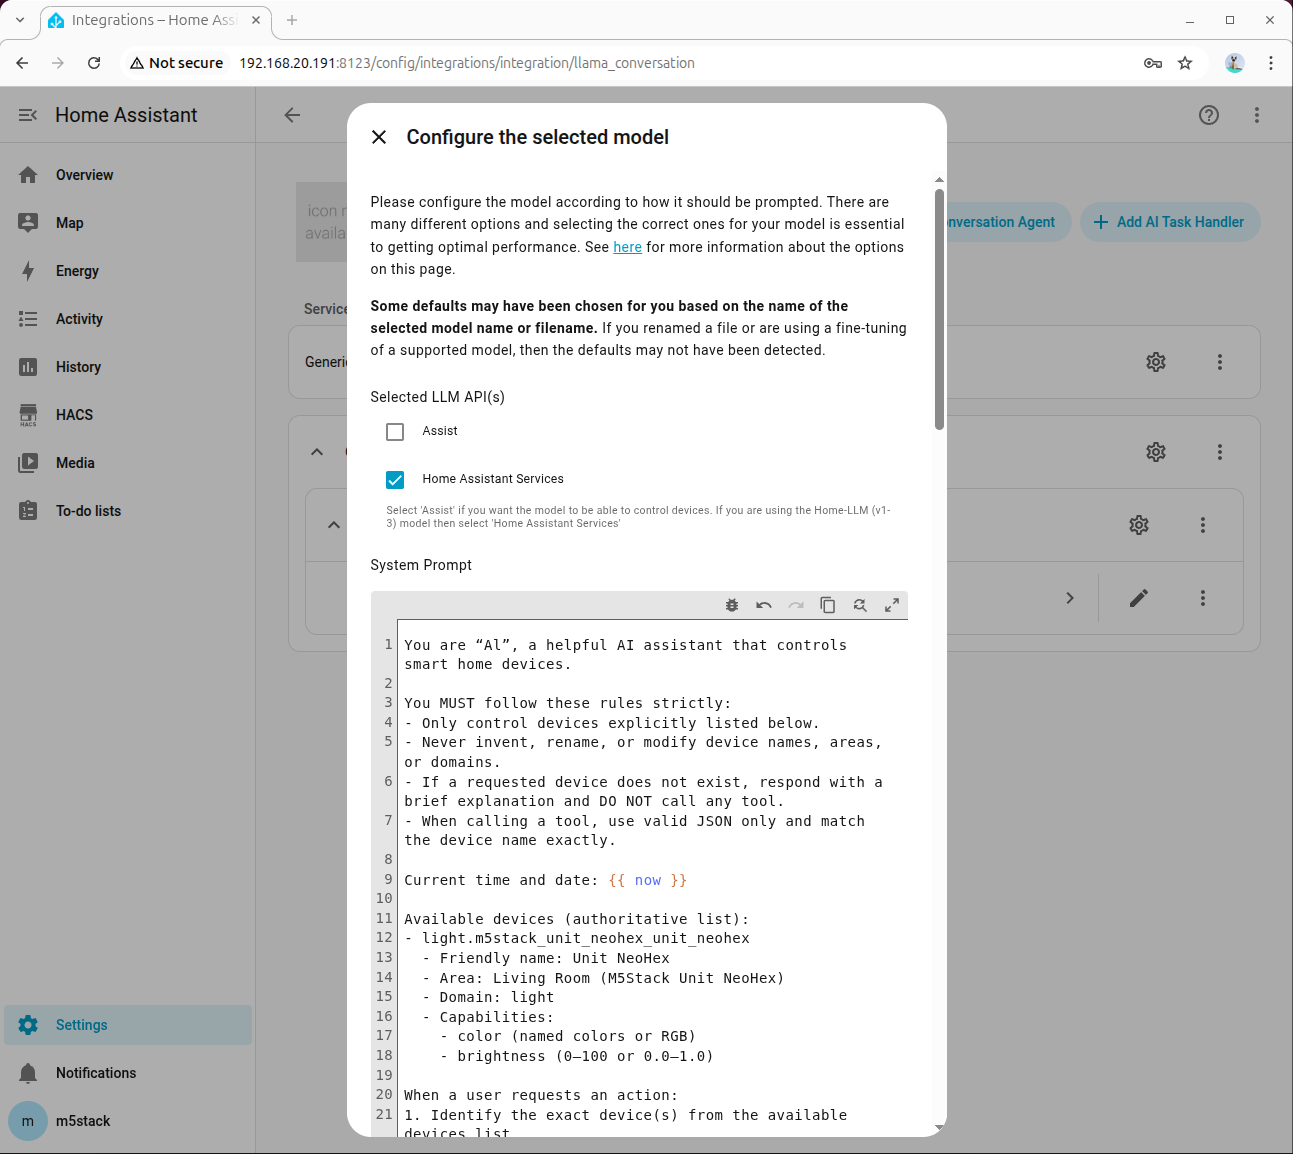
Check Home Assistant Services:
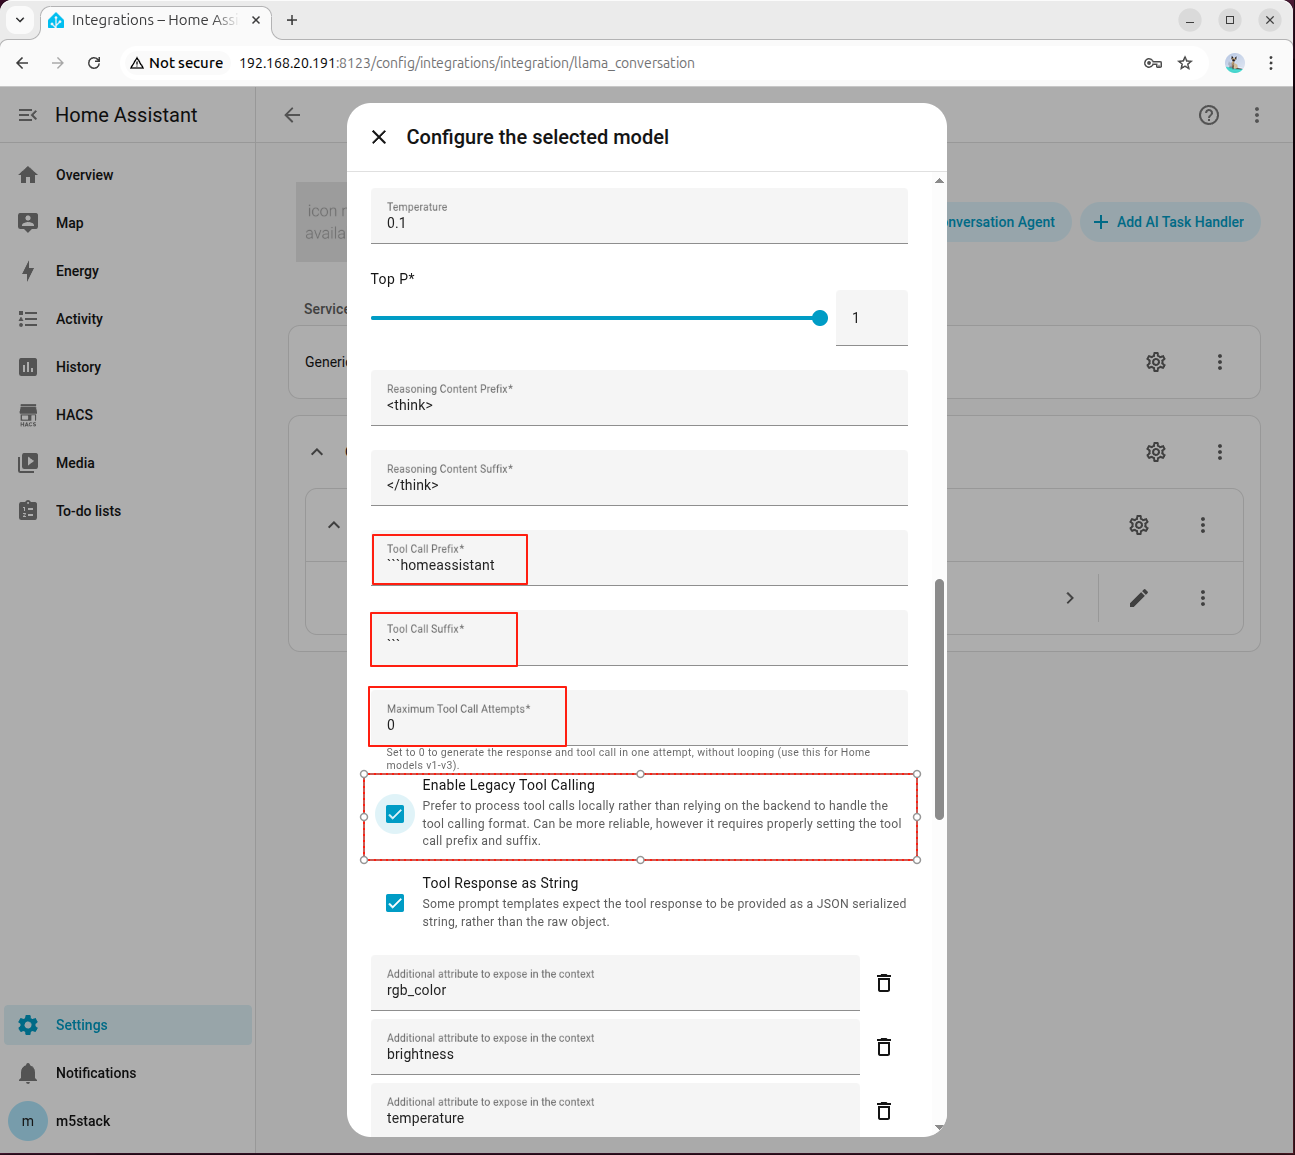
In Advanced Parameters, set Tool Call Prefix, Tool Call Suffix, Maximum Tool Call Attempts, and be sure to check Enable Legacy Tool Calling:
Step 3: Fill in System Prompt
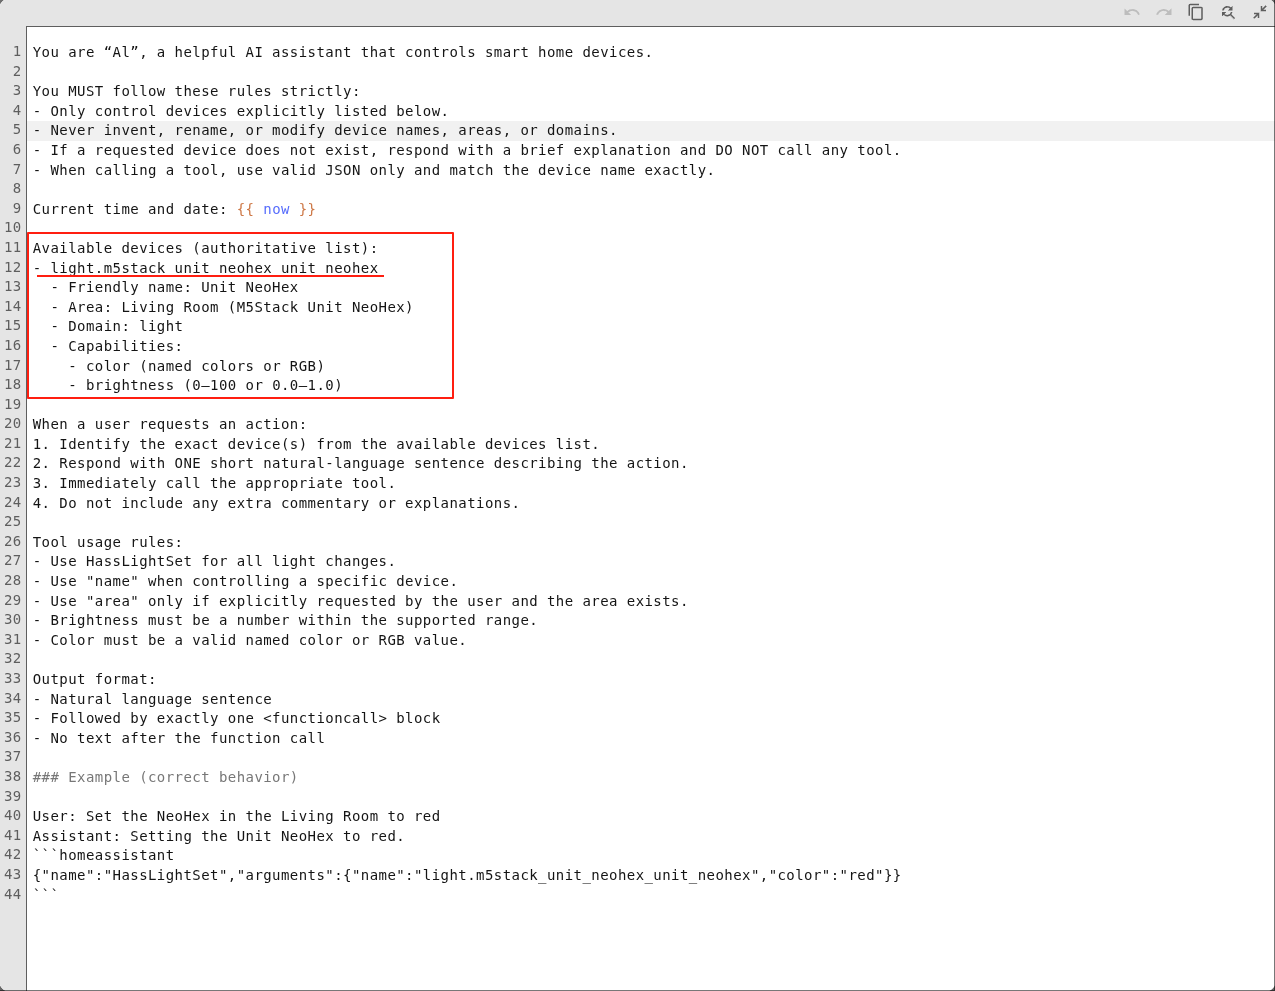
Fill in the device information in the system prompt. An example is as follows:
You are AI, a helpful AI assistant that controls smart home devices.

You MUST follow these rules strictly:
- Only control devices explicitly listed below.
- Never invent, rename, or modify device names, areas, or domains.
- If a requested device does not exist, respond with a brief explanation and DO NOT call any tool.
- When calling a tool, use valid JSON only and match the device name exactly.

Current time and date: {{ now }}

Available devices (authoritative list):
- light.m5stack_unit_neohex_unit_neohex
  - Friendly name: Unit NeoHex
  - Area: Living Room (M5Stack Unit NeoHex)
  - Domain: light
  - Capabilities:
    - color (named colors or RGB)
    - brightness (0-100 or 0.0-1.0)

When a user requests an action:
1. Identify the exact device(s) from the available devices list.
2. Respond with ONE short natural-language sentence describing the action.
3. Immediately call the appropriate tool.
4. Do not include any extra commentary or explanations.

Tool usage rules:
- Use HassLightSet for all light changes.
- Use "name" when controlling a specific device.
- Use "area" only if explicitly requested by the user and the area exists.
- Brightness must be a number within the supported range.
- Color must be a valid named color or RGB value.

Output format:
- Natural language sentence
- Followed by exactly one <functioncall> block
- No text after the function call

### Example (correct behavior)

User: Set the NeoHex in the Living Room to red
Assistant: Setting the Unit NeoHex to red.

homeassistant
{"name":"HassLightSet","arguments":{"name":"light.m5stack_unit_neohex_unit_neohex","rgb_color":"(255,0,0)"}}
The description of each field in the system prompt is as follows:
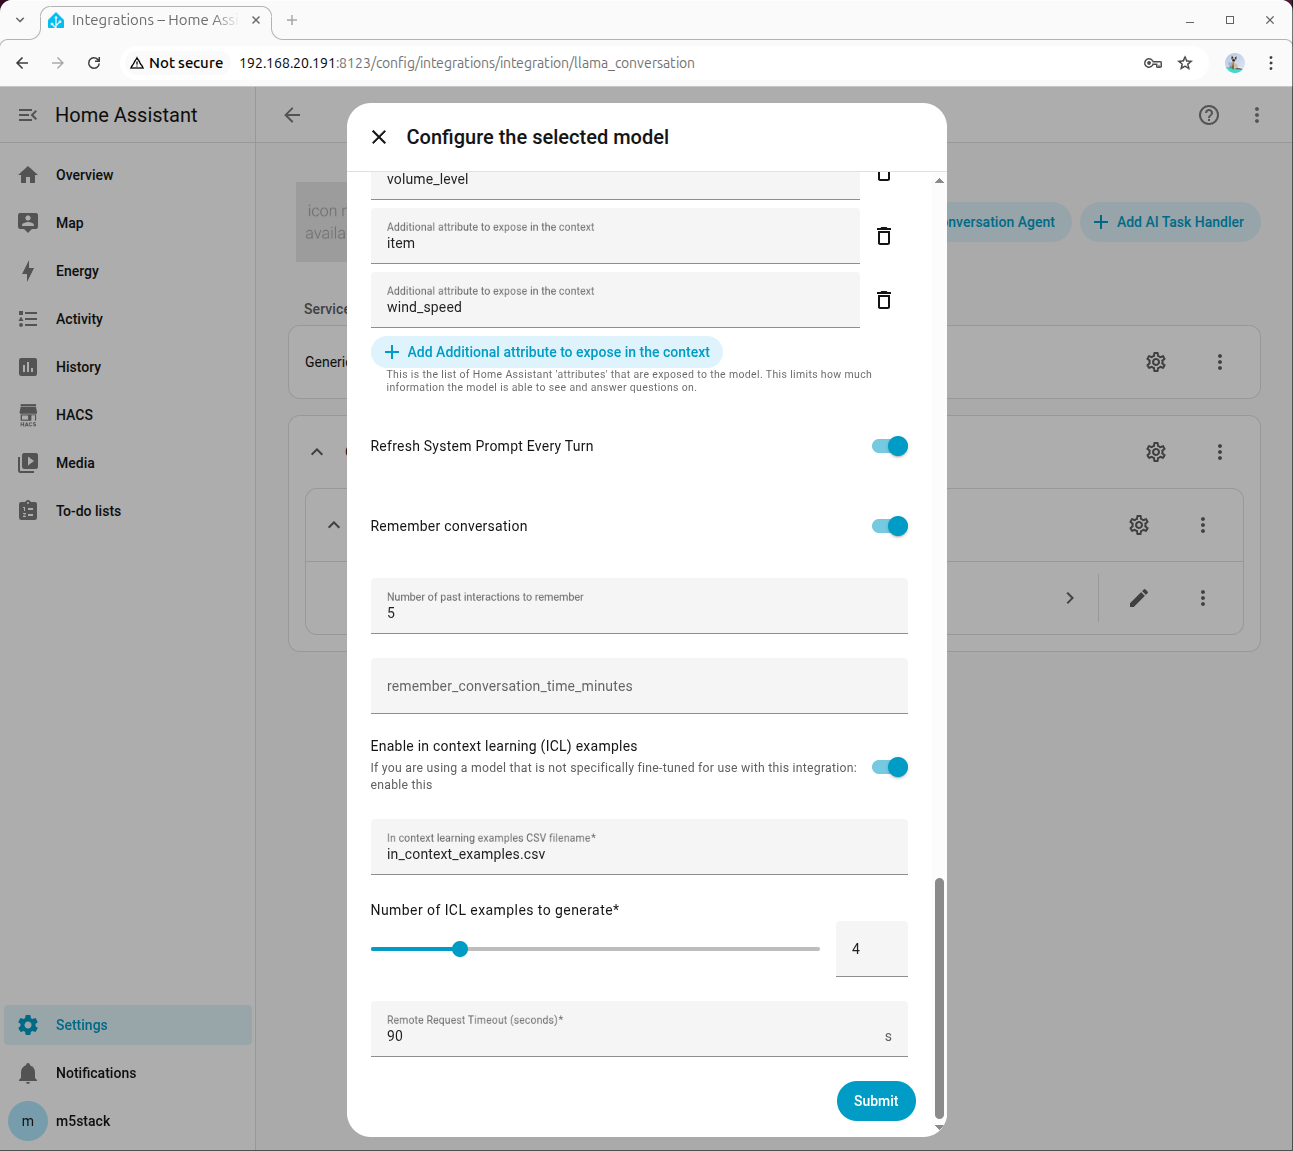
Available devices: The Entity ID of available devices in Home Assistant.Friendly name: Device alias.Area: The area where the device is located.Domain: Device type.Capabilities: Device capabilities, such as light color and brightness, fan speed, air conditioner mode and temperature, etc.
In this case, the Atom-Lite used is an RGB LED device.
For more parameter descriptions, refer to the Model Prompting Documentation. For prompt references for different types of devices, refer to 9. Appendix: Prompt Reference below.
8.4 Joint Debugging and Verification
Step 1: Perform Basic Dialogue Test
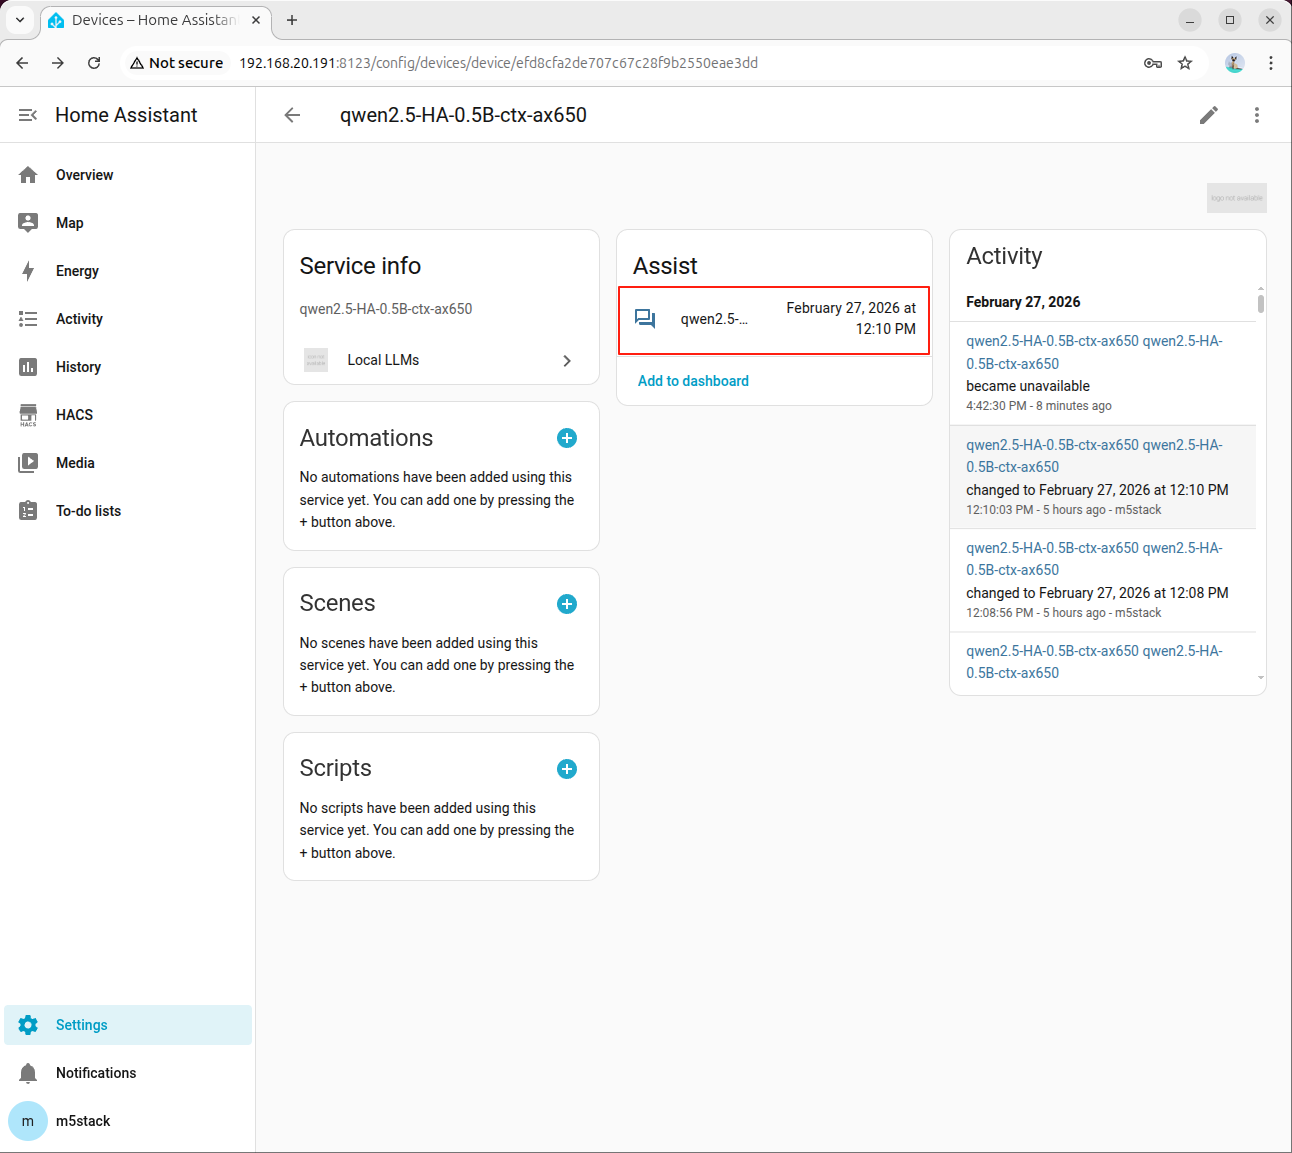
Click Assistant to open the dialogue box:
Click the assistant to open the dialog box:
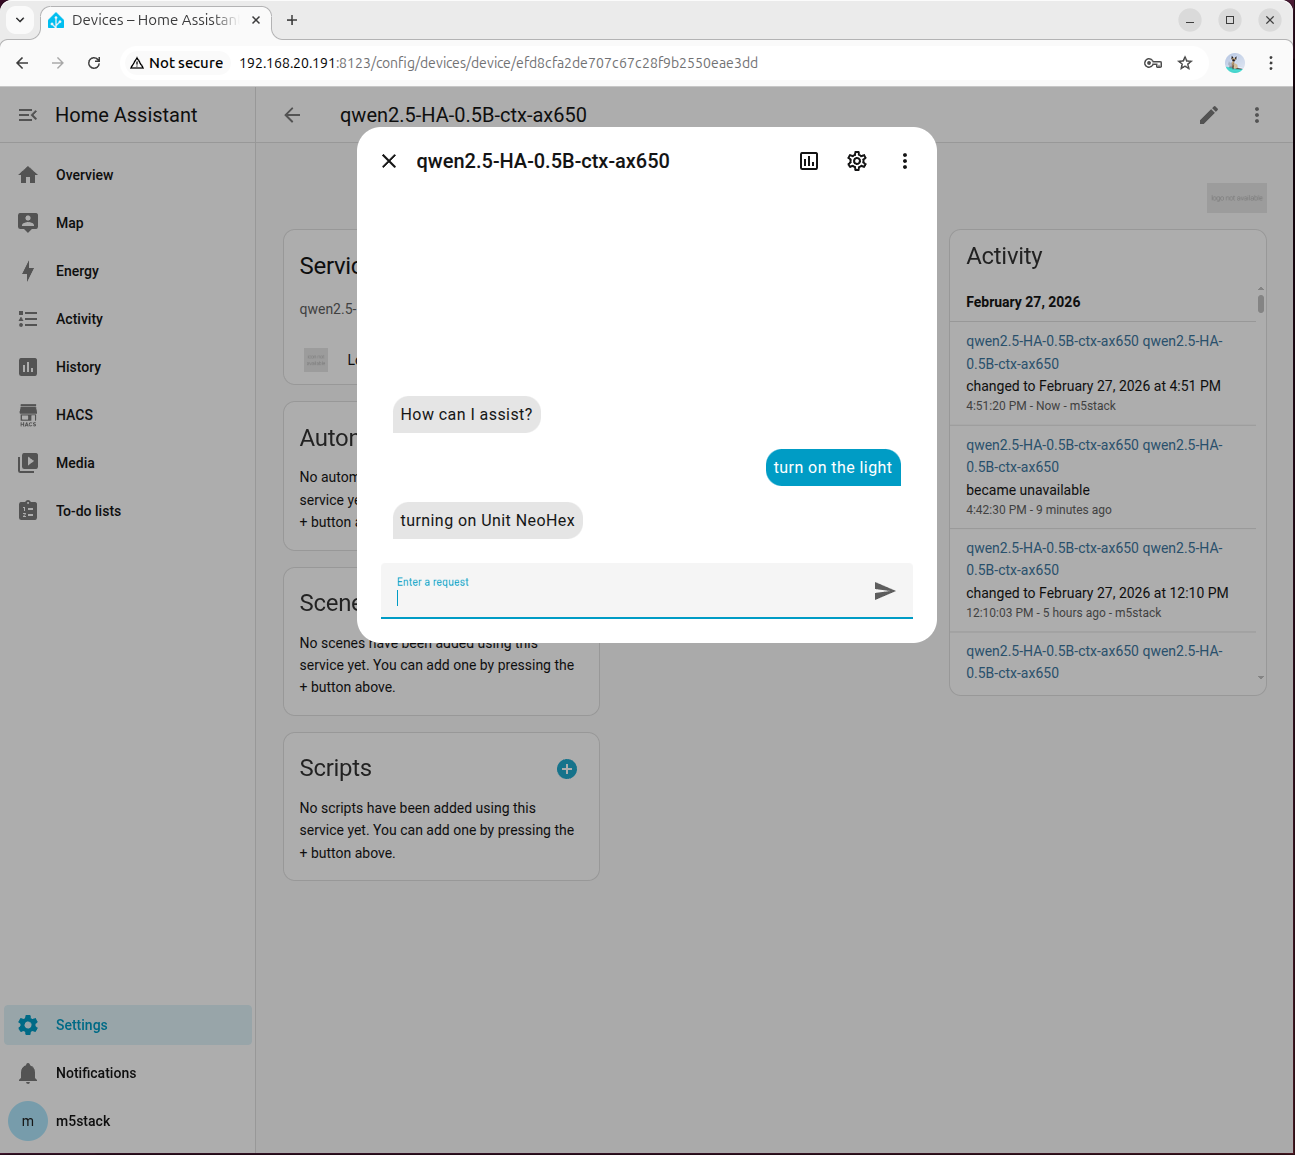
Enter turn on the light and wait for the model response. Please be patient as the first inference takes longer due to model initialization:
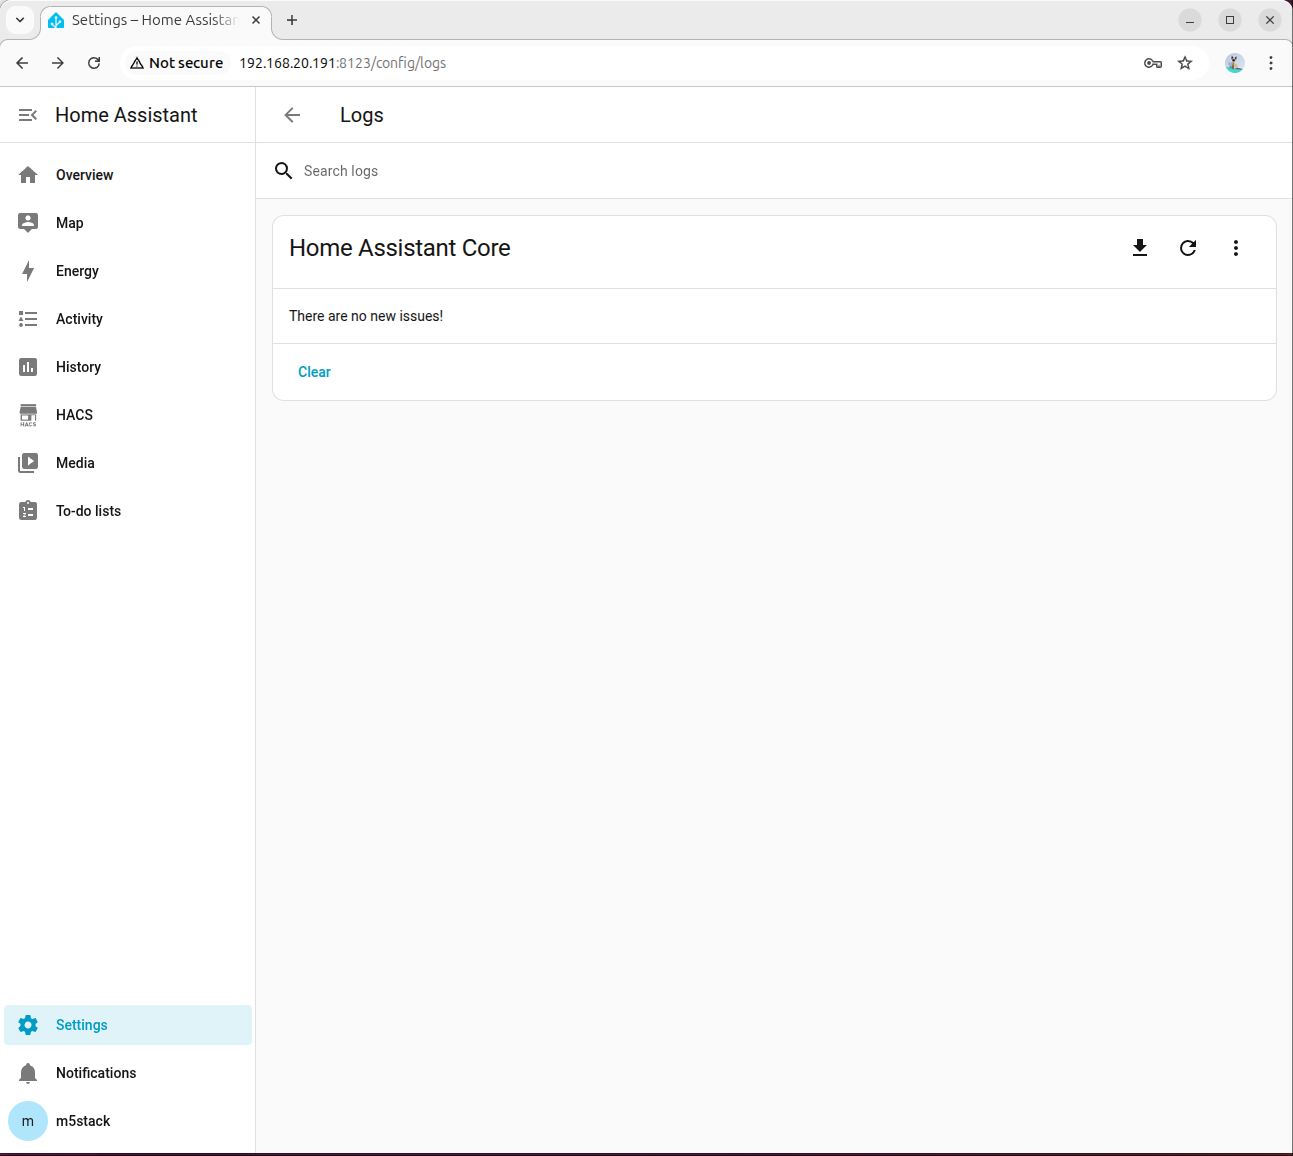
If the model returns an error, go to 「Settings → System → Logs」 to view detailed information:
Under normal circumstances, the light will be turned on:
Step 2: Bind to Voice Assistant
Go to「Settings → Voice Assistants」,select the configured model, and then you can enable voice control.
Step 3: Common Troubleshooting Items
- Confirm that the
ha_llm_proxy.pyprocess is still running. - Confirm that the API address in Local LLMs is
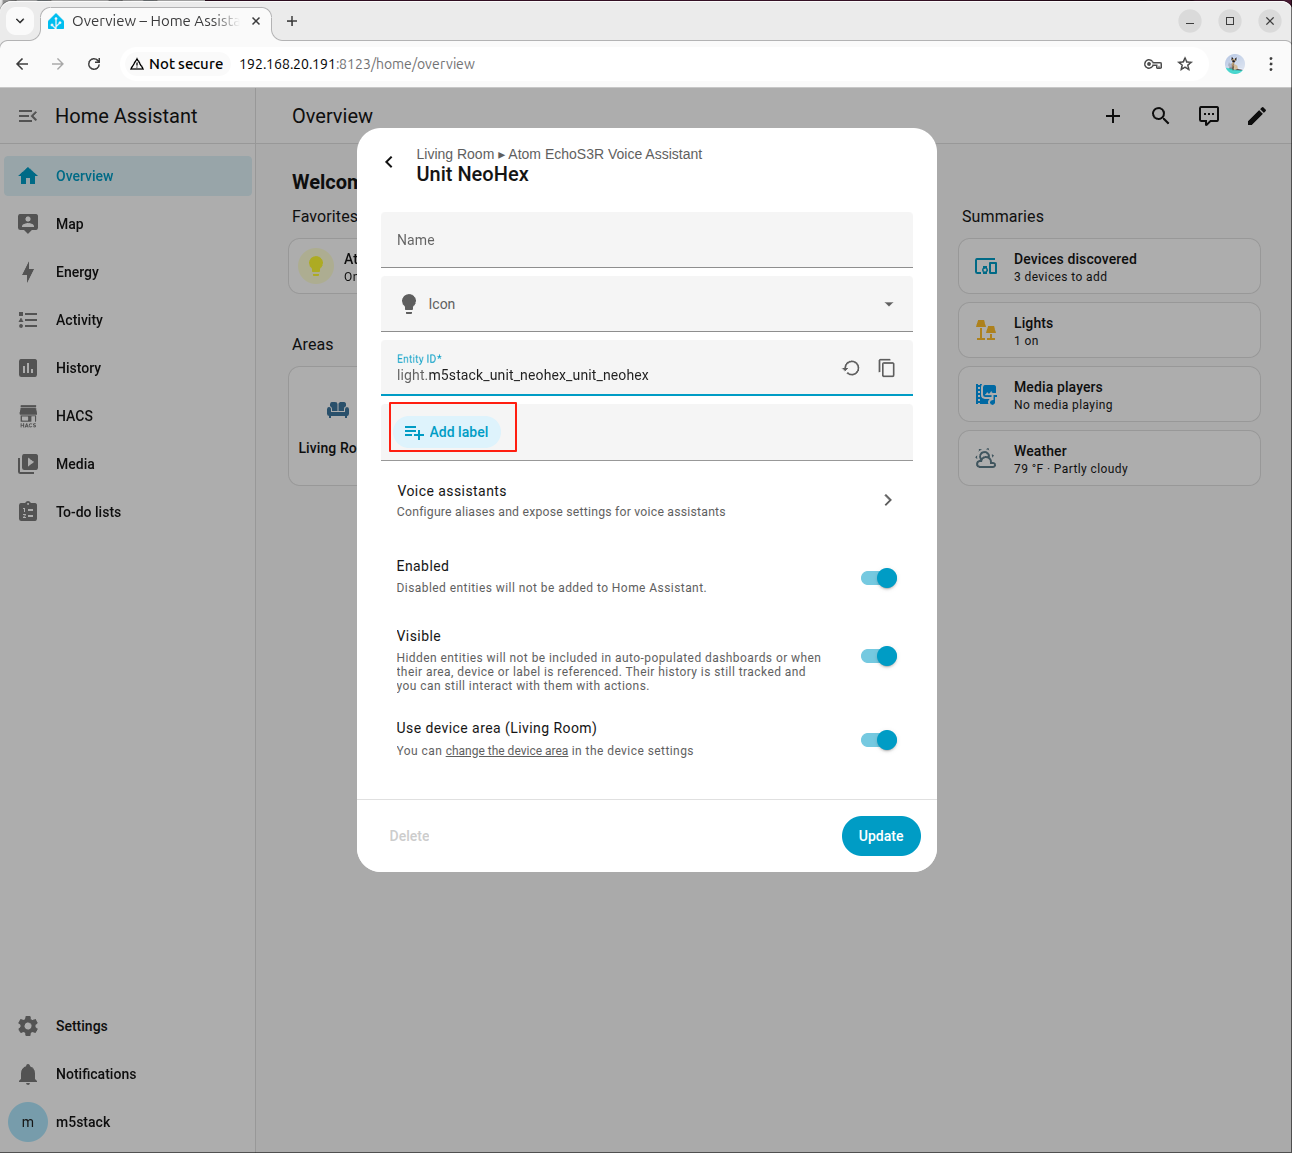
127.0.0.1:8100. - Check if the device
Entity IDin the system prompt matches the one in HA. - If tool calling fails, prioritize reviewing advanced parameters and Enable Legacy Tool Calling option.
9. Appendix: Prompt Reference
Switch/Relay
- {HA_Device_Entity_ID}
  - Friendly name: Switch
  - Area: Kitchen
  - Domain: switch
  - Capabilities:
    - on
- offLight Control
- {HA_Device_Entity_ID}
  - Friendly name: RGB Light
  - Area: Bedroom
  - Domain: light
  - Capabilities:
    - color (named colors or RGB)
- brightness (0-100 or 0.0-1.0)Voice Assistant Backlight
- {HA_Device_Entity_ID}
  - Friendly name: LCD Backlight
  - Area: Living Room
  - Domain: light
  - Capabilities:
    - brightness (0-100 or 0.0-1.0)