

Arduino 上手教程
2. 设备开发 & 案例程序
3. M5Unified
4. M5GFX
5. 拓展模块
Unit
Atomic
Tab5
IoT
Atomic Display Base Arduino 使用教程
1. 准备工作
1. 环境配置:参考Arduino IDE上手教程完成 IDE 安装,并根据实际使用的开发板安装对应的板管理,与需要的驱动库。
2. 使用到的驱动库:
3. 使用到的硬件产品:


2. 案例程序
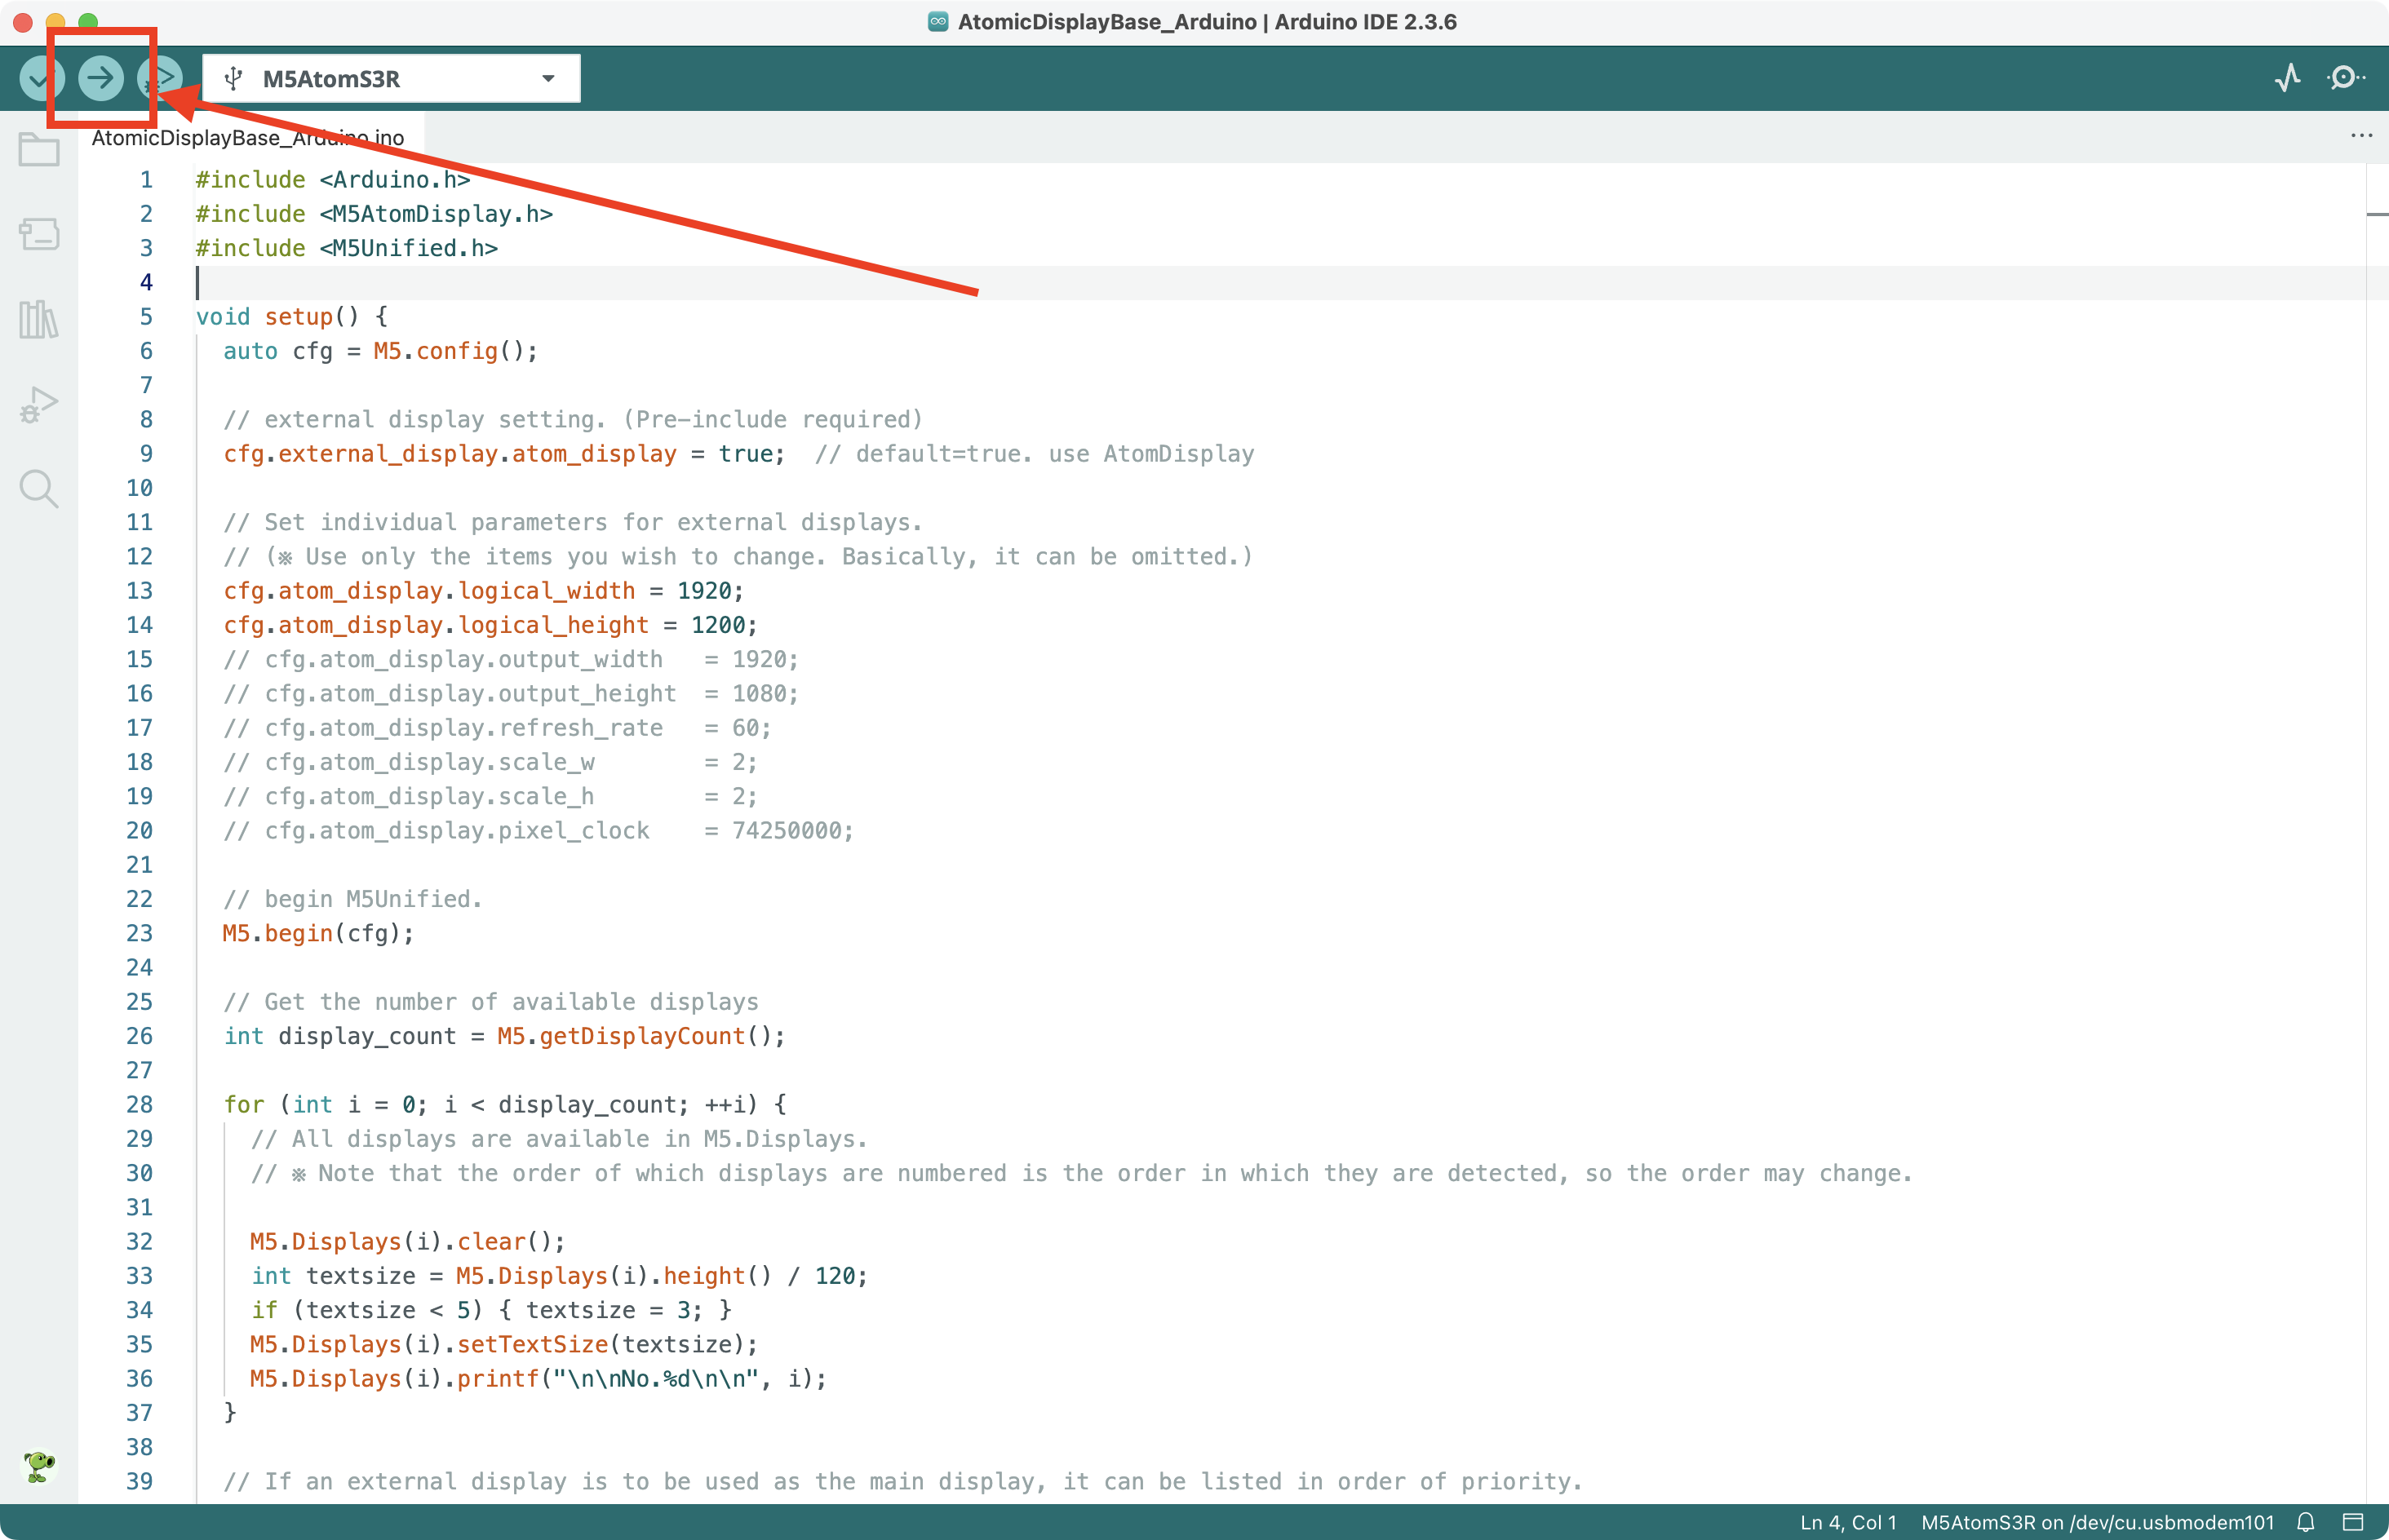
参考M5Unified库中的Displays示例程序,根据本教程实际使用的设备修改了示例程序中相应的配置选项。你可以根据要使用的外接显示器分辨率修改程序中的 13、14 行。
显示器兼容性
Atomic Display Base 需搭配具备自适应分辨率缩放功能的显示器,在一些不支持自适应分辨率的显示器上可能会出现显示异常现象。
cpp
1 2 3 4 5 6 7 8 9 10 11 12 13 14 15 16 17 18 19 20 21 22 23 24 25 26 27 28 29 30 31 32 33 34 35 36 37 38 39 40 41 42 43 44 45 46 47 48 49 50 51 52 53 54 55 56 57 58 59 60 61 62 63 64 65 66 67 68 69 70 71 72 73 74 75 76 77
#include <Arduino.h>
#include <M5AtomDisplay.h>
#include <M5Unified.h>

void setup() {
  auto cfg = M5.config();

  // external display setting. (Pre-include required)
  cfg.external_display.atom_display = true;  // default=true. use AtomDisplay

  // Set individual parameters for external displays.
  // (※ Use only the items you wish to change. Basically, it can be omitted.)
  cfg.atom_display.logical_width = 1920;
  cfg.atom_display.logical_height = 1200;
  // cfg.atom_display.output_width   = 1920;
  // cfg.atom_display.output_height  = 1080;
  // cfg.atom_display.refresh_rate   = 60;
  // cfg.atom_display.scale_w        = 2;
  // cfg.atom_display.scale_h        = 2;
  // cfg.atom_display.pixel_clock    = 74250000;

  // begin M5Unified.
  M5.begin(cfg);

  // Get the number of available displays
  int display_count = M5.getDisplayCount();

  for (int i = 0; i < display_count; ++i) {
    // All displays are available in M5.Displays.
    // ※ Note that the order of which displays are numbered is the order in which they are detected, so the order may change.

    M5.Displays(i).clear();
    int textsize = M5.Displays(i).height() / 120;
    if (textsize < 5) { textsize = 3; }
    M5.Displays(i).setTextSize(textsize);
    M5.Displays(i).printf("\n\nNo.%d\n\n", i);
  }

  // If an external display is to be used as the main display, it can be listed in order of priority.
  M5.setPrimaryDisplayType({
    m5::board_t::board_M5AtomDisplay,
    // m5::board_t::board_M5ModuleDisplay,
  });

  // The primary display can be used with M5.Display.
  M5.Display.print("primary display\n\n");

  // Examine the indexes of a given type of display
  int index_atom_display = M5.getDisplayIndex(m5::board_t::board_M5AtomDisplay);

  if (index_atom_display >= 0) {
    M5.Displays(index_atom_display).print("This is Atom Display\n");
  }

  M5.delay(2500);
}

void loop() {
  M5.delay(100);

  int x = rand() % M5.Displays(0).width();
  int y = rand() % M5.Displays(0).height();
  int r = (M5.Displays(0).width() >> 2) + 2;
  uint16_t c = rand();
  M5.Displays(0).fillCircle(x, y, r, c);

  draw_function(&M5.Displays(1));
}

// When creating a function for drawing, it can be used universally by accepting a LovyanGFX type as an argument.
void draw_function(LovyanGFX* gfx) {
  int x = rand() % gfx->width();
  int y = rand() % gfx->height();
  int r = (gfx->width() >> 6) + 2;
  uint16_t c = rand();
  gfx->fillRect(x - r, y - r, r * 2, r * 2, c);
}3. 编译上传
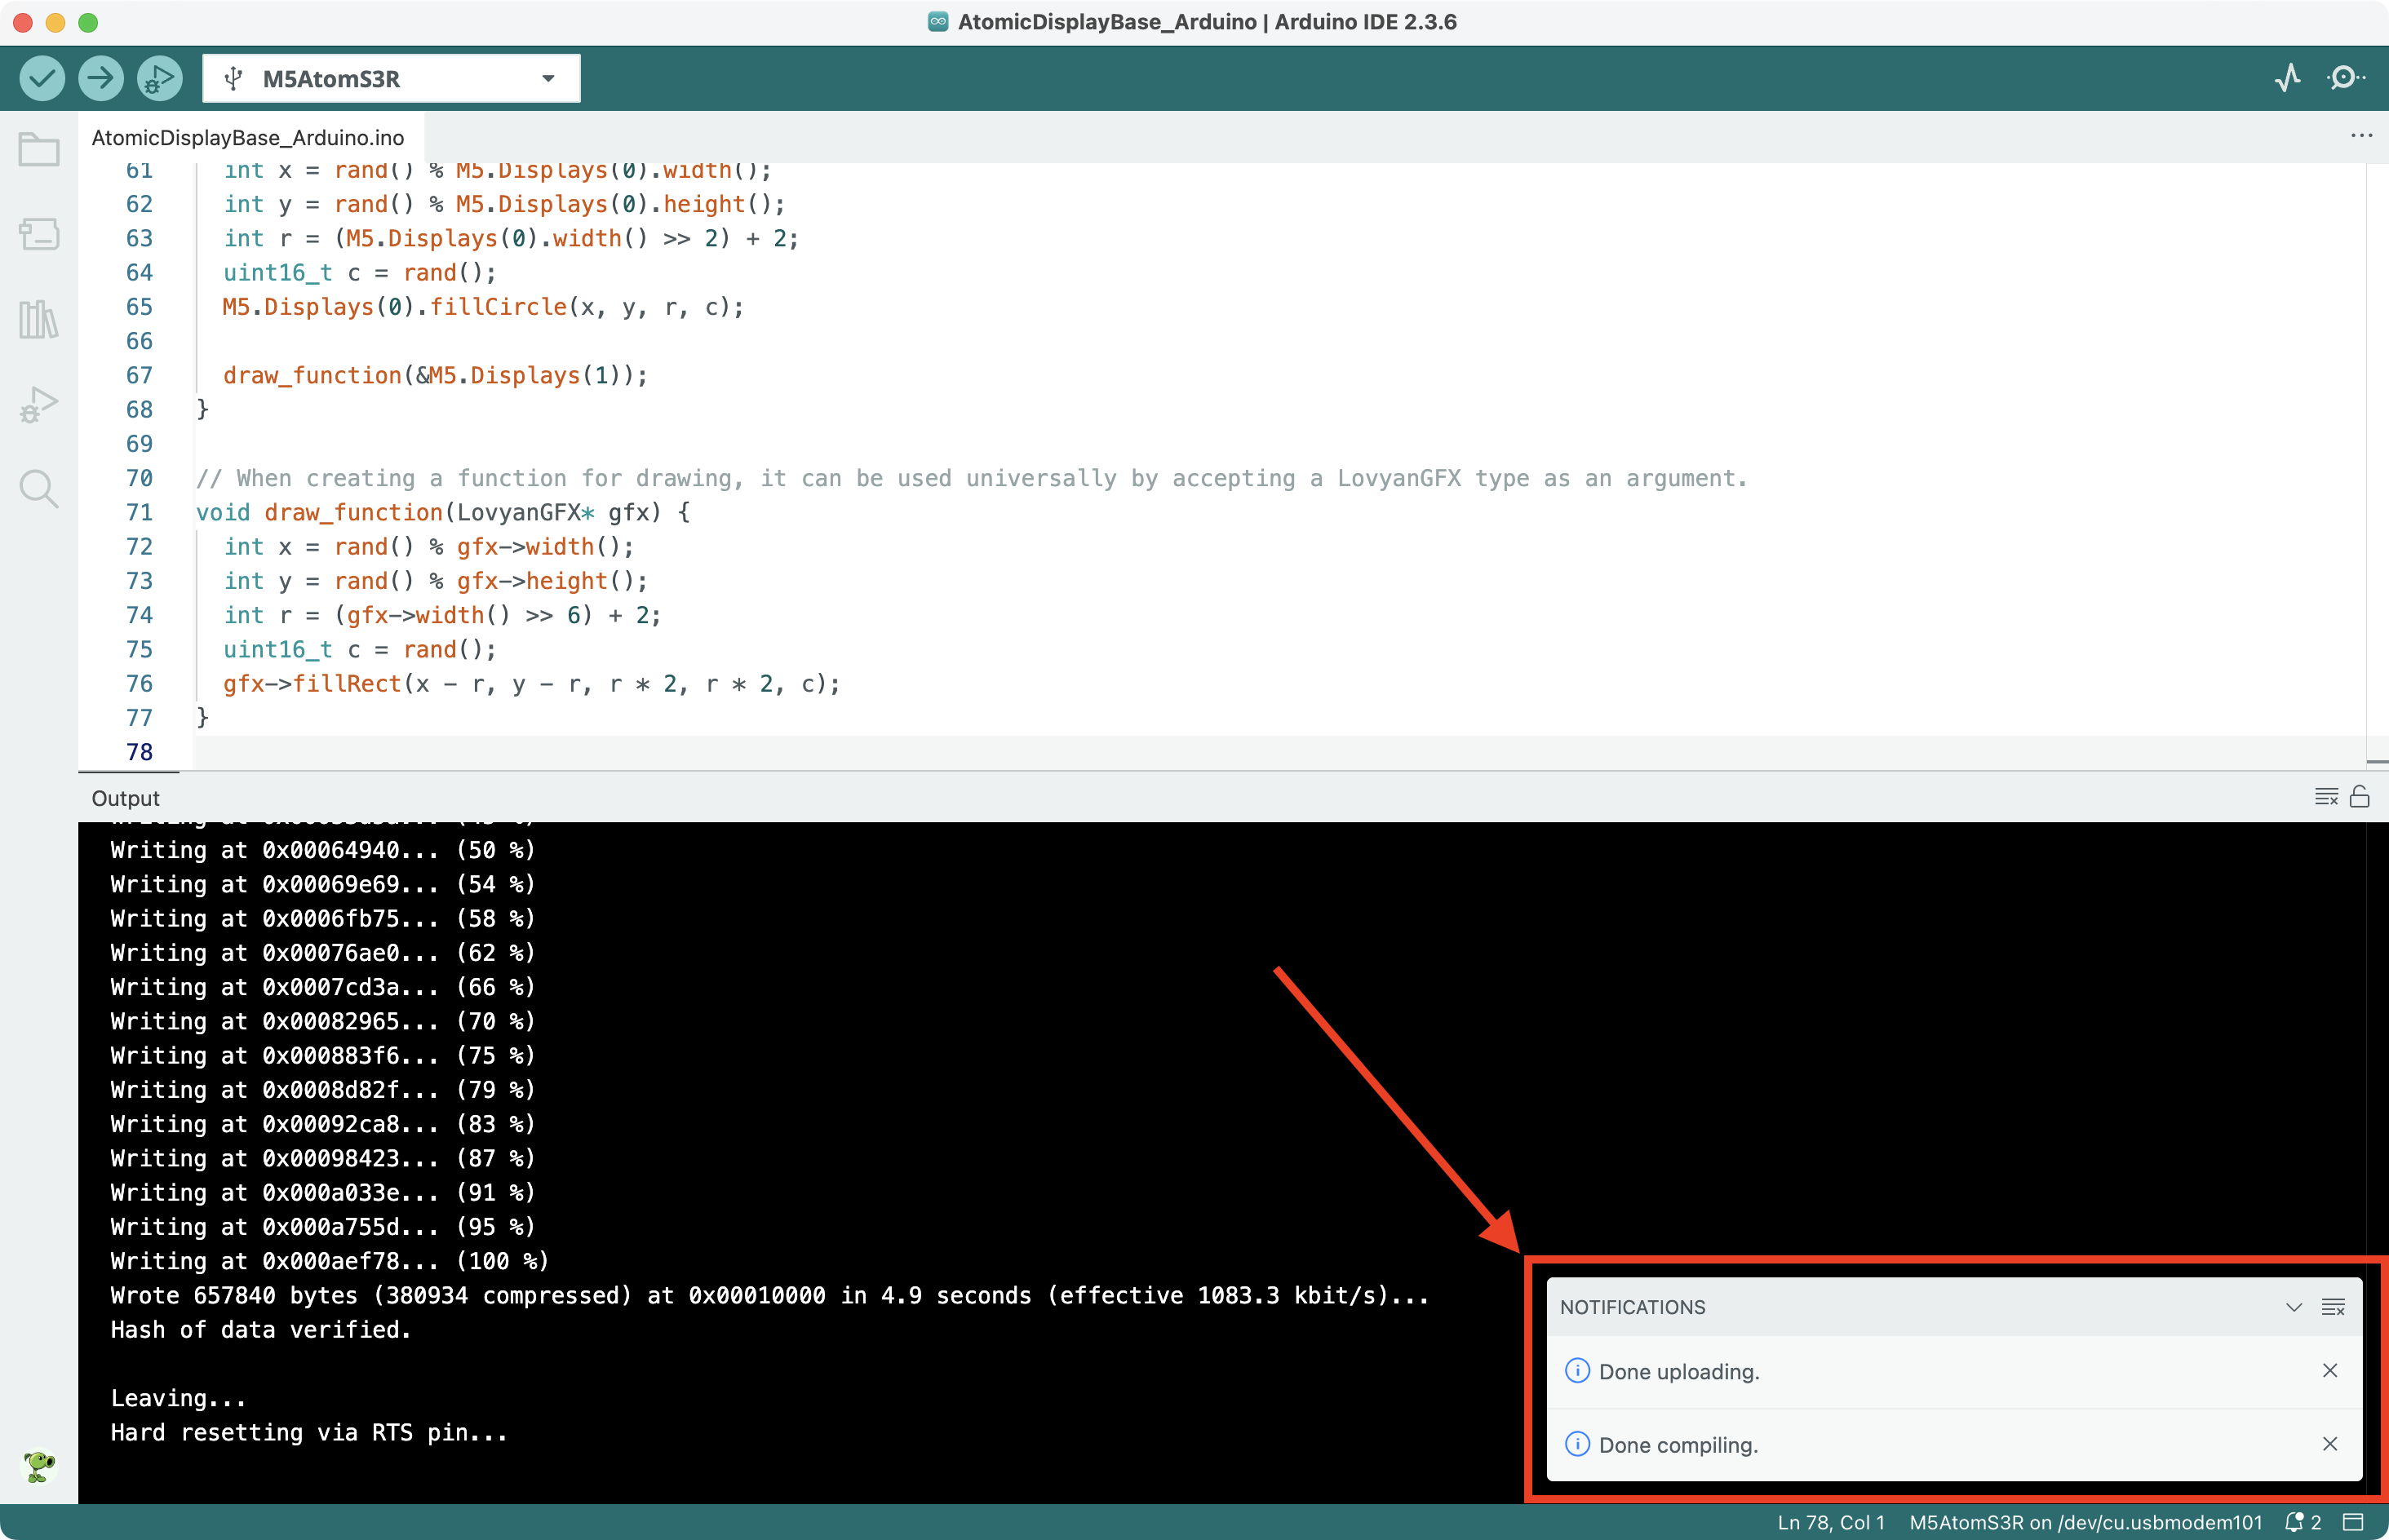
1. 下载模式:主控设备进行程序烧录前需要进入下载模式,不同的主控设备该步骤可能有所不同。详情可参考Arduino IDE上手教程页面底部的设备程序下载教程列表,查看具体的操作方式。
AtomS3R 长按复位按键(大约 2 秒)直到内部绿色 LED 灯亮起,便可松开,此时设备已进入下载模式,等待烧录。

- 2. 选中设备端口,点击 Arduino IDE 左上角的编译上传按钮,等待程序完成编译并上传至设备。
4. 开始运行
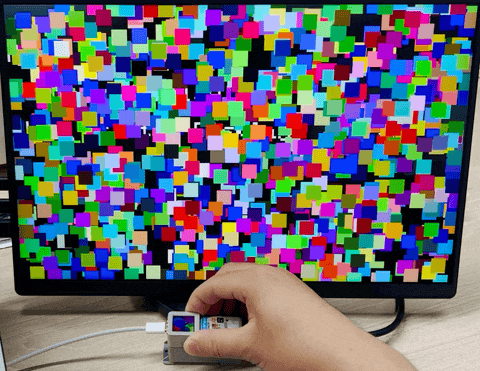
将 AtomS3R、Atomic Display Base 组合起来,并通过高清视频扩展接口连接至显示器后,短按一次复位按钮。AtomS3R 自带屏幕上会出现许多彩色圆圈,而外接屏幕上会出现许多彩色方块。效果如下:
Page Tools