

Arduino 上手教程
2. 设备开发 & 案例程序
3. M5Unified
4. M5GFX
5. 拓展模块
Unit
Atomic
Tab5
IoT
Air Quality 获取SEN55传感器相关数据
Air Quality SEN55传感器相关API与案例程序。
要使用SEN55传感器之前必须使能电源开关,将GPIO10号引脚设置为输出模式,并输出低电平,低电平使能。
案例程序
cpp
1 2 3 4 5 6 7 8 9 10 11 12 13 14 15 16 17 18 19 20 21 22 23 24 25 26 27 28 29 30 31 32 33 34 35 36 37 38 39 40 41 42 43 44 45 46 47 48 49 50 51 52 53 54 55 56 57 58 59 60 61 62 63 64 65 66 67 68 69 70 71 72 73 74 75 76 77 78
#include <M5Unified.h>
#include <Wire.h>
#include <SensirionI2CSen5x.h>
// SEN55 实例
SensirionI2CSen5x sen5x;
void setup() {
// 串口调试
Serial.begin(115200);
// 初始化屏幕
M5.begin();
M5.Display.clear(TFT_BLACK);
M5.Display.setTextSize(1);
M5.Display.setTextColor(TFT_WHITE, TFT_BLACK);
// I2C 引脚 (SDA=11, SCL=12),与之前能读到数据的配置保持一致
Wire.begin(11, 12);
// AirQ 外部传感器使能脚,保持低电平
pinMode(10, OUTPUT);
digitalWrite(10, LOW);
// 初始化 SEN55
sen5x.begin(Wire);
uint16_t err;
char msg[128];
err = sen5x.deviceReset();
if (err) {
errorToString(err, msg, sizeof(msg));
Serial.println("SEN55 reset failed: " + String(msg));
}
// 启动测量
err = sen5x.startMeasurement();
if (err) {
errorToString(err, msg, sizeof(msg));
Serial.println("Failed to start SEN55 measurement: " + String(msg));
}
}
void loop() {
// 每 1s 读取一次
delay(1000);
float pm1, pm2_5, pm4, pm10, hum, temp, voc, nox;
uint16_t err = sen5x.readMeasuredValues(
pm1, pm2_5, pm4, pm10,
hum, temp,
voc, nox
);
// 清屏并重置光标
M5.Display.fillScreen(TFT_BLACK);
M5.Display.setCursor( 10, 10);
if (err) {
// 读取出错
M5.Display.setTextColor(TFT_RED, TFT_BLACK);
char em[64];
errorToString(err, em, sizeof(em));
M5.Display.printf("Read Error:\n%s", em);
} else {
// 正常显示各项数值
M5.Display.setTextColor(TFT_WHITE, TFT_BLACK);
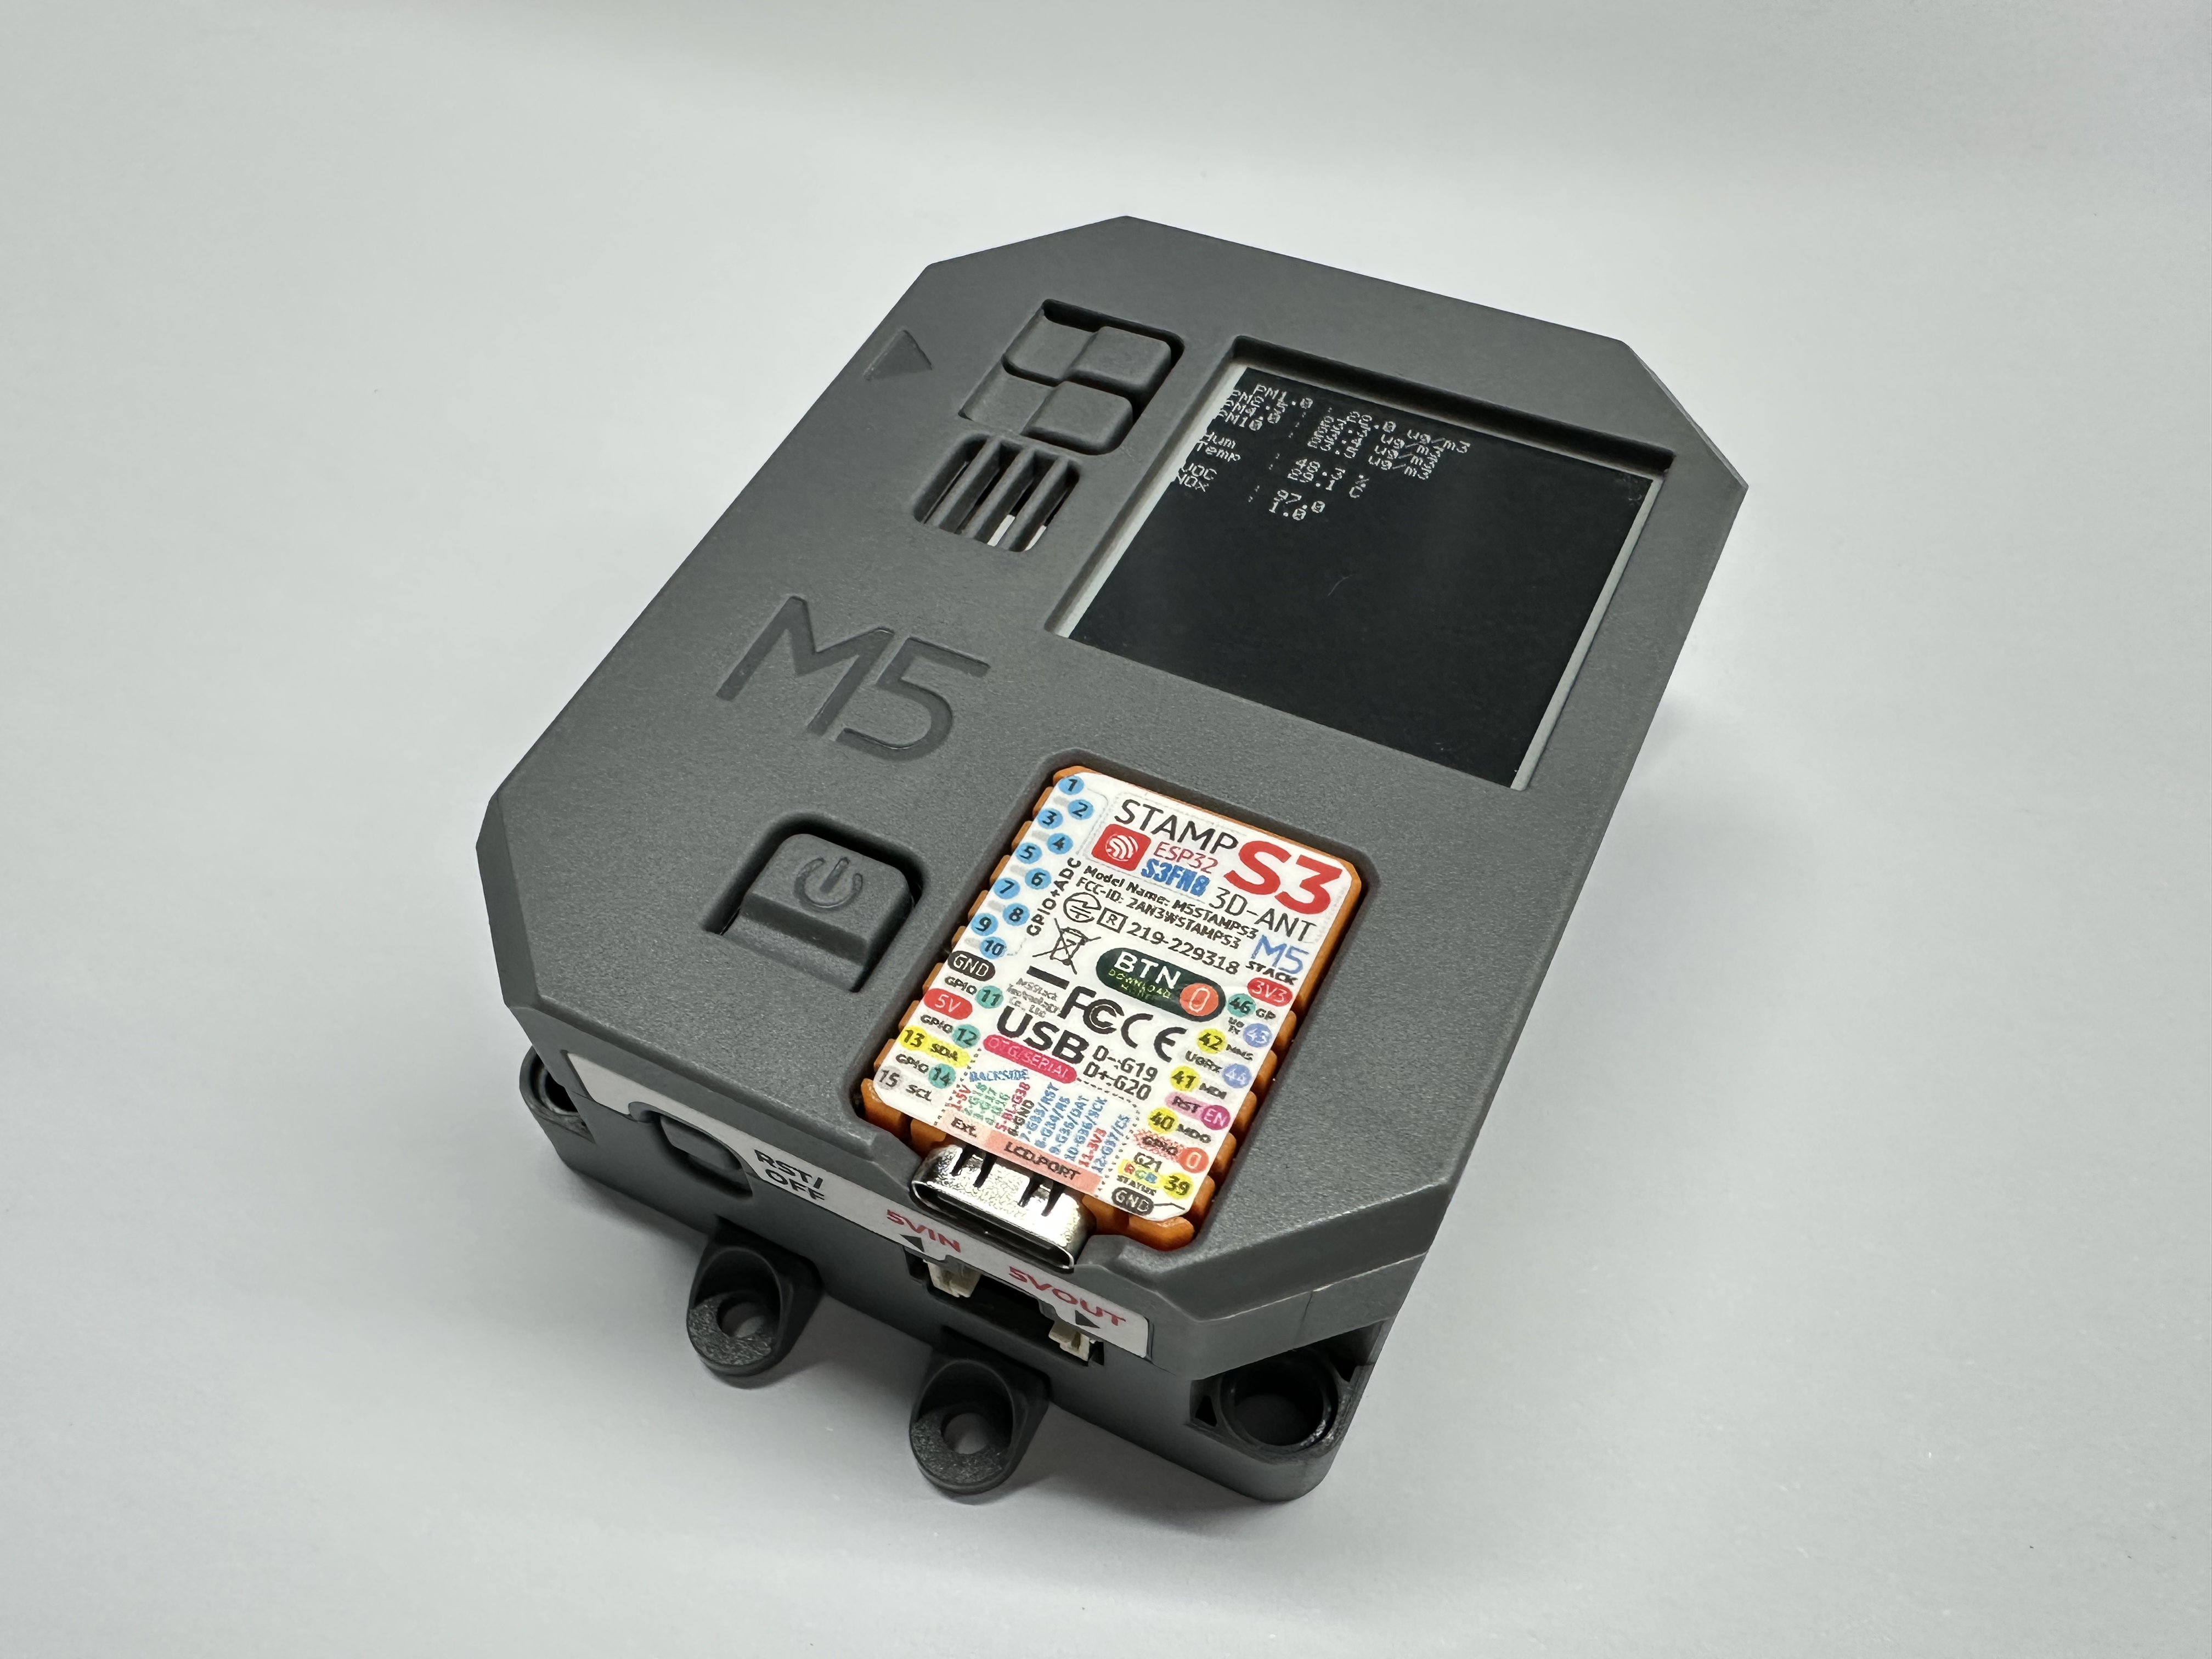
M5.Display.printf("PM1.0 : %.1f ug/m3\n", pm1);
M5.Display.printf("PM2.5 : %.1f ug/m3\n", pm2_5);
M5.Display.printf("PM4.0 : %.1f ug/m3\n", pm4);
M5.Display.printf("PM10 : %.1f ug/m3\n\n", pm10);
M5.Display.printf("Hum : %.1f %%\n", hum);
M5.Display.printf("Temp : %.1f C\n\n", temp);
M5.Display.printf("VOC : %.1f\n", voc);
M5.Display.printf("NOx : %.1f\n", nox);
}
// 更新 M5 事件(必要)
M5.update();
}上传完成就可以看到下面的效果了
Page Tools