

Arduino 上手教程
2. 设备开发 & 案例程序
3. M5Unified
4. M5GFX
5. 拓展模块
Unit
Atomic
Tab5
IoT
Core2 Button 按键
Core2 按键输入相关API与案例程序。
注意事项:
使用时需要在主循环中包含
M5.update()函数用于读取状态更新且尽可能减少阻塞情况, 否则可能无法及时获取的按键变化状态。案例程序
cpp
1 2 3 4 5 6 7 8 9 10 11 12 13 14 15 16 17 18 19 20 21 22 23 24 25 26 27 28 29 30 31 32 33 34 35 36 37 38 39 40 41 42 43 44 45 46 47 48
#include "M5Unified.h"
#include "M5GFX.h"
static int32_t w;
static int32_t h;
static bool drawed = false;
void setup()
{
auto cfg = M5.config();
M5.begin(cfg);
w = M5.Lcd.width();
h = M5.Lcd.height();
M5.Lcd.fillScreen(WHITE);
M5.Display.setRotation(1);
M5.Display.setTextColor(TFT_BLACK);
M5.Display.setTextDatum(top_center);
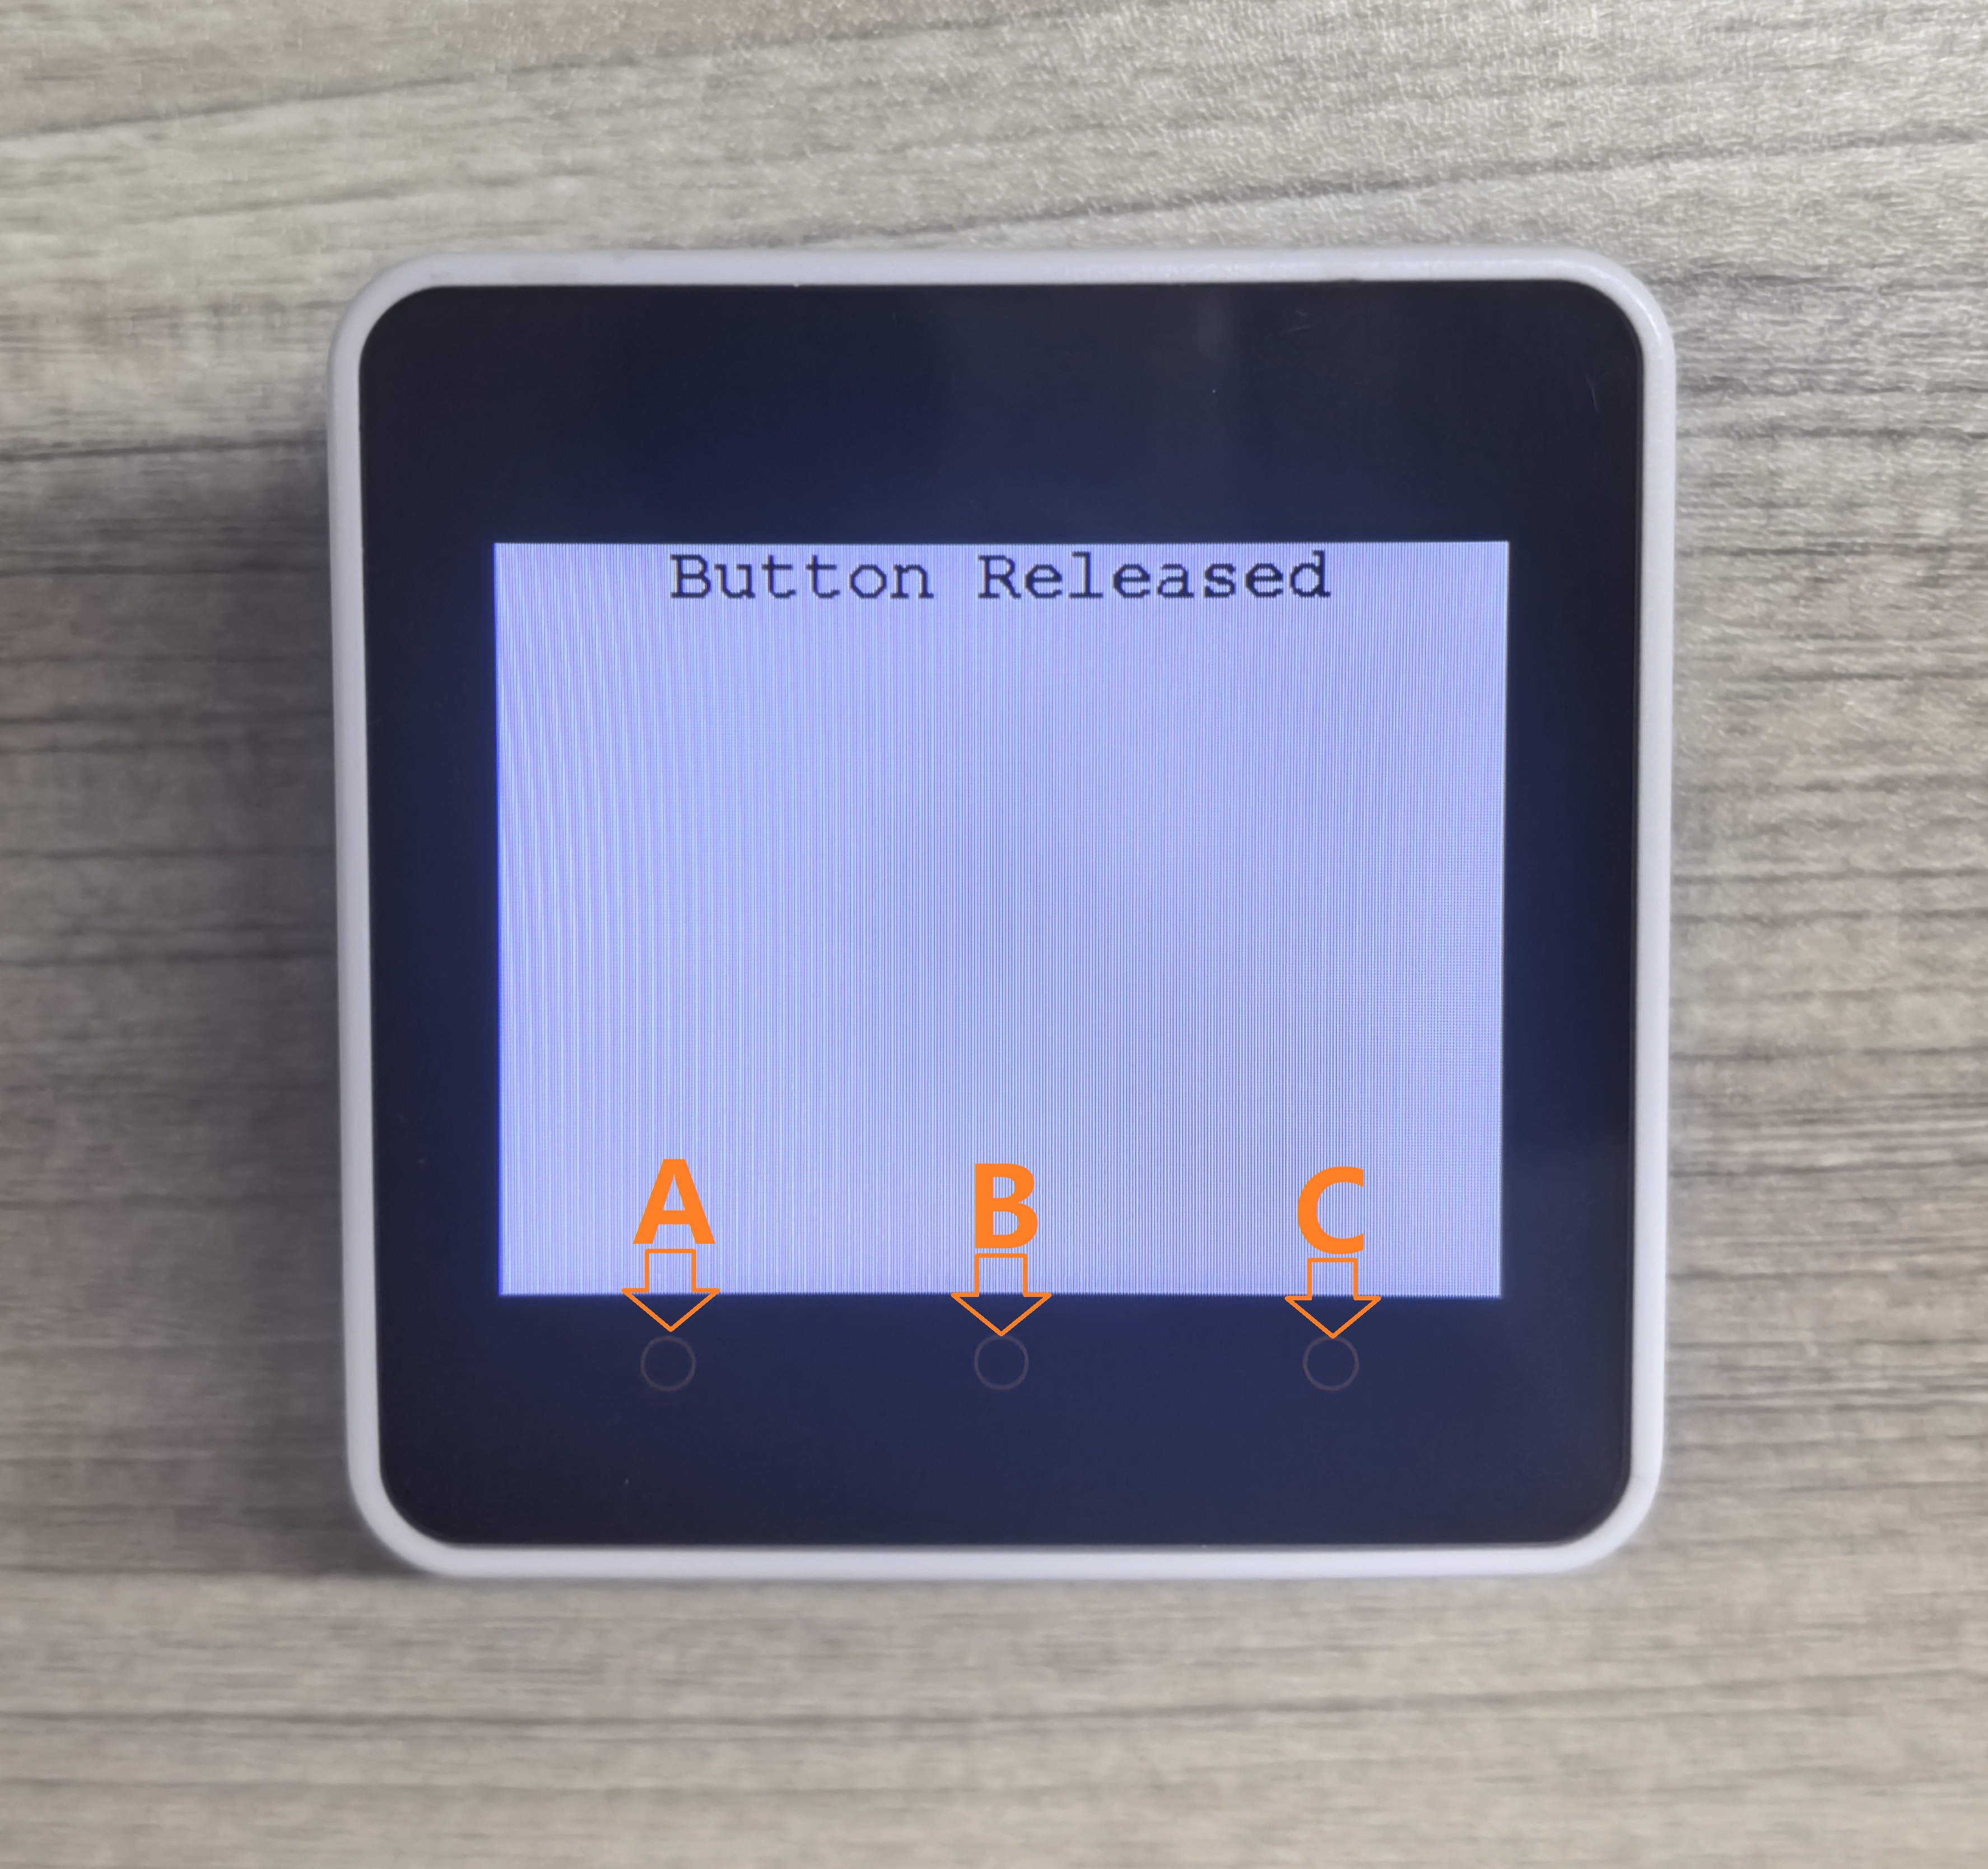
M5.Display.drawString("Button Released", w / 2, 0, &fonts::FreeMonoBold12pt7b);
}
void loop()
{
M5.update();
if(M5.BtnA.isPressed() || M5.BtnB.isPressed() || M5.BtnC.isPressed())
{
if (!drawed){
M5.Lcd.fillScreen(WHITE);
}
M5.Display.drawString("Button Detail:", w / 2, 0, &fonts::FreeMonoBold12pt7b);
if (M5.BtnA.isPressed()) {
M5.Display.drawString("ButtonA Pressed", w / 2, 30, &fonts::FreeMonoBold12pt7b);
}
else if (M5.BtnB.isPressed()) {
M5.Display.drawString("ButtonB Pressed", w / 2, 60, &fonts::FreeMonoBold12pt7b);
}
else if (M5.BtnC.isPressed()) {
M5.Display.drawString("ButtonC Pressed", w / 2, 90, &fonts::FreeMonoBold12pt7b);
}
drawed = true;
}
else if (drawed){
drawed = false;
M5.Display.clear(WHITE);
M5.Display.drawString("Button Released", w / 2, 0, &fonts::FreeMonoBold12pt7b);
}
vTaskDelay(1);
} 该程序效果为按动按键,屏幕上会显示具体按键状态。
API
Core2 按键部分使用了M5Unified库中的Button_Class, 更多按键相关的API可以参考下方文档:
Page Tools