Product Guide
Linux PC
CardputerZero
AI アクセラレーターカード
LLM-8850 カード
AI & Agent
リアルタイム音声アシスタント
XiaoZhi ボイスアシスタント
AtomS3R-M12 Volcengine Kit
Industrial Control
IoT Measuring Instruments
Air Quality
PowerHub
Module13.2 PPS
VAMeter
T-Lite
Ethernet Camera
PoECAM
Wi-Fi Camera
Unit CamS3/-5MP
AI Camera
LoRa & LoRaWAN
Motor Control
ファームウェアの初期化
ディップスイッチ&ピン切り替え
CoreMP135 image burning
The CoreMP135 suite currently provides some well-adapted system images. Users can choose their own image to download according to their own needs, and decompress it to obtain the *.img file. This tutorial will take burning the buildroot image as an example to demonstrate burning and how to connect the device.

1.Download image file
| Image version | Kernel version | Download link |
|---|---|---|
| M5_CoreMP135_buildroot_20240515 | 5.15.118 | Download |
| M5_CoreMP135_buildroot_20240628 | 5.15.118 | Download |
| M5_CoreMP135_debian12_20240515 | 5.15.118 | Download |
| M5_CoreMP135_debian12_20240628 | 5.15.118 | Download |
| M5_CoreMP135_debian12_20240919 | 5.15.118 | Download |
2.Burn image
Burning in windows environment
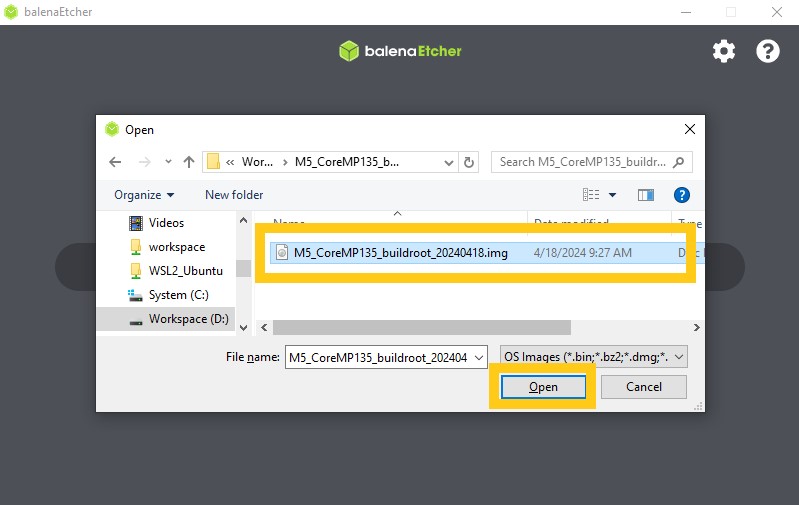
1.Download and open balenaEtcher image burning tool, click the Flash from file option to load the image.

2.Select the *.img image file you want to download in the previous step.
3.Click Select target to select the corresponding microSD memory card as the target storage device

4.Click the Flash button to start burning
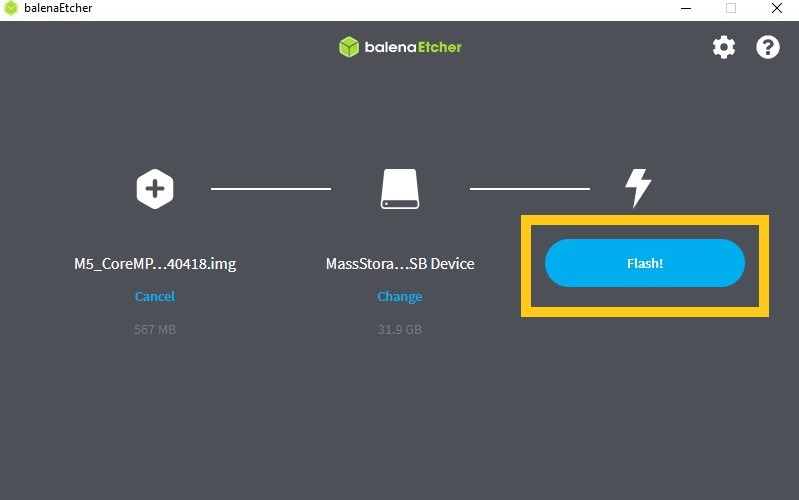
5.When the tool prompts Flash Complete, it means that the image burning is completed. You can close the burning software and remove the microSD card.

Linux environment burning
1.In Linux environment, you can write directly through the dd command. Refer to the following command to replace M5_CoreMP135_xxx.img with the actual image file path and /dev/sdbx with the actual device.
sudo dd if=M5_CoreMP135_xxx.img of=/dev/sdbx bs=1M status=progress oflag=dsync sync3.Start the system
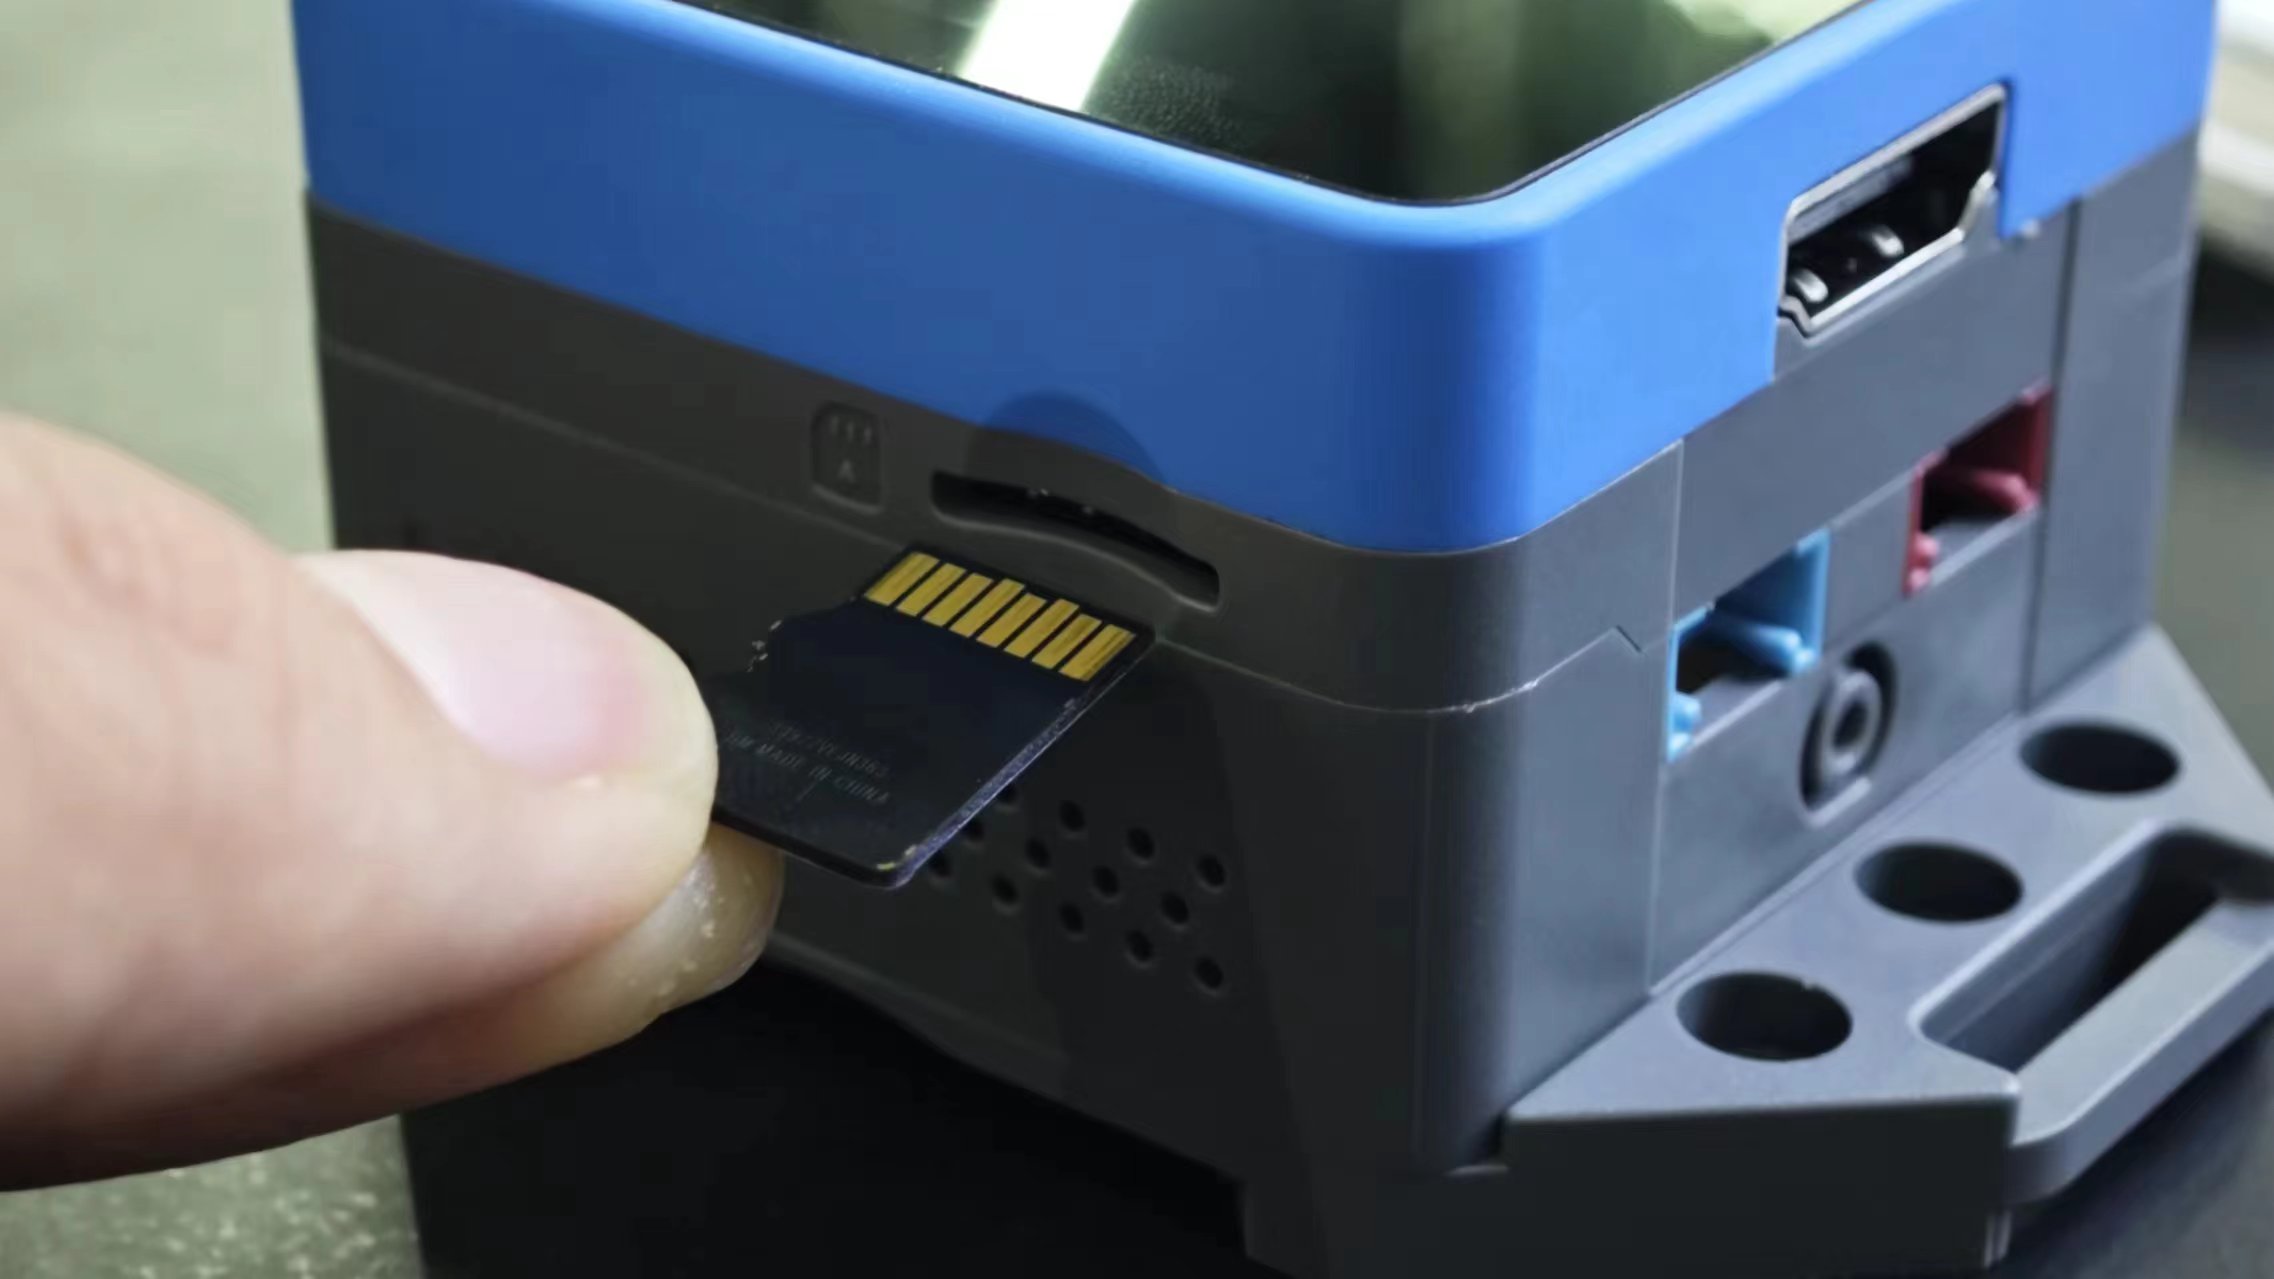
- Insert the microSD with the burned image into the development board, and then power the whole machine through
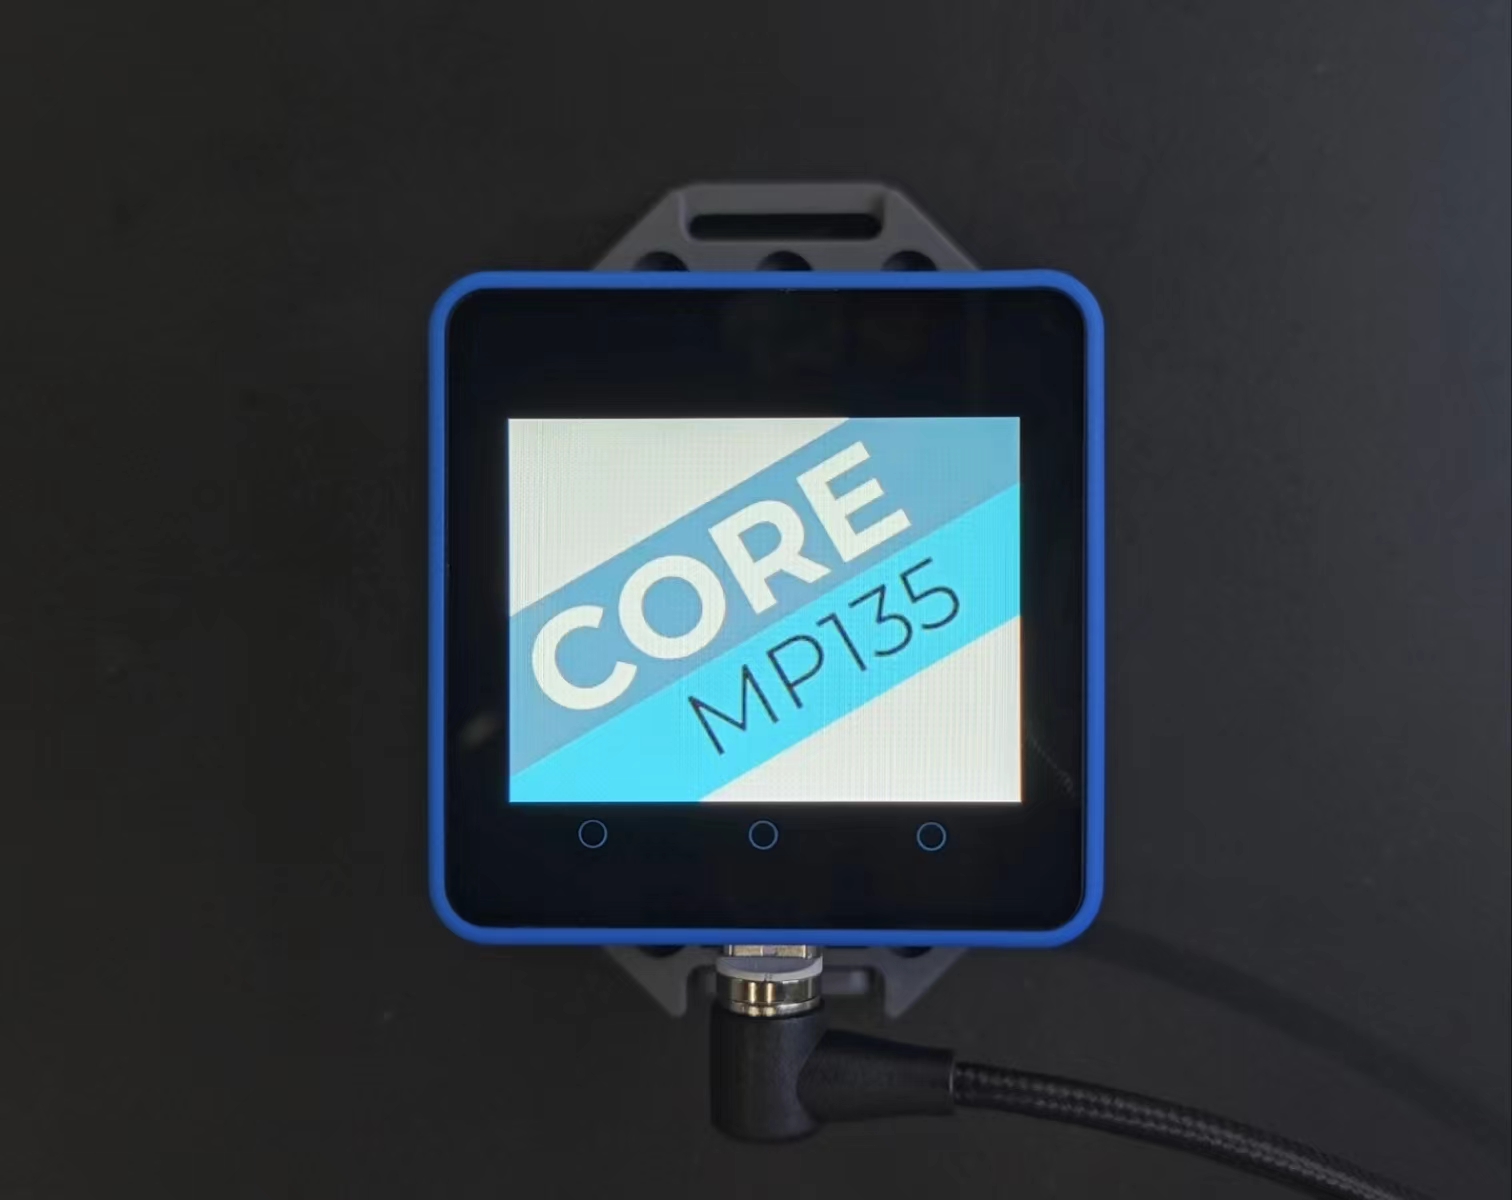
USBor12V DCpower supply. (Note: The power supply capacity is recommended to be>2A). When the system is started for the first time, the default environment configuration will be performed, and a restart may occur. The whole process lasts about 45 seconds. You can connect the serial terminal and observe the startup log.