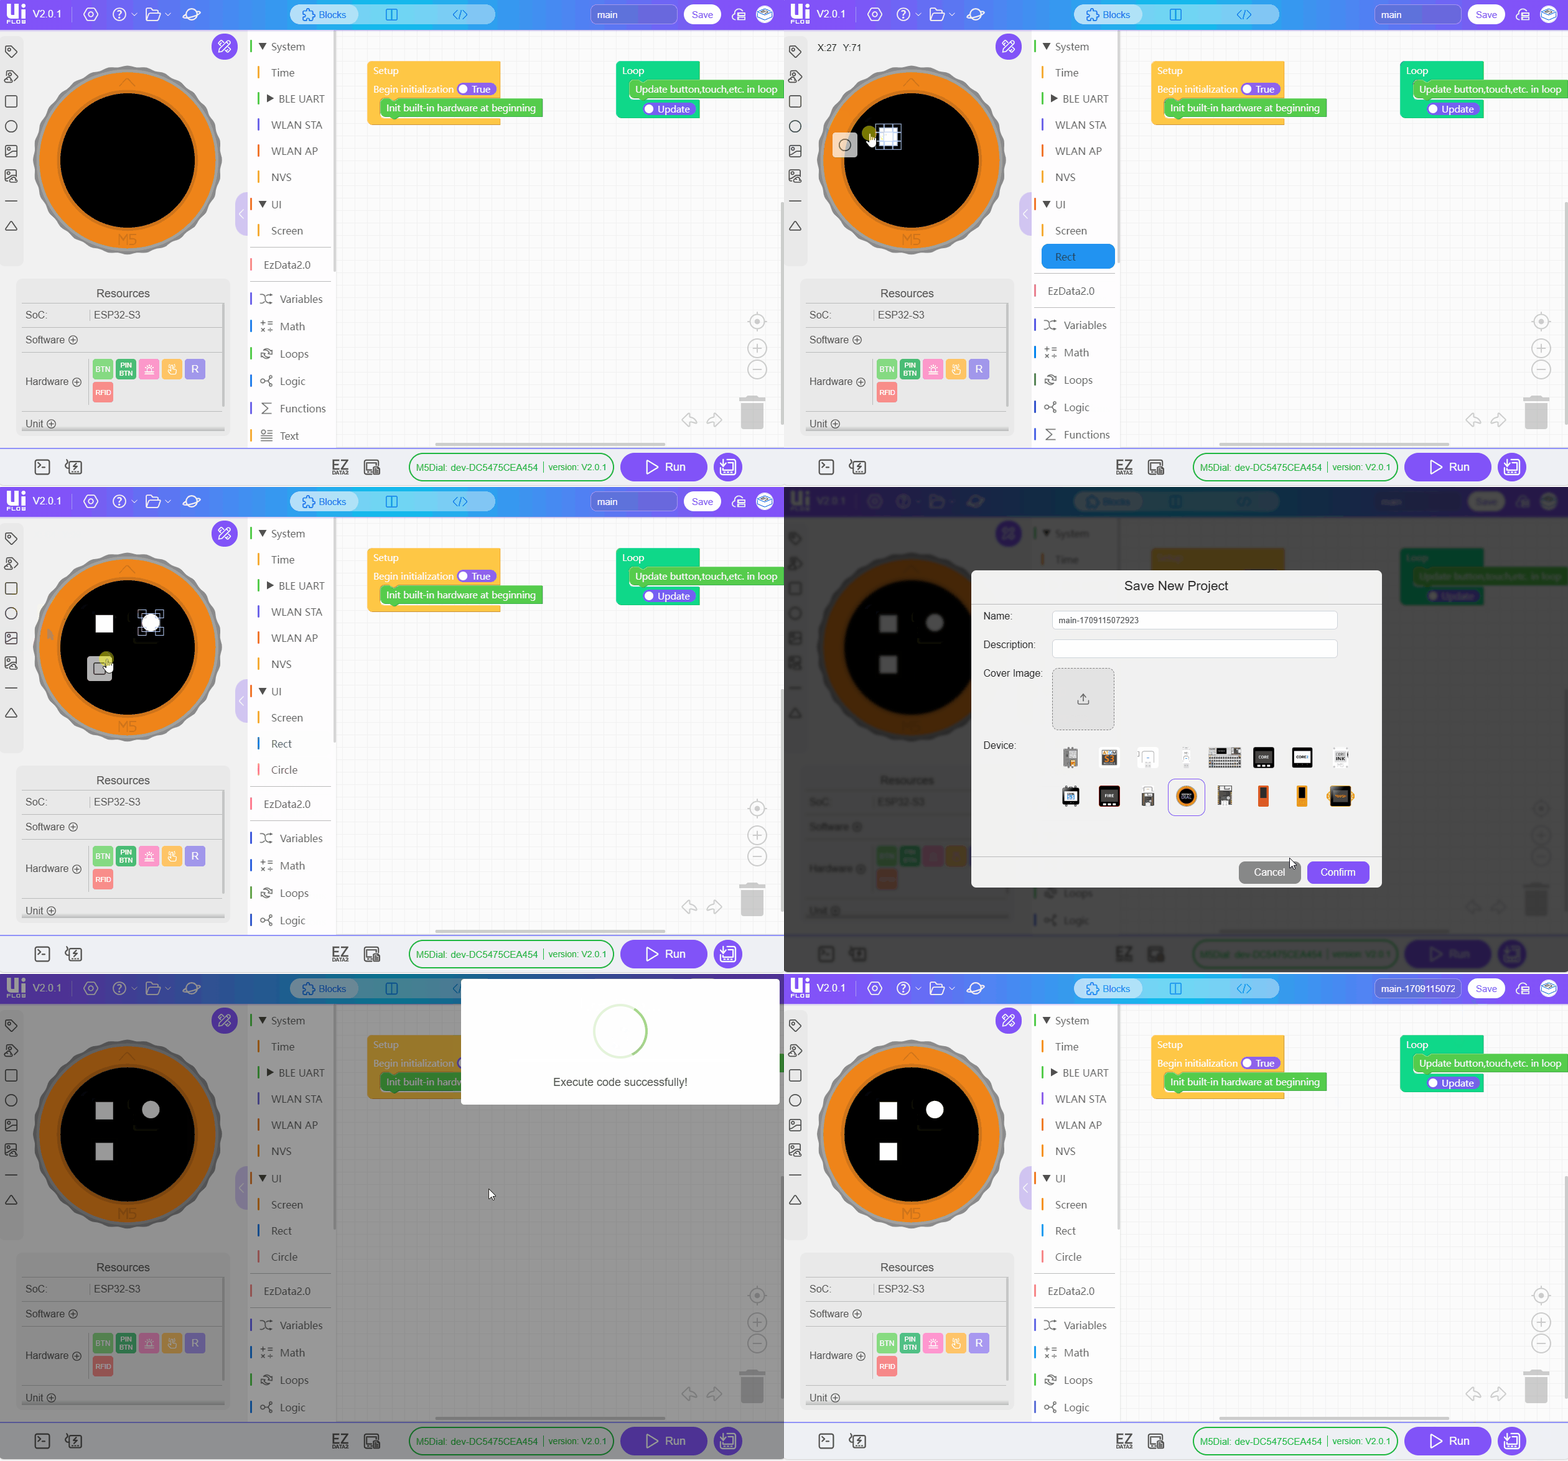
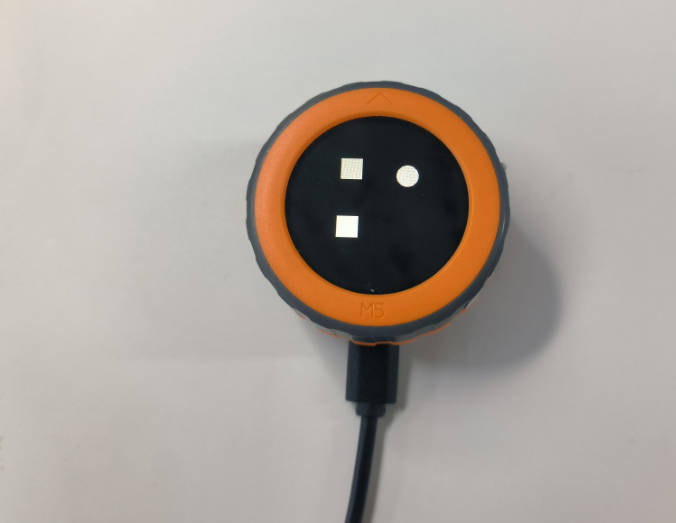
Dial: Flash Firmware & Run Code
1.Preparation
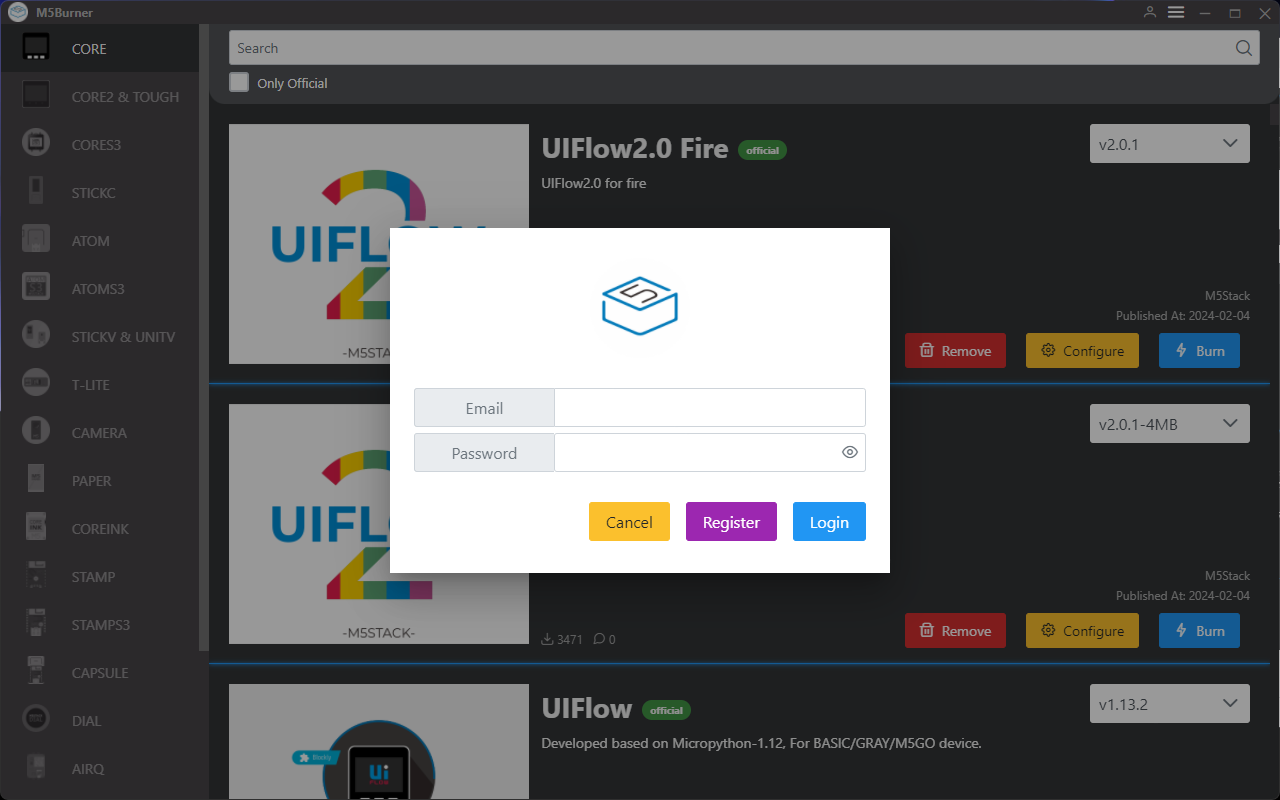
Refer to the UIFlow2 Web IDE tutorial, to learn the basic process of using UiFlow2 and complete the installation of the M5Burner firmware burning tool.
- Log in to register M5Burner, and the device information will be bound to the account at the same time after the device is successfully burned.
- Download the firmware for
Dialfrom M5Burner, as shown below.

2.Port connection
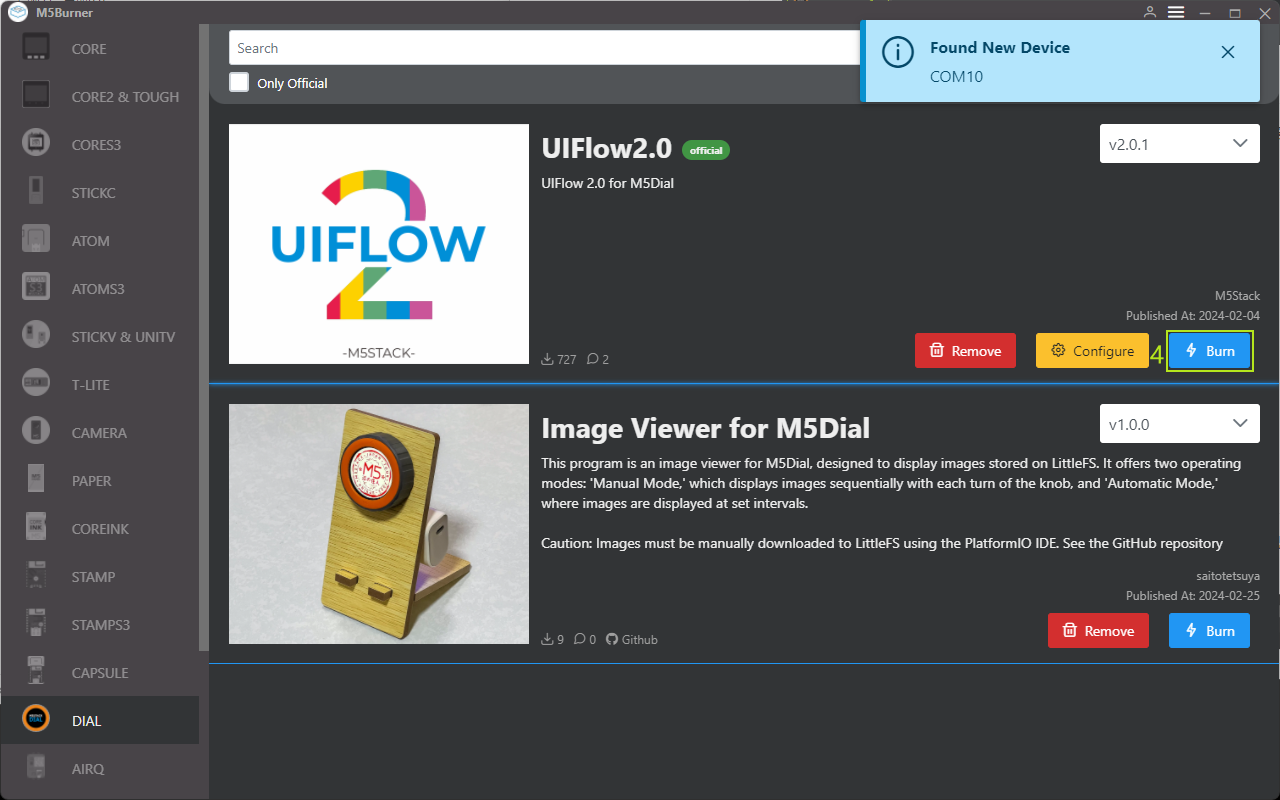
Connect the device to the computer via a USB cable, click the Burn button of the corresponding firmware in M5Burner, fill in the Wi-Fi information, and select the corresponding device port.
When connecting the Type-C data cable to the computer, you must hold down the G0 button and insert the USB port. After connecting, the software will pop up Found New Device. In this case, the connection is successful, and the screen does not display the content, enter the programming mode.The Dial device is not equipped with battery power, and must be connected to an external power supply continuously.
.gif)
3.Firmware burning
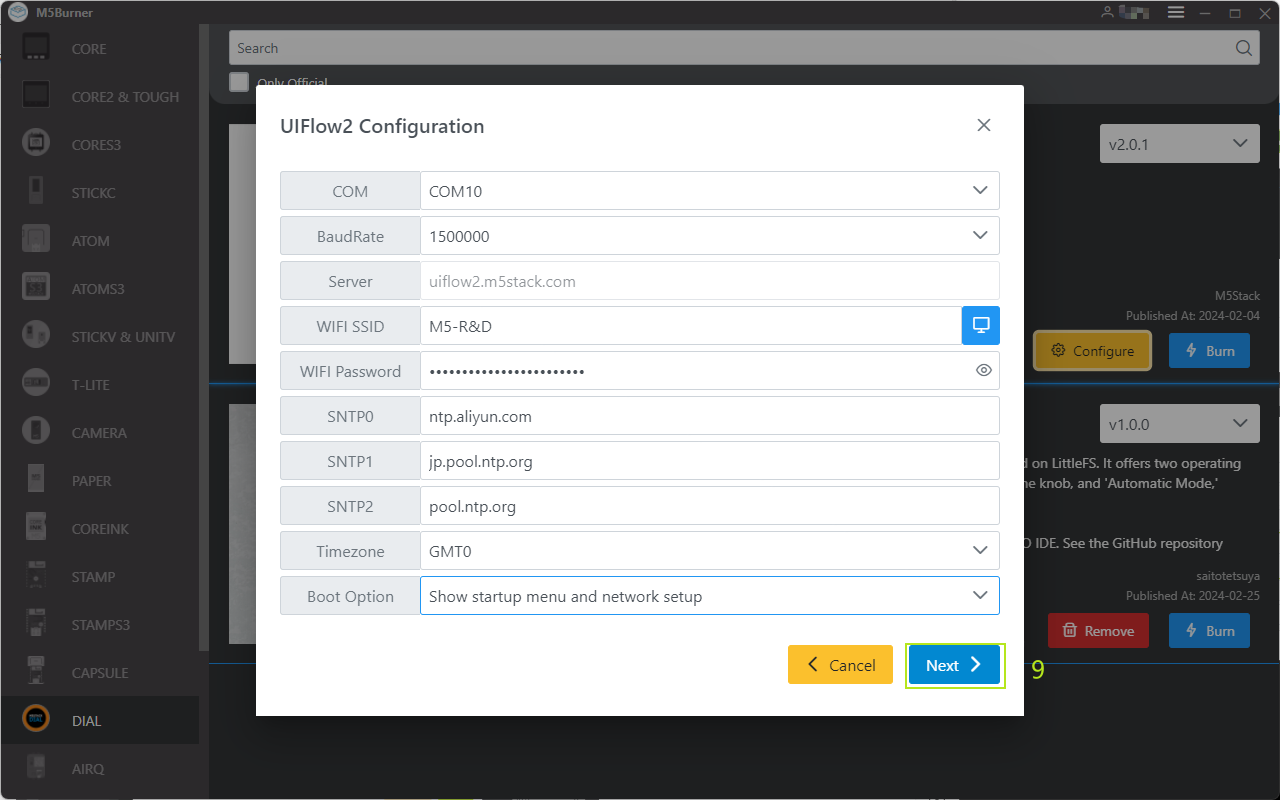
Connect the device to the computer via USB cable, select the Burn button of the corresponding firmware in M5Burner, and fill in the pre-connected Wi-Fi configuration of the device, including Wi-Fi SSD and Wi-Fi Password, and other device configurations that need to be added or modified.
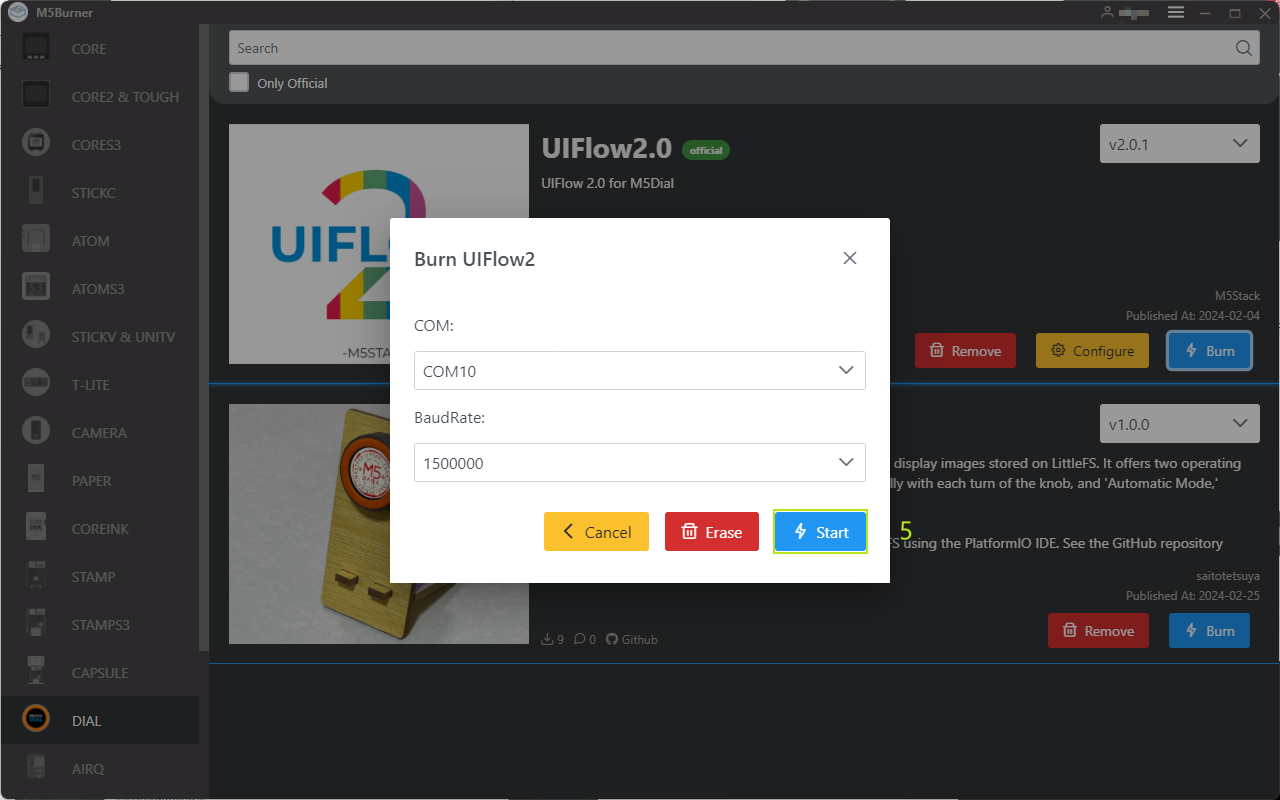
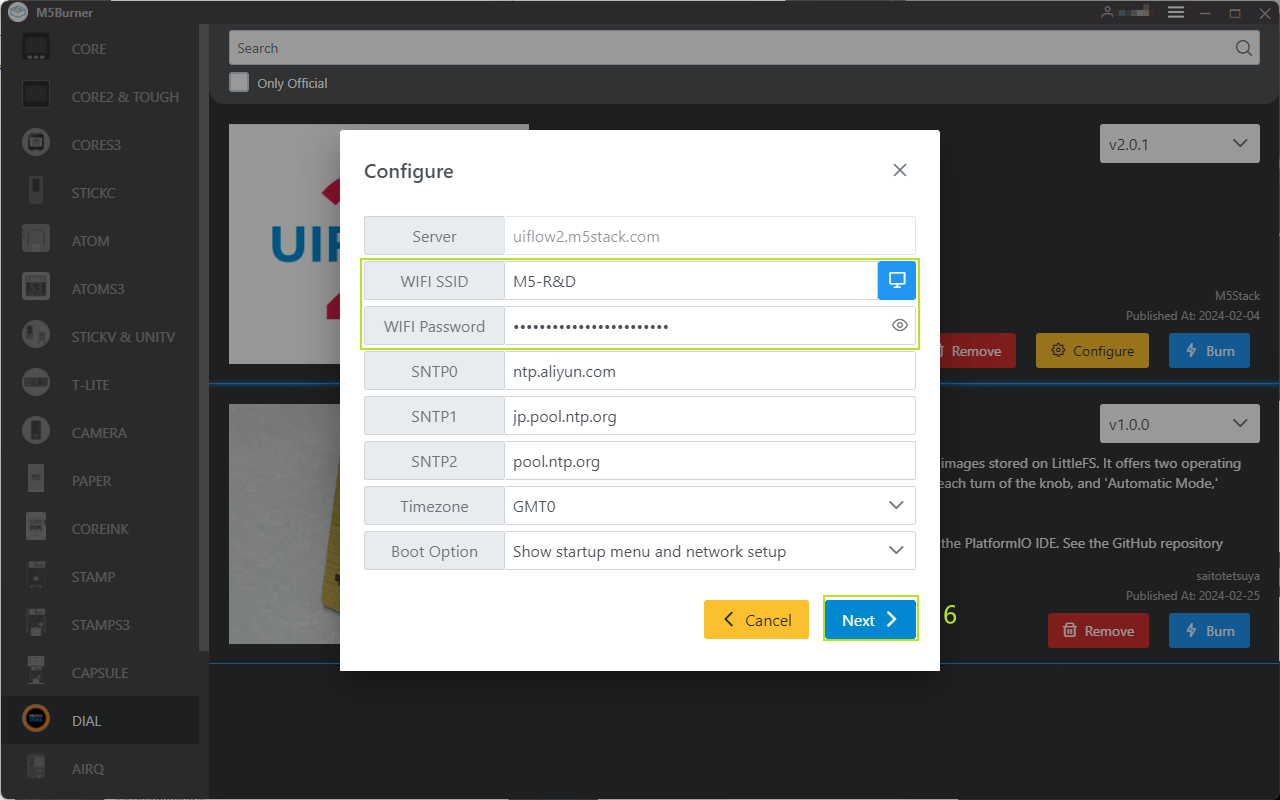
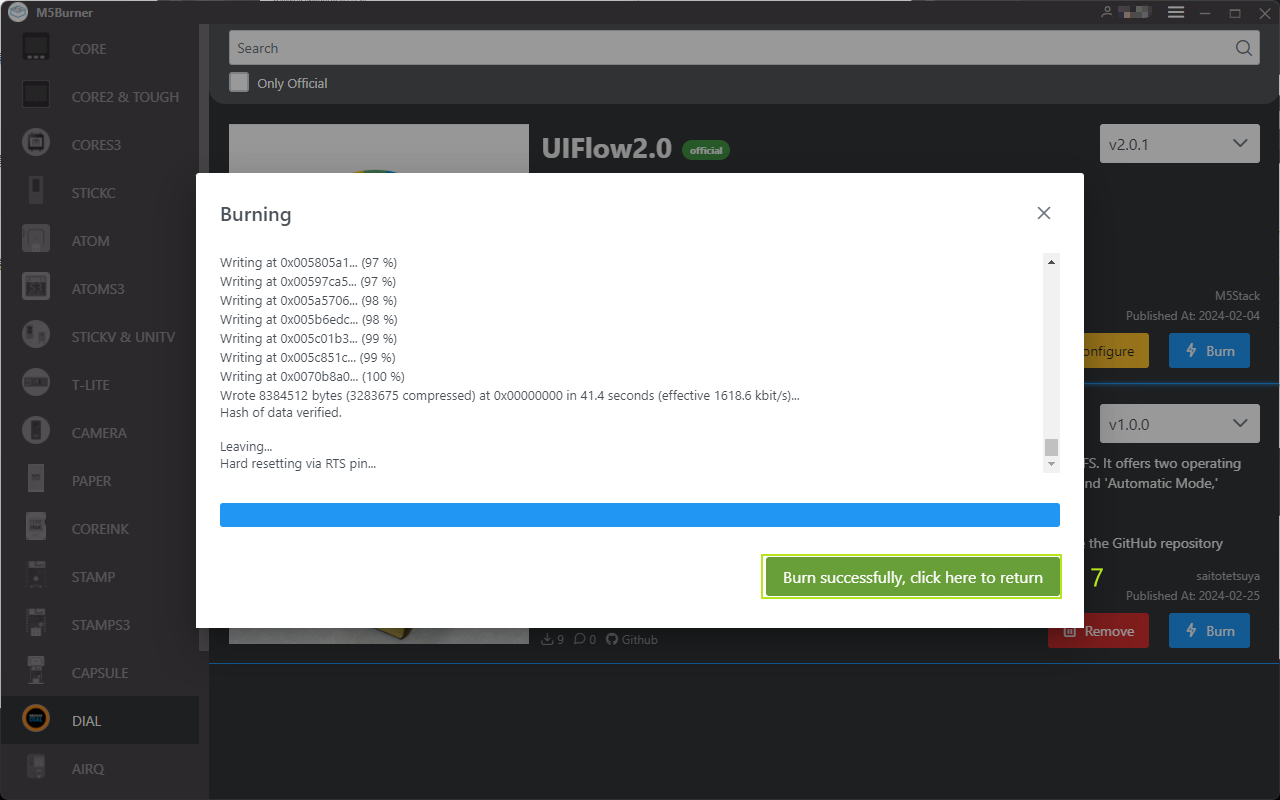
Note: If your device is connected for the first time, you need to bind the device under this account.
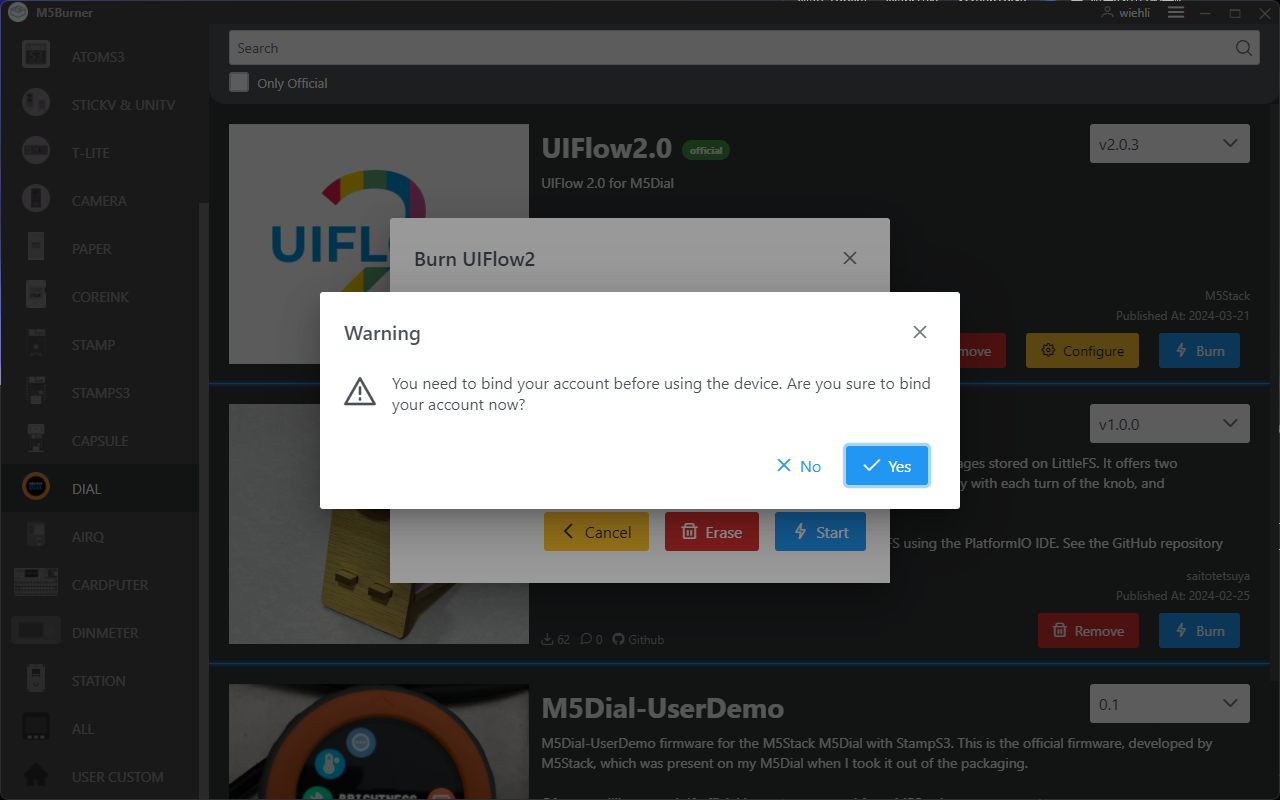
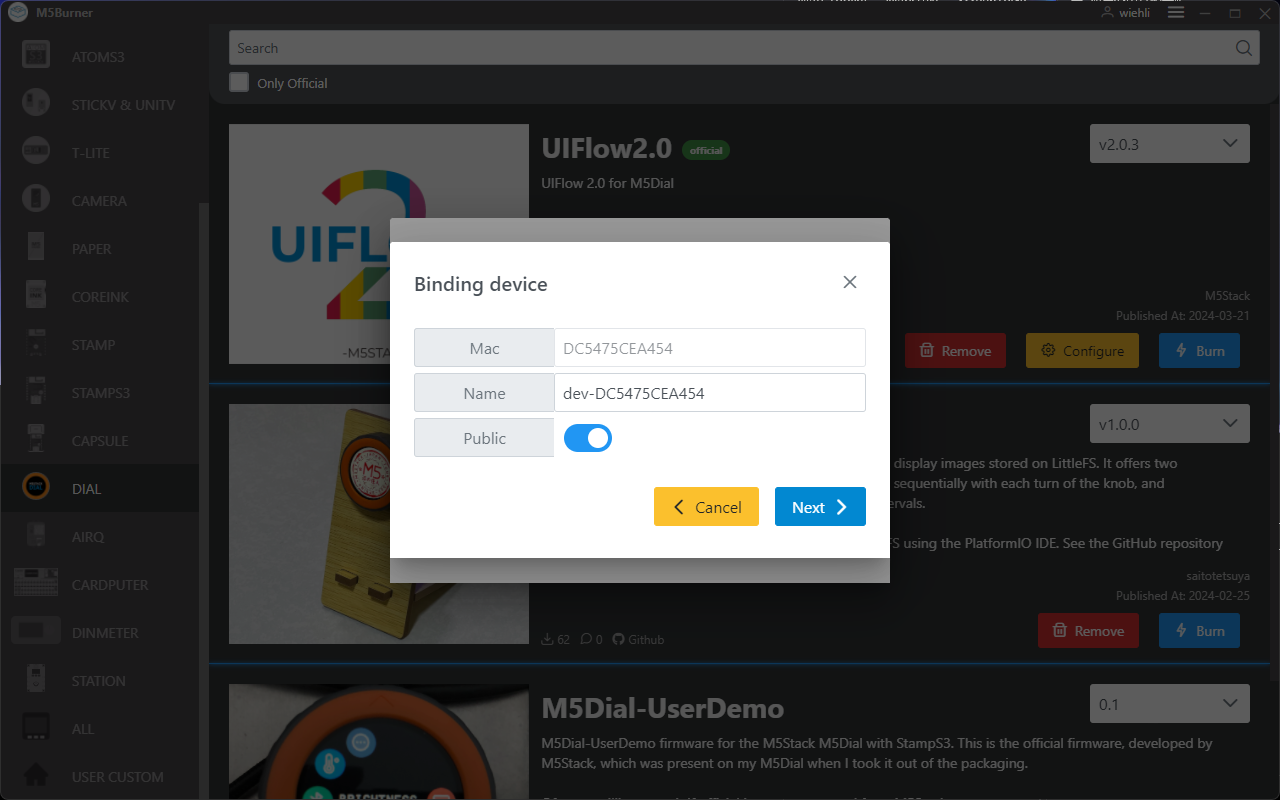
Configuration information:
- COM: Serial port
- audRate: Baud rate of serial port communication
- Server: Indicates the IP address of the server connected to the device
- WIFI SSID / WIFI Password
- SNTP Server
- SNTP0: Alibaba Cloud NTP Server (China)
- SNTP1: Indicates the NTP server pool in Japan
- SNTP2: Indicates the global public NTP server pool
- Timezone: Specifies the time zone
- Boot Option
- run main.py directly
- show startup nemu and network setup
- only net work setup
4.Modifying Device configuration
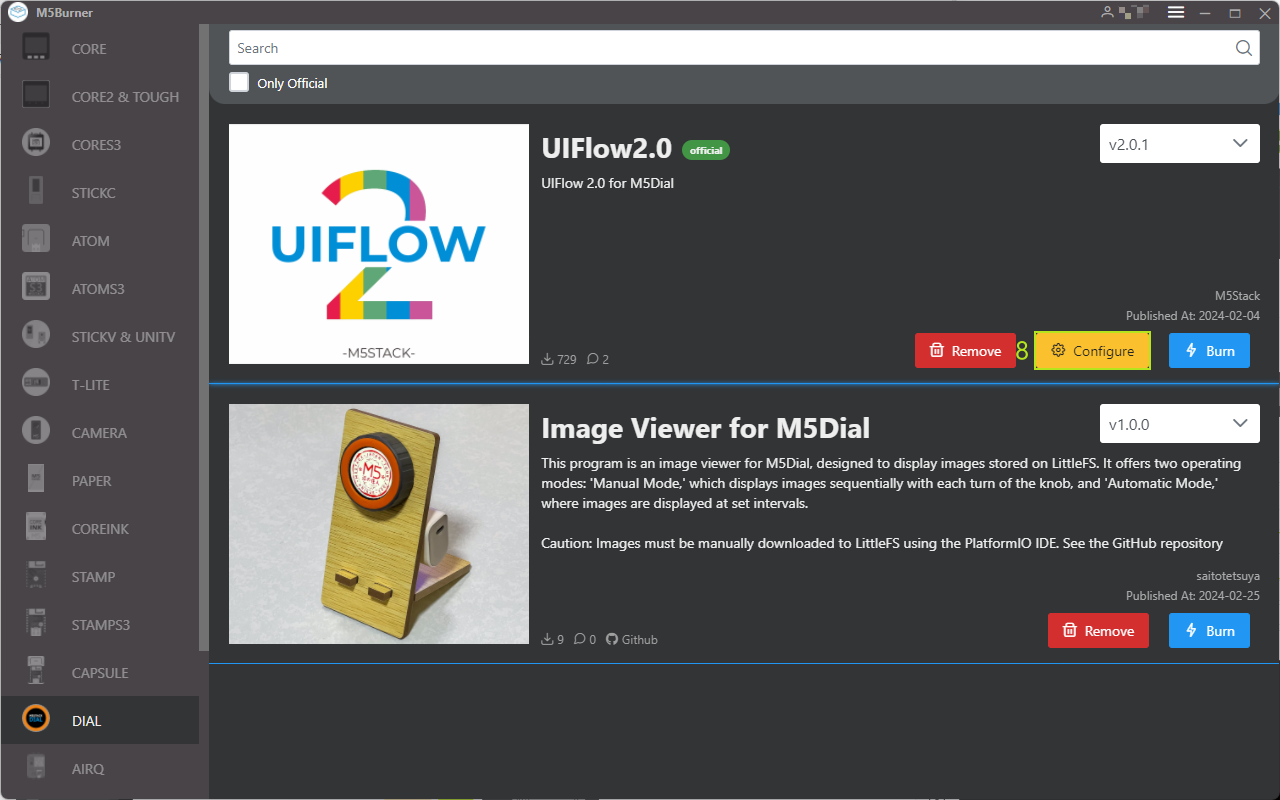
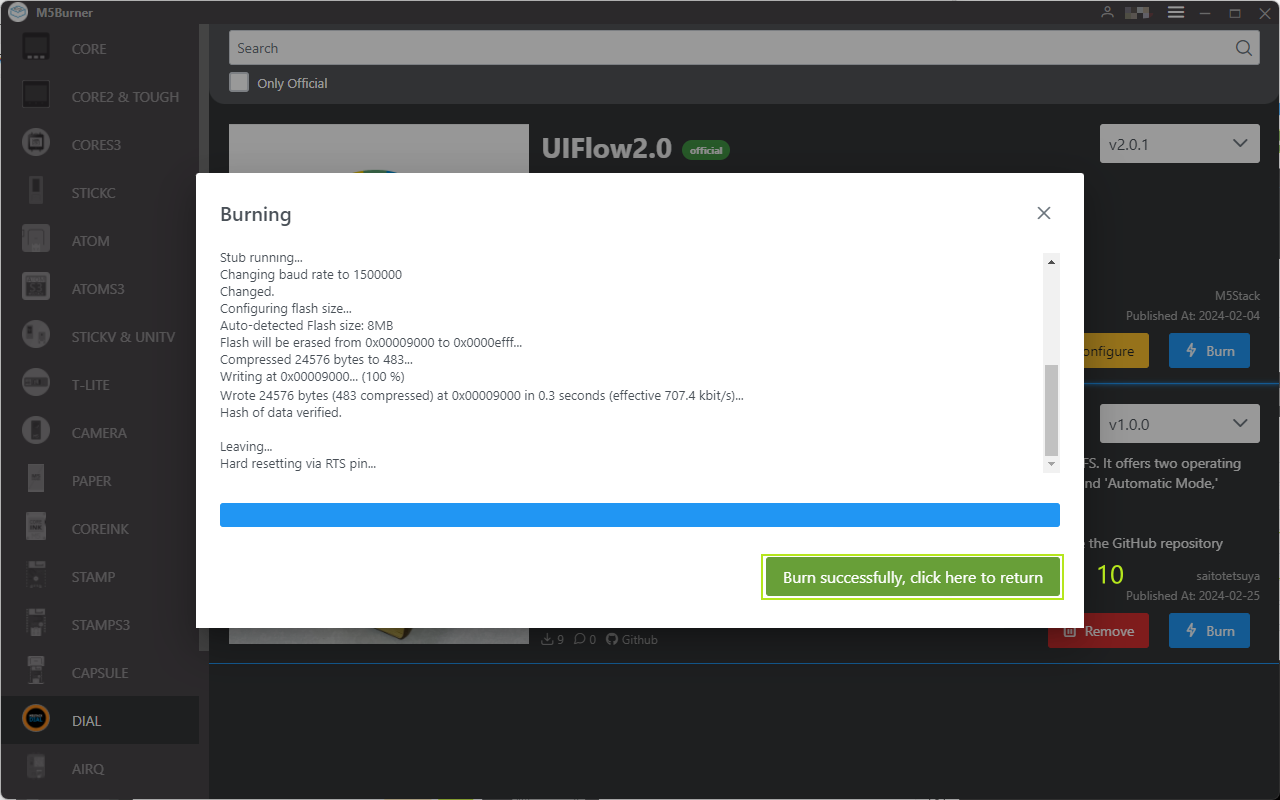
After completing the firmware burning, the device will restart, keeping the USB connection connected. Using M5Burner, click the Configure option, fill in the device configuration you want to modify, and click next. Note: If the burning is successful, the device needs to be restarted. If the device configuration needs to be changed, the burning configuration information needs to be modified.
5.Log in to UiFlow2
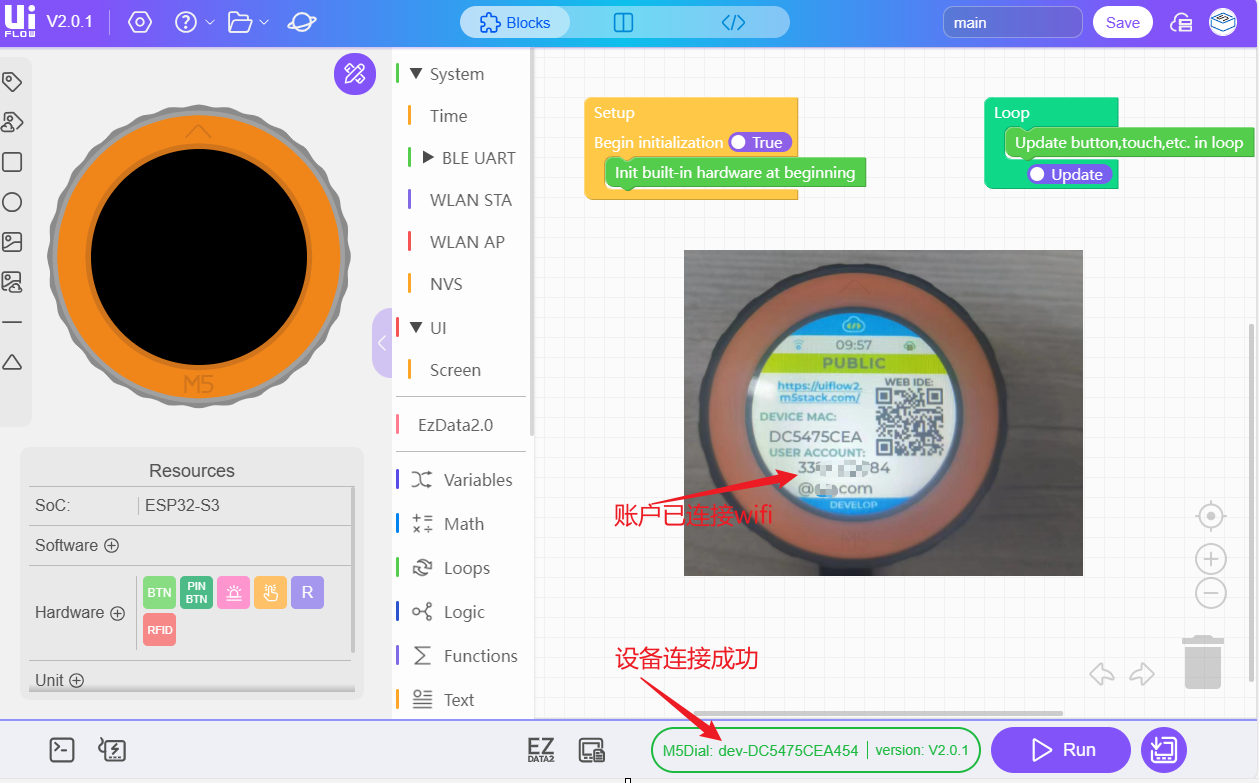
Click the page icon in the top right corner of the user, login account UiFlow2 system. Note: This account needs to be the same as the account used to log in M5Burner. After the account is successfully logged in, the Device successfully connected to valid Wi-Fi under this account can be viewed by clicking Select Device. If the device owner needs to be changed, the relationship between the device and the account needs to be unbound.
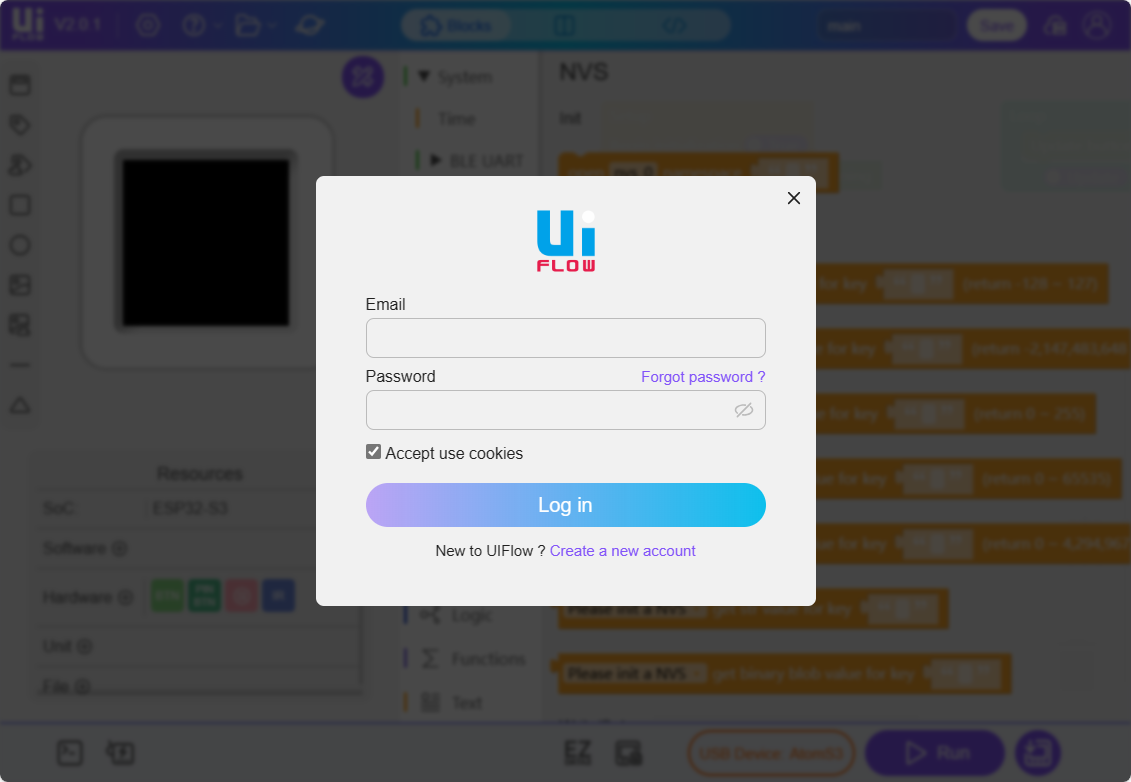
WI-FI MODE
Ensure Wi-Fi is configured: During the program burning process, you need to configure Wi-Fi and other information in the Configure section of the M5Burner.
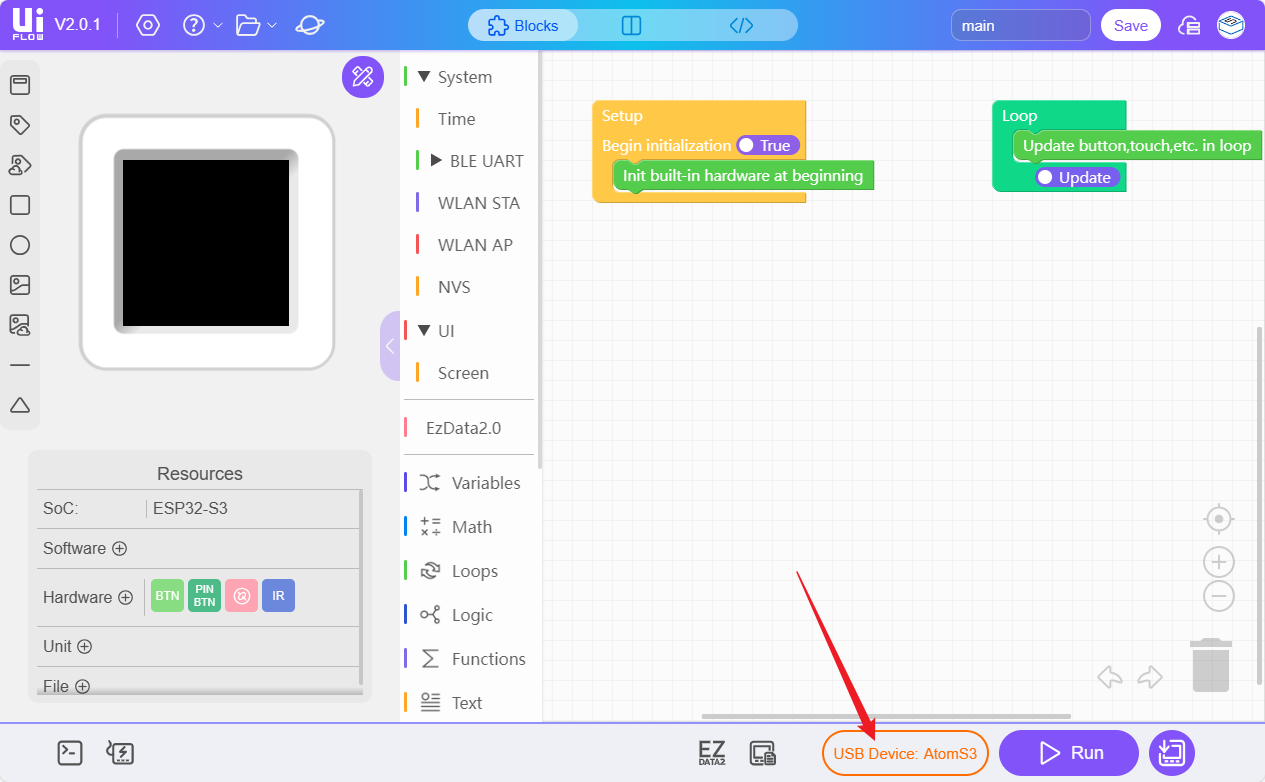
Select the online device.
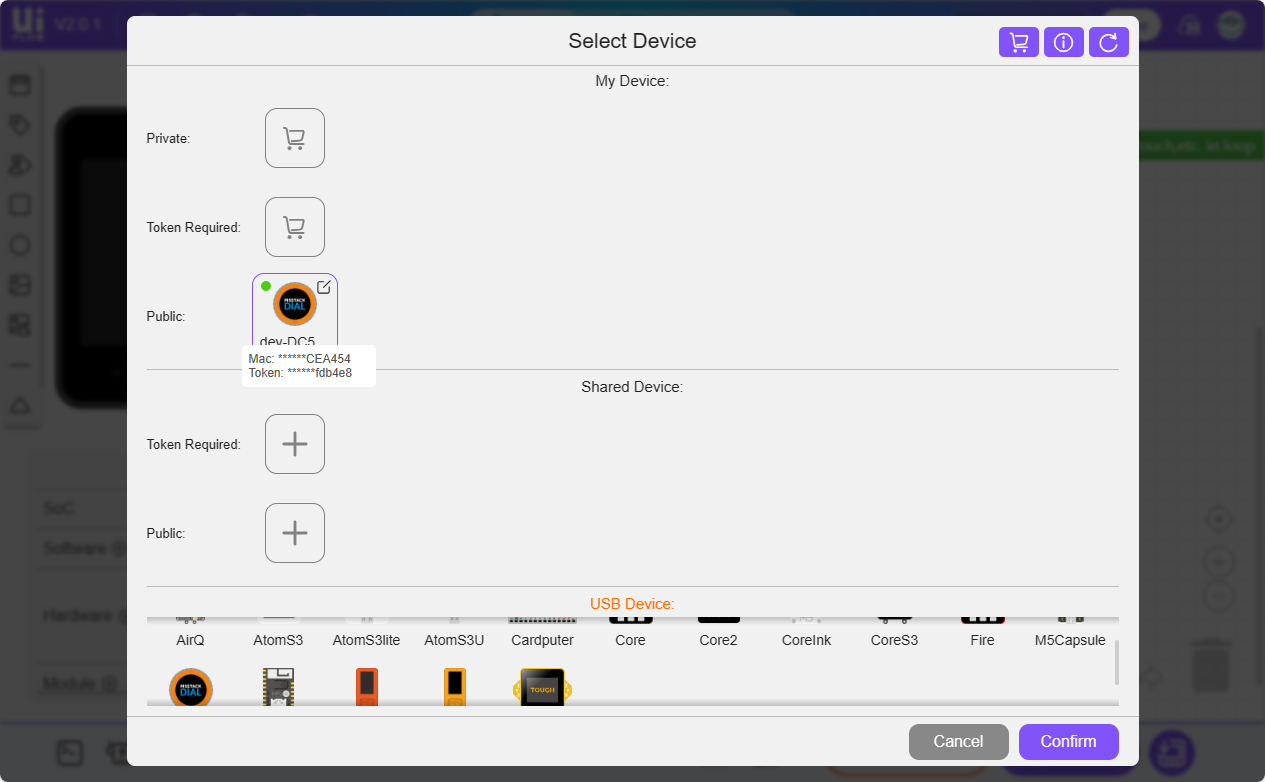
USB Mode
Select the device module to which the USB is to be connected

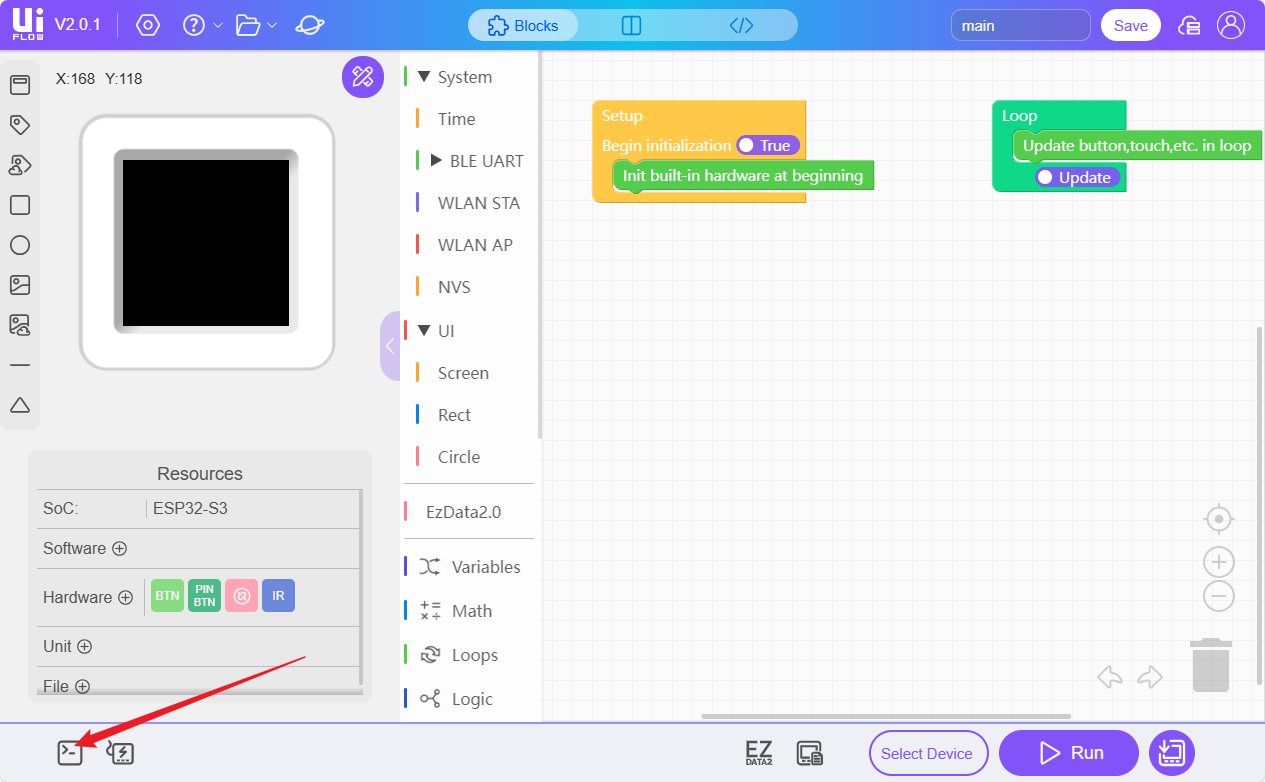
Connect the Dial to the USB port of your computer and click the WebTerminal button.
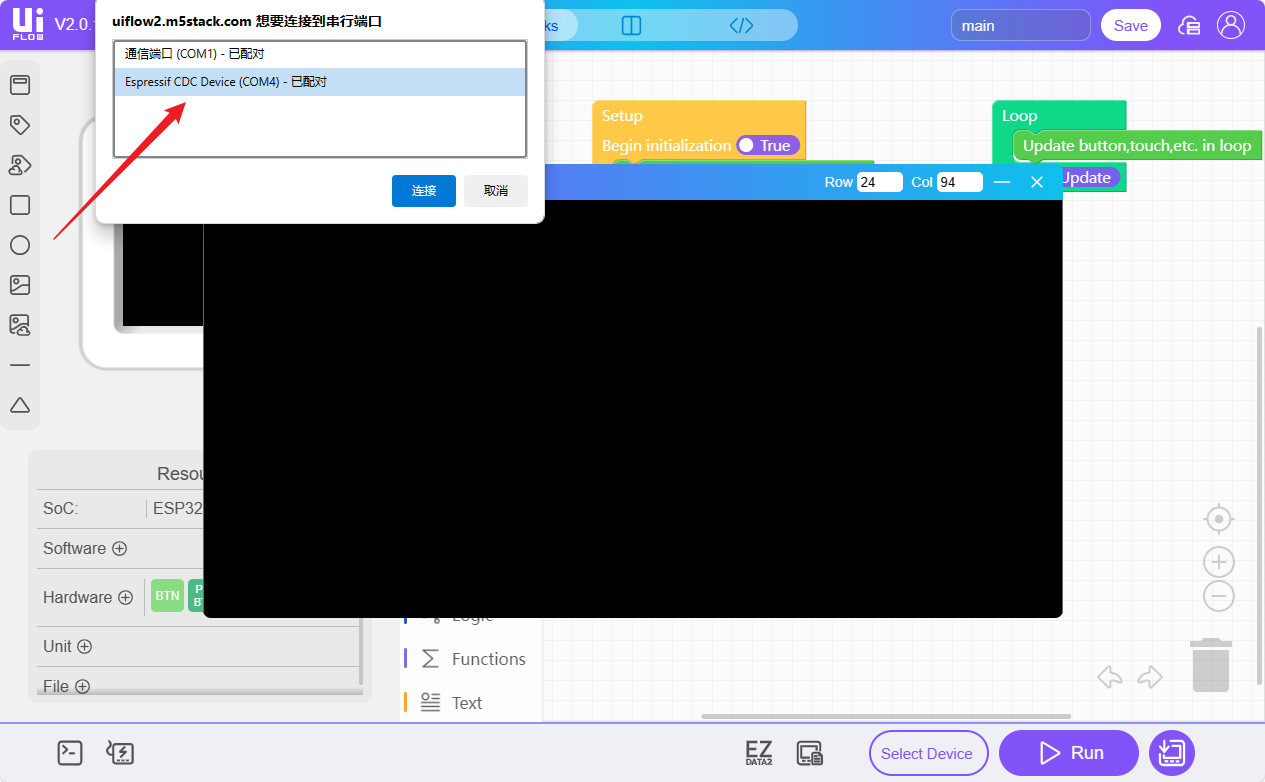
In the popup window, select the USB-connected device, click to select it, and when the WebTerminal screen displays "Connected to Serial Port!", it means the USB connection is successful.
6.RUN
After completing the above steps, you can start programming with UiFlow2.
