Arduino Quick Start
2. Devices & Examples
3. M5Unified
4. M5GFX
5. Extensions
Unit
Base
Cap
IoT
Accessories
Unit Mini TVOC/eCO2 Arduino User Guide
1. Preparations
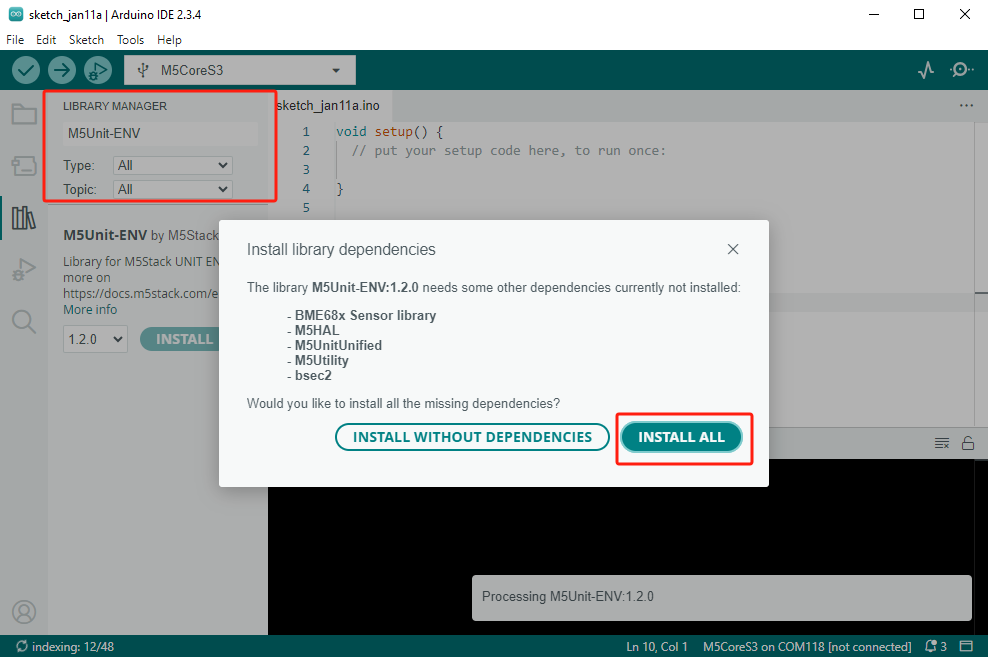
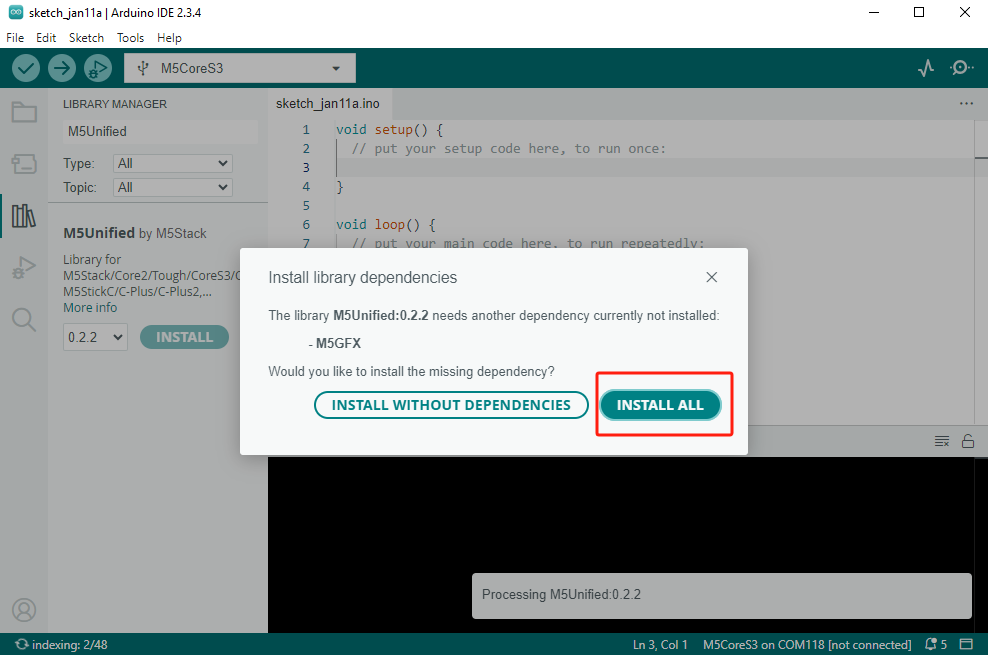
- Environment Setup: Refer to the Arduino IDE Getting Started Tutorial to complete the IDE installation, and install the corresponding board manager and required driver libraries based on your development board.
- Driver Libraries Used:
Driver Libraries
The M5Unit-ENV library includes drivers and examples for the Unit Mini TVOC/eCO2 sensor, enabling convenient sensor data reading.
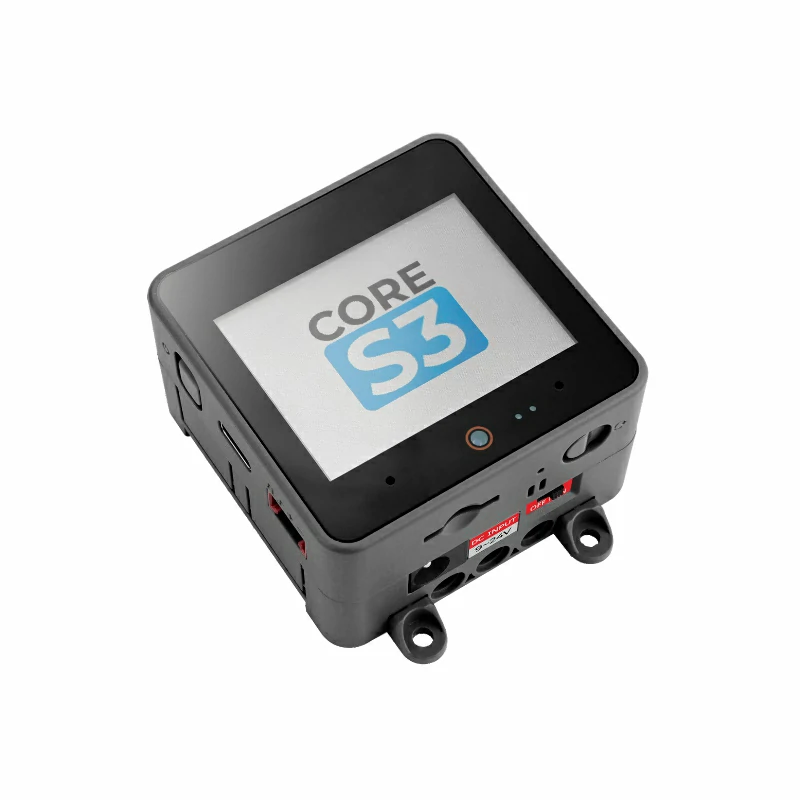
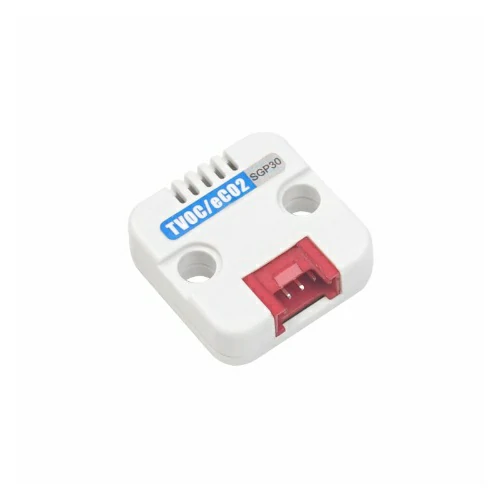
- Hardware Products Used:
Dependency Libraries

2. Example
Example Explanation
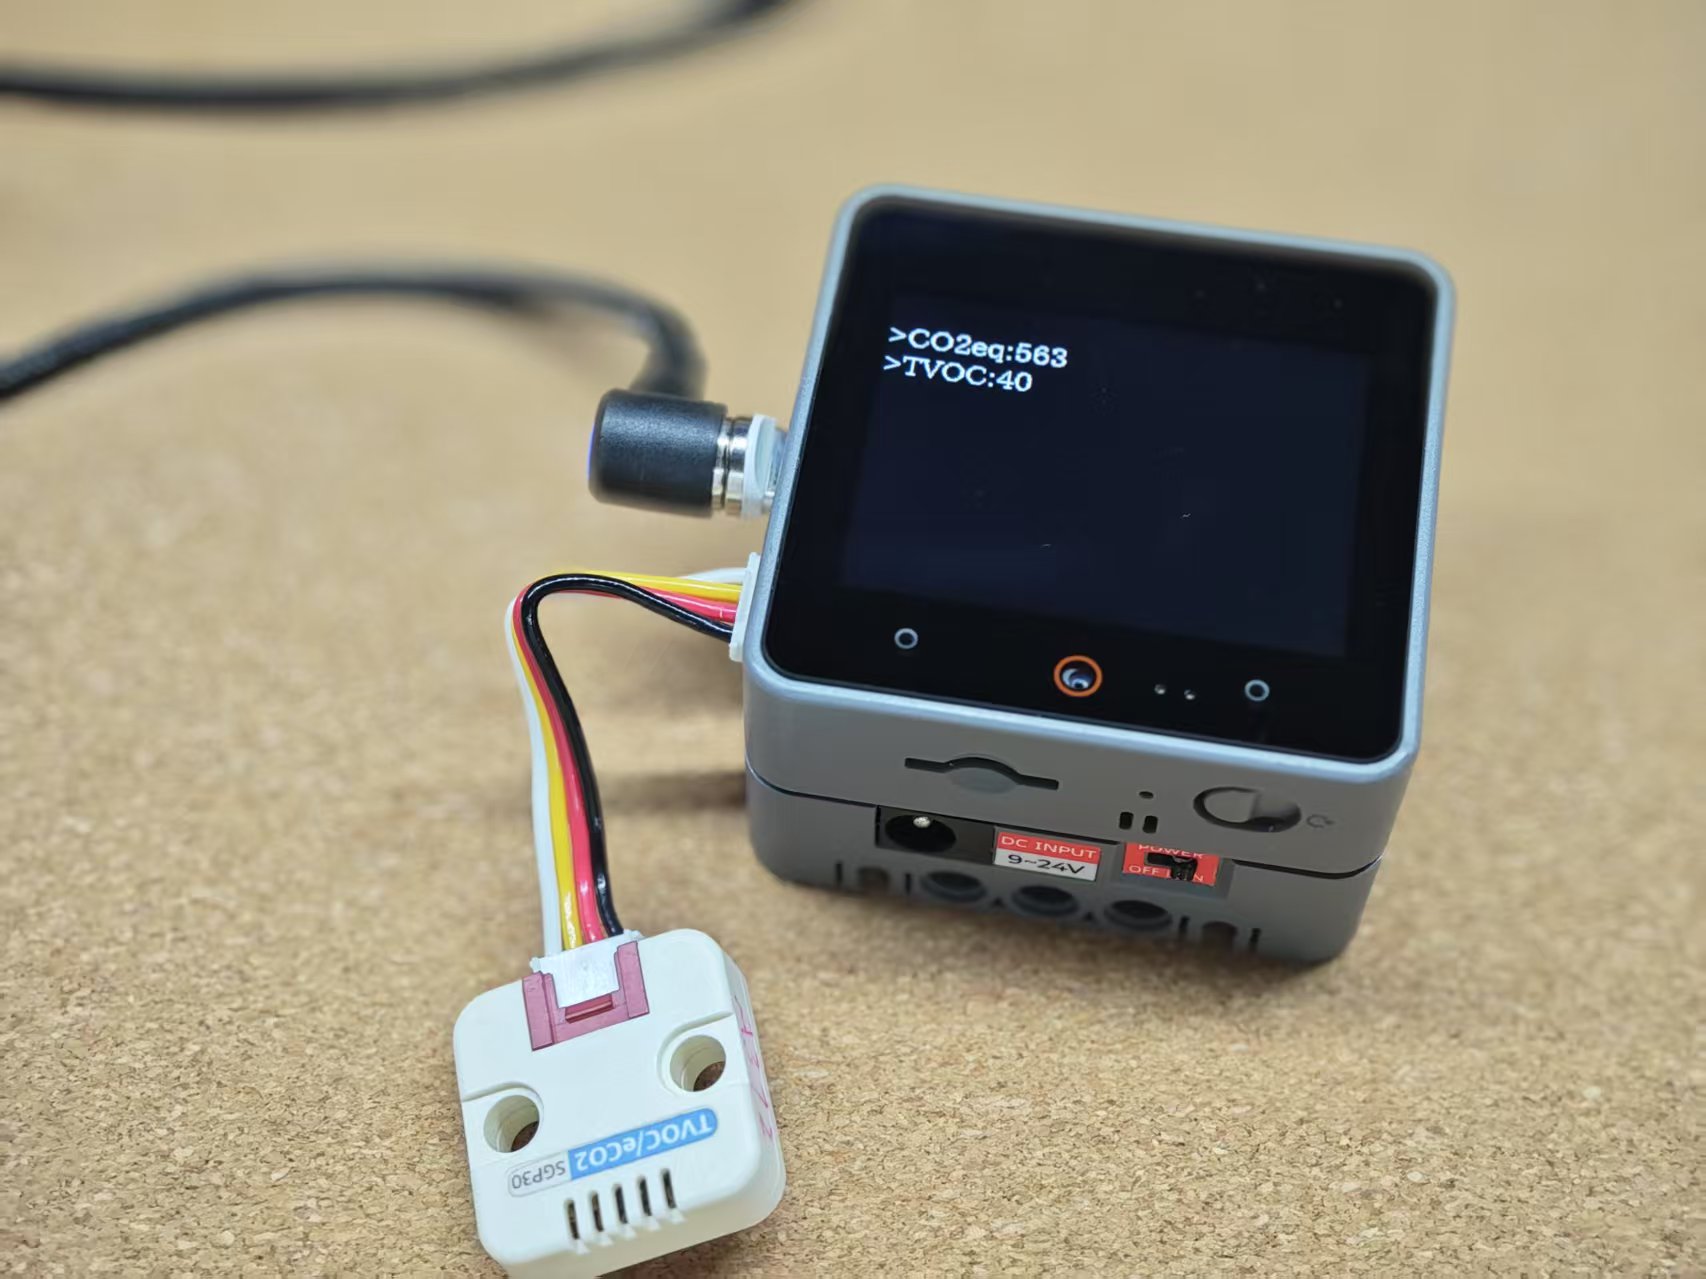
This example uses the Unit Mini TVOC/eCO2 to measure the concentrations of TVOC (Total Volatile Organic Compounds) and eCO2 (Equivalent CO2).
cpp
1 2 3 4 5 6 7 8 9 10 11 12 13 14 15 16 17 18 19 20 21 22 23 24 25 26 27 28 29 30 31 32 33 34 35 36 37 38 39 40 41 42 43 44 45 46 47
#include <M5Unified.h>
#include <M5UnitUnified.h>
#include <M5UnitUnifiedENV.h>

auto& lcd = M5.Display;
m5::unit::UnitUnified Units;
m5::unit::UnitTVOC unit;

void setup()
{
    M5.begin();

    M5.Display.setFont(&fonts::lgfxJapanMinchoP_20);
    M5.Display.setTextSize(1);
    auto pin_num_sda = M5.getPin(m5::pin_name_t::port_a_sda);
    auto pin_num_scl = M5.getPin(m5::pin_name_t::port_a_scl);
    M5_LOGI("getPin: SDA:%u SCL:%u", pin_num_sda, pin_num_scl);

    Wire.begin(pin_num_sda, pin_num_scl, 400 * 1000U);

    if (!Units.add(unit, Wire) || !Units.begin()) {
        M5_LOGE("Failed to begin");
        M5.Display.clear(TFT_RED);
        while (true) {
            m5::utility::delay(10000);
        }
    }

    M5_LOGI("M5UnitUnified has been begun");
    M5_LOGI("%s", Units.debugInfo().c_str());
    M5_LOGW("SGP30 measurement starts 15 seconds after begin");

    M5.Display.setCursor(0, 0);
    M5.Display.clear();
    M5.Display.println("Init...");
}

void loop()
{
    M5.update();
    Units.update();
    if (unit.updated()) {
        M5.Display.setCursor(0, 0);
        M5.Display.clear();
        M5.Display.printf("\n>CO2eq:%u\n>TVOC:%u", unit.co2eq(), unit.tvoc());
    }
}3. Compile and Upload
- Download Mode: Different devices require a download mode before program flashing; this step may vary depending on the main control device. For details, please refer to the device programming download tutorial list at the bottom of the Arduino IDE Getting Started Tutorial page for specific instructions.
- For the CoreS3, press and hold the reset button (approximately 2 seconds) until the internal green LED lights up, then release the button. The device will then enter download mode and wait for flashing.
.gif)
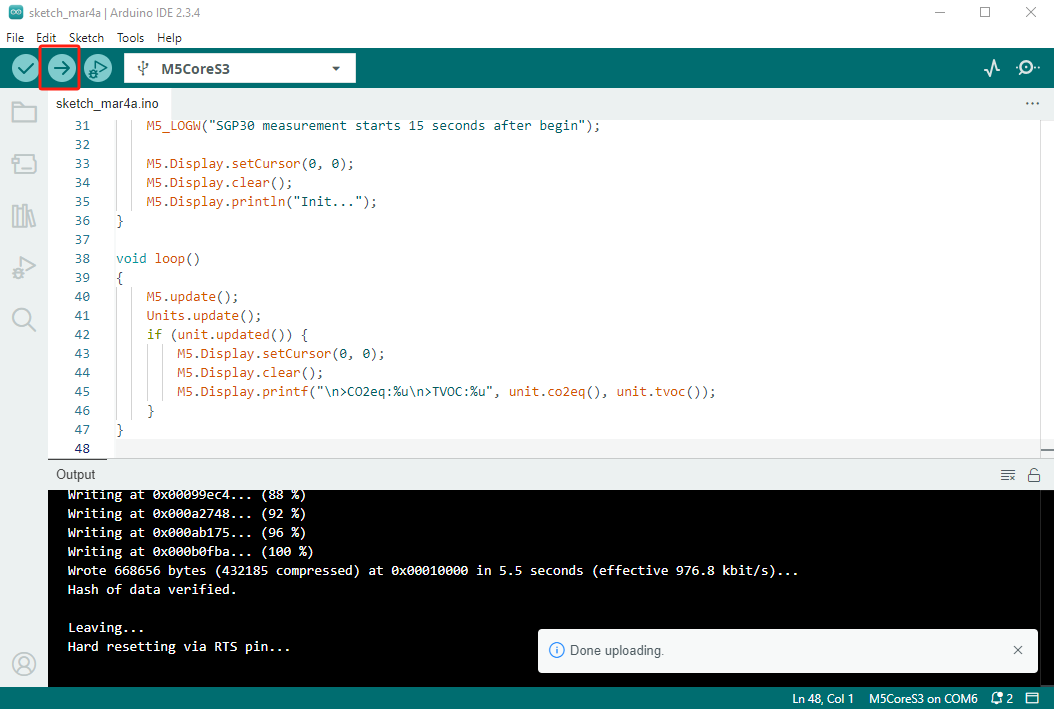
- Select the device port, click the compile and upload button in the upper left corner of the Arduino IDE, and wait for the program to compile and upload to the device.
4. TVOC/eCO2 Measurement
