Arduino Quick Start
2. Devices & Examples
3. M5Unified
4. M5GFX
5. Extensions
Unit
Atomic
Tab5
IoT
Accessories
Unit CamS3-5MP Arduino Program Compilation & Upload
1. Preparation
Arduino IDE Installation: Refer to the Arduino IDE Installation Guide and finish installing the IDE.
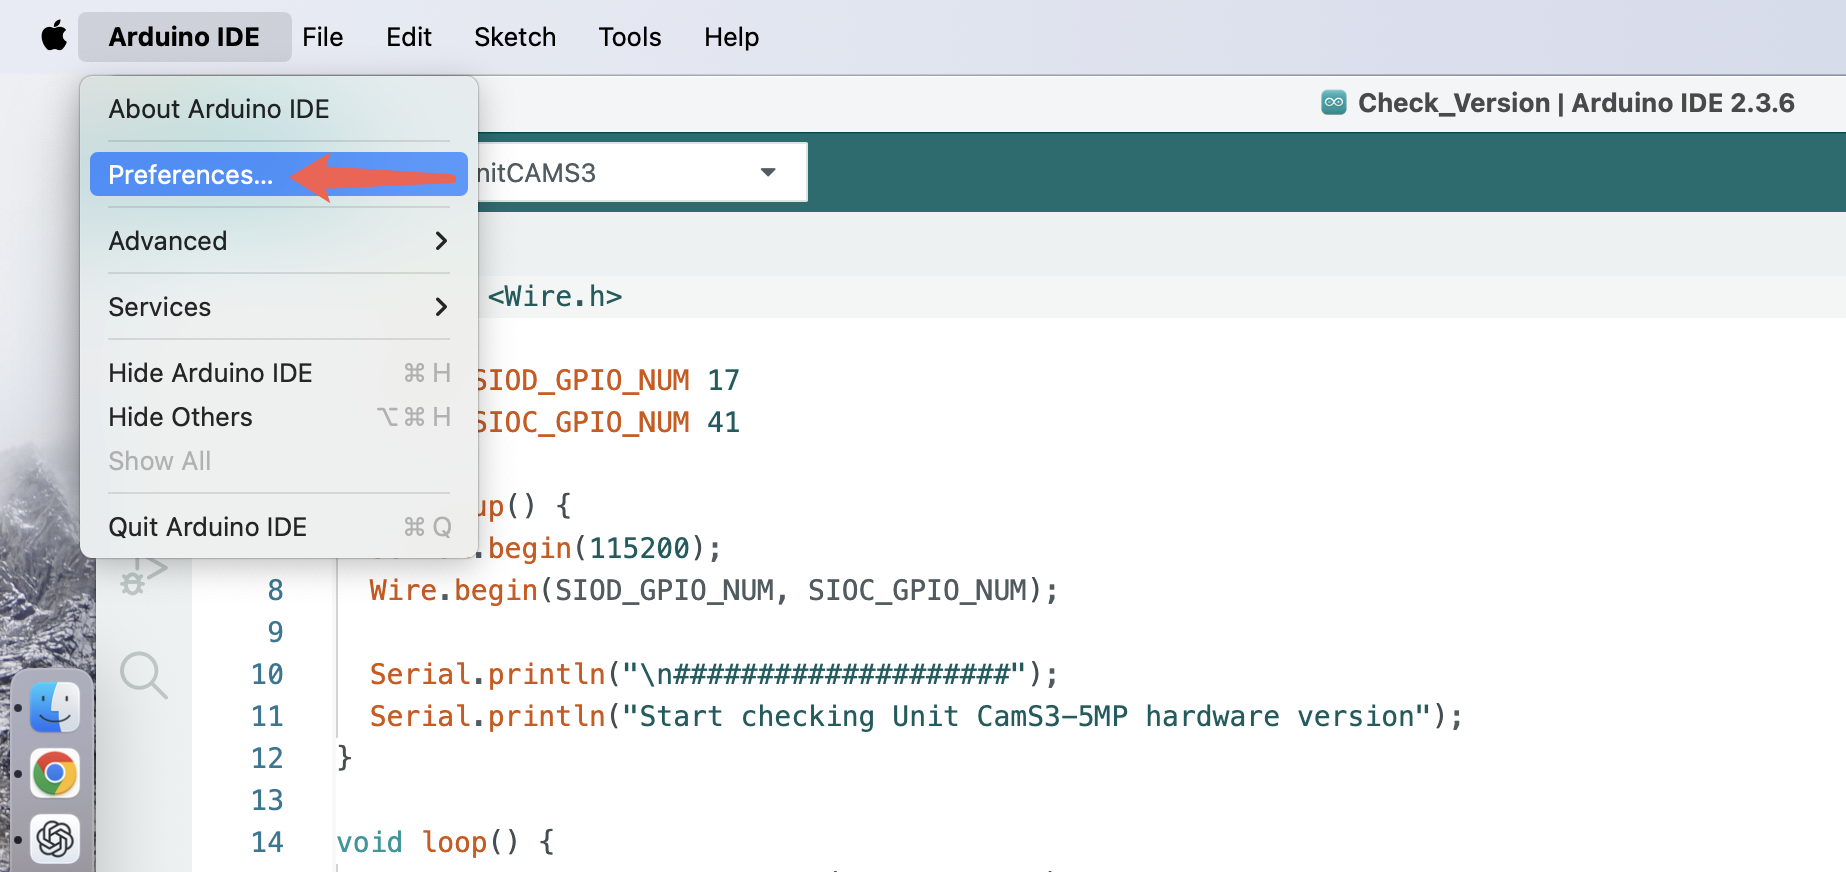
Board Manager Setup: Open Arduino IDE and click
File>Preferences(Windows) orArduino IDE>Preferences(macOS).
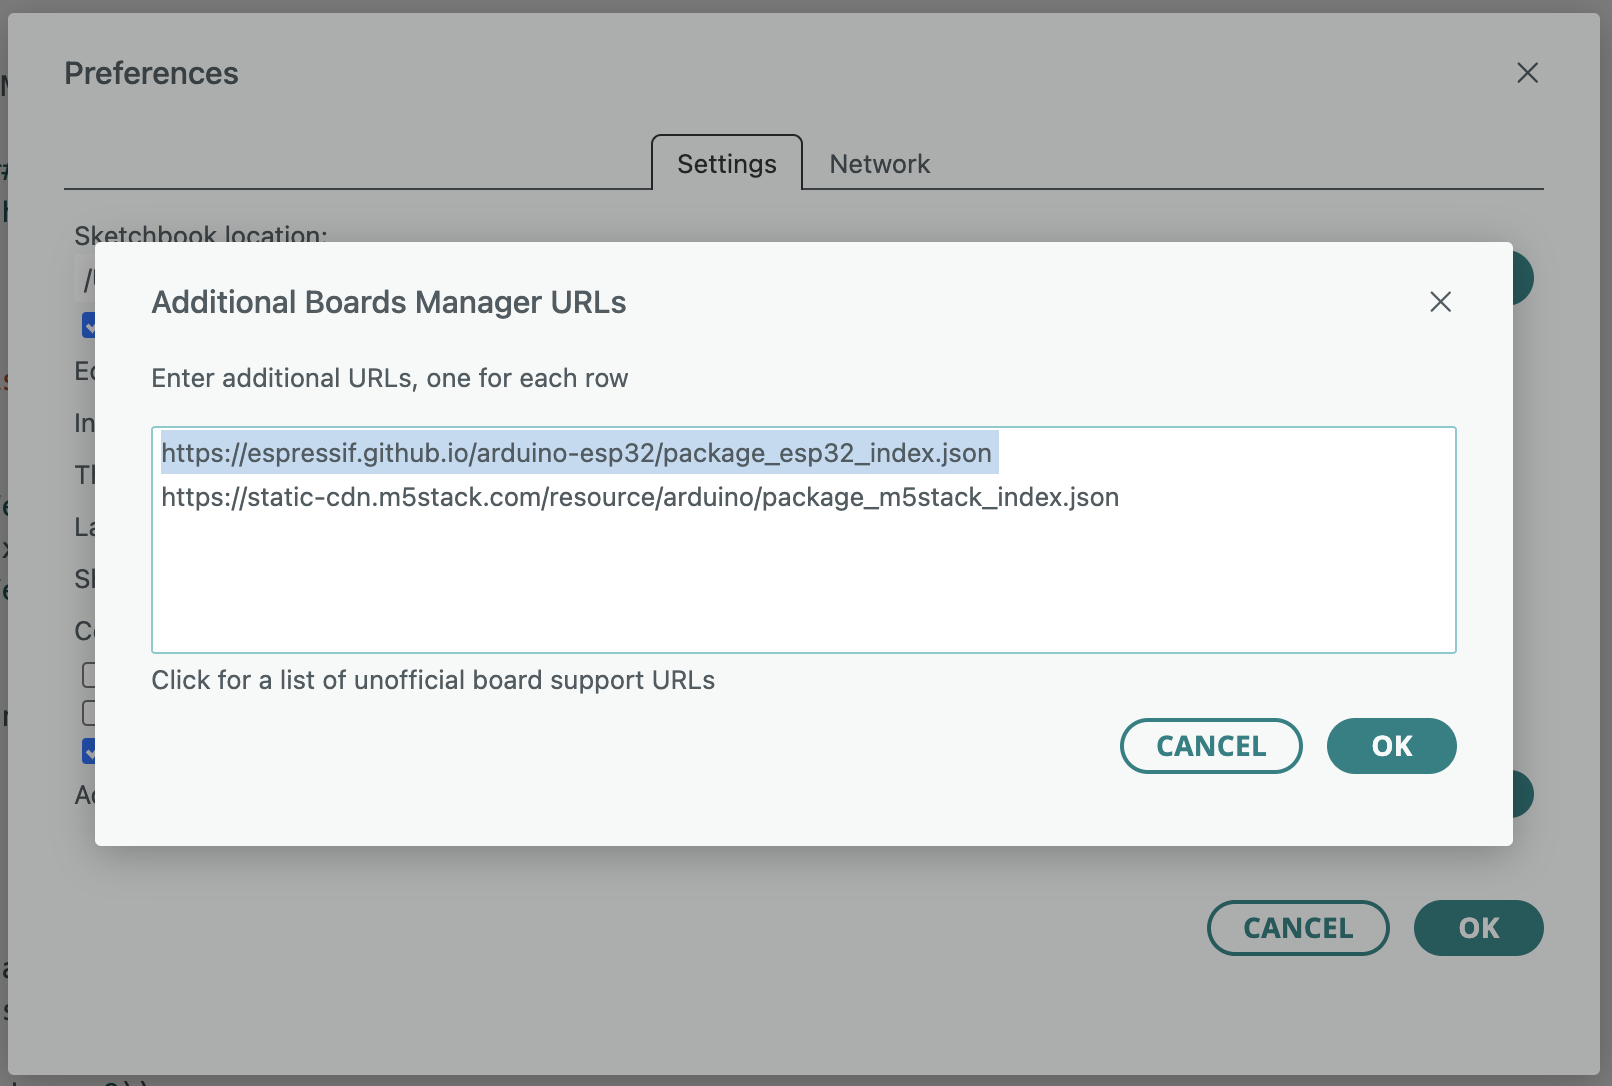
- Enter the following in the
Additional Boards Manager URLsbox:
https://espressif.github.io/arduino-esp32/package_esp32_index.json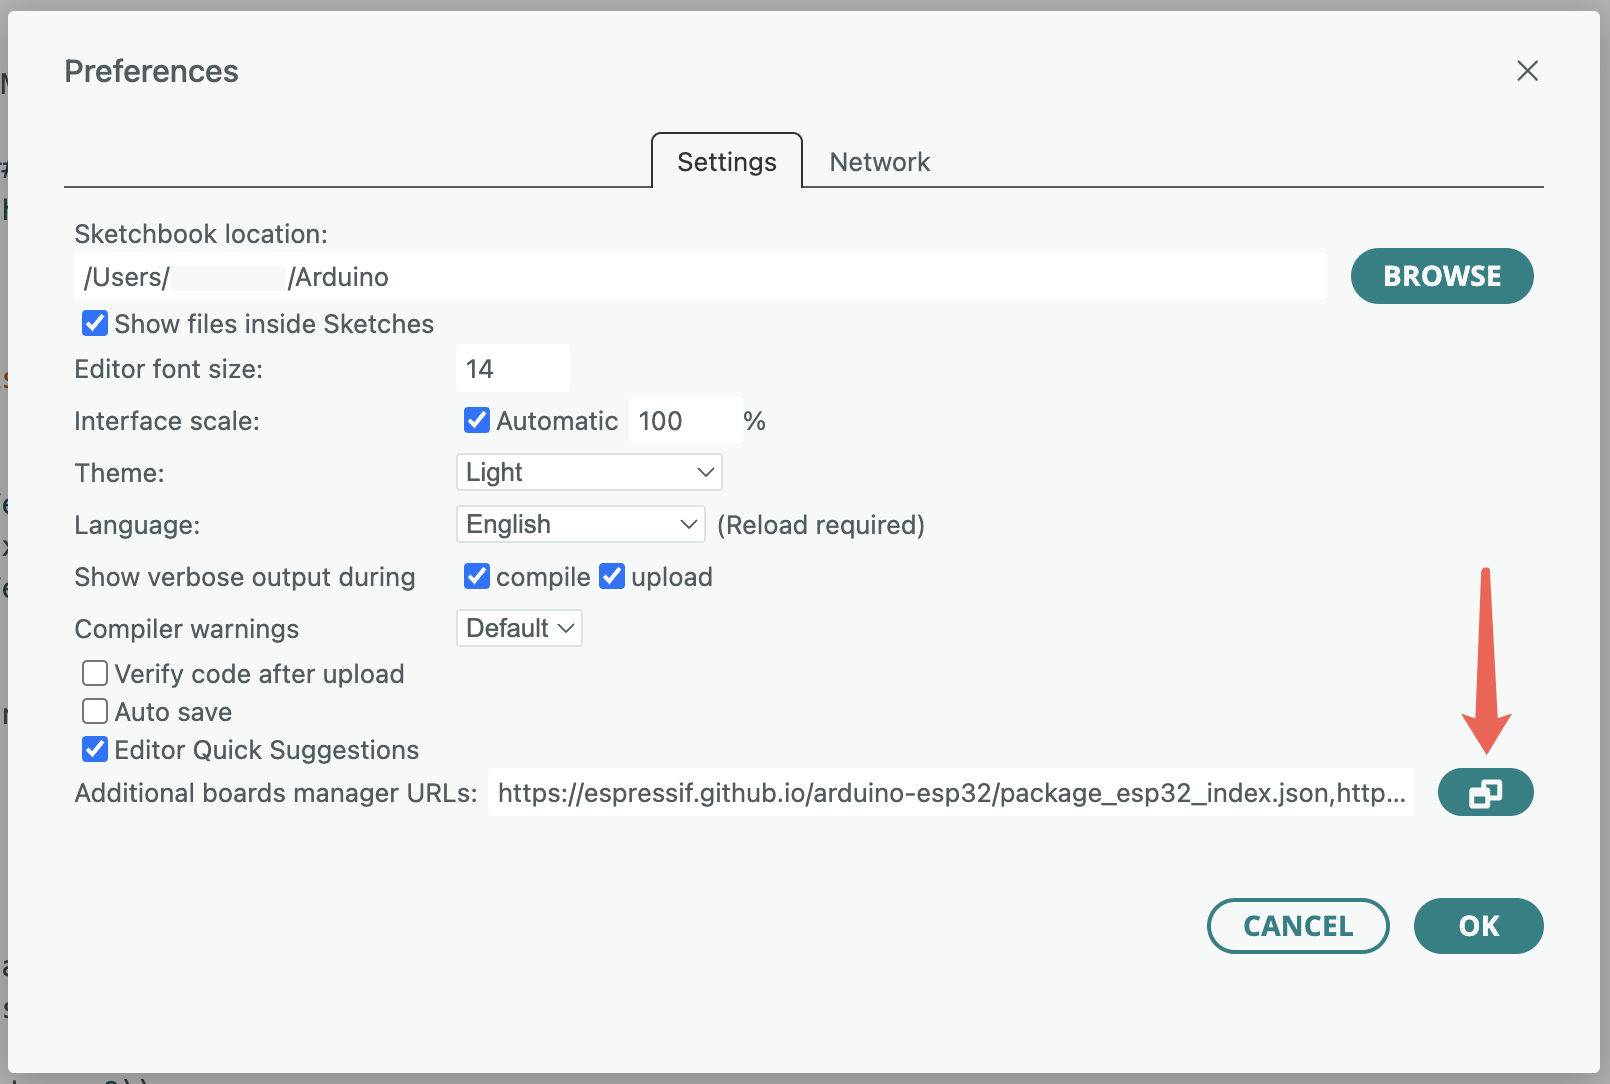
- Click Board Manager on the sidebar, search for
esp32, and install the latest version ofesp32 by Espressif Systems.
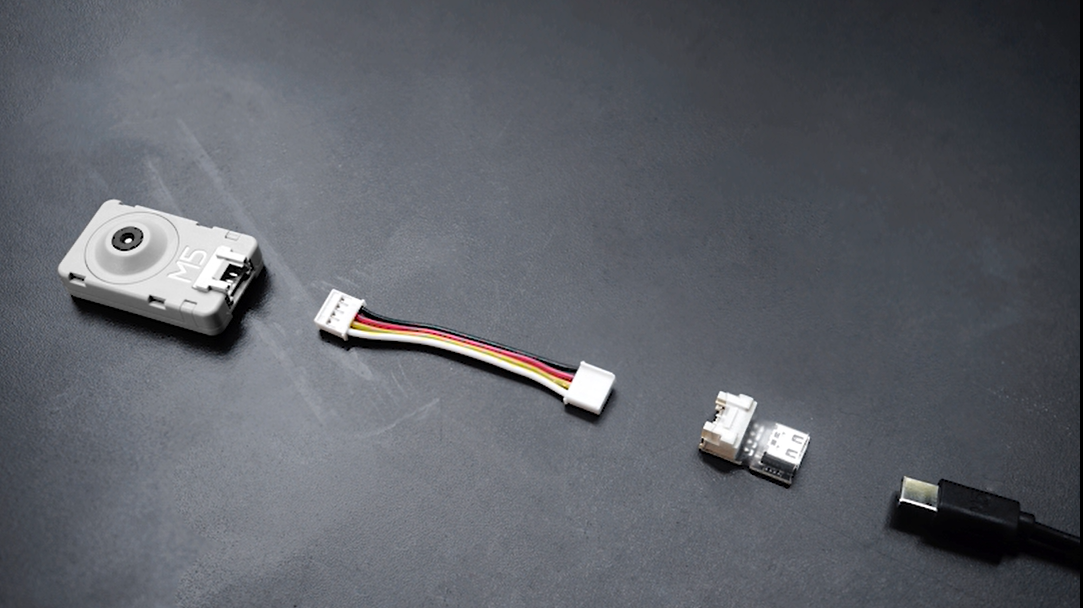
- Hardware Connection:
- Detect Hardware Version:
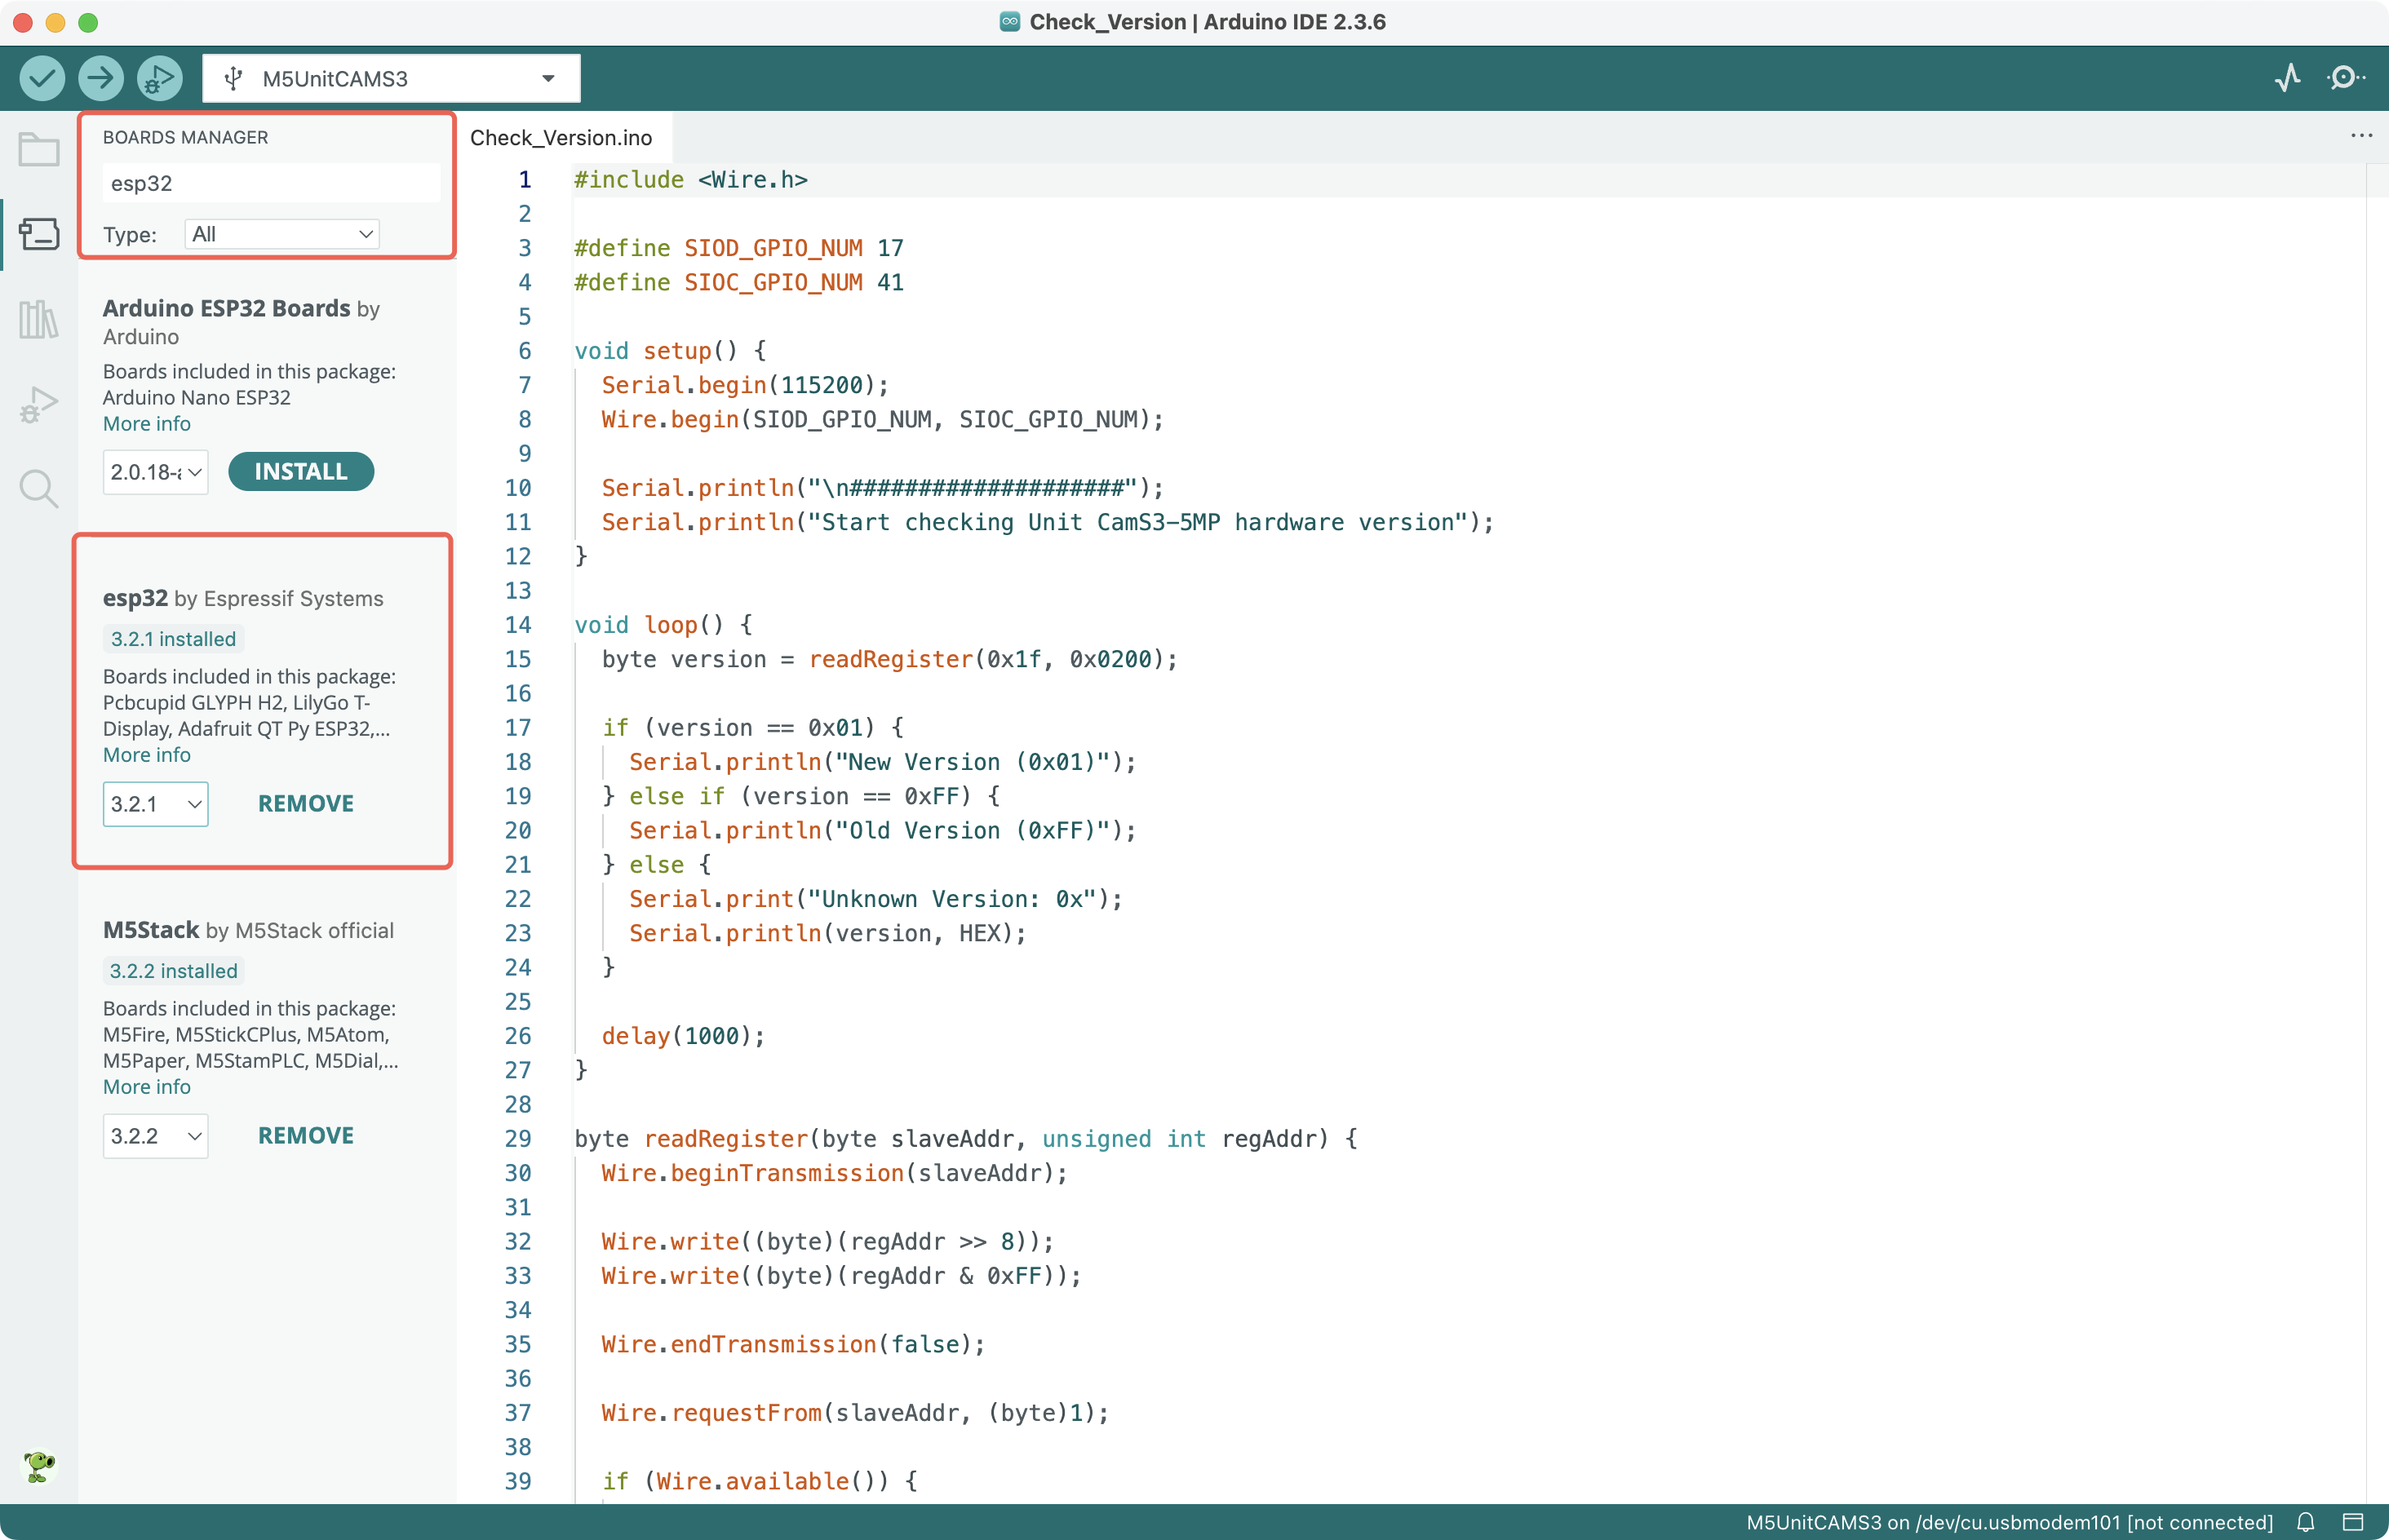
Unit CamS3-5MP has two hardware versions. We need to run a snippet to detect the version.
#include <Wire.h>
#define SIOD_GPIO_NUM 17
#define SIOC_GPIO_NUM 41
void setup() {
  Serial.begin(115200);
  Wire.begin(SIOD_GPIO_NUM, SIOC_GPIO_NUM);
  Serial.println("\n####################");
  Serial.println("Start checking Unit CamS3-5MP hardware version");
}
void loop() {
  byte version = readRegister(0x1f, 0x0200);
  if (version == 0x01) {
    Serial.println("New Version (0x01)");
  } else if (version == 0xFF) {
    Serial.println("Old Version (0xFF)");
  } else {
    Serial.print("Unknown Version: 0x");
    Serial.println(version, HEX);
  }
  delay(1000);
}
byte readRegister(byte slaveAddr, unsigned int regAddr) {
  Wire.beginTransmission(slaveAddr);
  Wire.write((byte)(regAddr >> 8));
  Wire.write((byte)(regAddr & 0xFF));
  Wire.endTransmission(false);
  Wire.requestFrom(slaveAddr, (byte)1);
  if (Wire.available()) {
    return Wire.read();
  }
  return 0x00;
}Paste the above code into Arduino IDE, select the M5UnitCAMS3 board under the esp32 board package, and click the upload button in the upper-left corner.
After uploading, open the Serial Monitor to view the output.
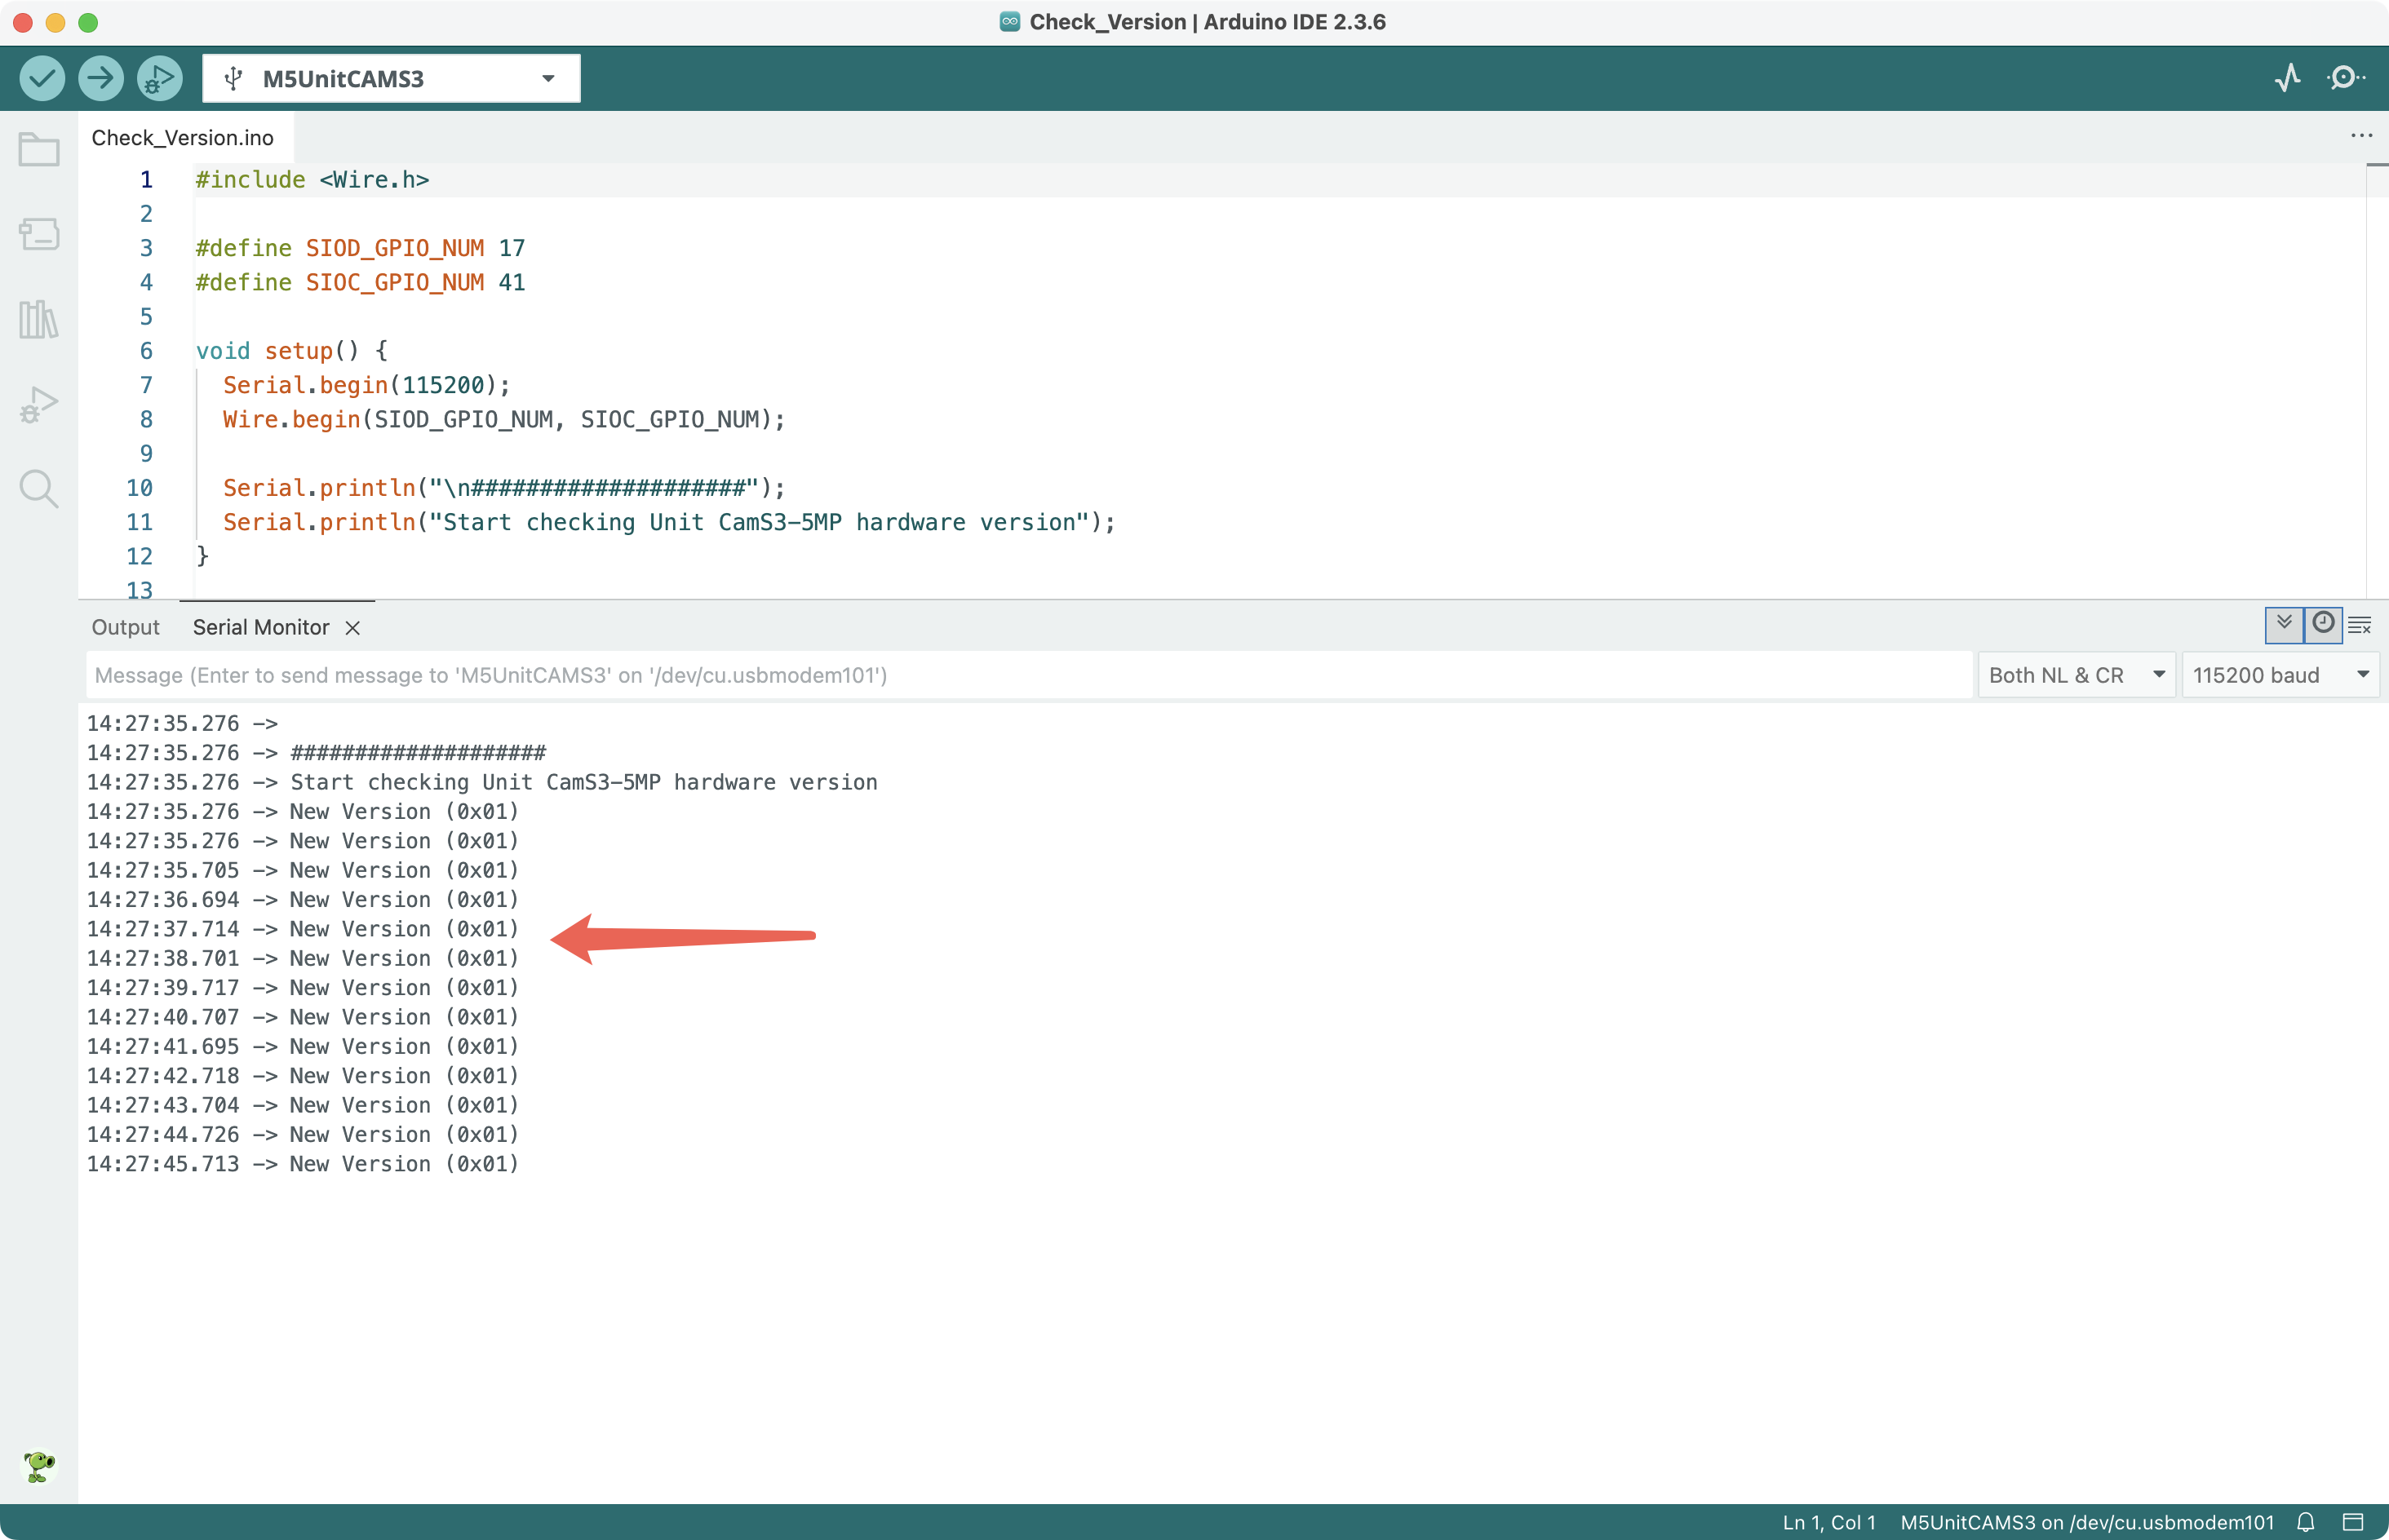
If the output shows New Version (0x01), it is the new hardware version; if Old Version (0xFF) appears, it is the old hardware version.
2. Old Hardware Compatibility Handling
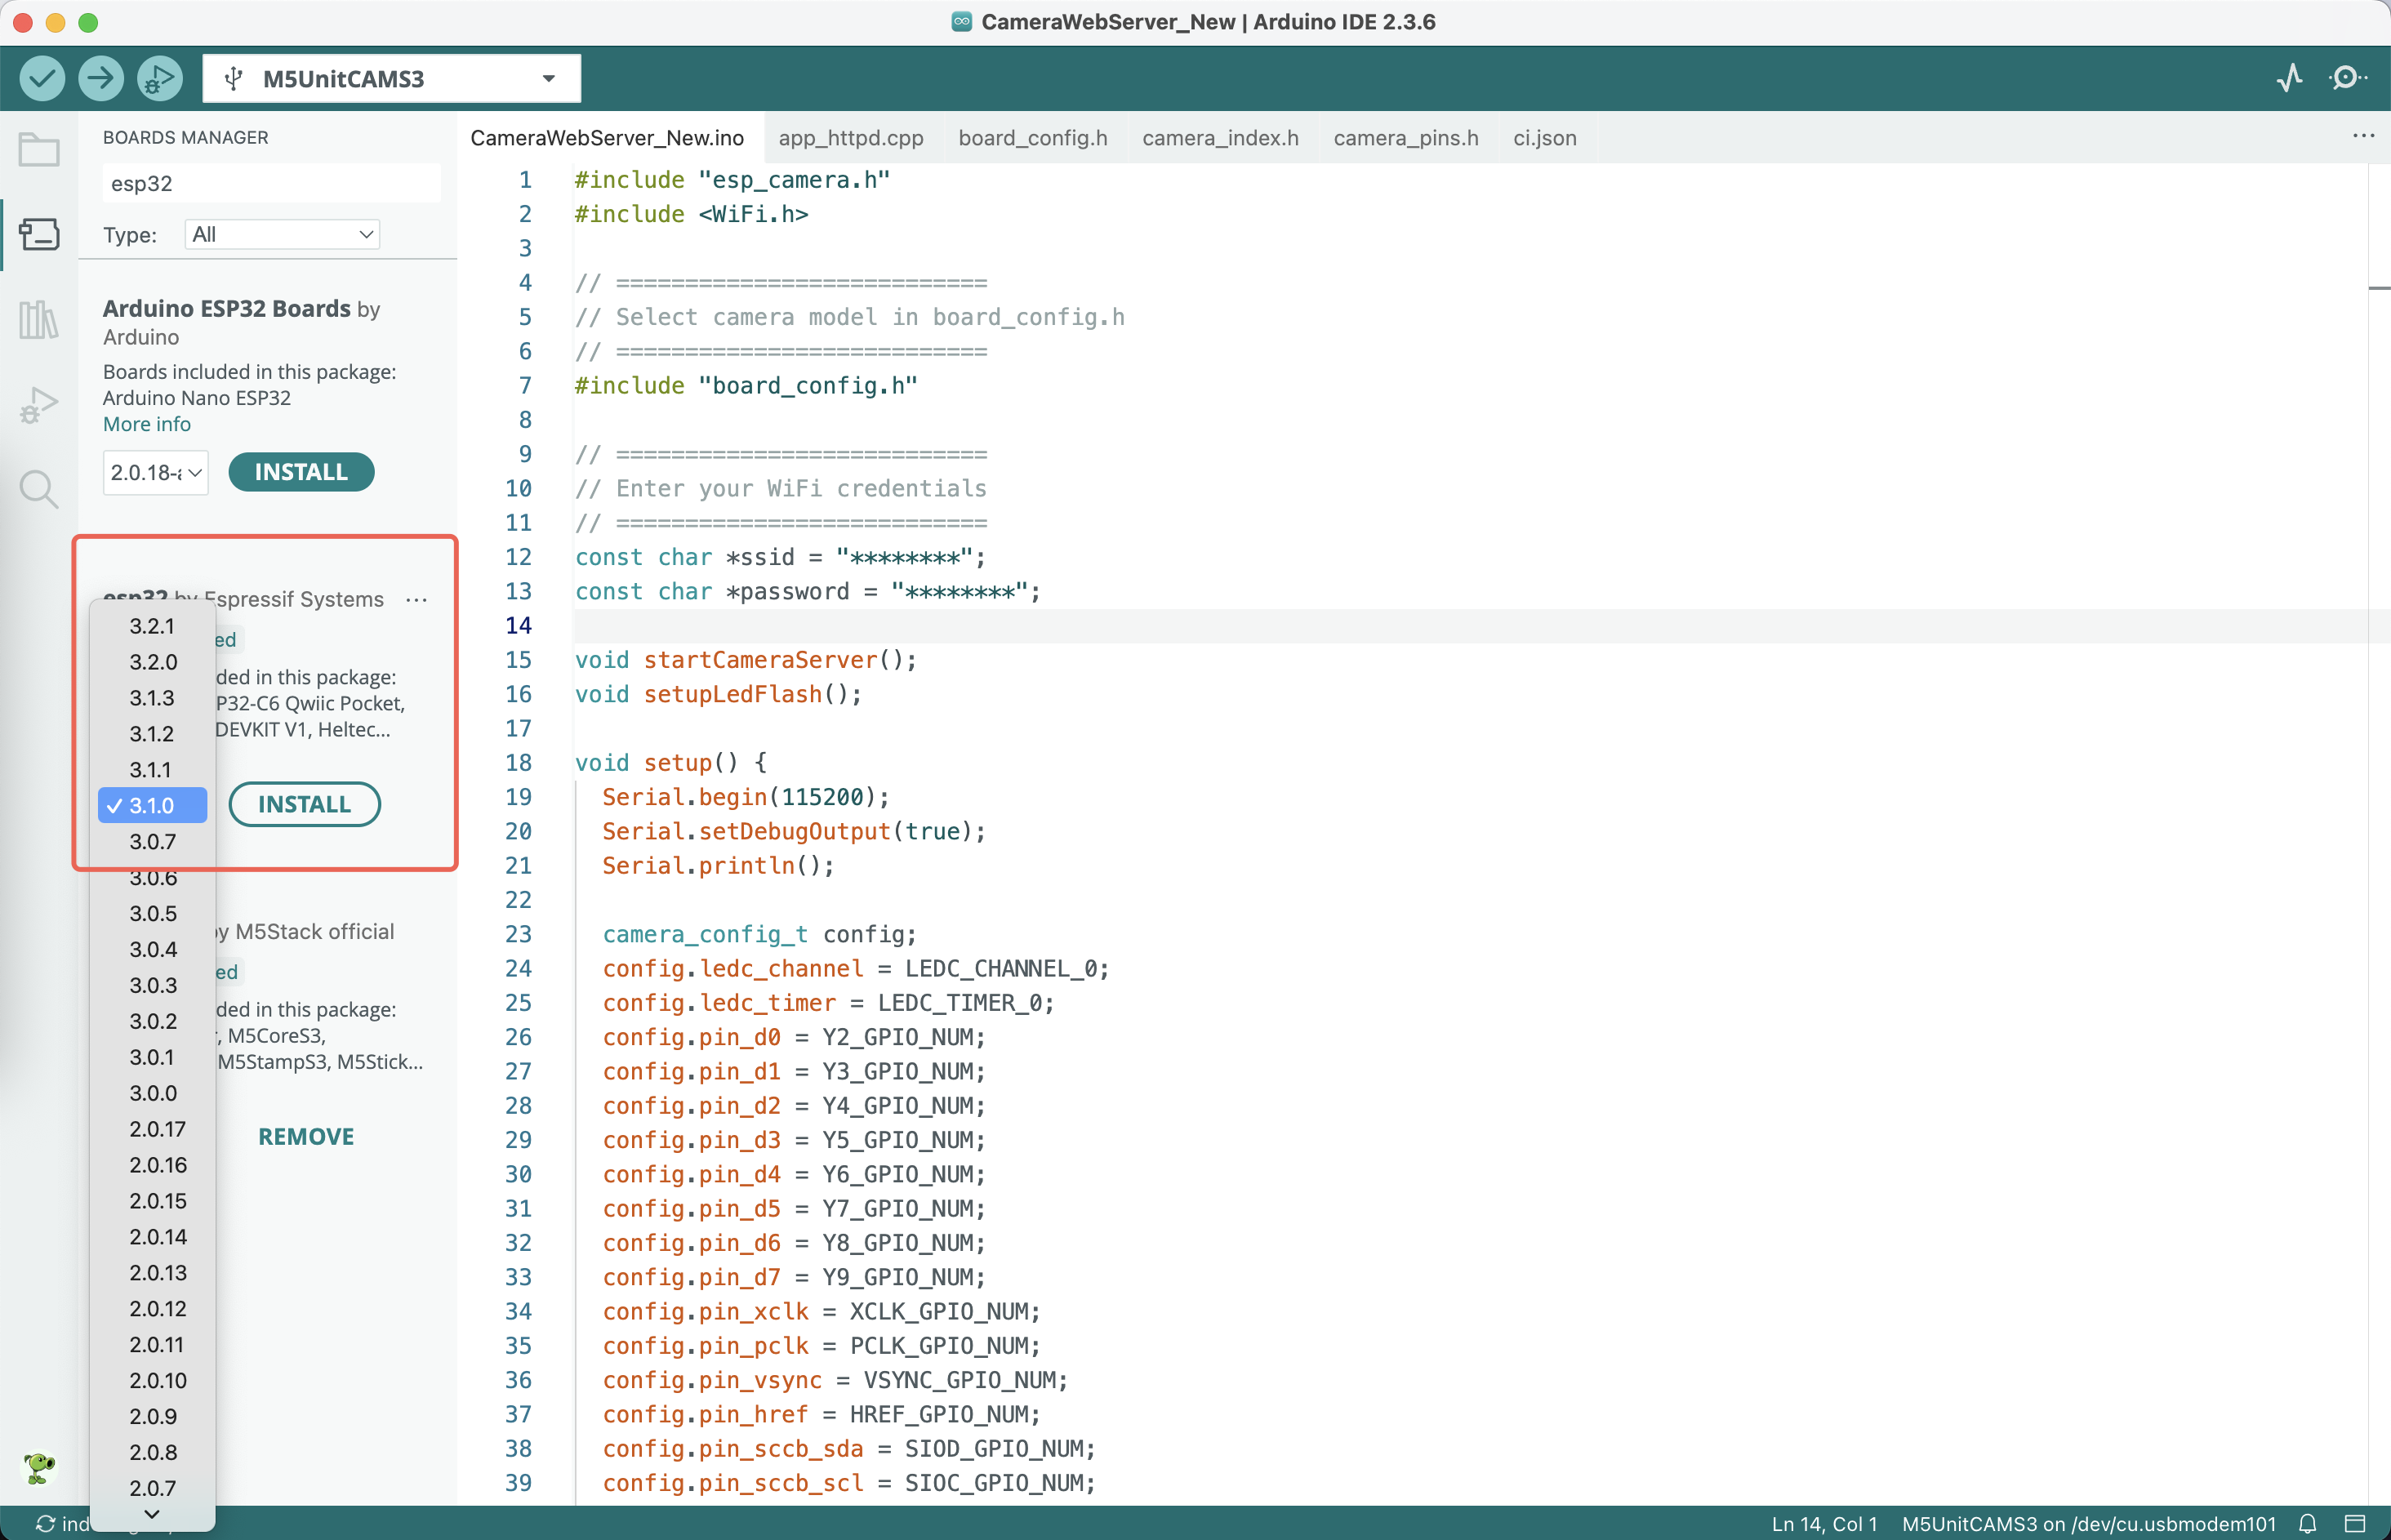
Install version 3.1.0 of esp32 by Espressif Systems in the Board Manager sidebar.
Download libespressif_esp32-camera.zip, extract it to obtain libespressif__esp32-camera.a, and replace the original file in the following path:
- Windows
C:\Users\[Username]\AppData\Local\Arduino15\packages\esp32\tools\esp32-arduino-libs\idf-release_v5.3-083aad99-v2\esp32s3\lib\- macOS
/Users/[Username]/Library/Arduino15/packages/esp32/tools/esp32-arduino-libs/idf-release_v5.3-083aad99-v2/esp32s3/lib/- Linux
/home/[Username]/.arduino15/packages/esp32/tools/esp32-arduino-libs/idf-release_v5.3-083aad99-v2/esp32s3/lib/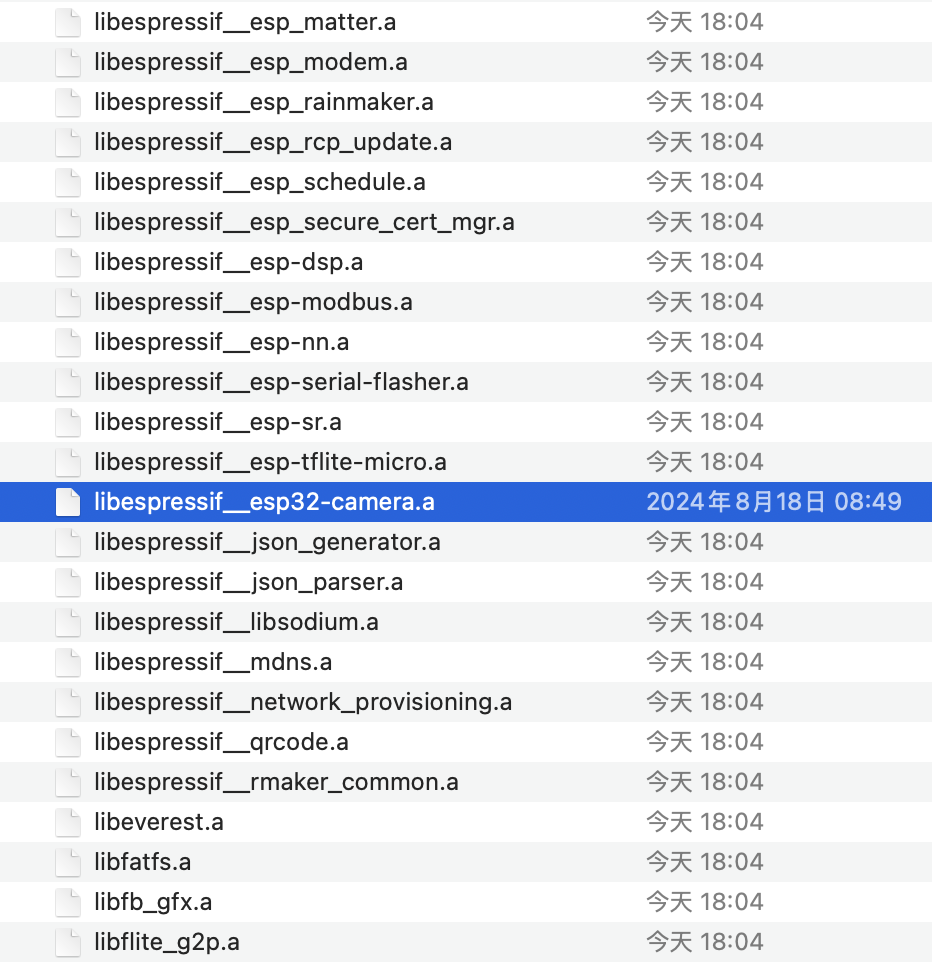
3. Obtain the Example Program
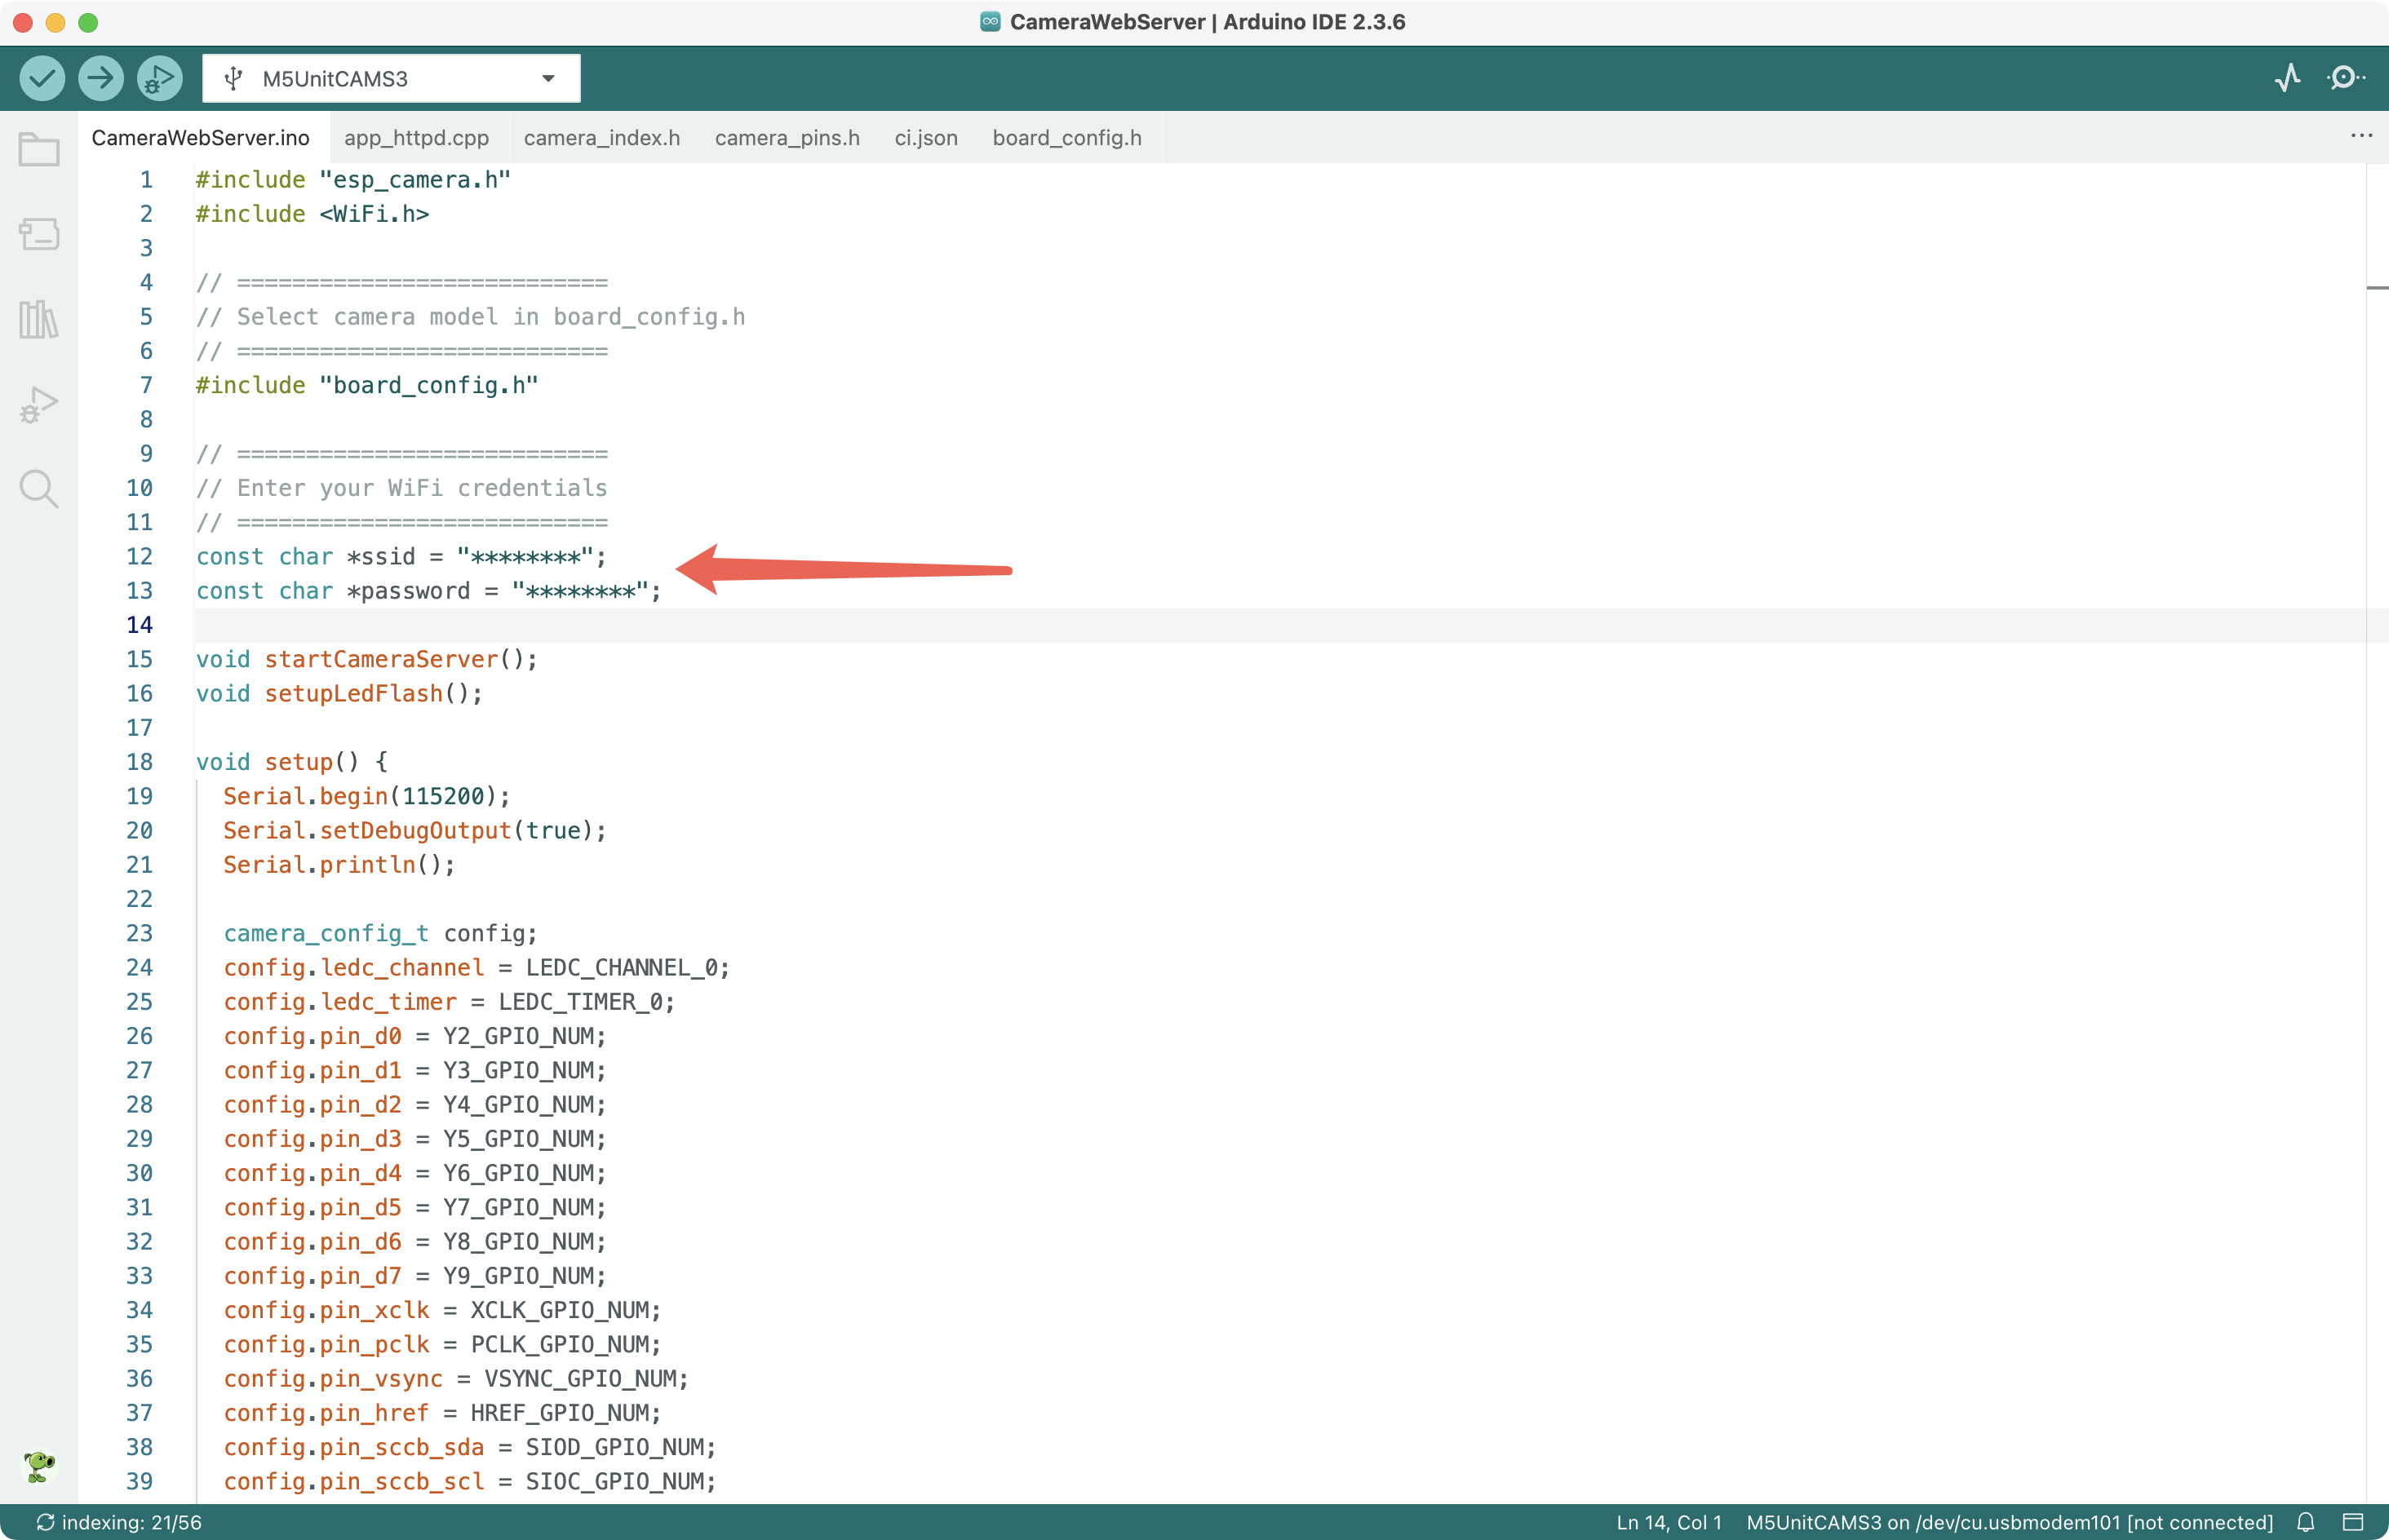
Download CameraWebServer.zip, extract it, open CameraWebServer.ino, and enter the Wi-Fi SSID and password that Unit CamS3-5MP will connect to.
4. Program Compilation & Upload
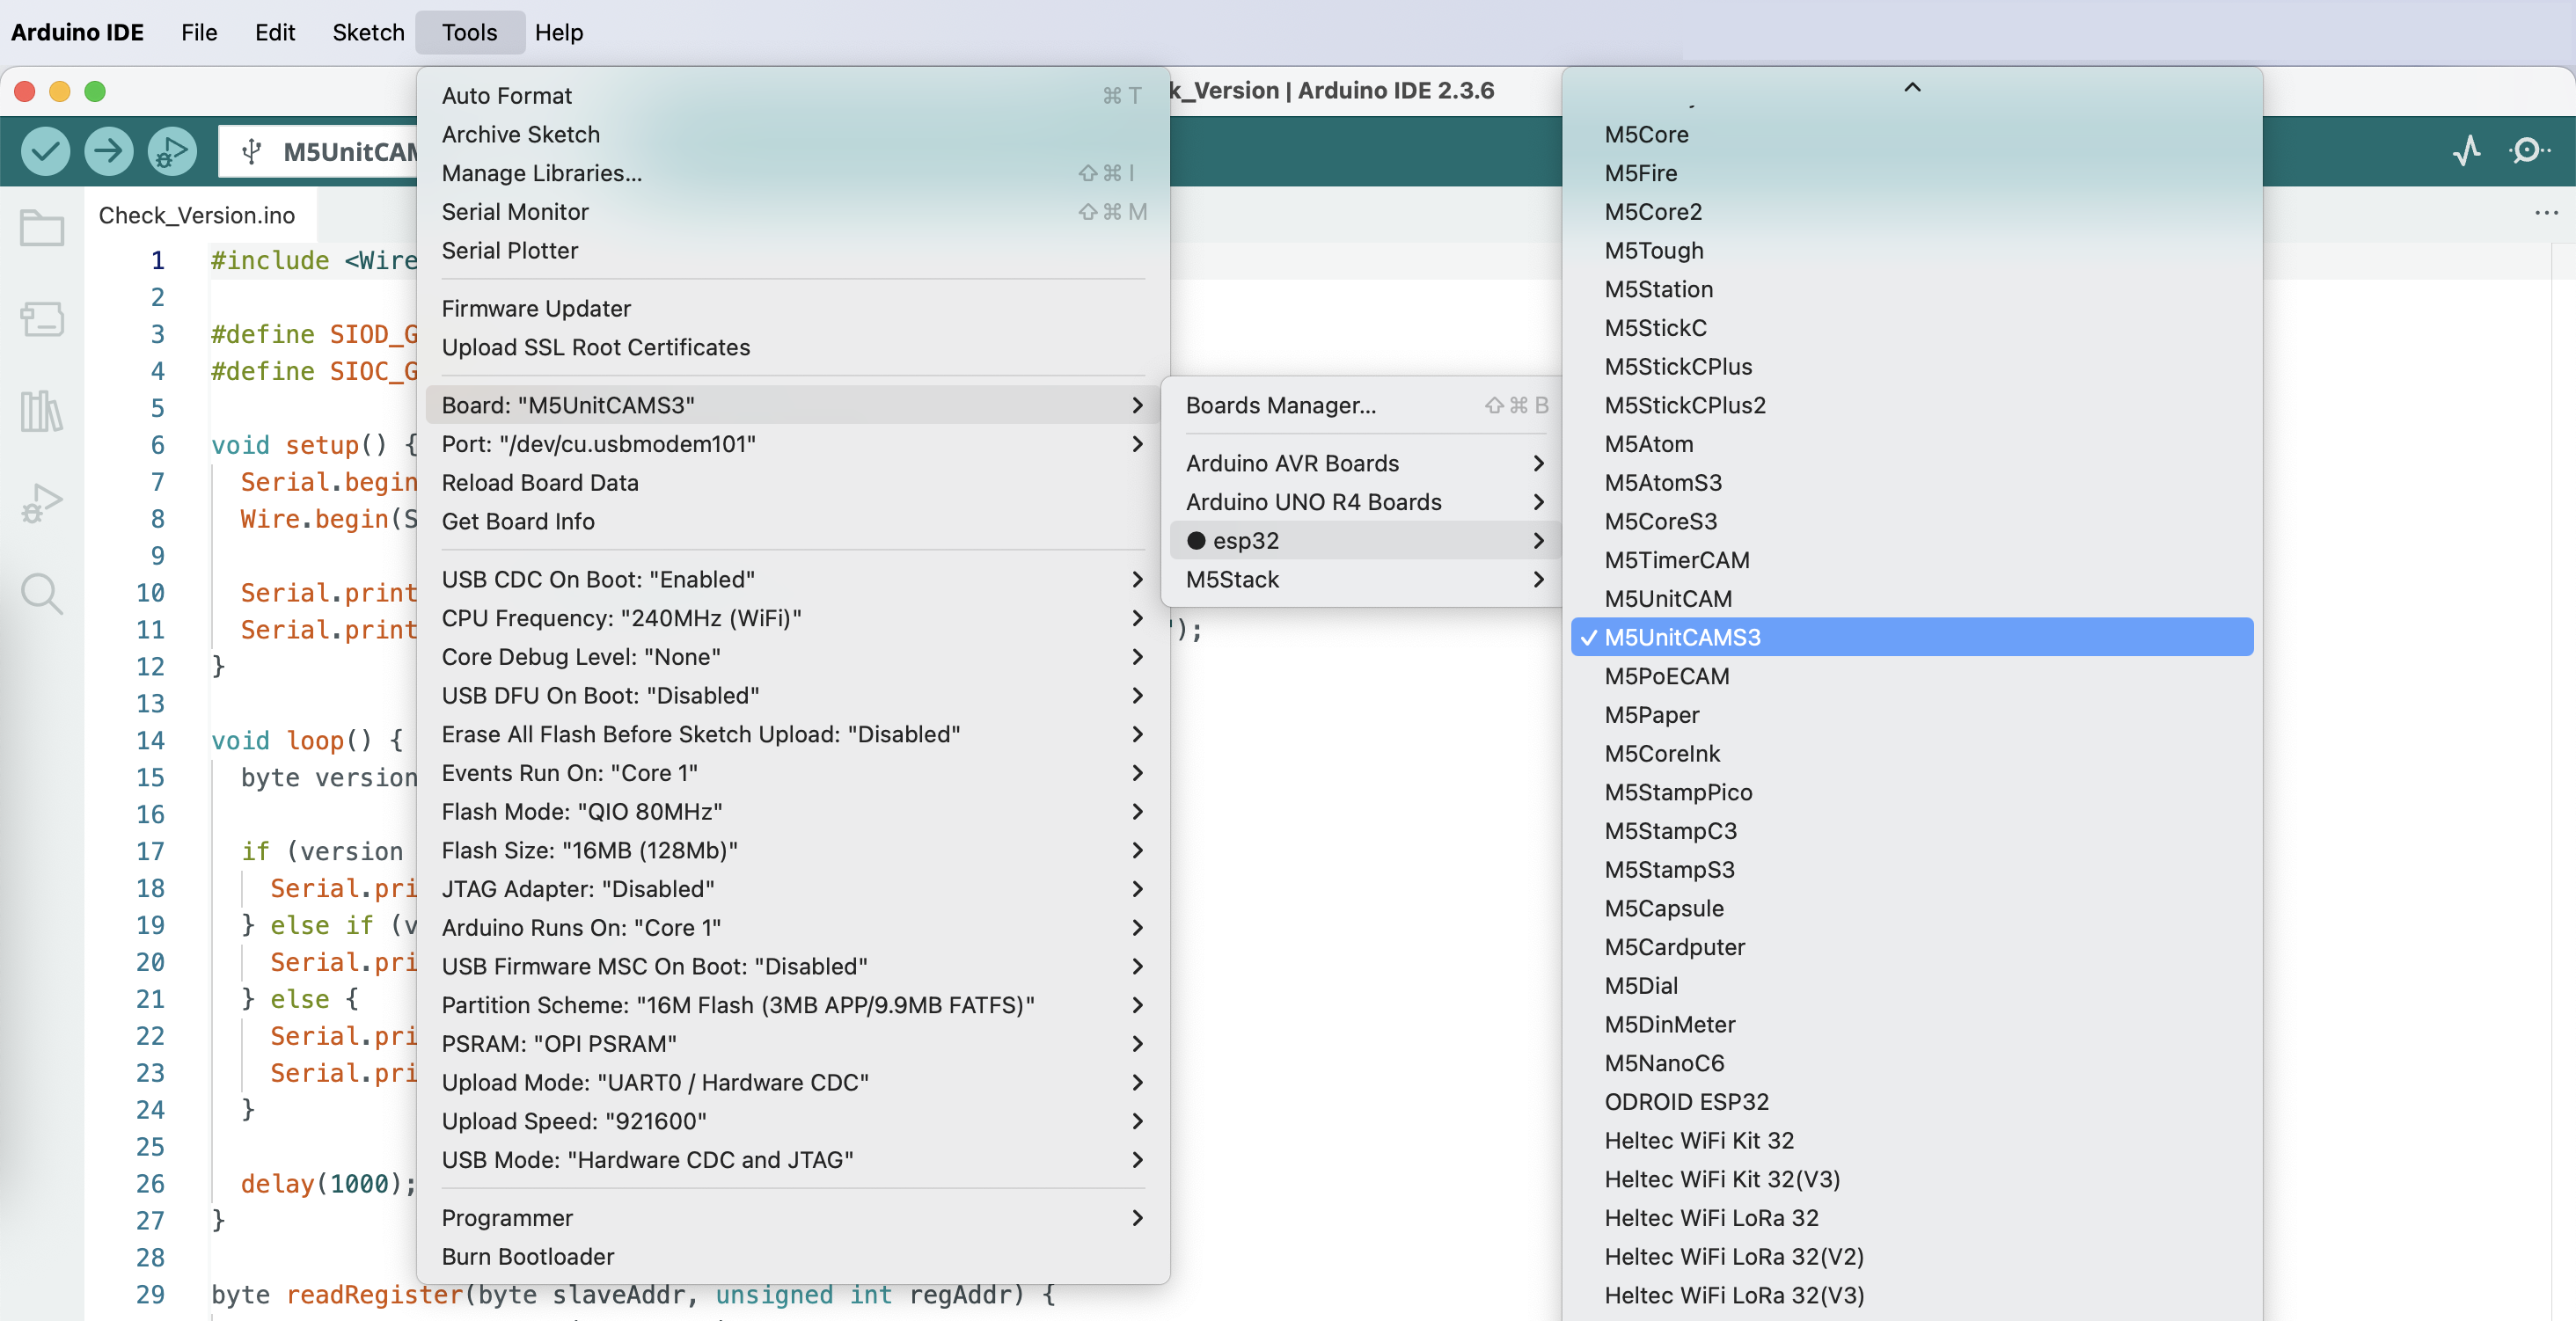
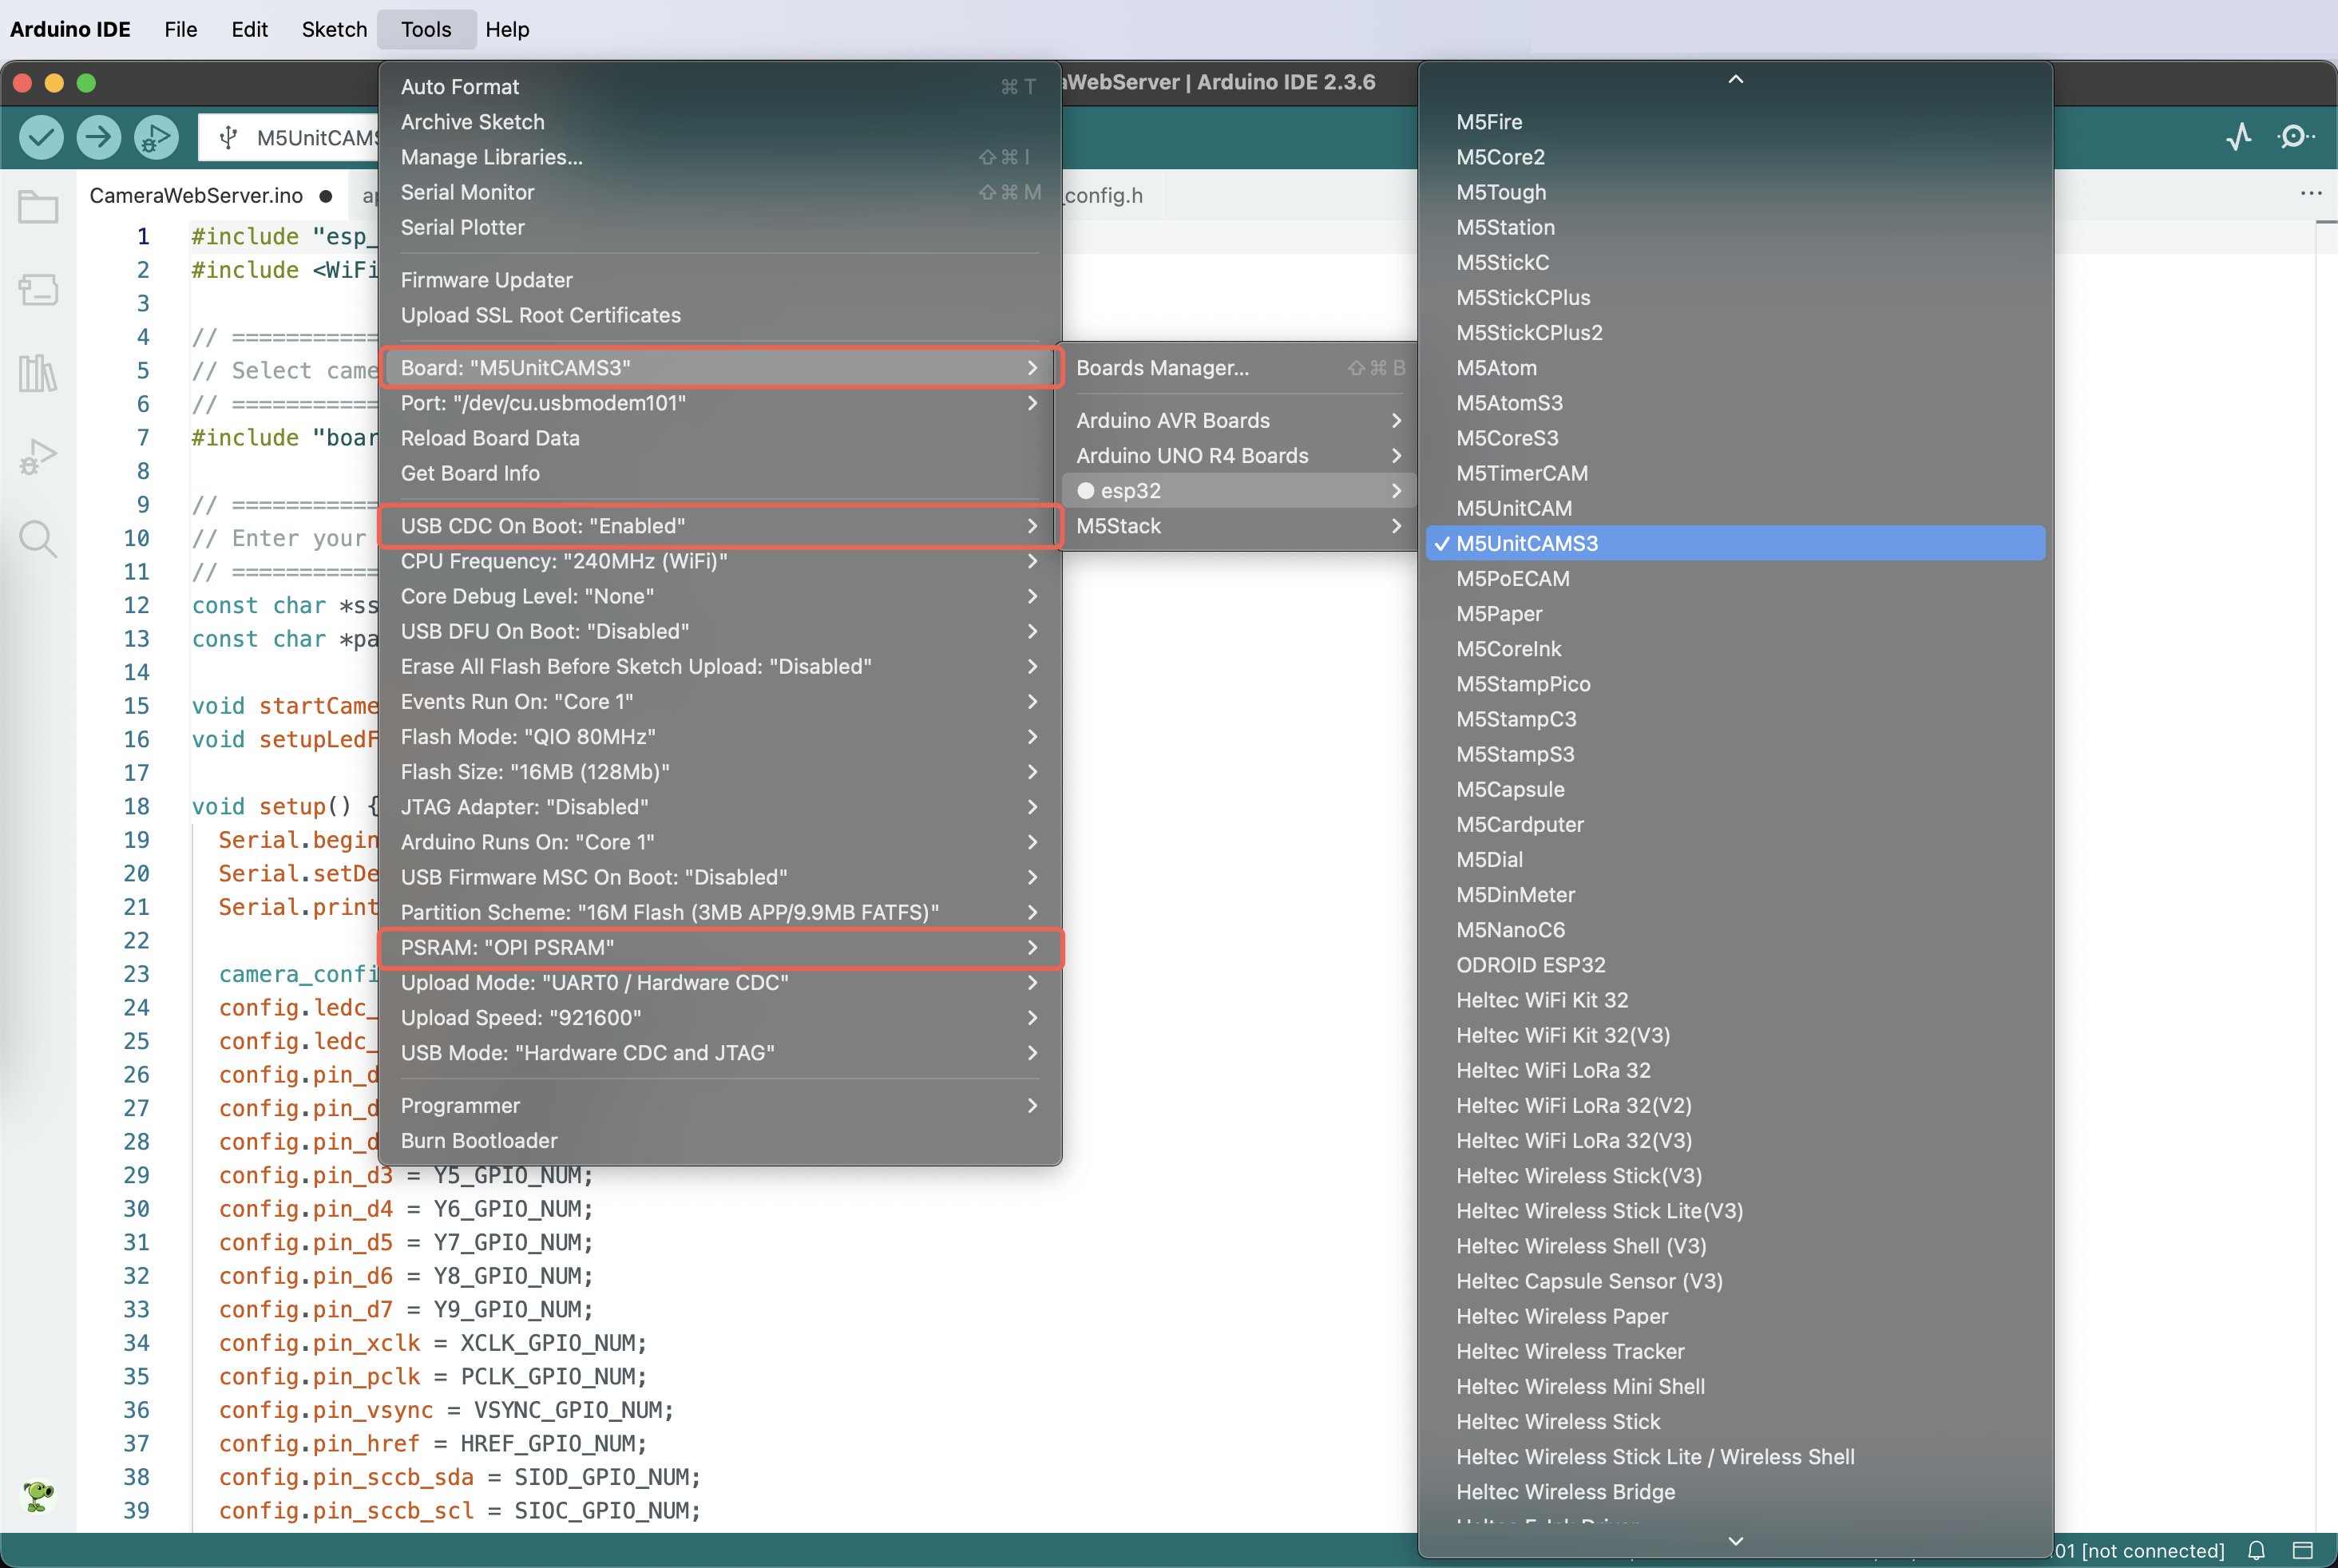
In Arduino IDE, modify the following settings under the Tools menu:
- Select Board: Tools -> Board -> esp32 -> M5UnitCAMS3
- USB CDC Configuration: Tools -> USB CDC On Boot -> Enabled
- PSRAM Configuration: Tools -> PSRAM -> OPI PSRAM
Select the correct port for the device, compile, and upload the program. The Serial Monitor should output an IP address. If nothing appears, re-plug the USB cable or verify that the baud rate is 115200.
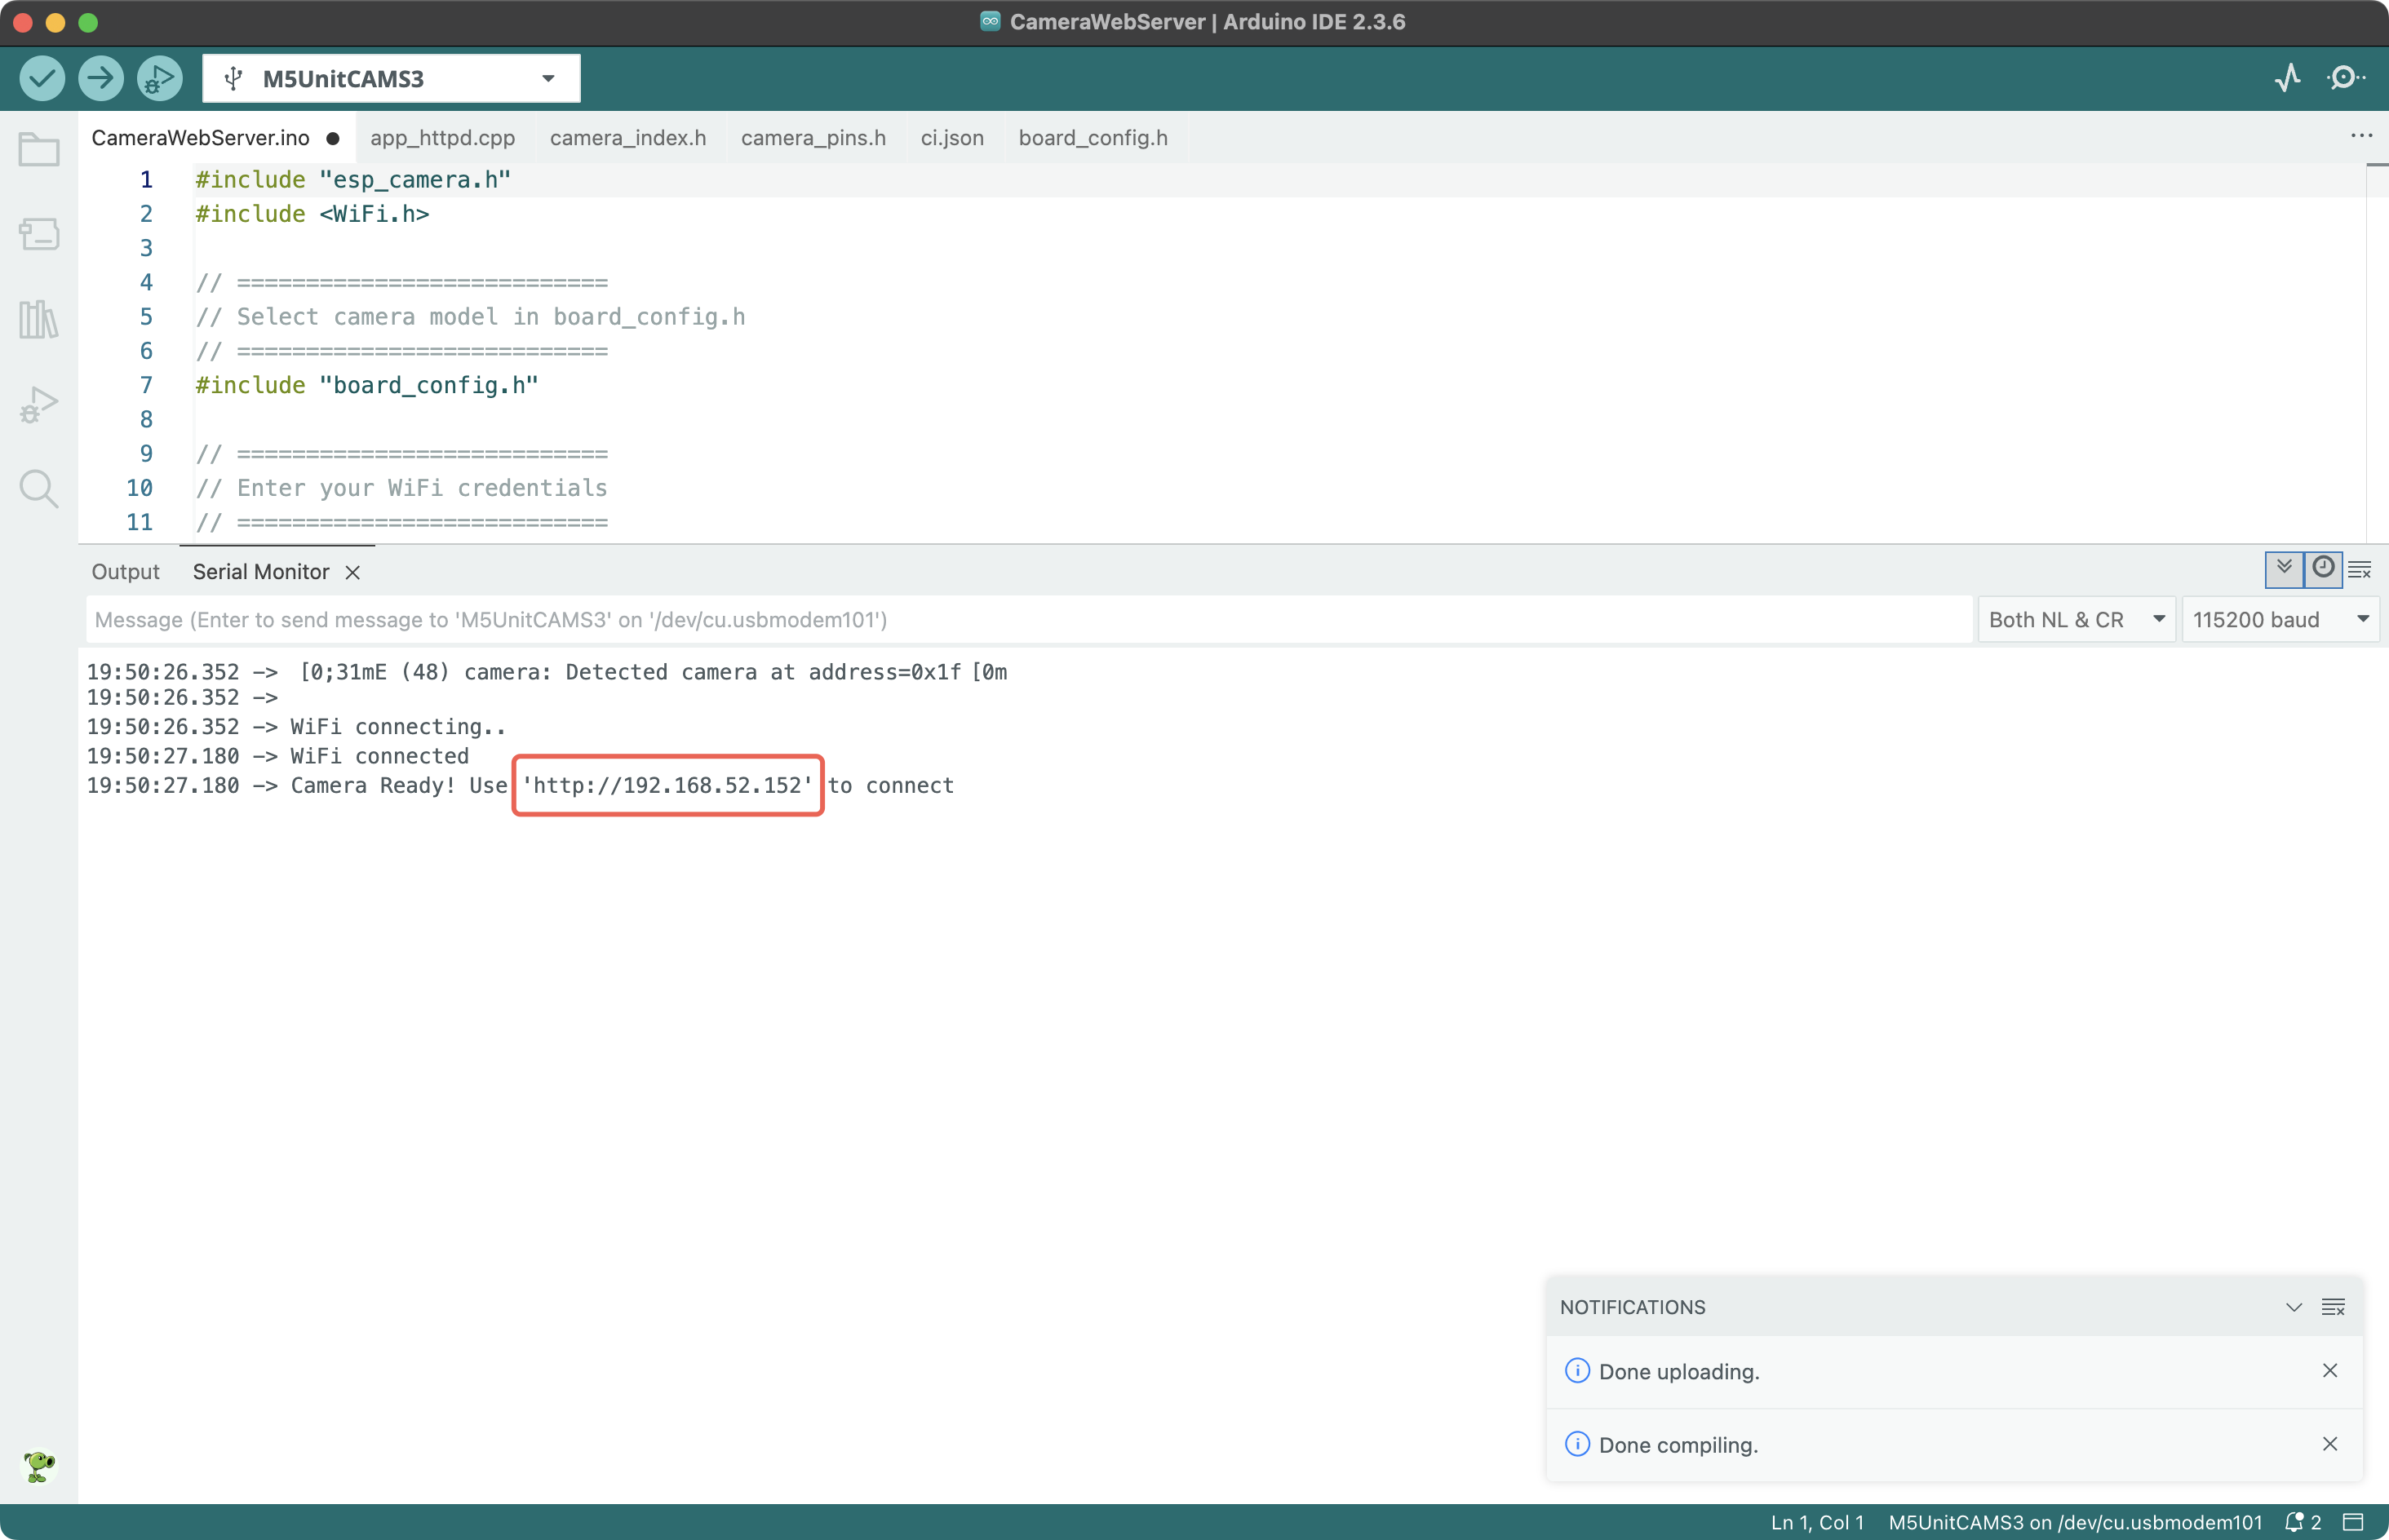
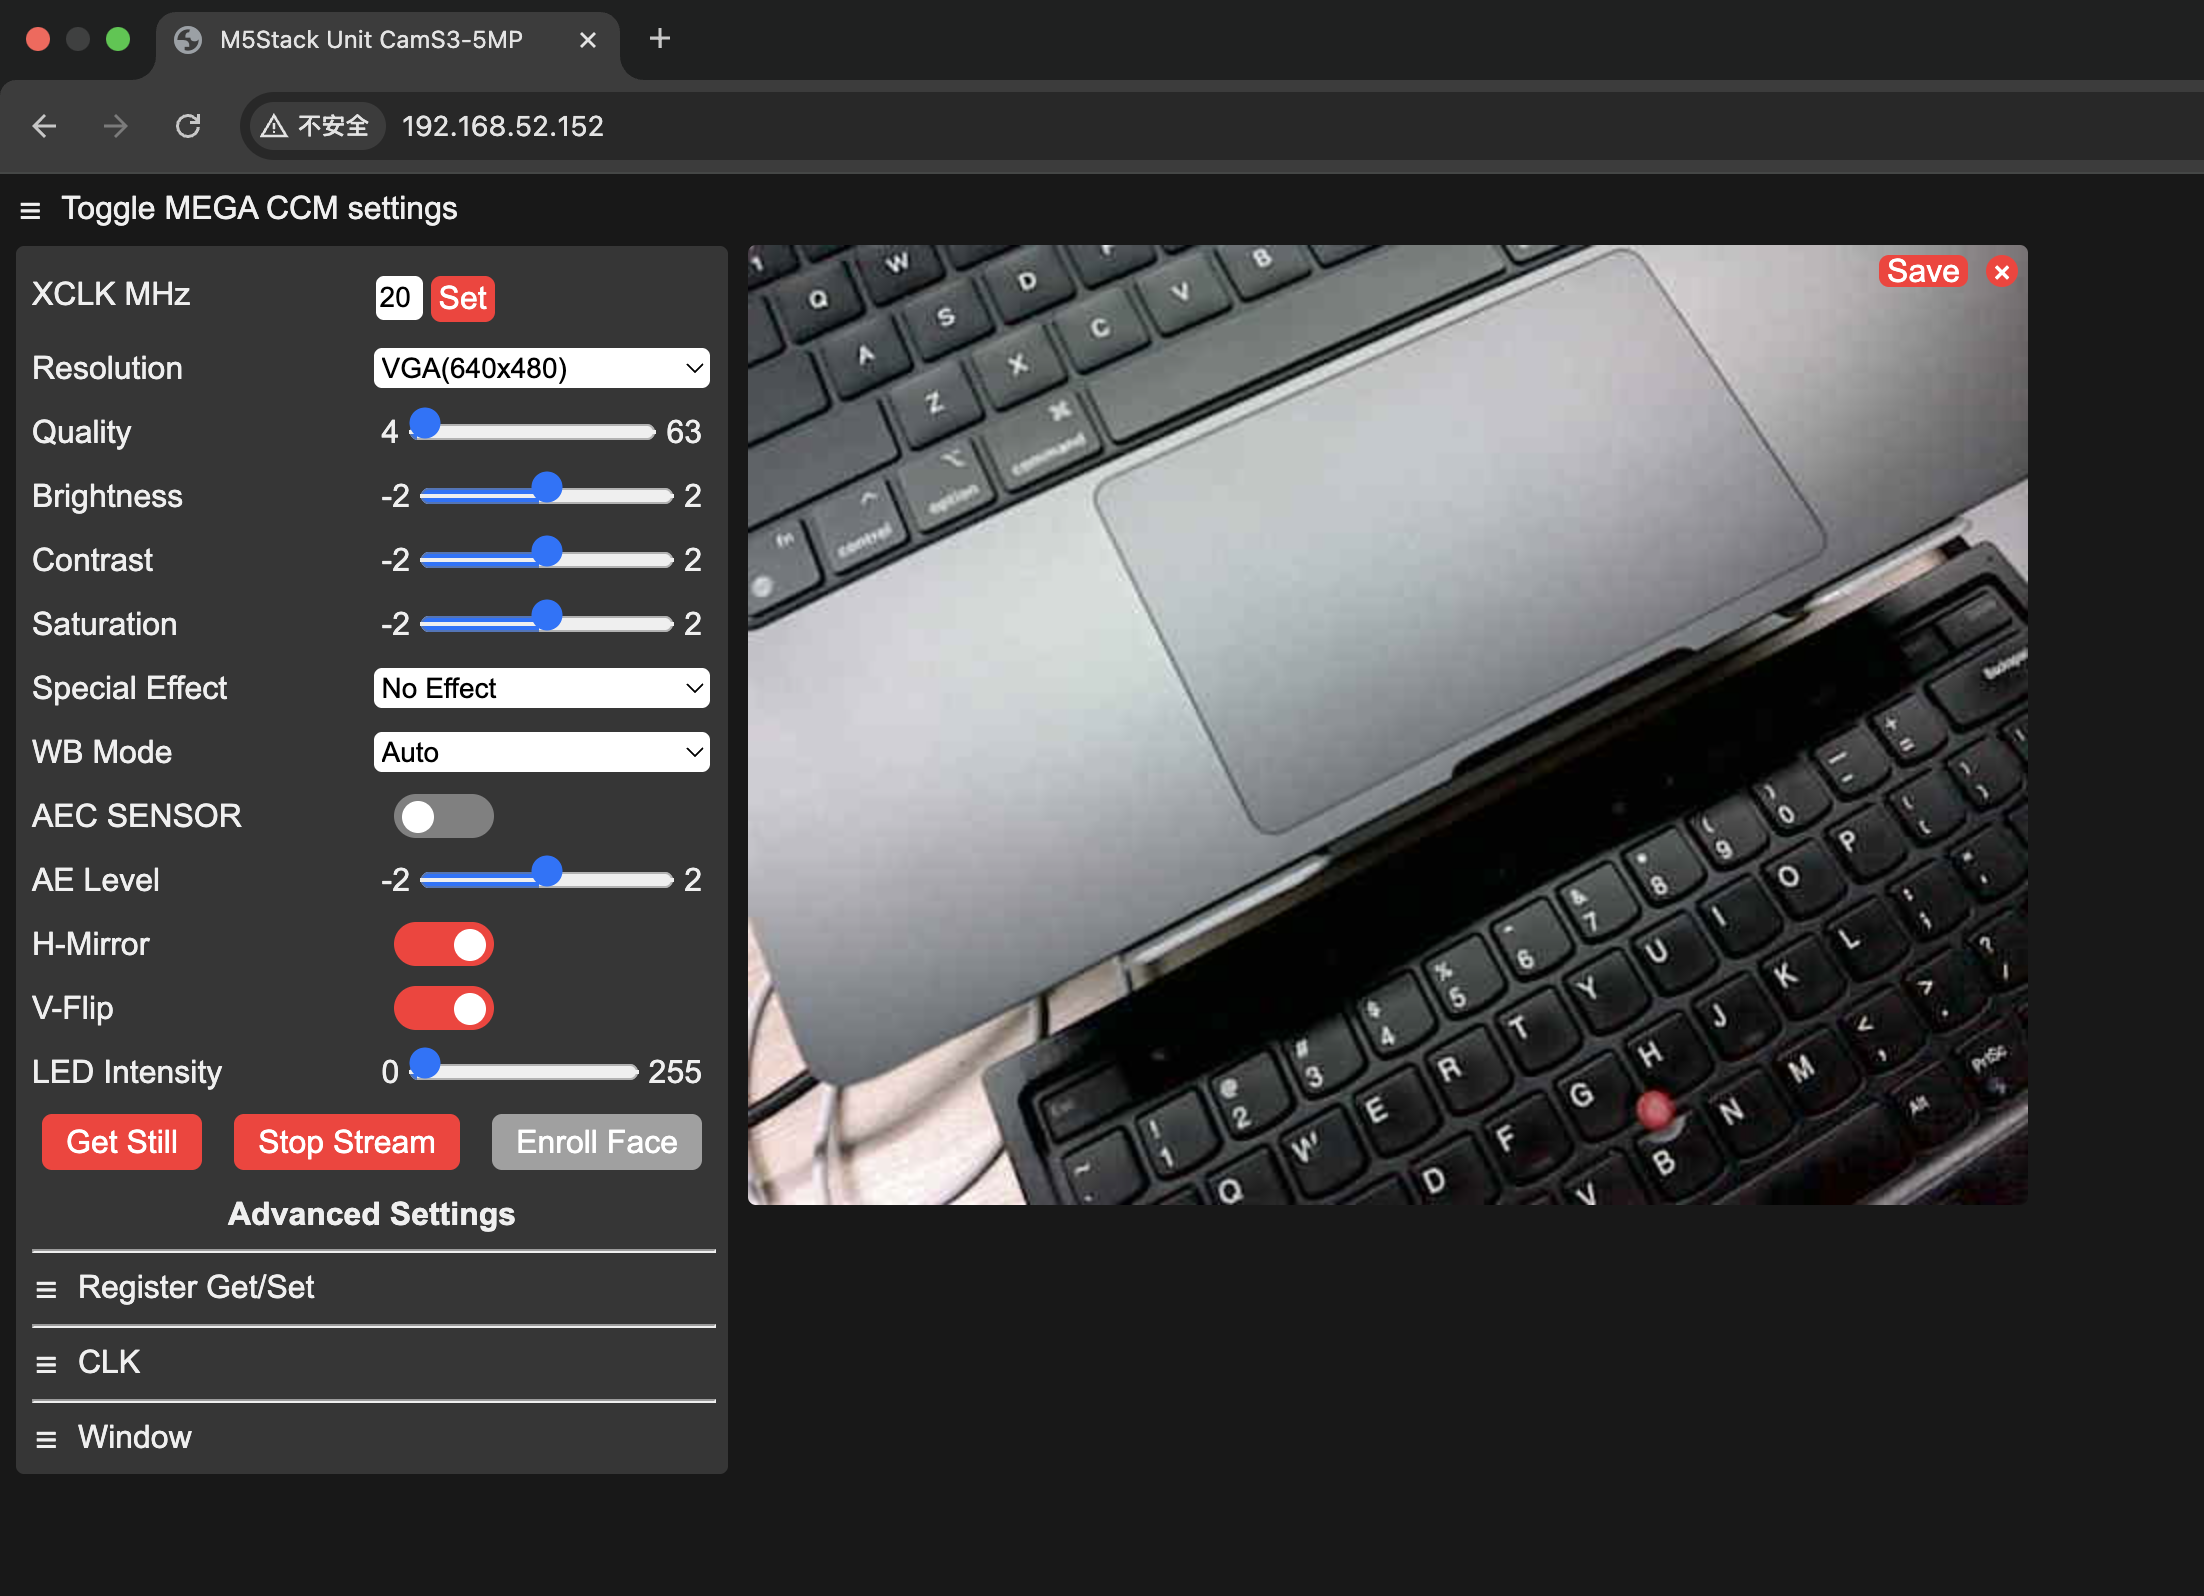
5. Program Runtime Result
On a device in the same LAN as the Unit CamS3-5MP, open the IP address output by the program in a browser (including the http:// prefix). Click “Get Still” to capture a picture, or click “Start Stream” to view the live video stream.\