

Arduino Quick Start
2. Devices & Examples
3. M5Unified
4. M5GFX
5. Extensions
Unit
Atomic
Tab5
IoT
Accessories
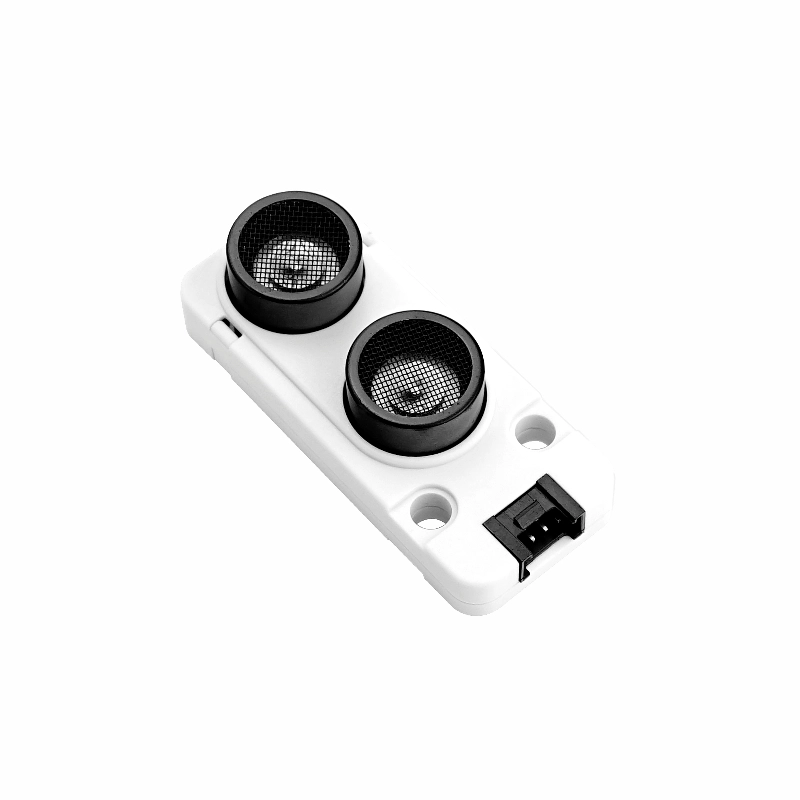
Unit Ultrasonic-IO Arduino Tutorial
1. Preparation
- Environment Setup: Refer to the Arduino IDE Getting Started Tutorial to complete the IDE installation, and install the corresponding board manager and the required driver libraries according to the development board you are using.
- Driver Libraries Used:
- Hardware Products Used:

2. Example
Example Explanation
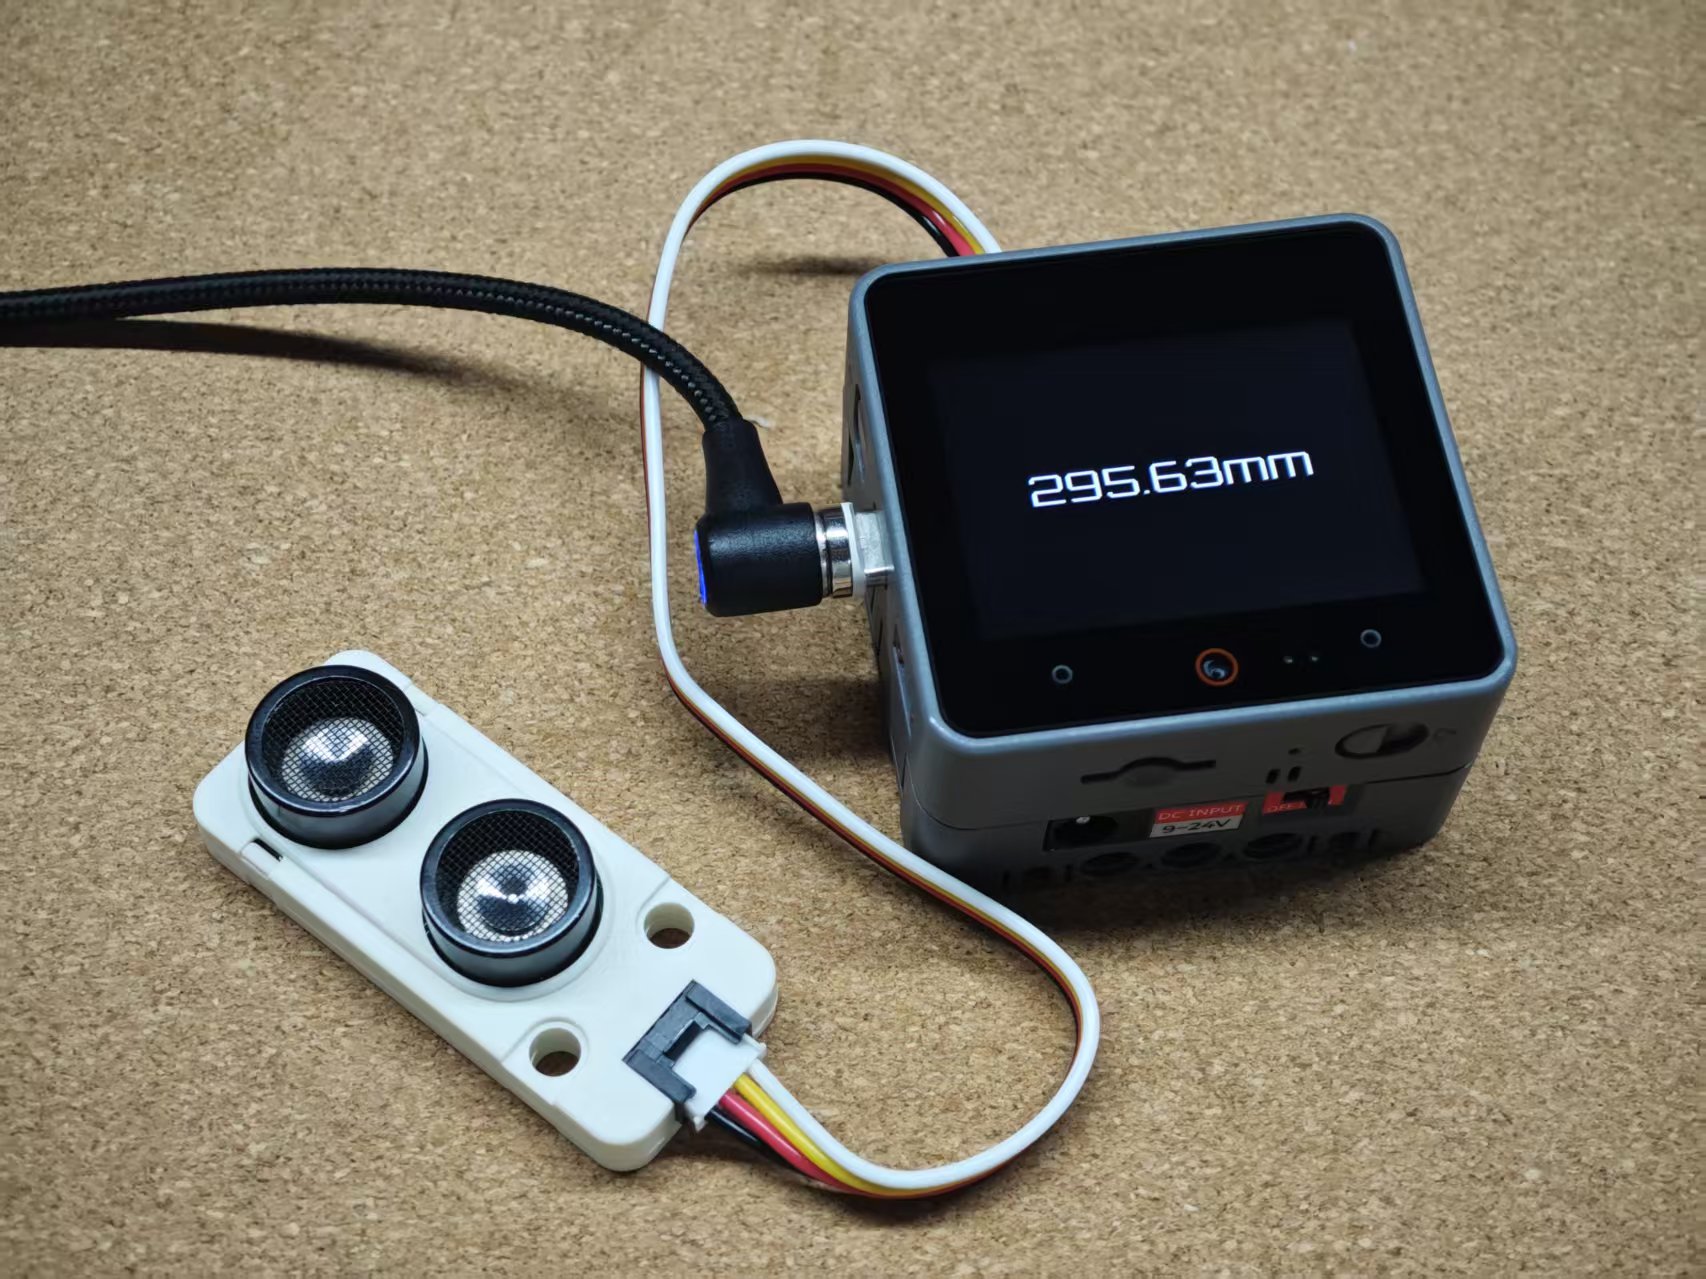
This example uses the Unit Ultrasonic-IO to implement an ultrasonic distance measurement function and displays the measured results on the screen.
cpp
1 2 3 4 5 6 7 8 9 10 11 12 13 14 15 16 17 18 19 20 21 22 23 24 25 26
#include <M5Unified.h>
#include <Unit_Sonic.h>

SONIC_IO sensor;

void setup()
{
    M5.begin();
    // sensor.begin(uint8_t trig = 26, uint8_t echo = 36);
    sensor.begin(9, 8);
    M5.Display.setColorDepth(1);
    M5.Display.setFont(&fonts::Orbitron_Light_32);
    M5.Display.setTextDatum(middle_center);
}

int point      = 0;
int last_point = 0;

void loop()
{
    float Distance = sensor.getDistance();
    Serial.printf("Distance: %.2fmm\r\n", Distance);
    M5.Display.fillScreen(TFT_BLACK);
    M5.Display.drawString(String(Distance) + "mm", M5.Display.width() / 2, M5.Display.height() / 2);
    delay(100);
}3. Compilation and Upload
- Download Mode: Before programming, different devices need to enter download mode; this step may vary depending on the main control device. For details, please refer to the device programming download tutorials listed at the bottom of the Arduino IDE Getting Started Tutorial page for specific instructions.
For CoreS3, press and hold the reset button (for about 2 seconds) until the internal green LED lights up, then release it. At this point, the device has entered download mode and is waiting for programming.
.gif)
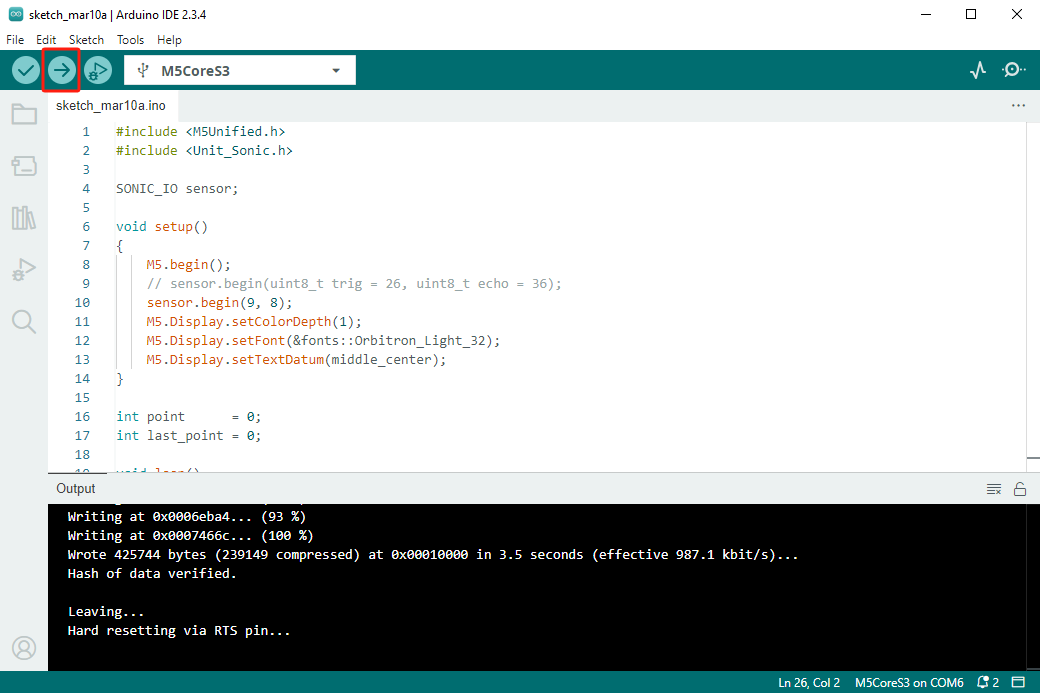
- Select the device port, click the compile and upload button at the top left corner of the Arduino IDE, and wait for the program to finish compiling and uploading to the device.
4. Ultrasonic Distance Measurement
Page Tools