Arduino Quick Start
2. Devices & Examples
3. M5Unified
4. M5GFX
5. Extensions
Unit
Base
IoT
Accessories
Atomic Motion Base Arduino Tutorial
1. Preparation
- Environment Setup: Follow the Arduino IDE Beginner's Guide to complete the IDE installation and install the corresponding board manager and necessary driver libraries based on the development board you are using.
- Driver Libraries Used:
- Hardware Products Used:

2. Example
Example Explanation
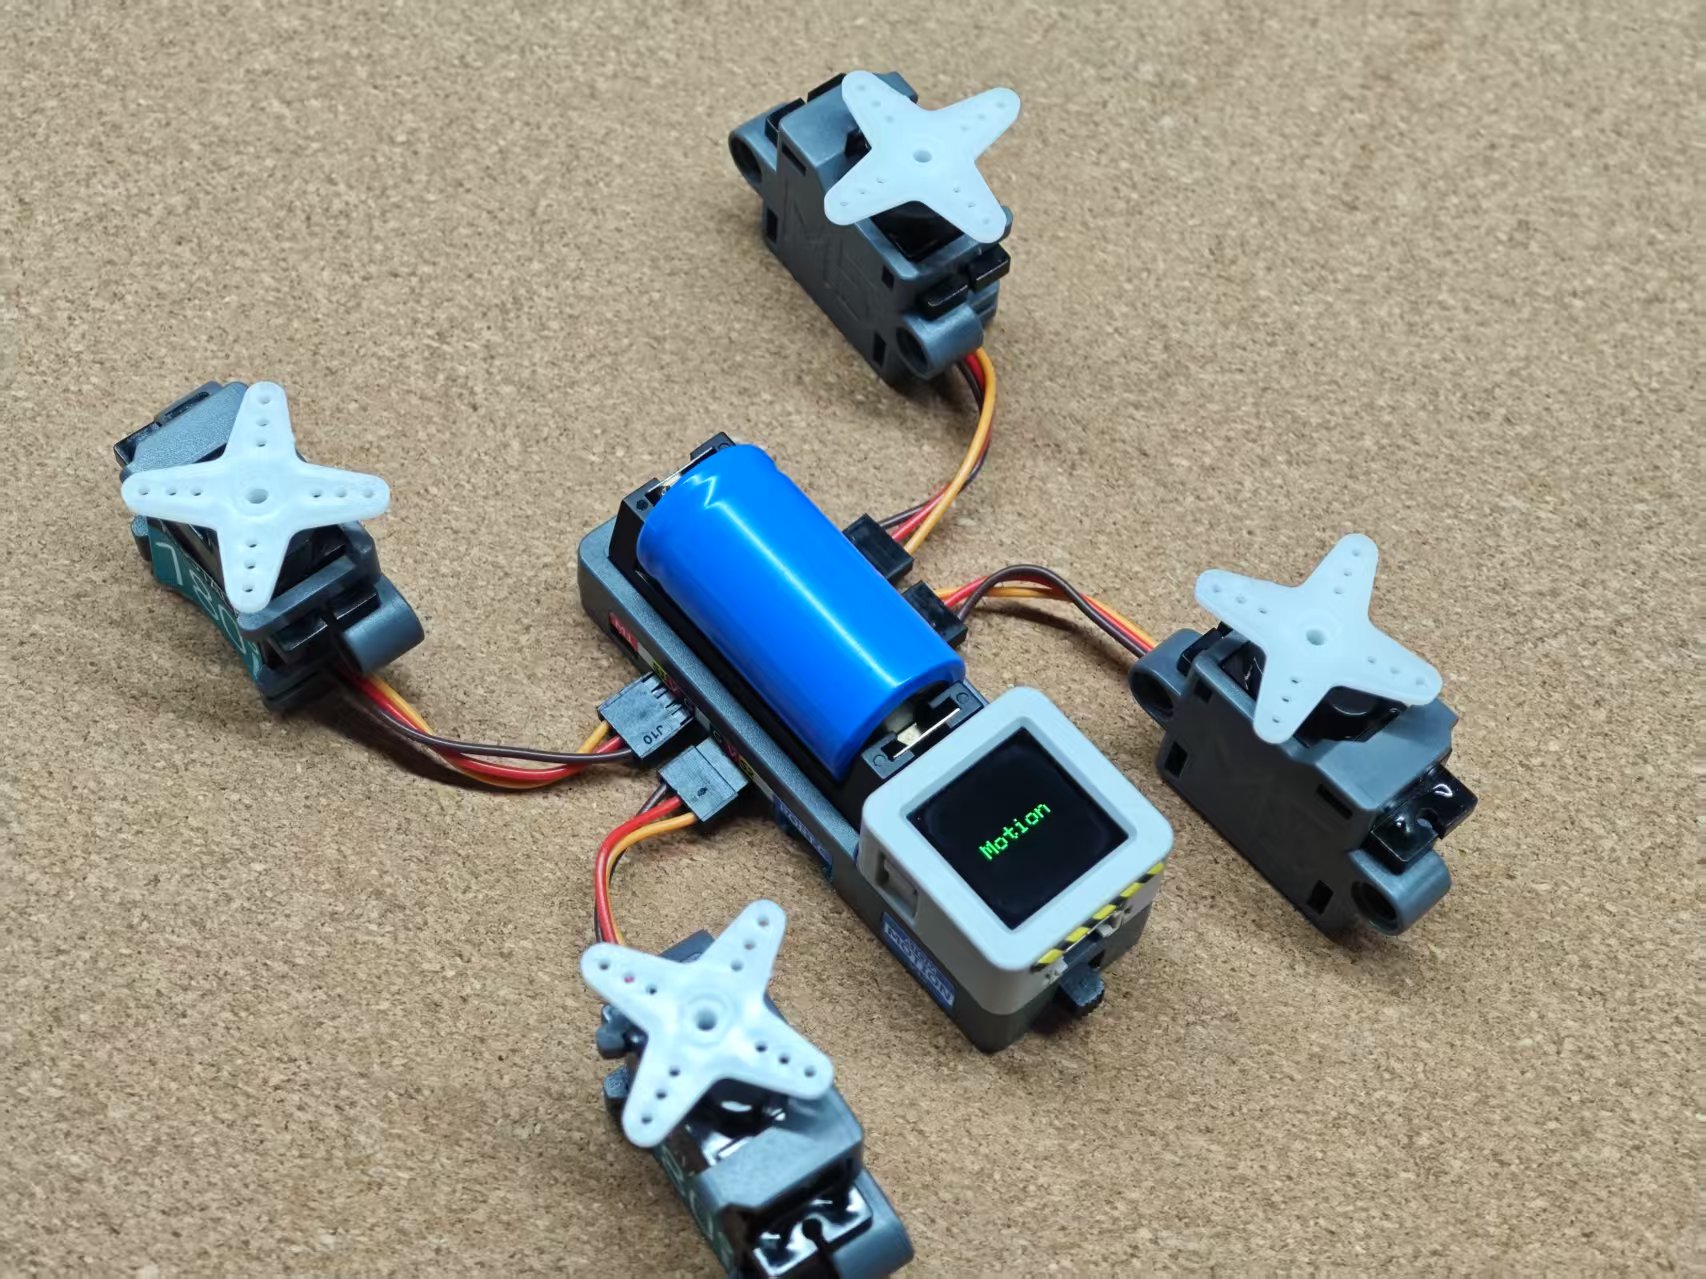
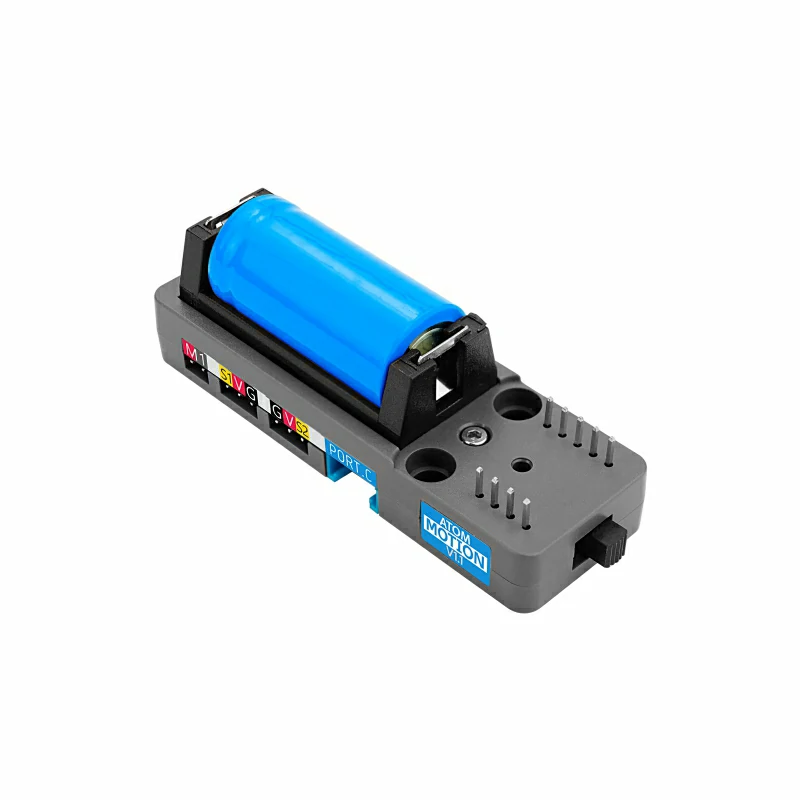
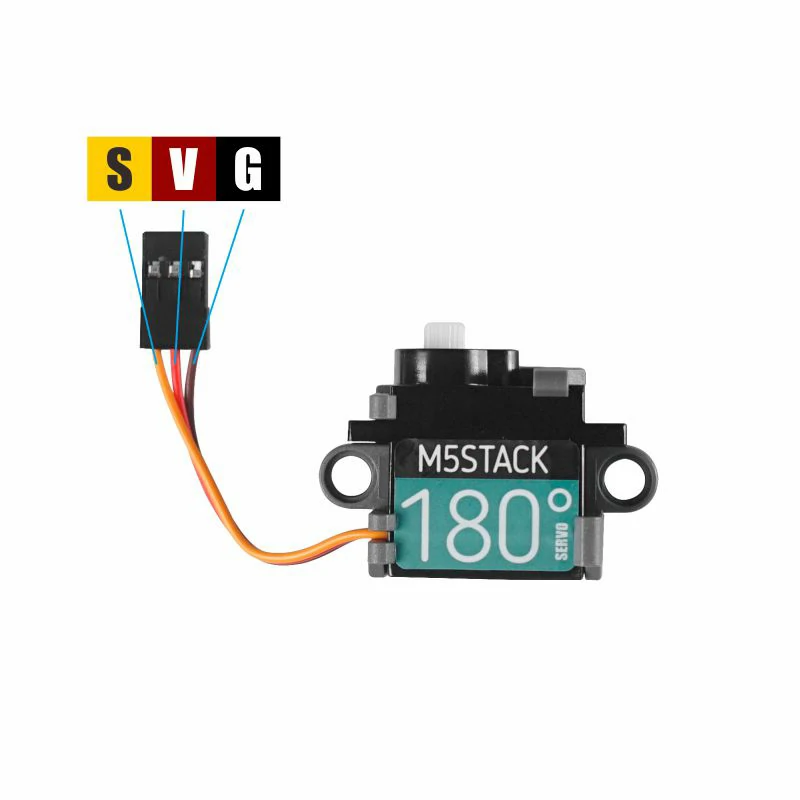
Atomic Motion Base is a servo + DC motor driver base designed for use with the Atom series controllers. This example will implement 4-channel servo control and 2-channel DC motor control.
DC Motor and Servo Drive
cpp
1 2 3 4 5 6 7 8 9 10 11 12 13 14 15 16 17 18 19 20 21 22 23 24 25 26 27 28 29 30 31 32 33 34 35 36 37 38 39 40 41 42 43 44 45 46 47 48 49 50 51 52 53 54 55 56 57 58 59 60 61 62 63 64 65 66 67 68 69 70 71 72
#include "M5Unified.h"
#include "M5GFX.h"
#include "M5AtomicMotion.h"

M5AtomicMotion AtomicMotion;

void setup()
{
    auto cfg = M5.config();
    M5.begin(cfg);

    M5.Display.setTextColor(GREEN);
    M5.Display.setTextDatum(middle_center);
    M5.Display.setTextSize(2);
    M5.Display.drawString("Atomic Init", M5.Display.width() / 2, M5.Display.height() / 2);

    m5::board_t board = M5.getBoard();

    uint8_t sda = 0, scl = 0;

    if (board == m5::board_t::board_M5AtomLite || board == m5::board_t::board_M5AtomMatrix ||
        board == m5::board_t::board_M5AtomEcho) {
        sda = 25;
        scl = 21;
    } else if (board == m5::board_t::board_M5AtomS3 || board == m5::board_t::board_M5AtomS3R ||
               board == m5::board_t::board_M5AtomS3Lite || board == m5::board_t::board_M5AtomS3RExt ||
               board == m5::board_t::board_M5AtomS3RCam) {
        sda = 38;
        scl = 39;
    }

    while (!AtomicMotion.begin(&Wire, M5_ATOMIC_MOTION_I2C_ADDR, sda, scl, 100000)) {
        M5.Display.clear();
        M5.Display.drawString("Init Fail", M5.Display.width() / 2, M5.Display.height() / 2);
        Serial.println("Atomic Motion begin failed");
        delay(1000);
    }

    M5.Display.clear();
    M5.Display.drawString("Motion", M5.Display.width() / 2, M5.Display.height() / 2);

    Serial.println("Atomic Motion Test");
}

void loop()
{
    for (int ch = 0; ch < 2; ch++) {
        AtomicMotion.setMotorSpeed(ch, 127);
        Serial.printf("Motor Channel %d: %d \n", ch, AtomicMotion.getMotorSpeed(ch));
    }
    delay(1000);
    for (int ch = 0; ch < 2; ch++) {
        AtomicMotion.setMotorSpeed(ch, -127);
        Serial.printf("Motor Channel %d: %d \n", ch, AtomicMotion.getMotorSpeed(ch));
    }
    delay(1000);
    for (int ch = 0; ch < 2; ch++) {
        AtomicMotion.setMotorSpeed(ch, 0);
        Serial.printf("Motor Channel %d: %d \n", ch, AtomicMotion.getMotorSpeed(ch));
    }
    delay(1000);
    for (int ch = 0; ch < 4; ch++) {
        AtomicMotion.setServoAngle(ch, 180);
        Serial.printf("Servo Channel %d: %d \n", ch, AtomicMotion.getServoAngle(ch));
    }
    delay(1000);
    for (int ch = 0; ch < 4; ch++) {
        AtomicMotion.setServoAngle(ch, 0);
        Serial.printf("Servo Channel %d: %d \n", ch, AtomicMotion.getServoAngle(ch));
    }
    delay(1000);
}Power Consumption Status Read
Example Explanation
If you are using the
Atomic Motion Base v1.1 version, it also supports reading the current battery voltage and working current values.cpp
1 2 3 4 5 6 7 8 9 10 11 12 13 14 15 16 17 18 19 20 21 22 23 24 25 26 27 28 29 30 31 32 33 34 35 36 37 38 39 40 41 42 43
#include <M5Unified.h>
#include <M5GFX.h>
#include <M5AtomicMotion.h>

M5AtomicMotion AtomicMotion;

void setup()
{
    auto cfg = M5.config();
    M5.begin(cfg);

    m5::board_t board = M5.getBoard();
    uint8_t sda = 0, scl = 0;

    if (board == m5::board_t::board_M5AtomLite || board == m5::board_t::board_M5AtomMatrix ||
        board == m5::board_t::board_M5AtomEcho) {
        sda = 25;
        scl = 21;
    } else if (board == m5::board_t::board_M5AtomS3 || board == m5::board_t::board_M5AtomS3R ||
               board == m5::board_t::board_M5AtomS3Lite || board == m5::board_t::board_M5AtomS3RExt ||
               board == m5::board_t::board_M5AtomS3RCam) {
        sda = 38;
        scl = 39;
    }

    while (!AtomicMotion.begin(&Wire, M5_ATOMIC_MOTION_I2C_ADDR, sda, scl, 100000)) {
        printf("Atomic Motion begin failed\n");
        delay(1000);
    }

    printf("Atomic Motion INA226 Test\n");
}

void loop()
{
    float voltage = AtomicMotion.ina226.readBusVoltage();
    float current = AtomicMotion.ina226.readShuntCurrent();

    printf("voltage: %.2f V\n", voltage);
    printf("current: %.2f A\n", current);

    delay(1000);
}3. Compilation and Upload
- Download Mode: Before programming different devices, you need to put them into download mode. The process may vary depending on the controller. For more details, refer to the tutorial list at the bottom of the Arduino IDE Beginner's Guide page to find the specific steps.
Long press the reset button on the AtomS3R (approximately 2 seconds) until the internal green LED lights up, then release it. The device is now in download mode and ready for programming.

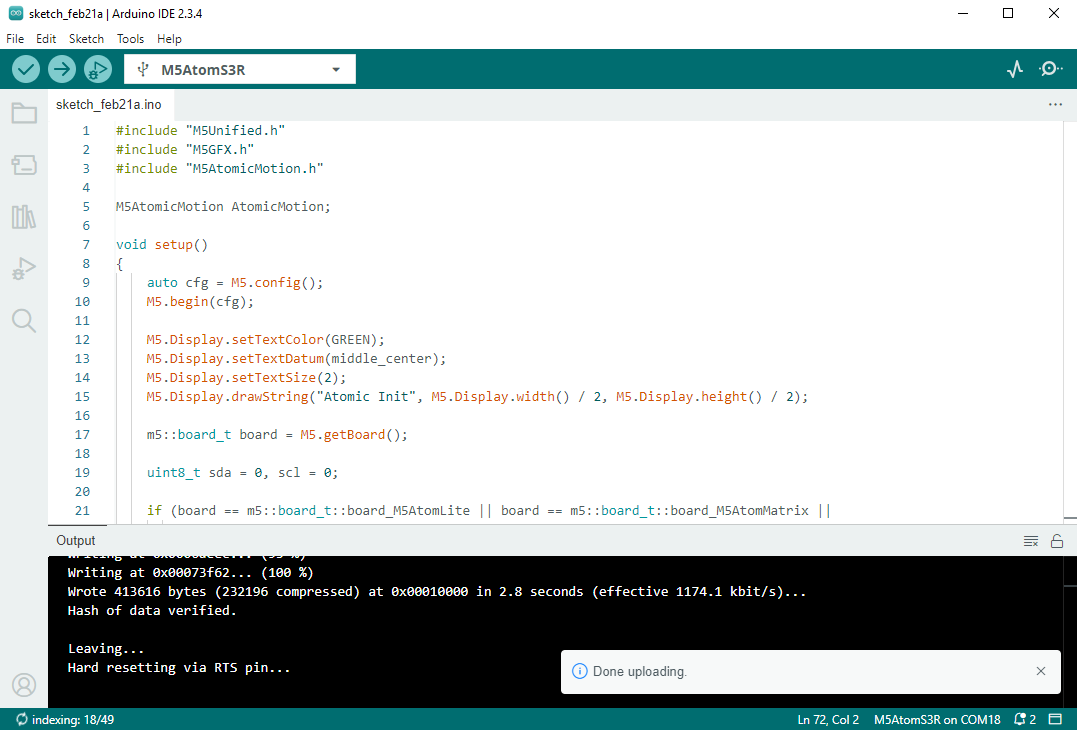
- Select the device port and click the compile and upload button in the upper left corner of the Arduino IDE. Wait for the program to compile and upload to the device.
4. Start Running
Switch the Atomic Motion Base v1.1 power switch to ON to begin driving the servo/DC motor.