Unit Kmeter-ISO Arduino Tutorial
1. Preparations
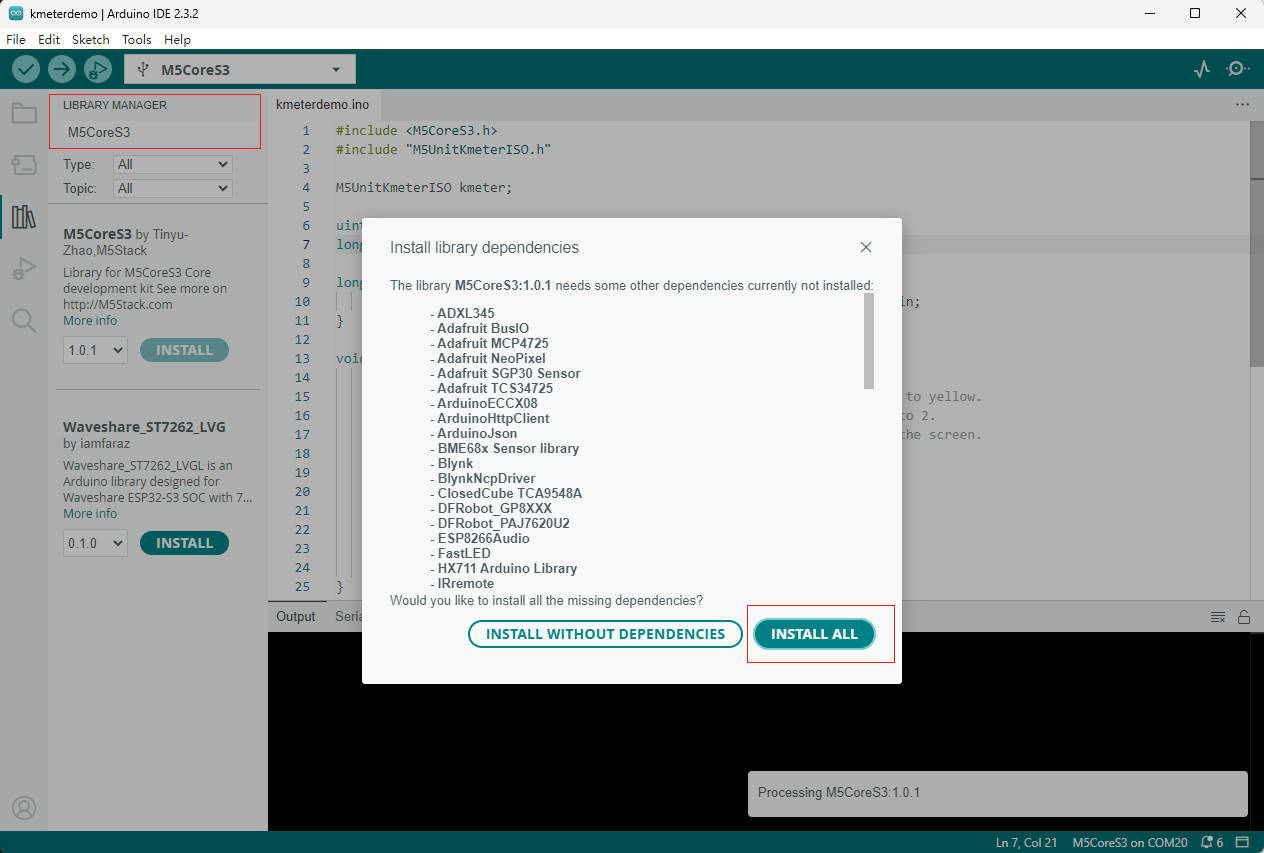
- Environment configuration: Refer to the Arduino IDE Quick Start Guide to install the IDE, and install the corresponding board manager and required driver libraries according to the development board you are using.
- Driver Libraries Used:
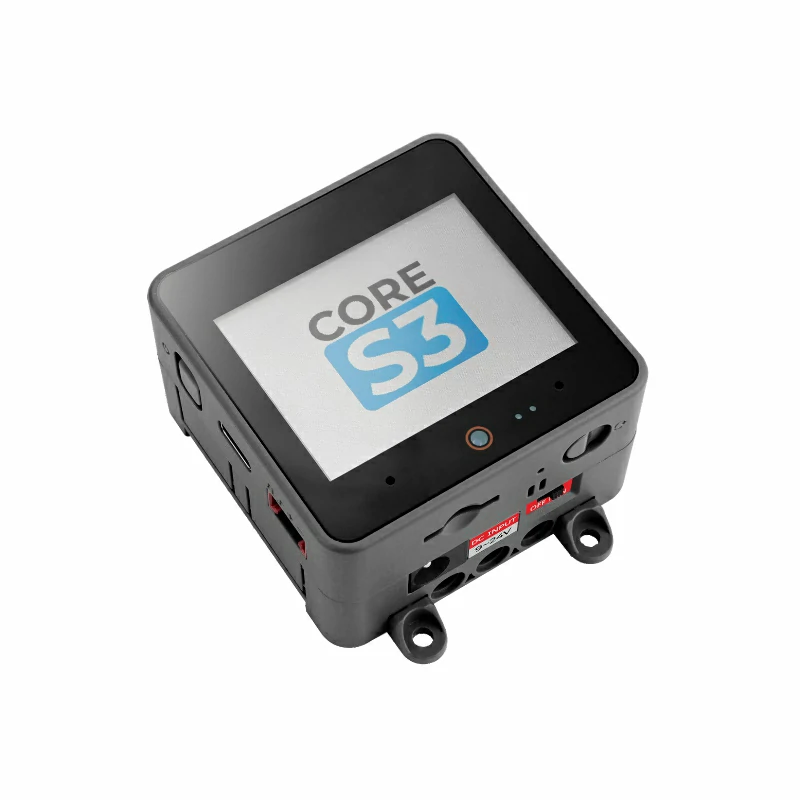
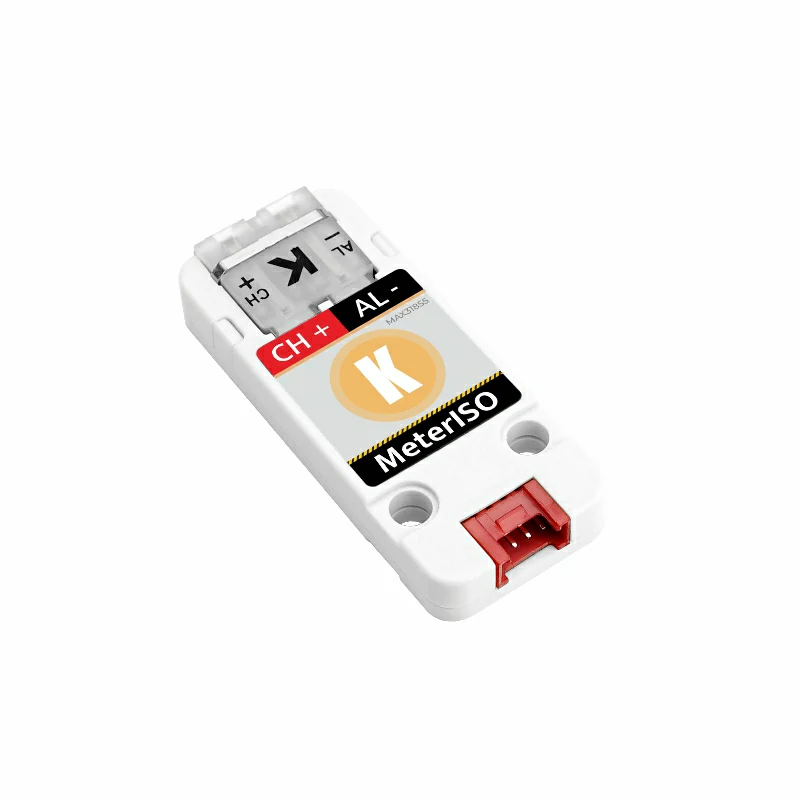
- Hardware Products Used:
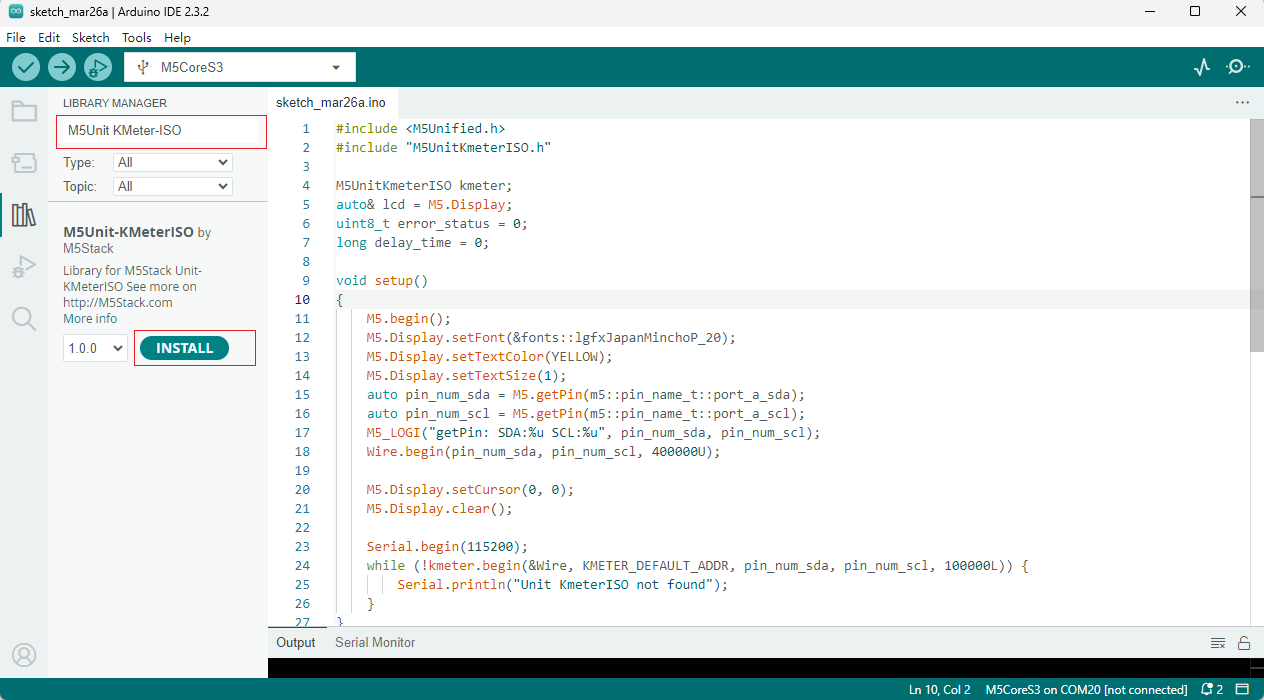
Dependent Libraries
2. Example
Case Illustration
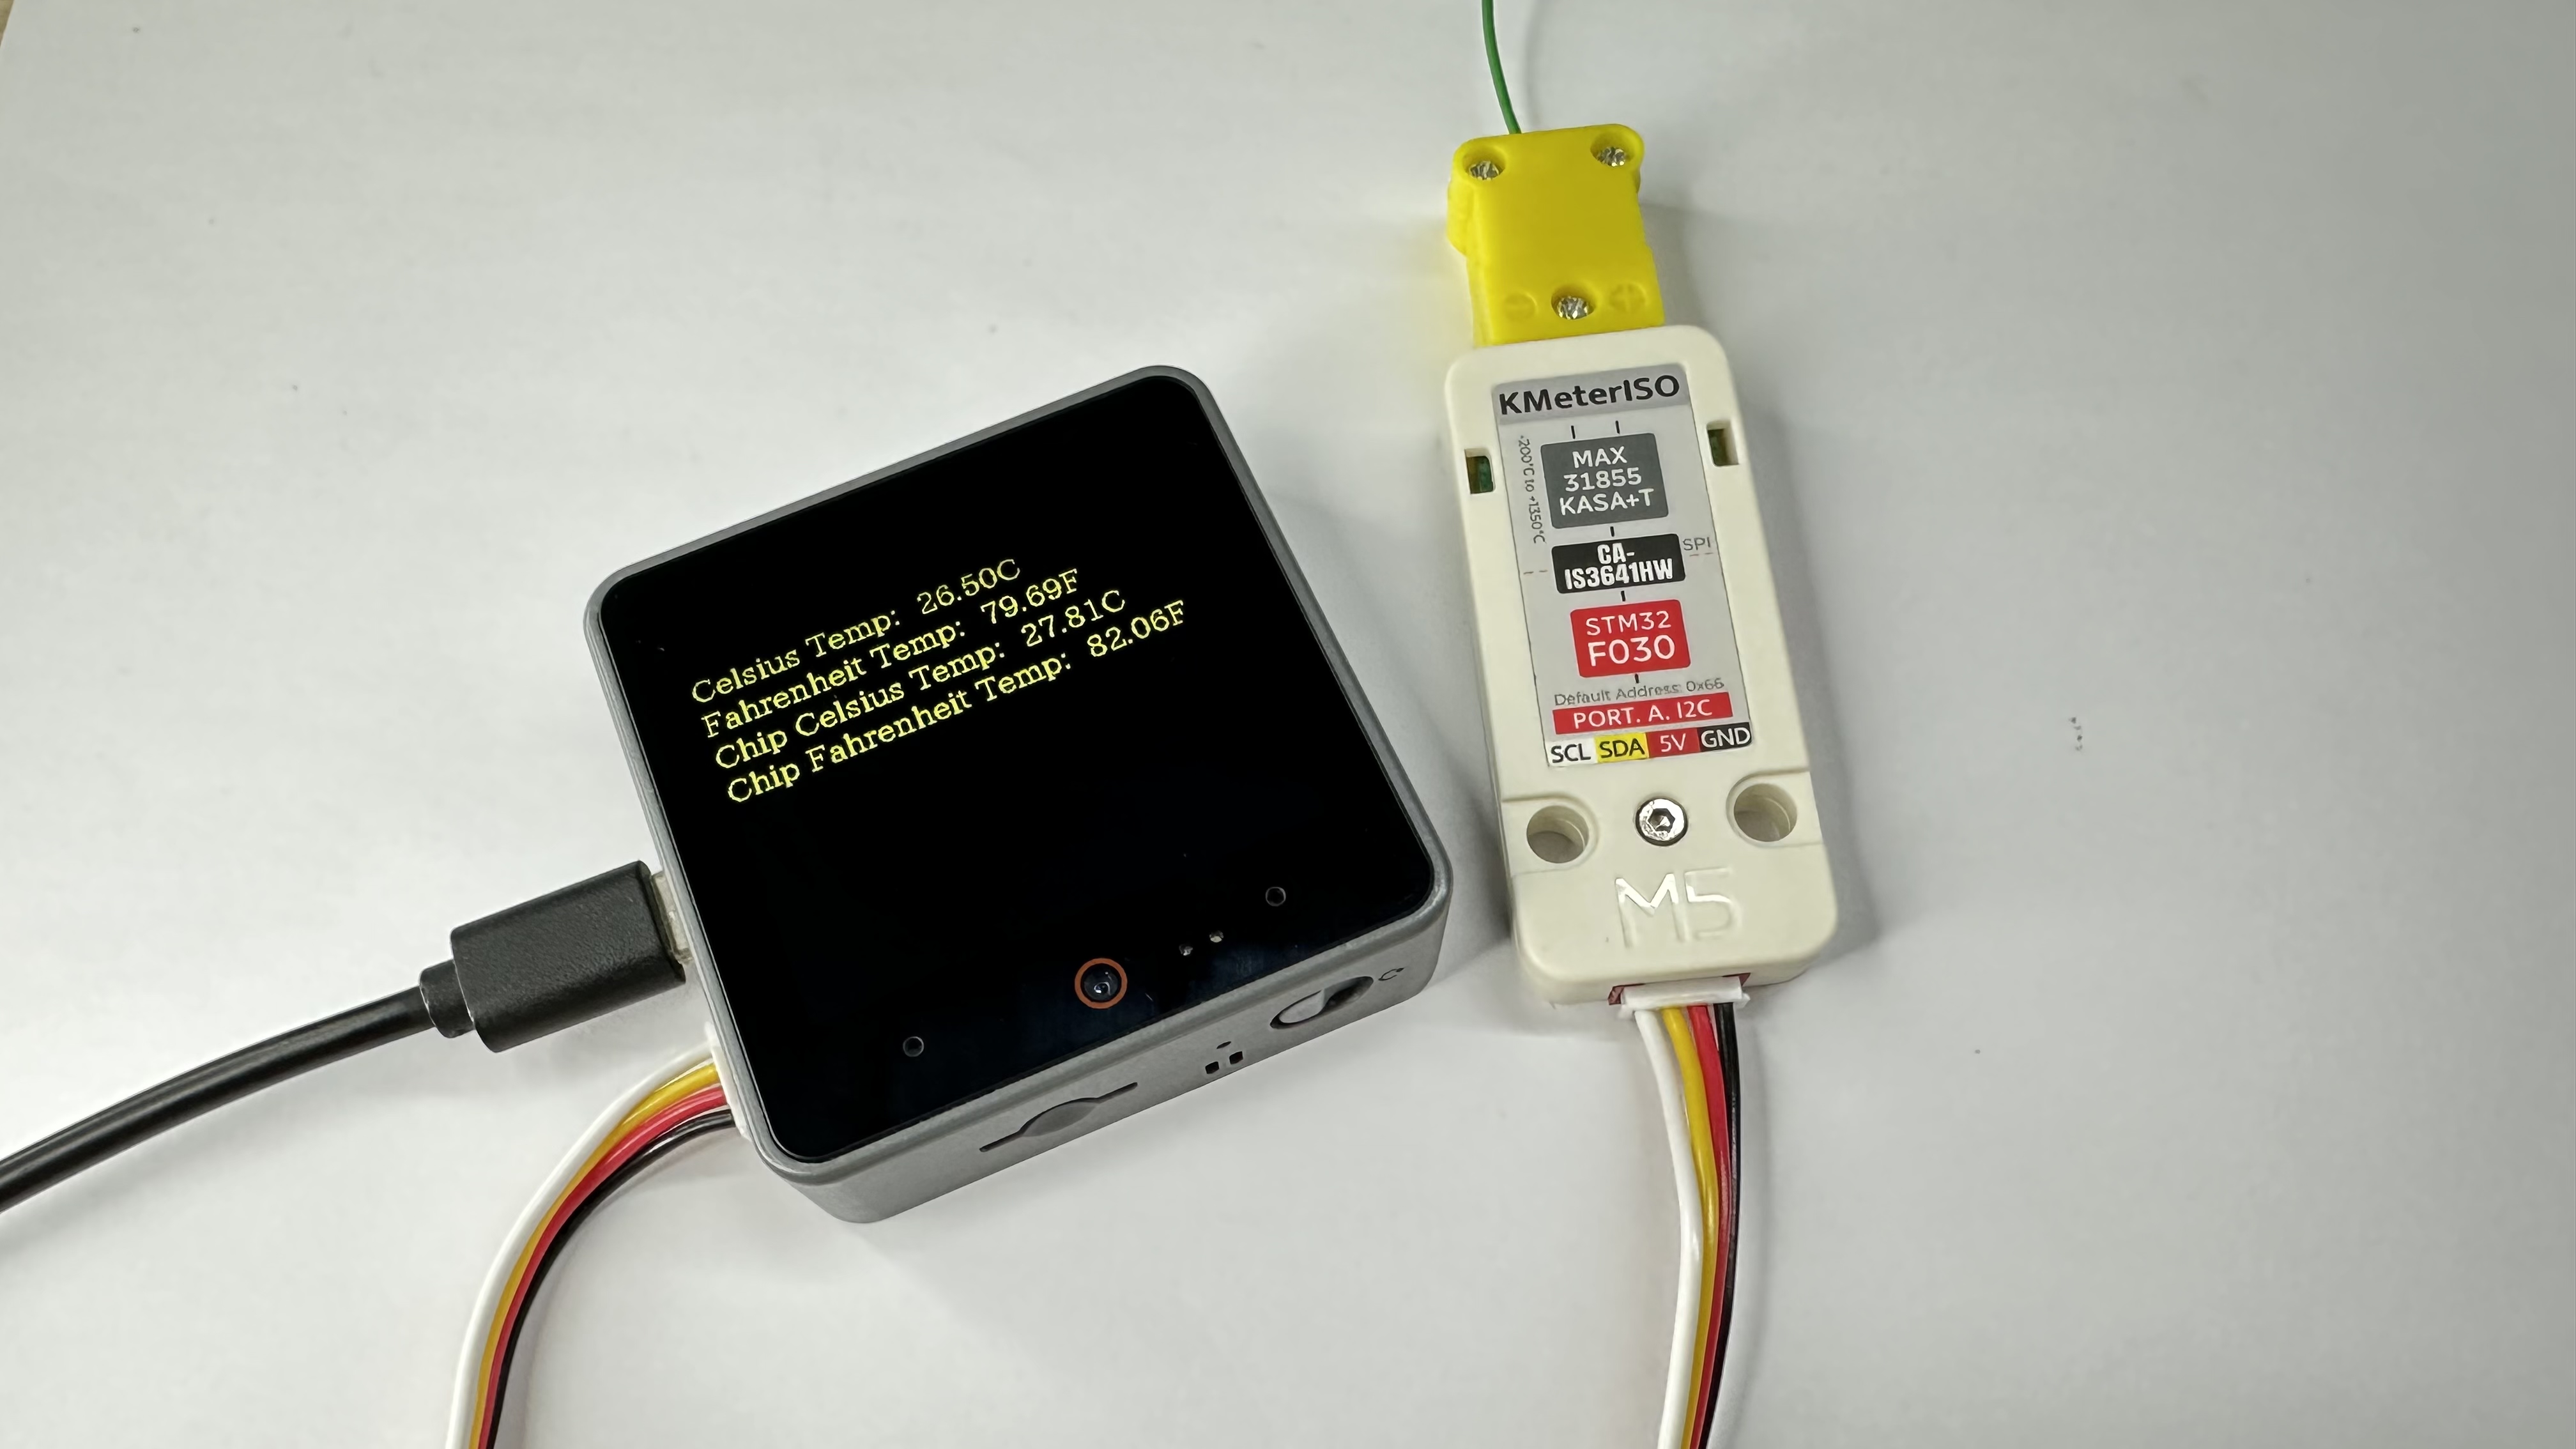
This case takes Unit KMeter-ISO as an example to collect temperature.
cpp
1 2 3 4 5 6 7 8 9 10 11 12 13 14 15 16 17 18 19 20 21 22 23 24 25 26 27 28 29 30 31 32 33 34 35 36 37 38 39 40 41 42 43 44 45 46 47 48 49 50 51 52 53 54 55 56 57
#include <M5Unified.h>
#include "M5UnitKmeterISO.h"

M5UnitKmeterISO kmeter;
auto& lcd = M5.Display;
uint8_t error_status = 0;
long delay_time = 0;

void setup()
{
    M5.begin();
    M5.Display.setFont(&fonts::lgfxJapanMinchoP_20);
    M5.Display.setTextColor(YELLOW);
    M5.Display.setTextSize(1);
    auto pin_num_sda = M5.getPin(m5::pin_name_t::port_a_sda);
    auto pin_num_scl = M5.getPin(m5::pin_name_t::port_a_scl);
    M5_LOGI("getPin: SDA:%u SCL:%u", pin_num_sda, pin_num_scl);
    Wire.begin(pin_num_sda, pin_num_scl, 400000U);

    M5.Display.setCursor(0, 0);
    M5.Display.clear();

    Serial.begin(115200);
    while (!kmeter.begin(&Wire, KMETER_DEFAULT_ADDR, pin_num_sda, pin_num_scl, 100000L)) {
        Serial.println("Unit KmeterISO not found");
    }
}

void loop()
{
    M5.update();

    M5.Display.clear();
    // Serial.println("ok");
    if (millis() > delay_time) {
      M5.Display.setCursor(0, 0);
        error_status = kmeter.getReadyStatus();

        if (error_status == 0) {

            M5.Display.printf("Celsius Temp:  %.2fC\r\n",
                          ((float)(kmeter.getCelsiusTempValue())) / 100);
            M5.Display.printf("Fahrenheit Temp:  %.2fF\r\n",
                          ((float)(kmeter.getFahrenheitTempValue())) / 100);
            M5.Display.printf(
                "Chip Celsius Temp:  %.2fC\r\n",
                ((float)(kmeter.getInternalCelsiusTempValue())) / 100);
            M5.Display.printf(
                "Chip Fahrenheit Temp:  %.2fF\r\n",
                ((float)(kmeter.getInternalFahrenheitTempValue())) / 100);
        } else {
            M5.Display.print(kmeter.getReadyStatus());
        }

    }
    delay(1000);
}3. Compile and Upload
- Download Mode:
Before programming, different devices need to enter download mode, and the procedure may vary depending on the main controller. For details, please refer to the device programming download tutorials listed at the bottom of the Arduino IDE Quick Start Guide.
- For CoreS3, press and hold the reset button (for about 2 seconds) until the internal green LED lights up, then release it. The device will then enter download mode and await programming.
- Download Mode:
.gif)
- Select the Device Port:
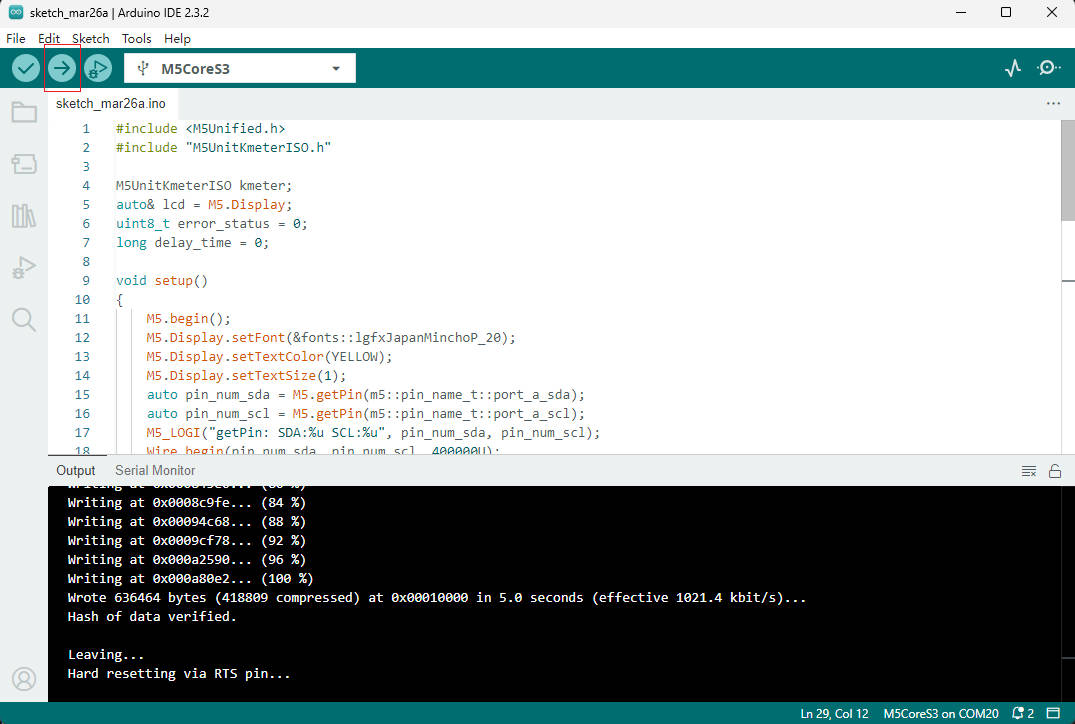
Click the compile and upload button at the top left of the Arduino IDE, and wait for the program to compile and be uploaded to the device.
- Select the Device Port:
4. Temperature collection
