Arduino Quick Start
2. Devices & Examples
3. M5Unified
4. M5GFX
5. Extensions
Unit
Base
IoT
Accessories
Unit Finger Arduino Tutorial
1. Preparations
- Environment Setup: Refer to Arduino IDE Getting Started Guide to complete IDE installation, and install the corresponding board manager and required driver libraries based on the development board used.
- Required Driver Libraries:
Note
Download the latest library version from GitHub: M5-FPC1020A - M5Stack GitHub. Do not download from Arduino Library. (For questions, refer to this tutorial).
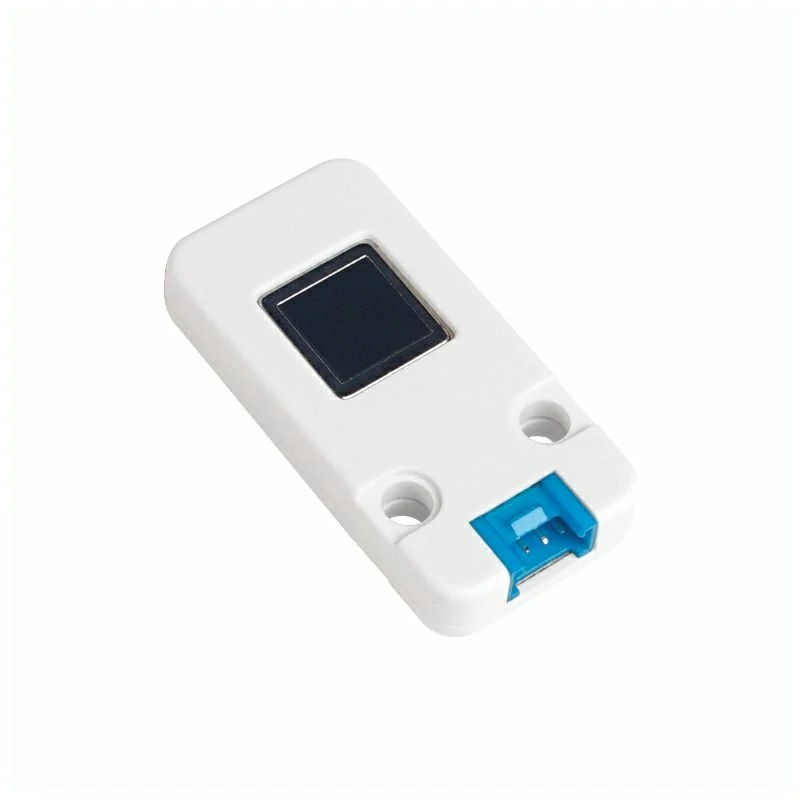
- Required Hardware Products:

2. Notes
Pin Compatibility
Since pin configurations vary across host devices, please refer to the Pin Compatibility Table in the product documentation before use, and modify the sample program according to your actual pin connections.
3. Example Program
- The main controller used in this tutorial is CoreS3 paired with Unit Finger. This fingerprint recognition module communicates via UART. Modify the pin definitions in the program according to the actual circuit connections. The corresponding UART IOs after device connection are
G1 (RX)andG2 (TX).
cpp
1 2 3 4 5 6 7 8 9 10 11 12 13 14 15 16 17 18 19 20 21 22 23 24 25 26 27 28 29 30 31 32 33 34 35 36 37 38 39 40 41 42 43 44 45 46 47 48 49 50 51 52 53 54 55 56 57 58 59 60 61 62 63 64 65 66 67 68 69 70 71 72 73 74 75 76 77 78 79 80 81 82 83 84 85 86 87 88 89 90 91 92 93 94 95
/**
* @file Unit_Finger_M5CoreS3.ino
* @author Zovey (liangzhuowei@m5stack.com)
* @brief
* @version 0.1
* @date 2025-07-04
*
*
* @Hardwares: M5CoreS3 + Unit Finger
* @Dependent Library:
* M5_FPC1020A: https://github.com/m5stack/M5-FPC1020A
*/
#include "M5Unified.h"
#include "M5_FPC1020A.h"
M5_FPC1020A finger;
bool add_user_process(uint8_t id, uint8_t permission);
bool id_input = 1, id_Verification = 1, id_delete = 1;
void setup() {
M5.begin();
Serial.begin(115200);
M5.Display.fillRect(0, 0, 320, 240, WHITE);
M5.Display.setTextColor(BLACK);
M5.Display.setFont(&fonts::FreeMonoBold9pt7b);
M5.Display.setCursor(0, 0);
M5.Display.println("Finger Unit init...");
if (!finger.begin(&Serial2, 1, 2, 19200)) {
Serial.println("FPC1020A not found");
while (1) delay(1);
}
M5.Display.fillRect(0, 0, 320, 240, WHITE);
M5.Display.println("Finger Unit TEST");
finger.delAllFinger();
M5.Display.println("All ID have been deleted");
}
void loop() {
while(id_input){
M5.Display.fillScreen(WHITE);
M5.Display.println("Please logic your finger");
if(add_user_process(1, 1)){
Serial.println("add user success");
M5.Display.println("add user success");
id_input = 0;
}
}
delay(2000);
while(id_Verification){
M5.Display.fillScreen(WHITE);
M5.Display.setCursor(0, 0);
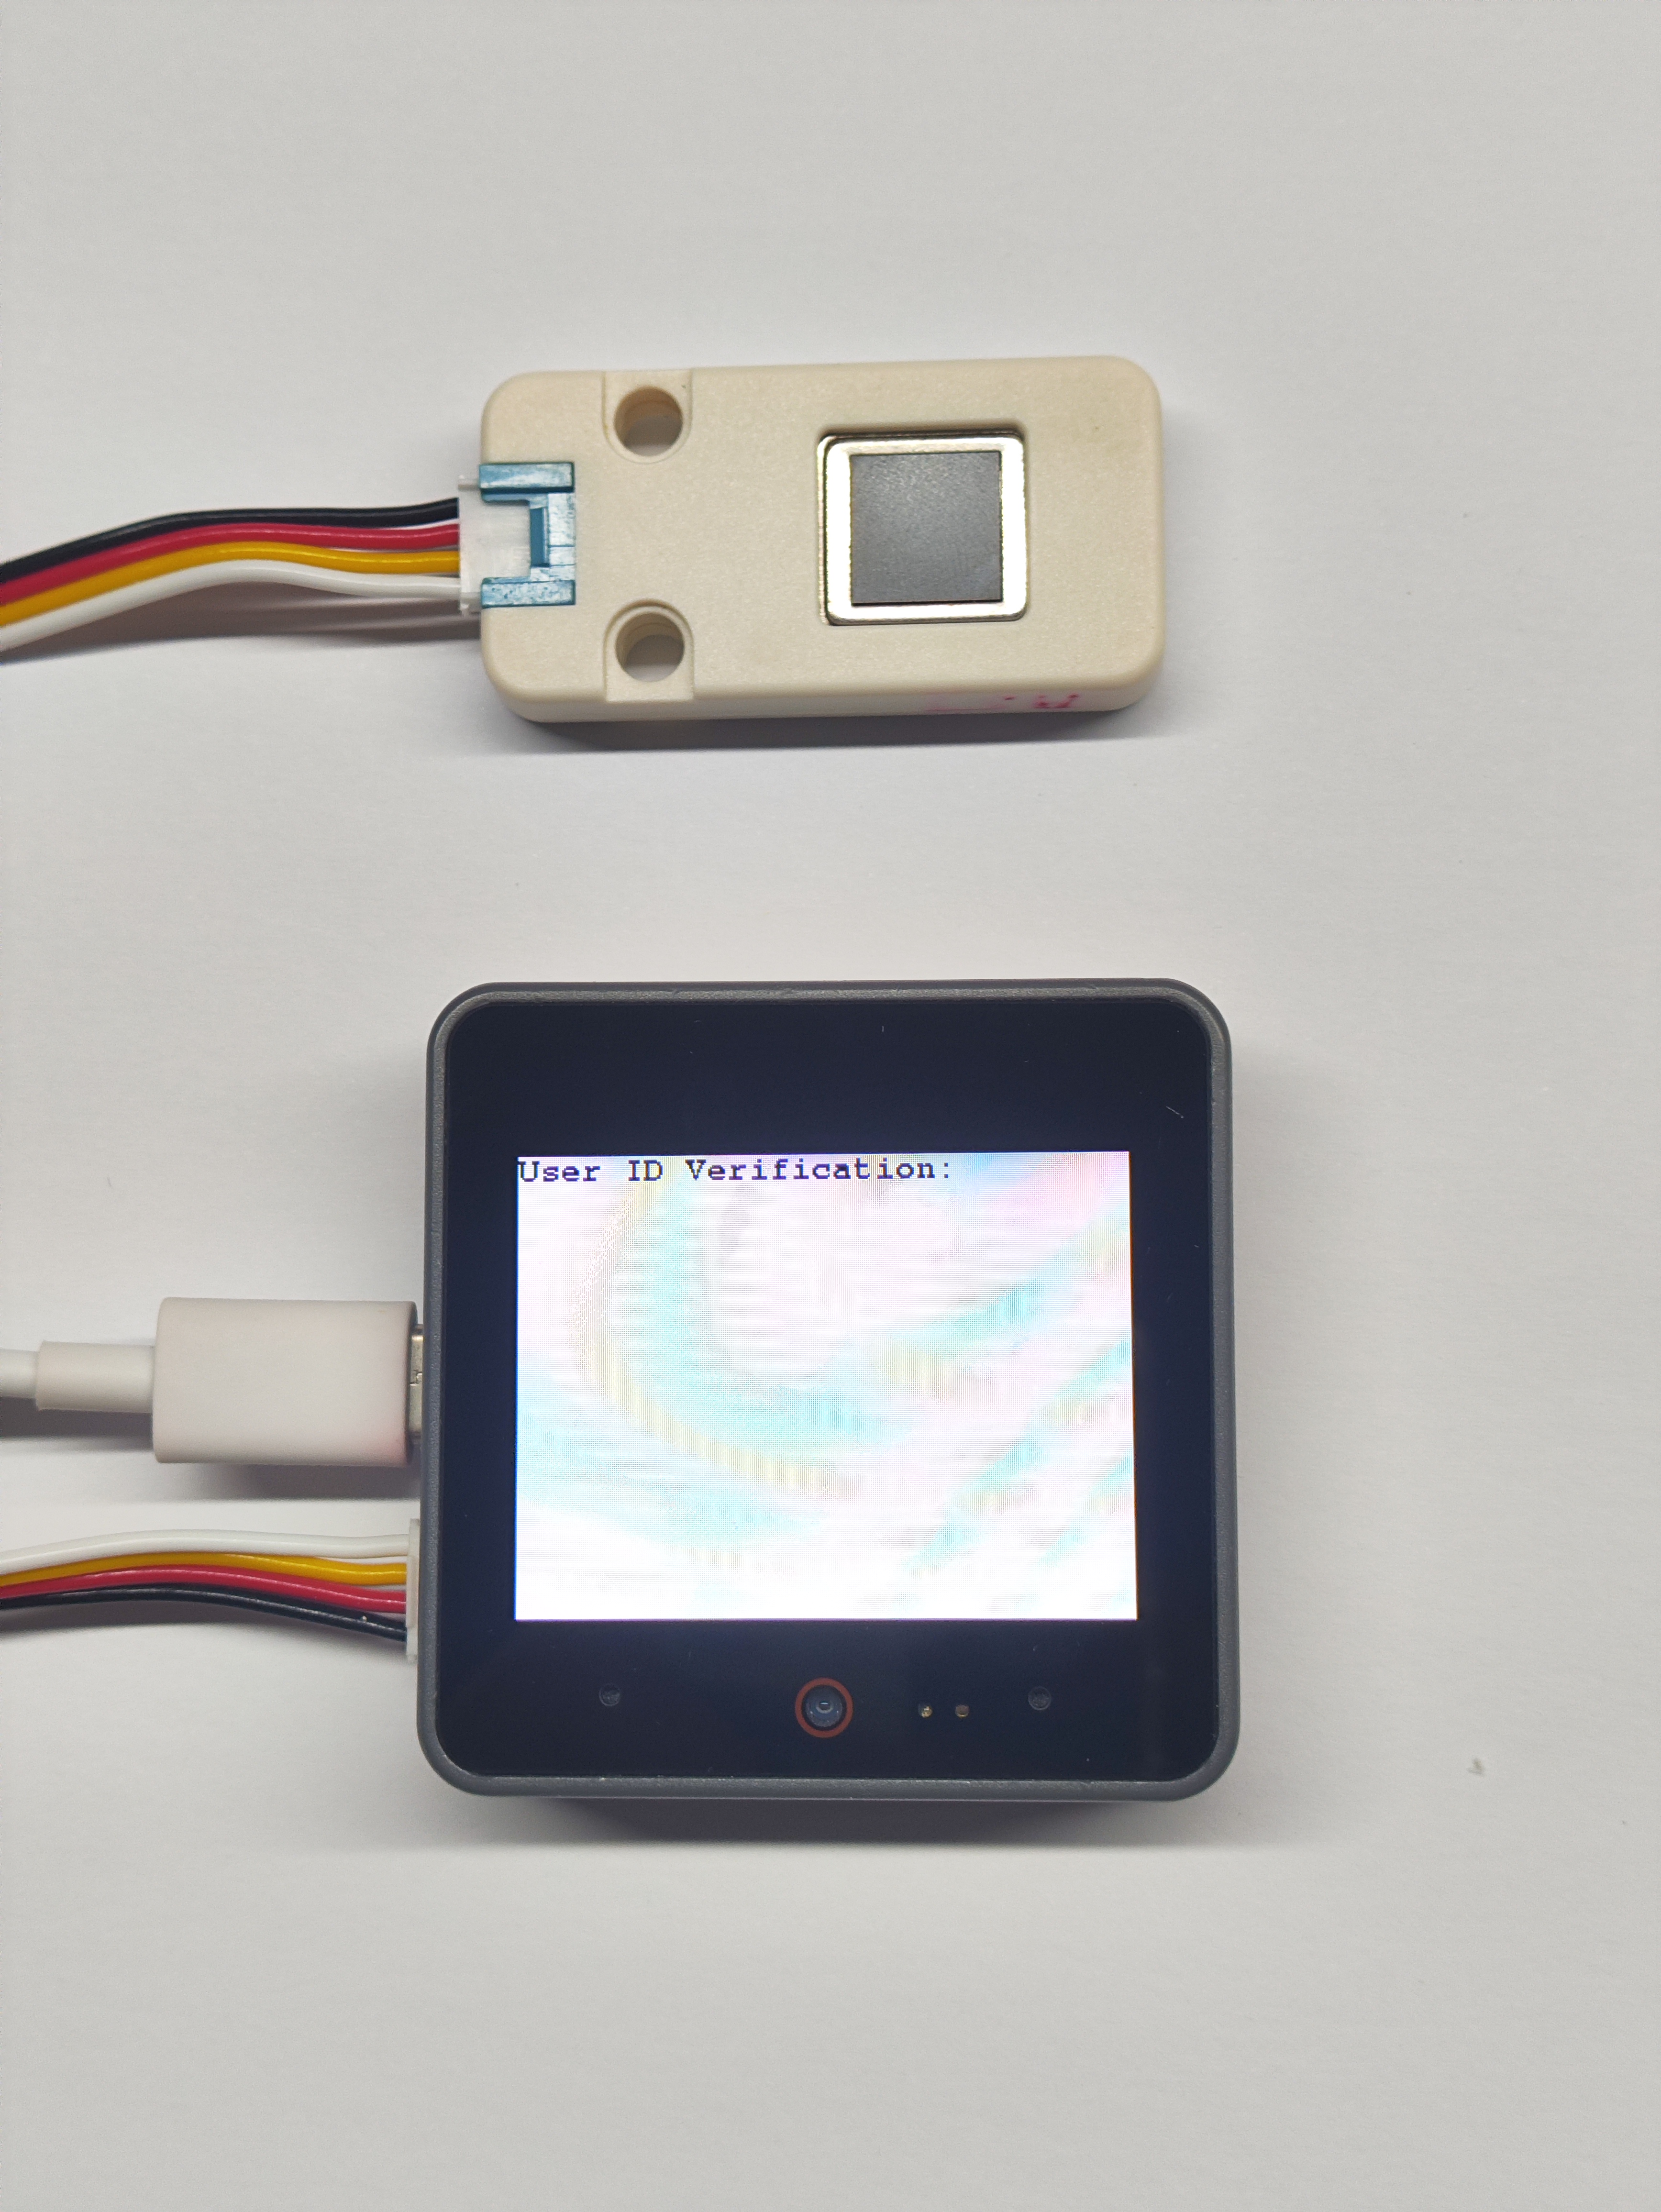
M5.Display.printf("User ID Verification:\r\n");
uint8_t res = finger.available();
if (res == ACK_SUCCESS){
M5.Display.print("Success \r");
Serial.println("Success");
M5.Display.print("User ID: ");
Serial.print("User ID: ");
M5.Display.println(finger.getFingerID());
Serial.println(finger.getFingerID());
id_Verification = 0;
}
delay(2000);
}
while(id_delete){
uint8_t res2 = finger.available();
M5.Display.printf("Put your finger on the sensor again can delete all id\n");
if (res2 == ACK_SUCCESS){
finger.delAllFinger();
M5.Display.println("All ID have been deleted");
Serial.println("All ID have been deleted");
id_delete = 0;
}
delay(2000);
}
}
bool add_user_process(uint8_t id, uint8_t permission) {
M5.Display.fillRect(0, 0, 320, 240, WHITE);
M5.Display.setCursor(0, 0);
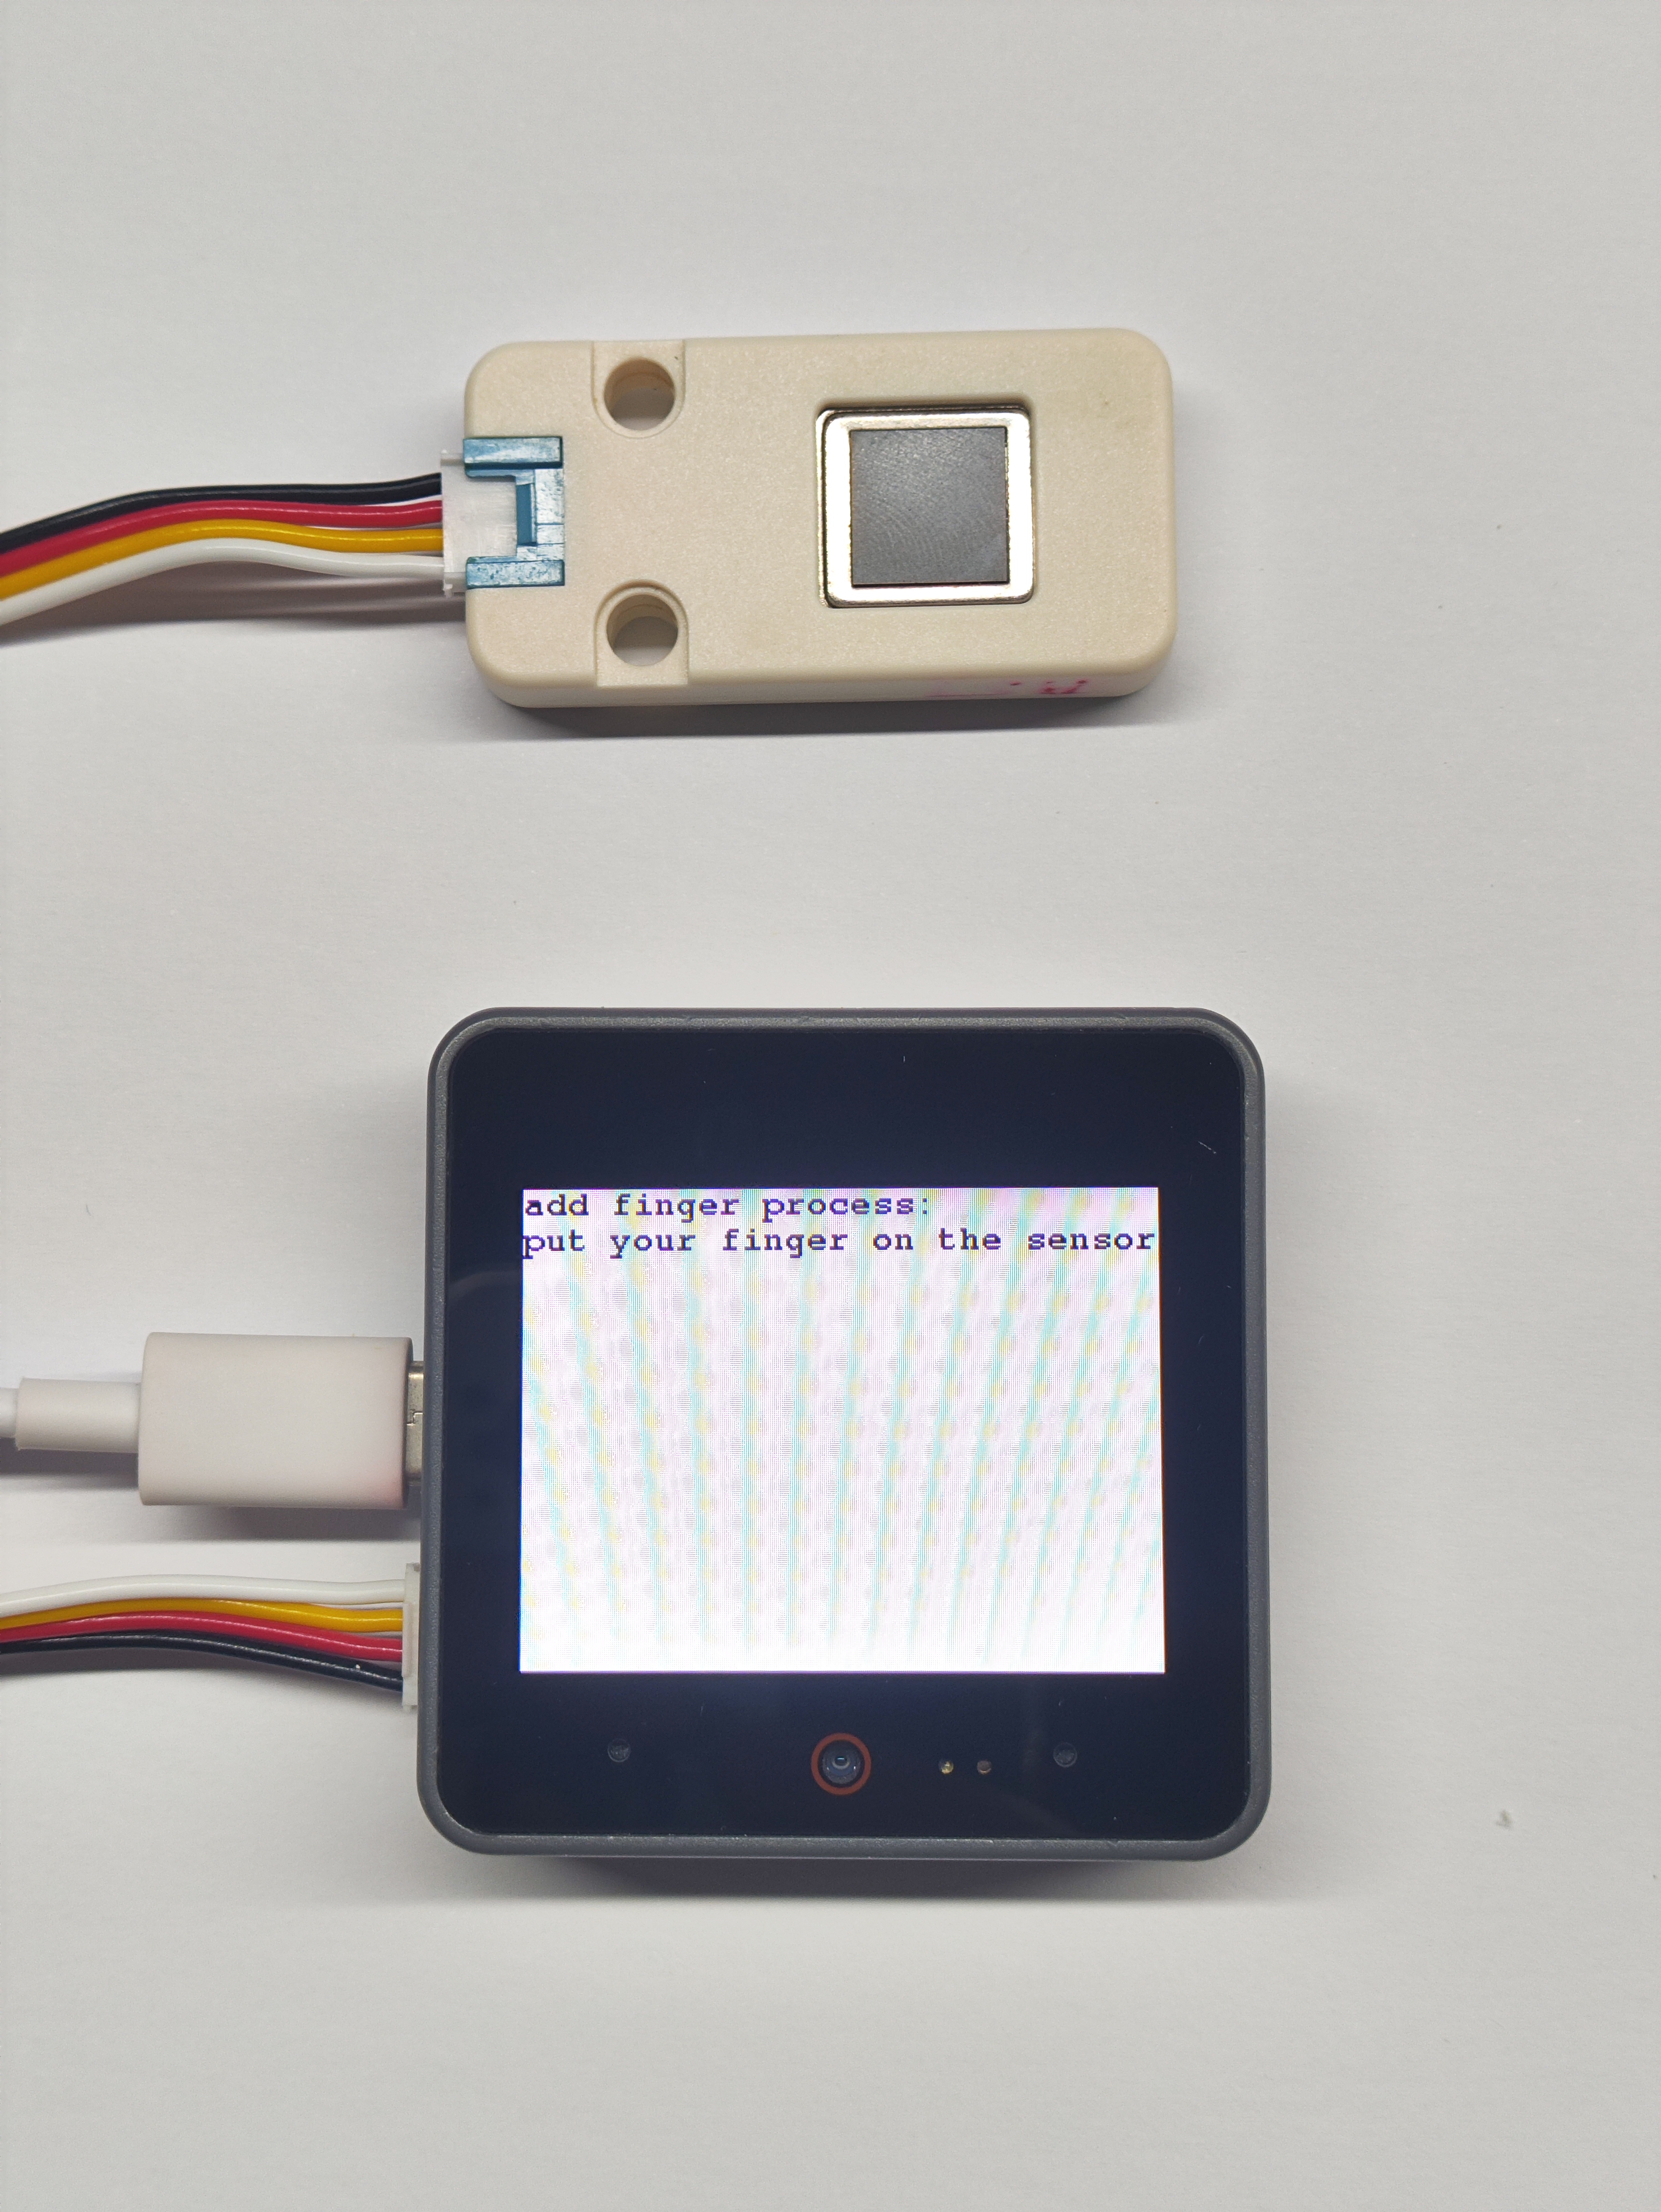
M5.Display.println("add finger process:");
M5.Display.println("put your finger on the sensor");
for (uint8_t i = 0; i < 6; i++) {
while (!finger.addFinger(id, permission, i)) {
Serial.printf("Finger ID: %d Finger Record:%d error\r\n", id, i);
Serial.println("Retry...");
delay(1000);
};
M5.Display.printf("add finger count : %d/6\r\n", i + 1);
Serial.printf("Finger ID: %d Finger Record:%d ok\r\n", id, i);
}
return true;
}4. Compile and Upload
Download Mode: Different devices require entering download mode before programming. This process may vary depending on the main controller. For specific instructions, please refer to the device programming tutorial list at the bottom of the Arduino IDE Getting Started Guide page.
For CoreS3: Press and hold the reset button (approximately 2 seconds) until the internal green LED lights up, then release. The device will now enter download mode and is ready for programming.
.gif)
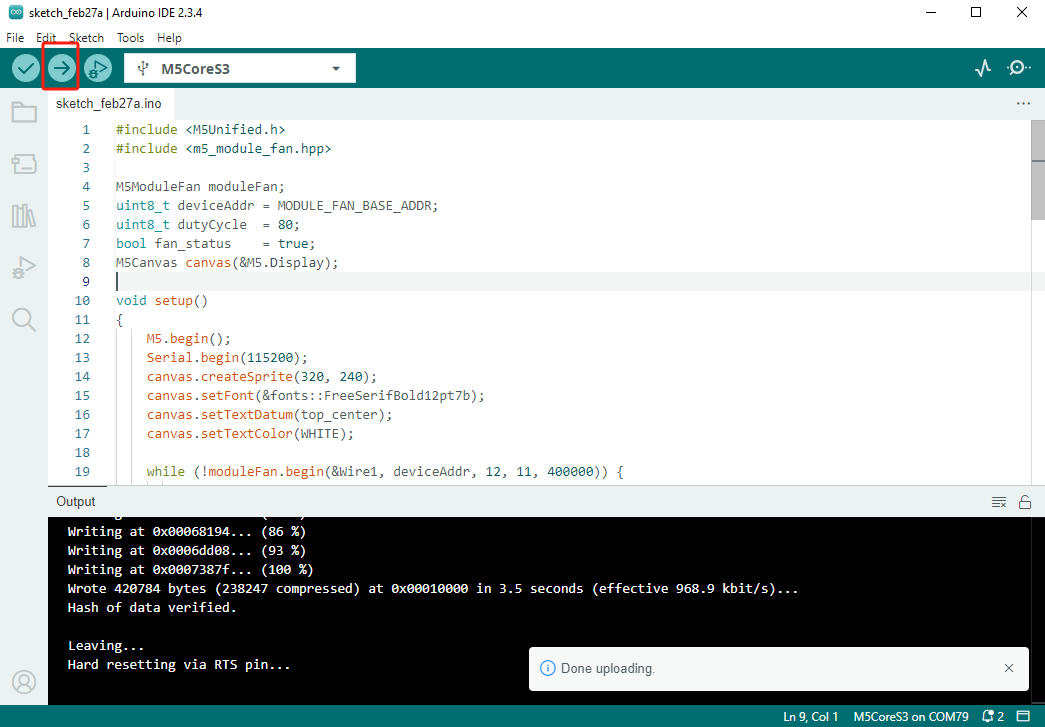
- Select the device port and click the upload button in the top-left corner of Arduino IDE. Wait for the program to complete compilation and upload to the device.
5. Fingerprint Recognition
- The program's initial stage involves fingerprint enrollment. Upon successful enrollment, messages like
add user successwill be displayed.

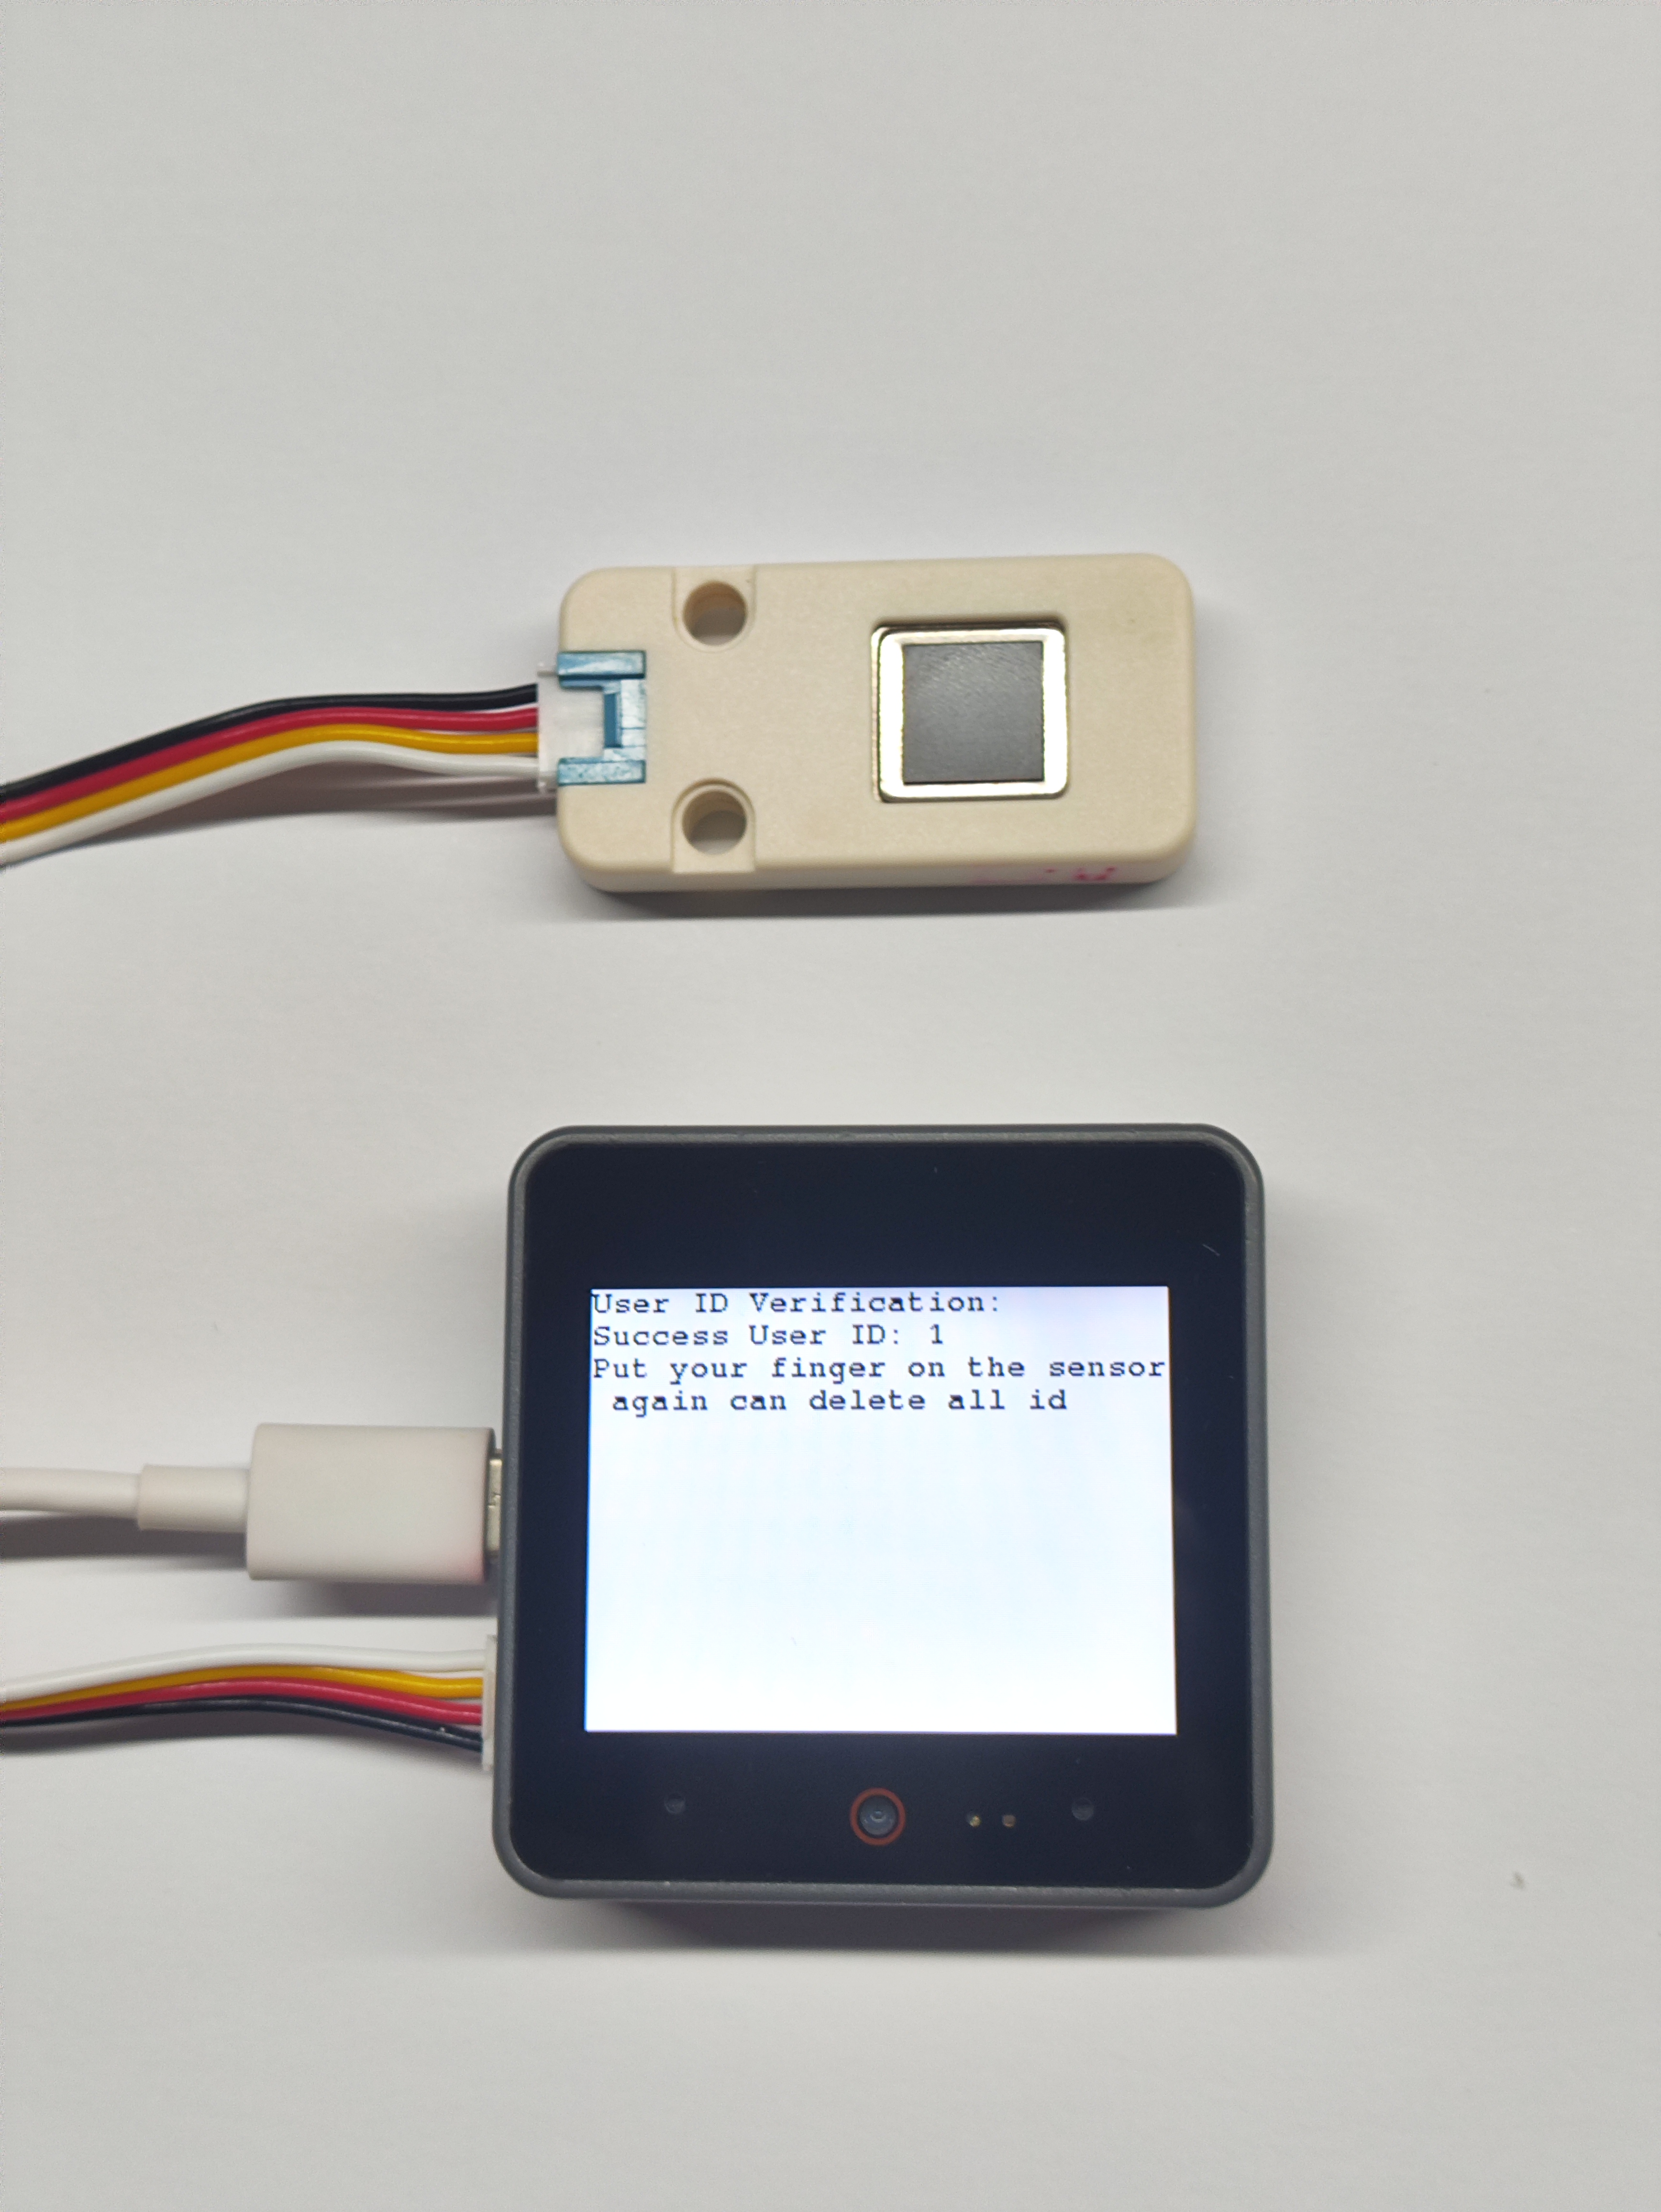
- After successful enrollment, wait two seconds to enter recognition mode. Place the enrolled fingerprint on the sensor again, and the screen will display messages like
Success User ID: 1indicating successful recognition.

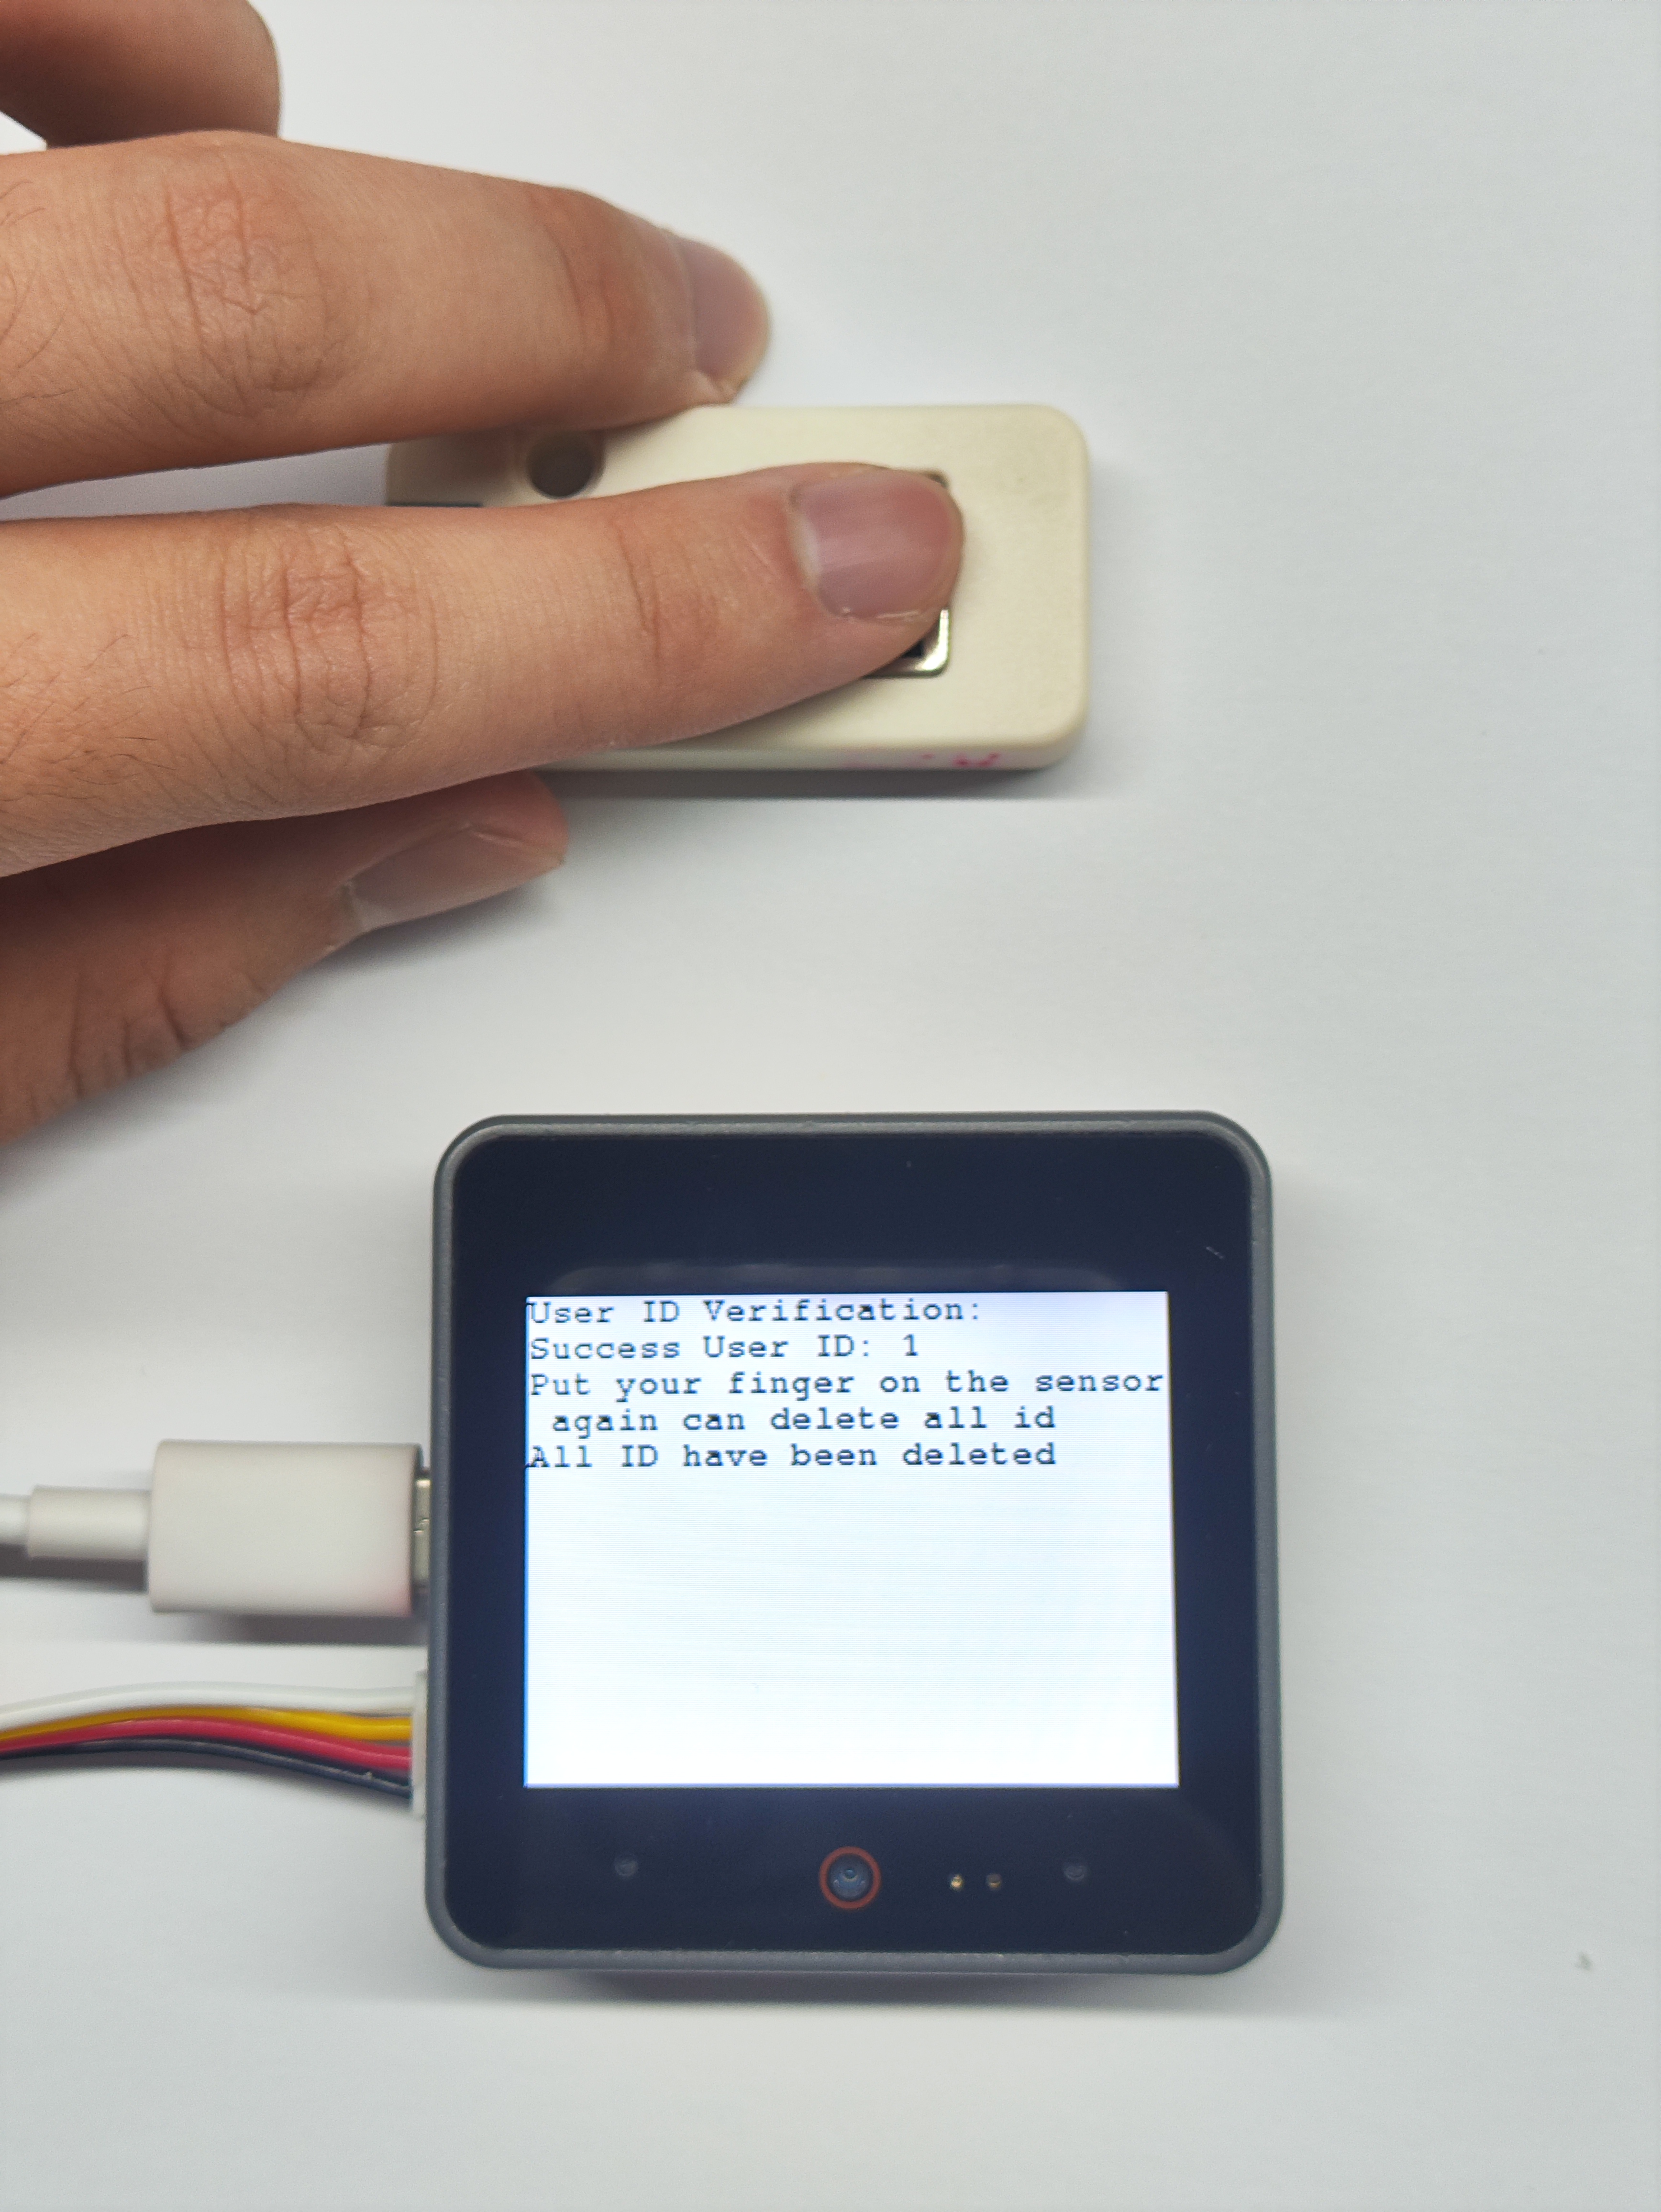
- Finally, the program enters deletion mode. Place the enrolled fingerprint on the sensor to delete it. Upon successful deletion, messages like
All ID have been deletedwill be displayed.