Unit INA226-1A/10A Arduino 使用チュートリアル
1. 準備
- 環境構築: Arduino IDE スタートガイドを参照して IDE をインストールし、使用する開発ボードに応じたボードマネージャーと必要なライブラリをインストールしてください。
- 使用するライブラリ:
- M5Unified
- M5GFX
- M5Unit-METER #> 注意 | GitHub から最新のライブラリバージョンをダウンロードする必要があります。ライブラリの URL: M5Unit-METER - M5Stack GitHub。Arduino Library からはダウンロードしないでください。(不明な場合はこちらのチュートリアルを参照してください)
- 使用するハードウェア製品:
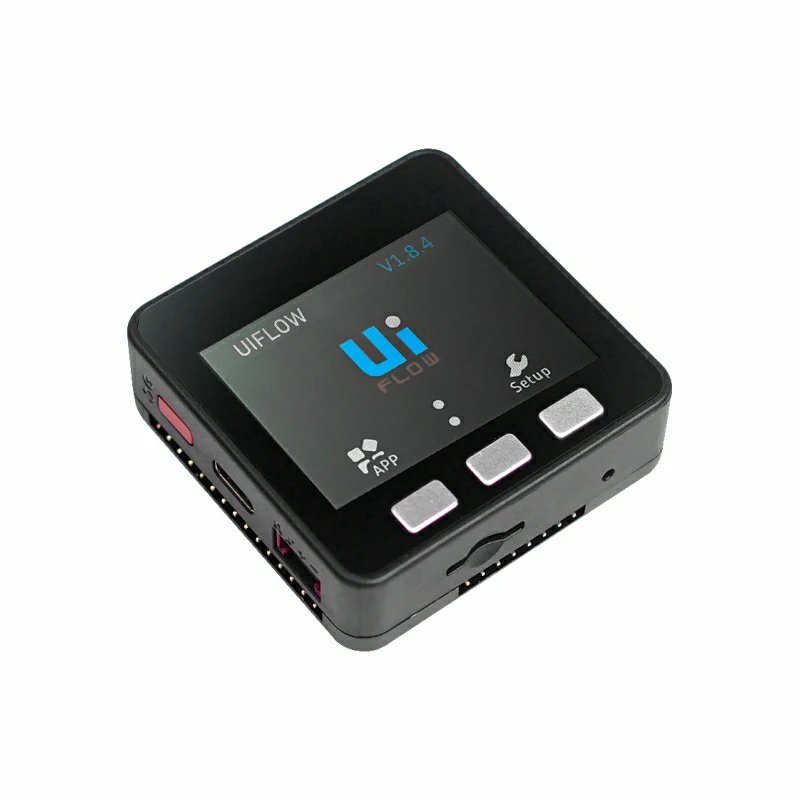
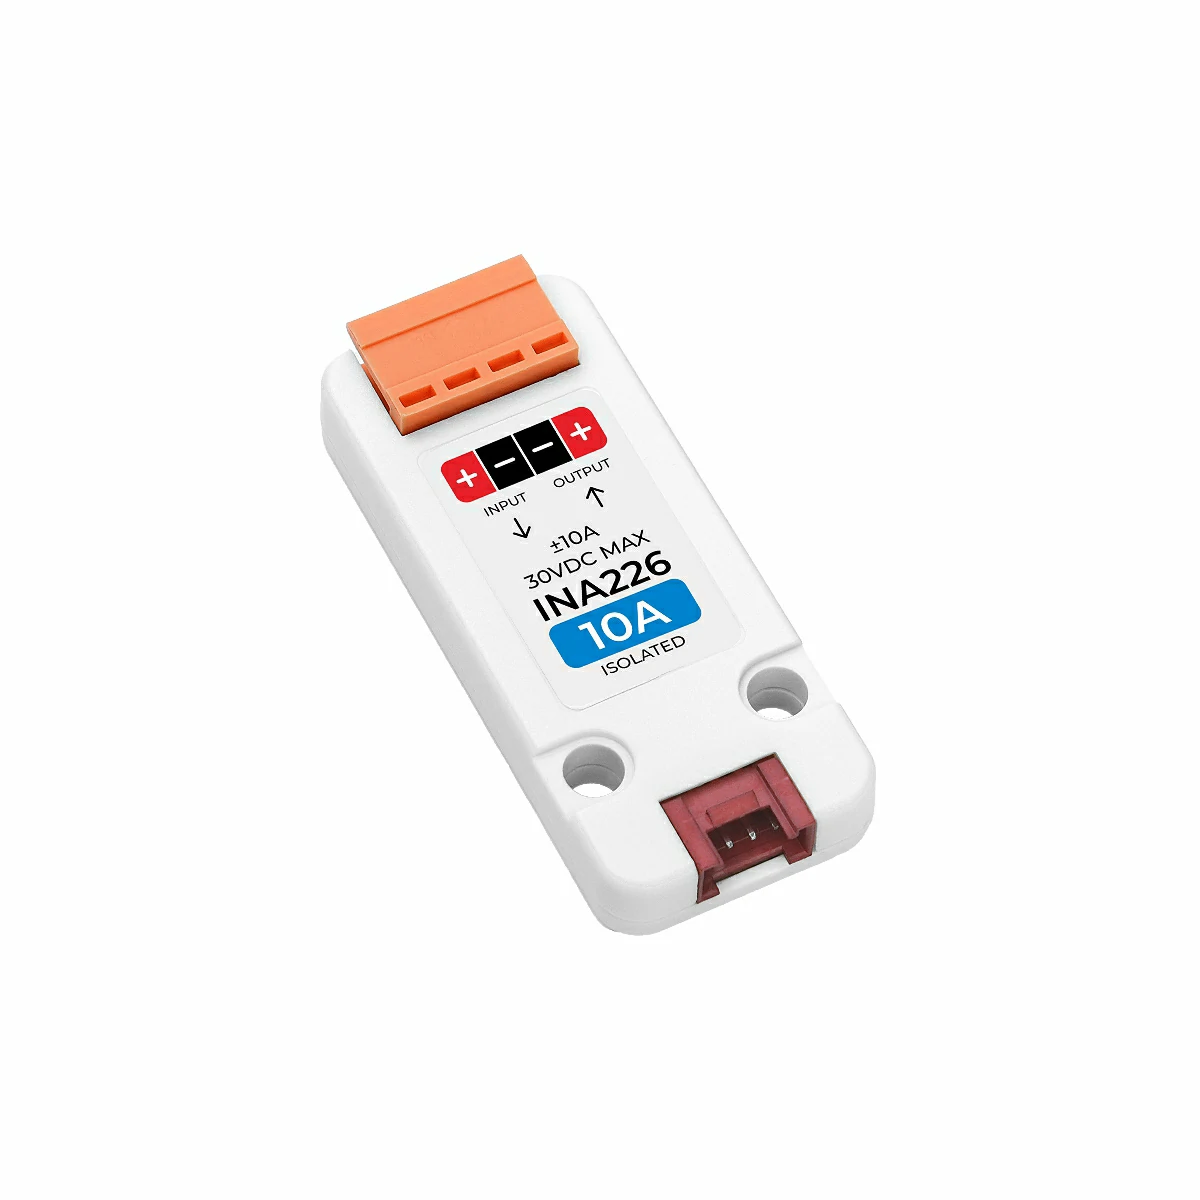

2. 注意事項
ピン互換性
各ホストのピン設定は異なるため、ユーザーがより簡単に使用できるように、M5Stack 公式はピン互換性表を提供しています。接続状況に応じてサンプルコードを修正してください。
3. サンプルプログラム
注意
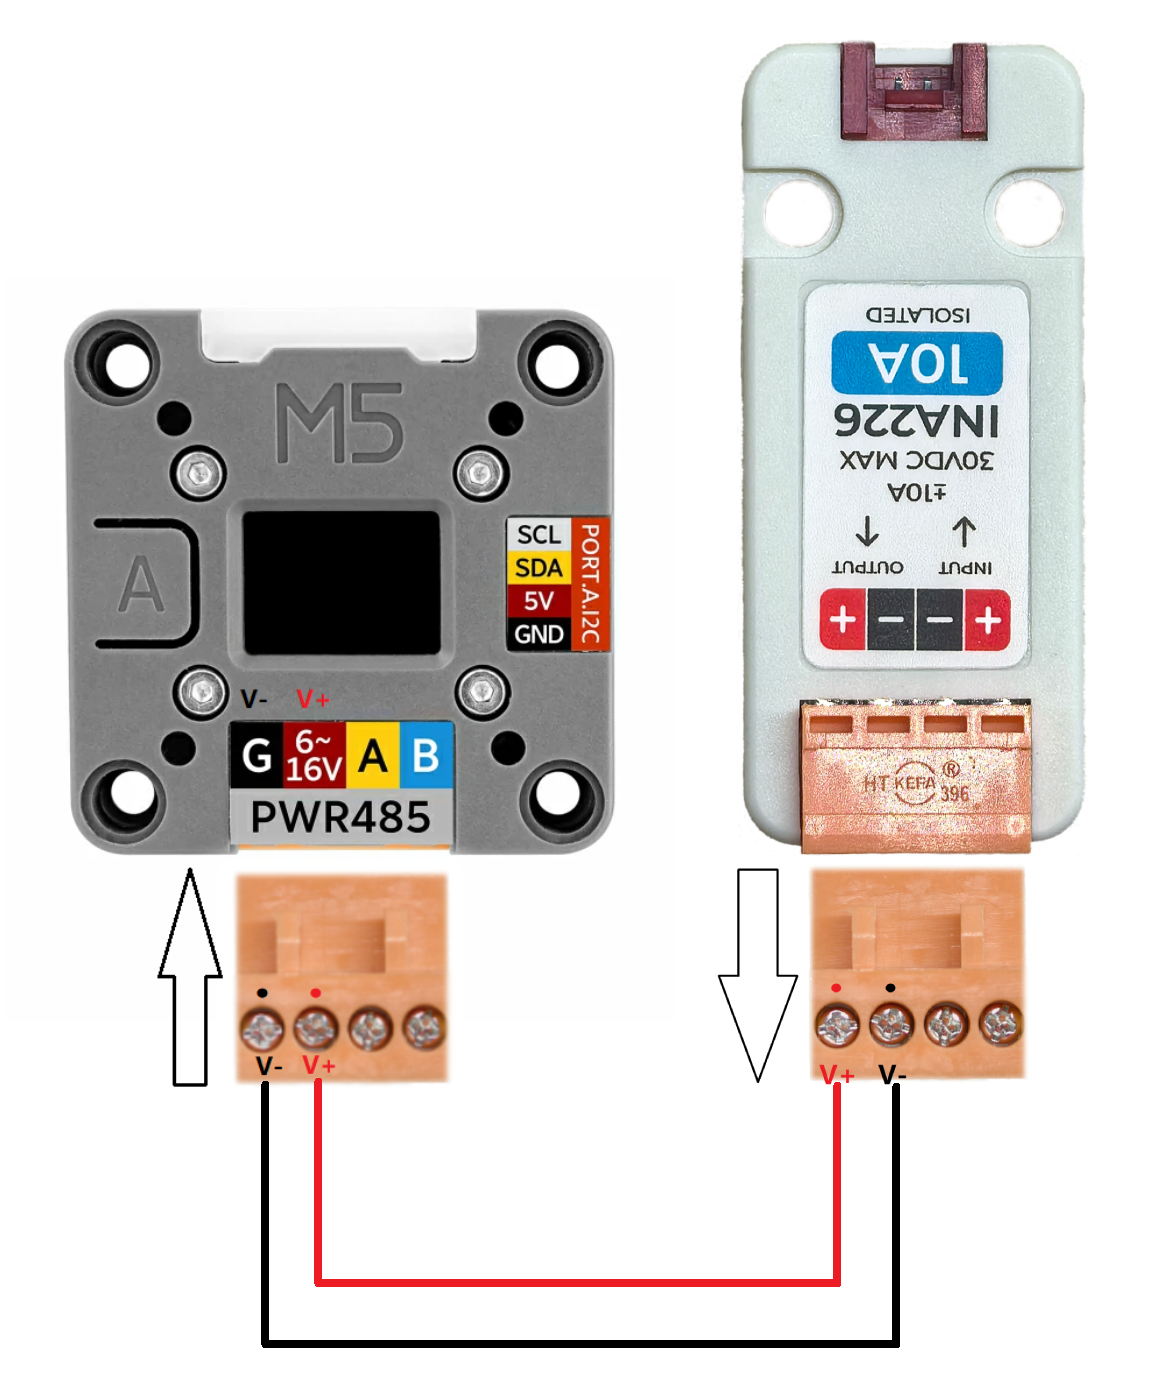
1. 本電流・電圧検出ユニットを使用する際は、ポート接続の電圧の極性をユニット上のラベル通りに厳守してください。逆接続するとユニットが損傷します。INPUT 端は自己復帰型ヒューズを備えており、デフォルトでは入力電源を接続し、OUTPUT 端に負荷を接続します(逆にすると、下記のサンプルで測定される電流が負の値になります)。
2. 入力電源は本ユニットを通して負荷機器へ電力供給が可能です。
2. 入力電源は本ユニットを通して負荷機器へ電力供給が可能です。
以下では Unit Roller485 を例にし、入力電源も同様に接続時は極性に注意してください。
測定モード
- シングル測定:現在の電流、電圧、電力などのデータを 1 回測定します。
measureSingleshot関数で設定します。
- シングル測定:現在の電流、電圧、電力などのデータを 1 回測定します。
- 周期測定:現在の電流、電圧、電力などのデータを周期的に継続して測定します。
startPeriodicMeasurement関数で開始し、stopPeriodicMeasurement関数で停止します。
- 周期測定:現在の電流、電圧、電力などのデータを周期的に継続して測定します。
このチュートリアルでは Basic v2.7 と Unit INA226-10A を使用し(Unit INA226-1A を使用する場合は以下コードの #define USING_UNIT_INA226_1A を使用)、Unit Roller485 の電圧と電流を測定します。本ユニットは I2C 通信方式を採用しており、回路接続に応じてコード内のピン定義を修正してください。デバイス接続後、対応する I2C ピンは G22 (SCL) と G21 (SDA) です。
cpp
1 2 3 4 5 6 7 8 9 10 11 12 13 14 15 16 17 18 19 20 21 22 23 24 25 26 27 28 29 30 31 32 33 34 35 36 37 38 39 40 41 42 43 44 45 46 47 48 49 50 51 52 53 54 55 56 57 58 59 60 61 62 63 64 65 66 67 68 69 70 71 72 73 74 75 76 77 78 79 80 81 82 83 84 85 86 87 88 89
#include <M5Unified.h>
#include <M5UnitUnified.h>
#include <M5UnitUnifiedMETER.h>
#include <Wire.h>
// *************************************************************
// Choose one define symbol to match the unit you are using
// *************************************************************
#if !defined(USING_UNIT_INA226_1A) && !defined(USING_UNIT_INA226_10A)
// #define USING_UNIT_INA226_1A
#define USING_UNIT_INA226_10A
#endif
namespace {
auto& lcd = M5.Display;
m5::unit::UnitUnified Units;
#if defined(USING_UNIT_INA226_1A)
#pragma message "Using 1A"
m5::unit::UnitINA226_1A unit_ina226;
#elif defined(USING_UNIT_INA226_10A)
#pragma message "Using 10A"
m5::unit::UnitINA226_10A unit_ina226;
#else
#error "Choose unit"
#endif
}  // namespace
void setup()
{
    M5.begin();
    // The screen shall be in landscape mode
    if (lcd.height() > lcd.width()) {
        lcd.setRotation(1);
    }
    auto pin_num_sda = M5.getPin(m5::pin_name_t::port_a_sda);
    auto pin_num_scl = M5.getPin(m5::pin_name_t::port_a_scl);
    M5_LOGI("getPin: SDA:%u SCL:%u", pin_num_sda, pin_num_scl);
    Wire.end();
    Wire.begin(pin_num_sda, pin_num_scl, 400000U);
    if (!Units.add(unit_ina226, Wire) || !Units.begin()) {
        M5_LOGE("Failed to begin");
        lcd.clear(TFT_RED);
        while (true) {
            m5::utility::delay(10000);
        }
    }
    lcd.setFont(&fonts::FreeMonoBoldOblique9pt7b);
    lcd.setTextColor(TFT_BLACK);
    M5_LOGI("M5UnitUnified has been begun");
    M5_LOGI("%s", Units.debugInfo().c_str());
    lcd.clear(TFT_WHITE);
    lcd.setCursor(0, 120);
    lcd.printf("Press BtnA or touch the screen to switch the measurement mode");
}
void loop()
{
    using namespace m5::unit::ina226;
    M5.update();
    auto touch = M5.Touch.getDetail();
    Units.update();
    if (unit_ina226.updated()) {
        lcd.startWrite();
        lcd.fillRect(0, 10, lcd.width(), 24 * 4, TFT_WHITE);
        lcd.setCursor(0, 10);
        lcd.printf(
            " C:%5.2f mA\n"
            "SV:%5.2f mV\n"
            "BV:%5.2f mV\n"
            " P:%5.2f mW",
            unit_ina226.current(), unit_ina226.shuntVoltage(), unit_ina226.voltage(), unit_ina226.power());
        lcd.endWrite();
    }
    if (M5.BtnA.wasClicked() || touch.wasClicked()) {//switch measurement mode
        static bool single{};
        single = !single;
        if (single) {//single measurement
            M5.Speaker.tone(1500, 20);//prompt tone
            Data d{};
            unit_ina226.stopPeriodicMeasurement();
            if (unit_ina226.measureSingleshot(d)) {
                M5.Log.printf("Single:A:%f SV:%f BV:%f W:%f\n", unit_ina226.current(), unit_ina226.shuntVoltage(), unit_ina226.voltage(),
                              unit_ina226.power());
            } else {
                M5_LOGE("Failed to measureSingleshot");
            }
        } else {//periodic measurement
            M5.Speaker.tone(2500, 20);//prompt tone
            M5.Log.printf("Start periodic\n");
            unit_ina226.startPeriodicMeasurement();
        }
    }
}4. コンパイルとアップロード
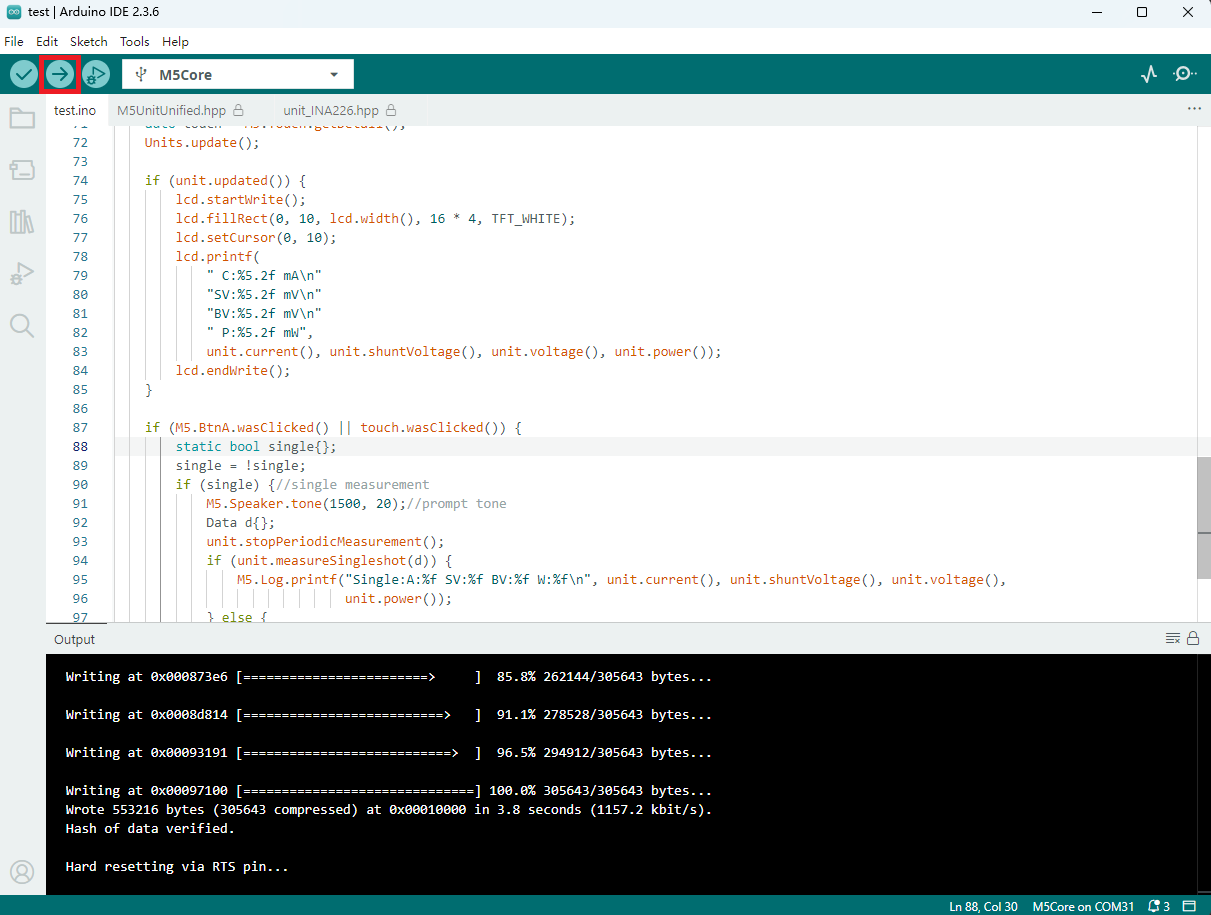
- デバイスポートを選択(詳細は プログラムのコンパイルと書き込み を参照)し、Arduino IDE 左上のコンパイル&アップロードボタンをクリックします。プログラムがコンパイルされ、デバイスにアップロードされるまで待ちます。
5. 電圧・電流測定結果
- Unit INA226-10A が測定した Unit Roller485 の電圧・電流などの情報は以下の図の通りです。
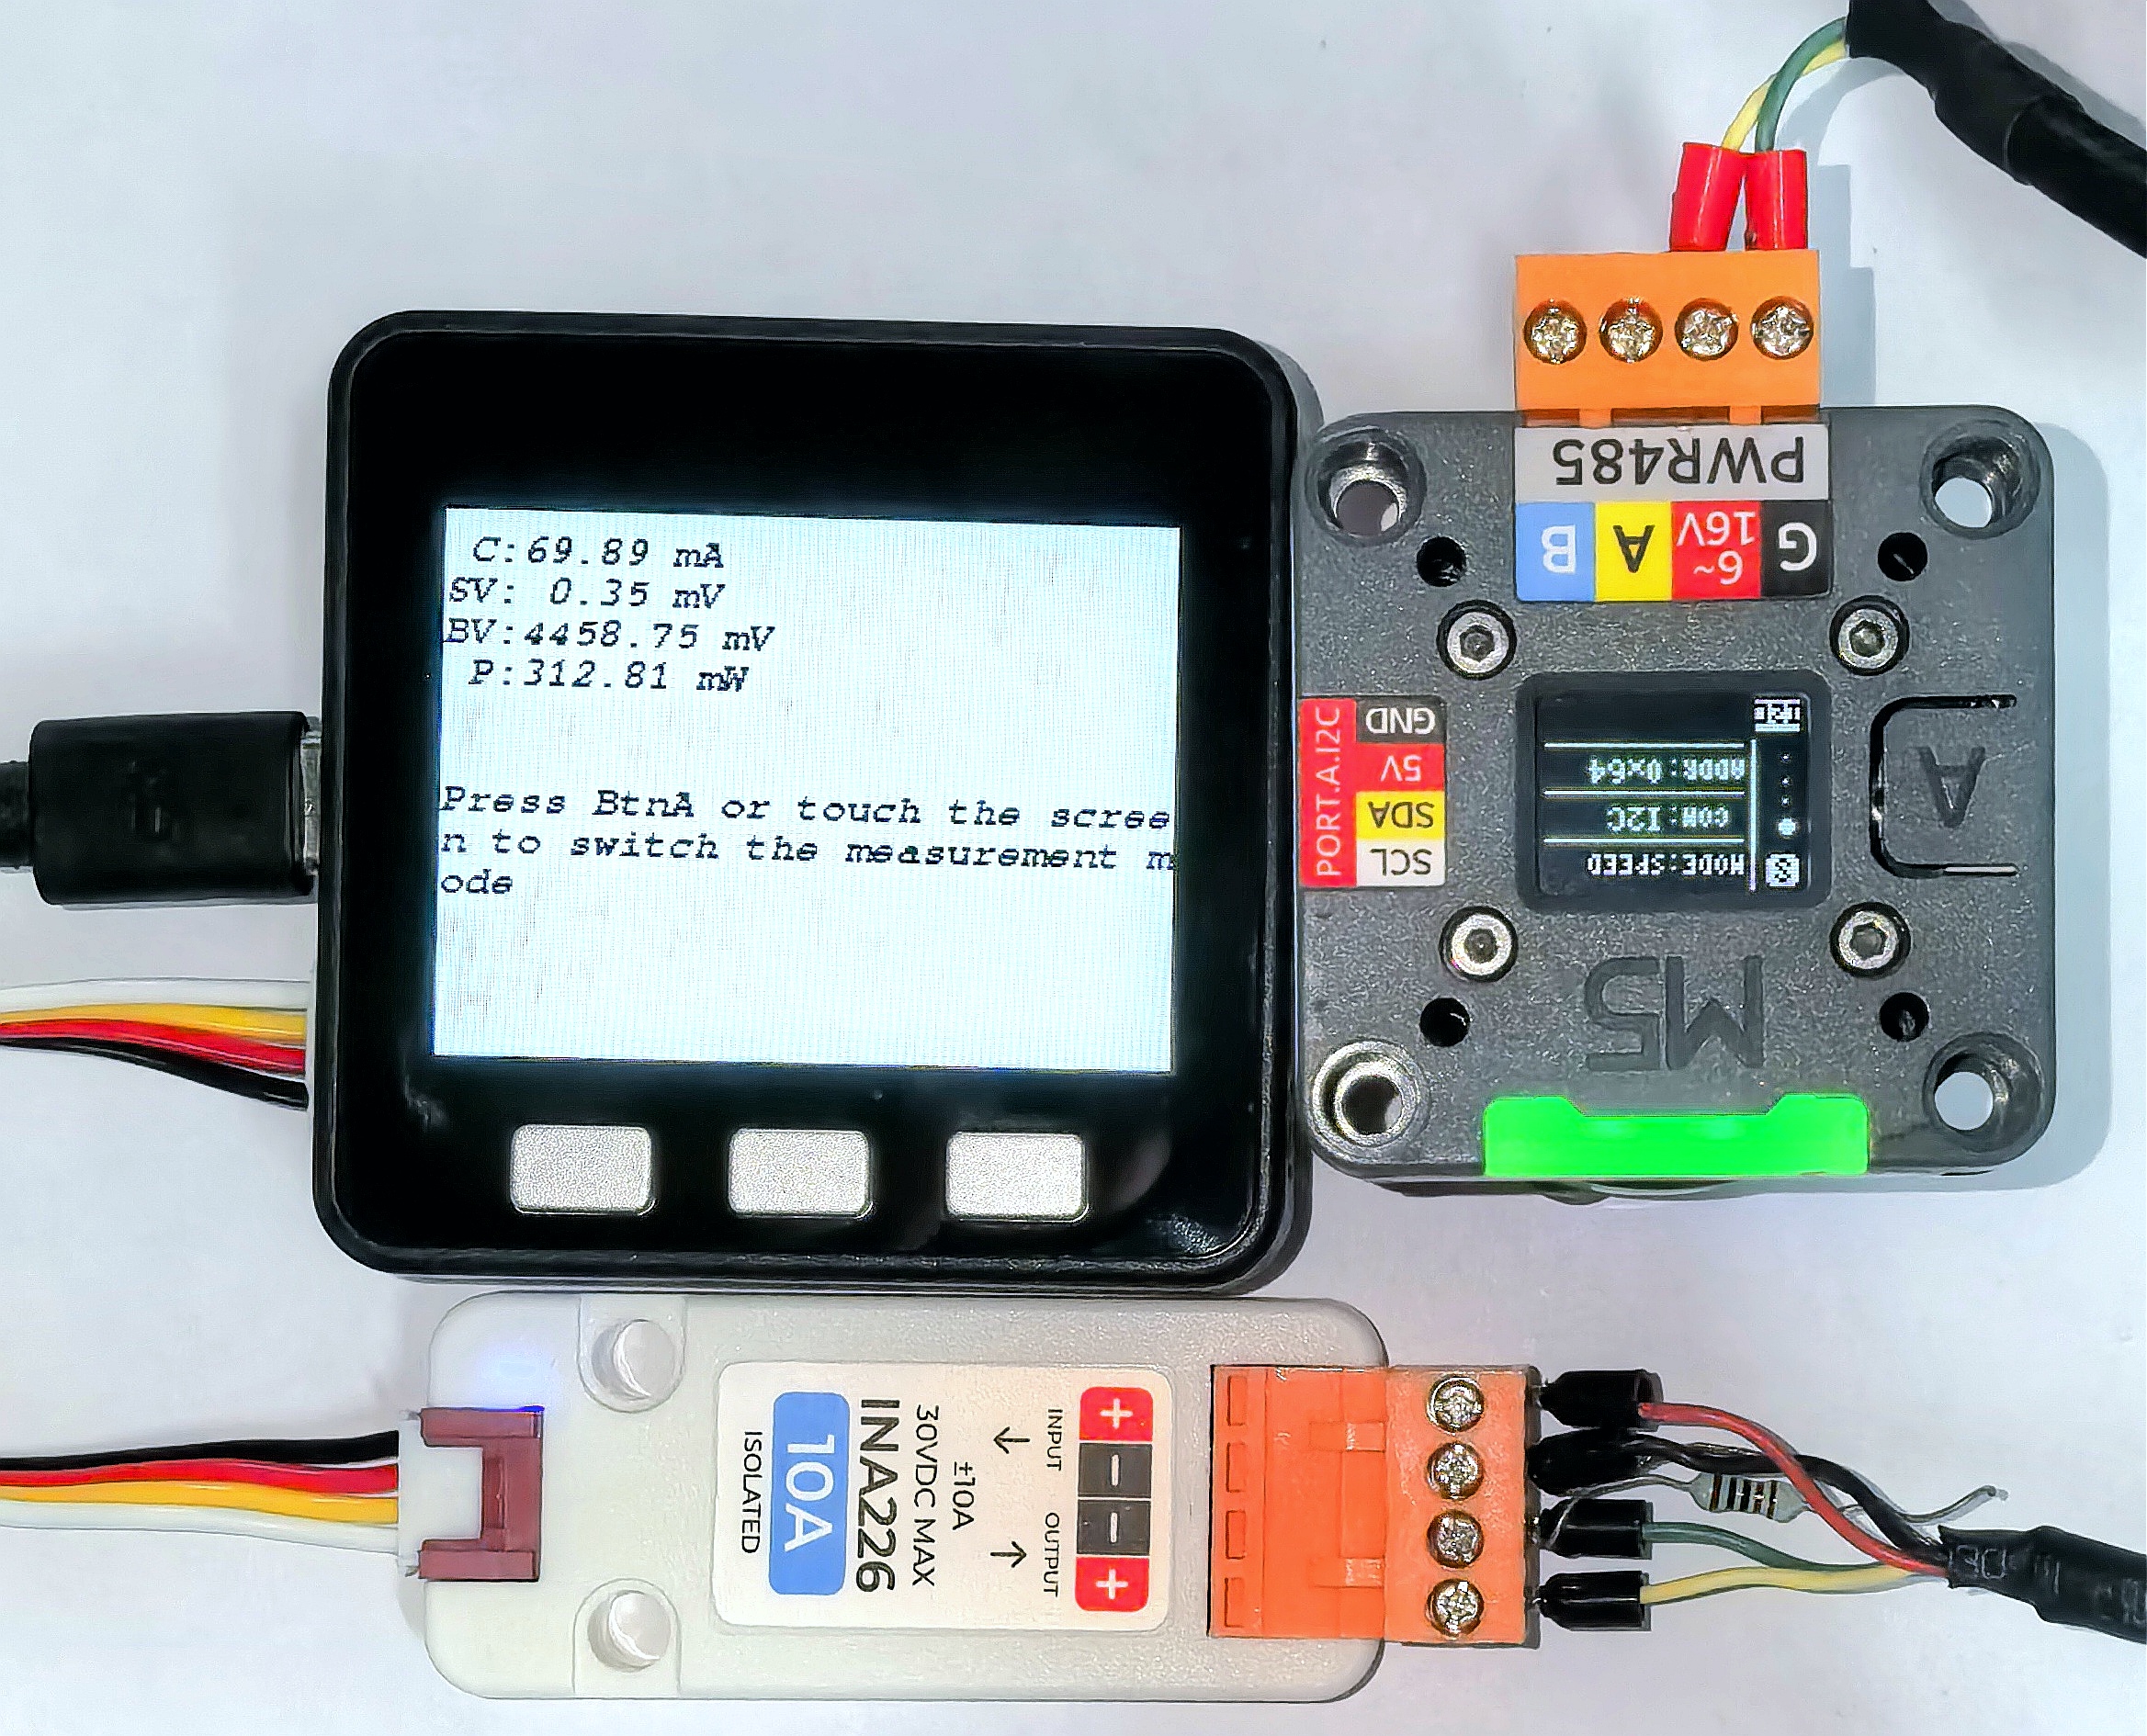
ここで C は電流、SV はシャント抵抗の電圧、BV はバス電圧、P は電力を表します。ボタン A を押すかタッチスクリーン(物理ボタンがない主制御デバイスも対応)を操作することで、単発測定と周期測定を切り替えることができます。
