

Arduino入門
2. デバイス&サンプル
3. M5Unified
4. M5GFX
5. 拡張モジュール&サンプル
Unit
Atomic
Tab5
IoT
アクセサリー
Atomic Display Base Arduino 使用チュートリアル
1. 準備作業
1. 開発環境の設定:Arduino IDE 入門チュートリアルを参考に IDE をインストールし、使用する開発ボードに応じてボードマネージャーと必要なライブラリをインストールしてください。
2. 使用ライブラリ:
3. 使用するハードウェア製品:


2. サンプルプログラム
M5Unifiedライブラリに含まれるDisplaysサンプルを参考に、本チュートリアルで使用するデバイスに合わせて設定を一部変更しました。使用する外部ディスプレイの解像度に応じて、13 行目と 14 行目のコードを変更してください。
ディスプレイ互換性|Atomic Display Base は、解像度の自動スケーリングに対応したモニターと一緒に使用する必要があります。一部の非対応ディスプレイでは、表示に異常が発生する可能性があります。
cpp
1 2 3 4 5 6 7 8 9 10 11 12 13 14 15 16 17 18 19 20 21 22 23 24 25 26 27 28 29 30 31 32 33 34 35 36 37 38 39 40 41 42 43 44 45 46 47 48 49 50 51 52 53 54 55 56 57 58 59 60 61 62 63 64 65 66 67 68 69 70 71 72 73 74 75 76 77
#include <Arduino.h>
#include <M5AtomDisplay.h>
#include <M5Unified.h>

void setup() {
  auto cfg = M5.config();

  // external display setting. (Pre-include required)
  cfg.external_display.atom_display = true;  // default=true. use AtomDisplay

  // Set individual parameters for external displays.
  // (※ Use only the items you wish to change. Basically, it can be omitted.)
  cfg.atom_display.logical_width = 1920;
  cfg.atom_display.logical_height = 1200;
  // cfg.atom_display.output_width   = 1920;
  // cfg.atom_display.output_height  = 1080;
  // cfg.atom_display.refresh_rate   = 60;
  // cfg.atom_display.scale_w        = 2;
  // cfg.atom_display.scale_h        = 2;
  // cfg.atom_display.pixel_clock    = 74250000;

  // begin M5Unified.
  M5.begin(cfg);

  // Get the number of available displays
  int display_count = M5.getDisplayCount();

  for (int i = 0; i < display_count; ++i) {
    // All displays are available in M5.Displays.
    // ※ Note that the order of which displays are numbered is the order in which they are detected, so the order may change.

    M5.Displays(i).clear();
    int textsize = M5.Displays(i).height() / 120;
    if (textsize < 5) { textsize = 3; }
    M5.Displays(i).setTextSize(textsize);
    M5.Displays(i).printf("\n\nNo.%d\n\n", i);
  }

  // If an external display is to be used as the main display, it can be listed in order of priority.
  M5.setPrimaryDisplayType({
    m5::board_t::board_M5AtomDisplay,
    // m5::board_t::board_M5ModuleDisplay,
  });

  // The primary display can be used with M5.Display.
  M5.Display.print("primary display\n\n");

  // Examine the indexes of a given type of display
  int index_atom_display = M5.getDisplayIndex(m5::board_t::board_M5AtomDisplay);

  if (index_atom_display >= 0) {
    M5.Displays(index_atom_display).print("This is Atom Display\n");
  }

  M5.delay(2500);
}

void loop() {
  M5.delay(100);

  int x = rand() % M5.Displays(0).width();
  int y = rand() % M5.Displays(0).height();
  int r = (M5.Displays(0).width() >> 2) + 2;
  uint16_t c = rand();
  M5.Displays(0).fillCircle(x, y, r, c);

  draw_function(&M5.Displays(1));
}

// When creating a function for drawing, it can be used universally by accepting a LovyanGFX type as an argument.
void draw_function(LovyanGFX* gfx) {
  int x = rand() % gfx->width();
  int y = rand() % gfx->height();
  int r = (gfx->width() >> 6) + 2;
  uint16_t c = rand();
  gfx->fillRect(x - r, y - r, r * 2, r * 2, c);
}3. コンパイルと書き込み
1. ダウンロードモード:プログラムを書き込む前に、メインコントローラーをダウンロードモードに切り替える必要があります。デバイスによって手順が異なるため、詳細はArduino IDE 入門チュートリアルのページ下部にあるデバイス別の書き込み手順を参照してください。
AtomS3R の場合、リセットボタンを約 2 秒間長押しして、内部の緑色 LED が点灯したらボタンを離します。この状態でダウンロードモードに入り、書き込み待機状態になります。

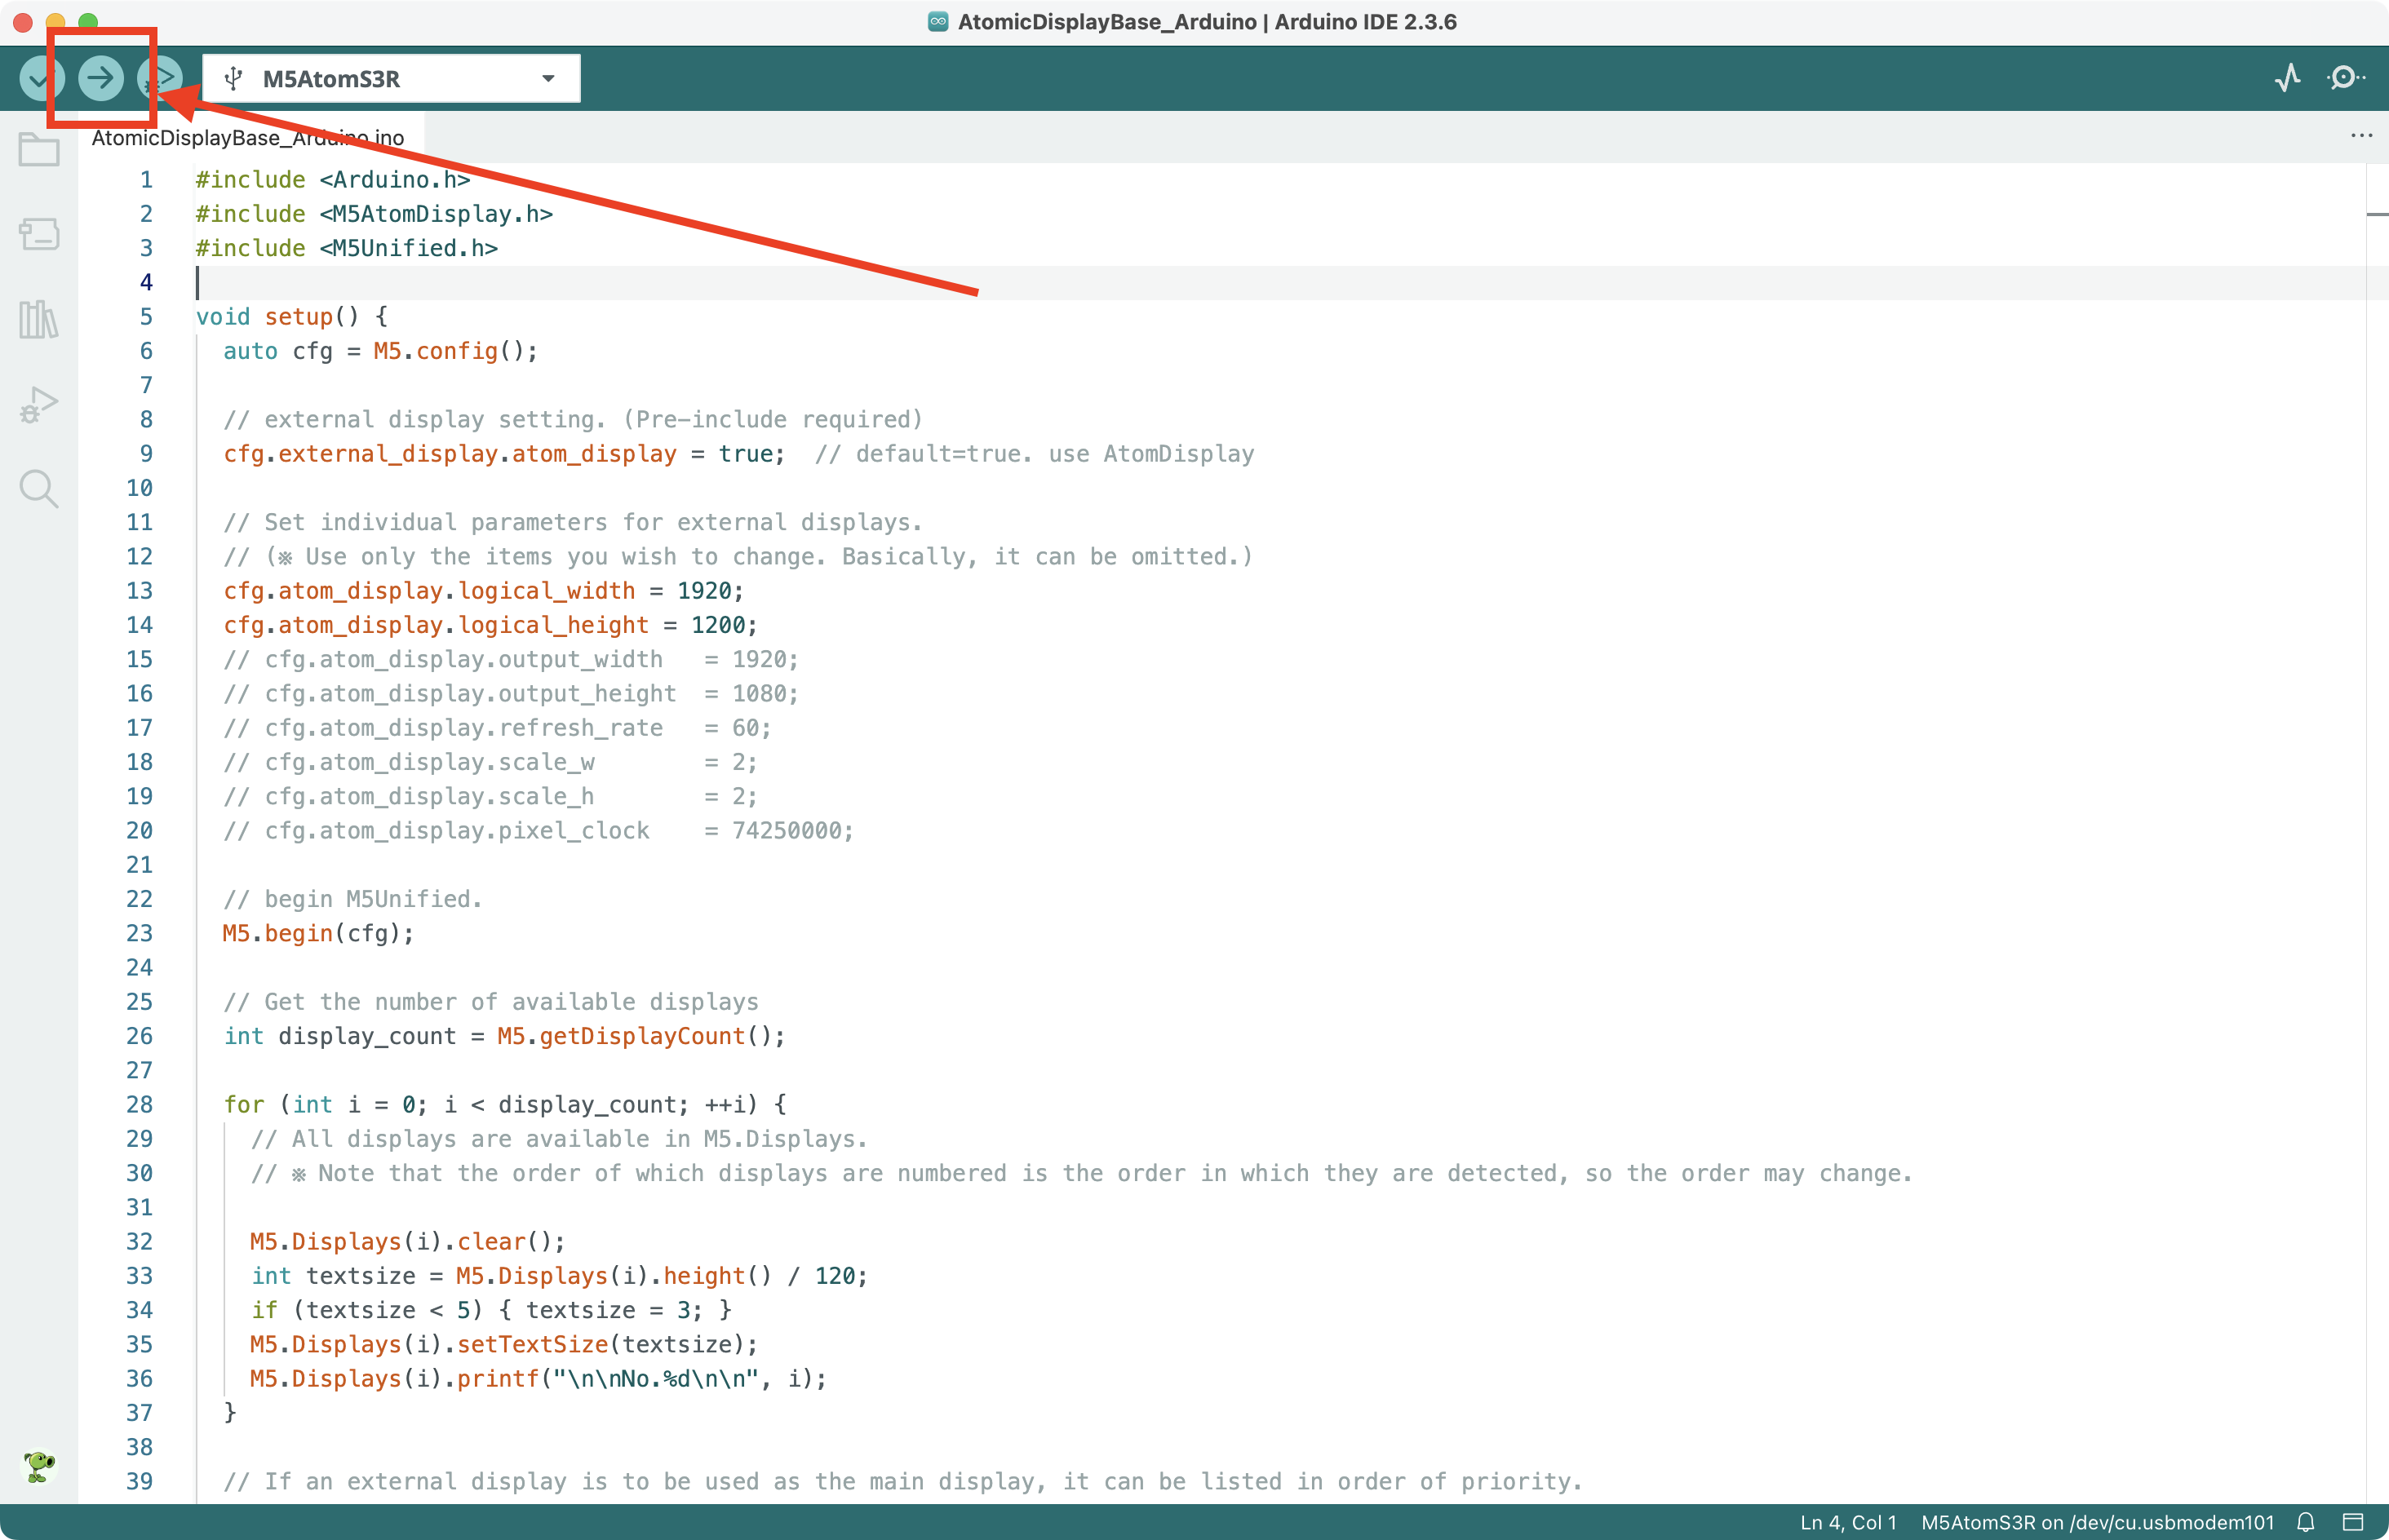
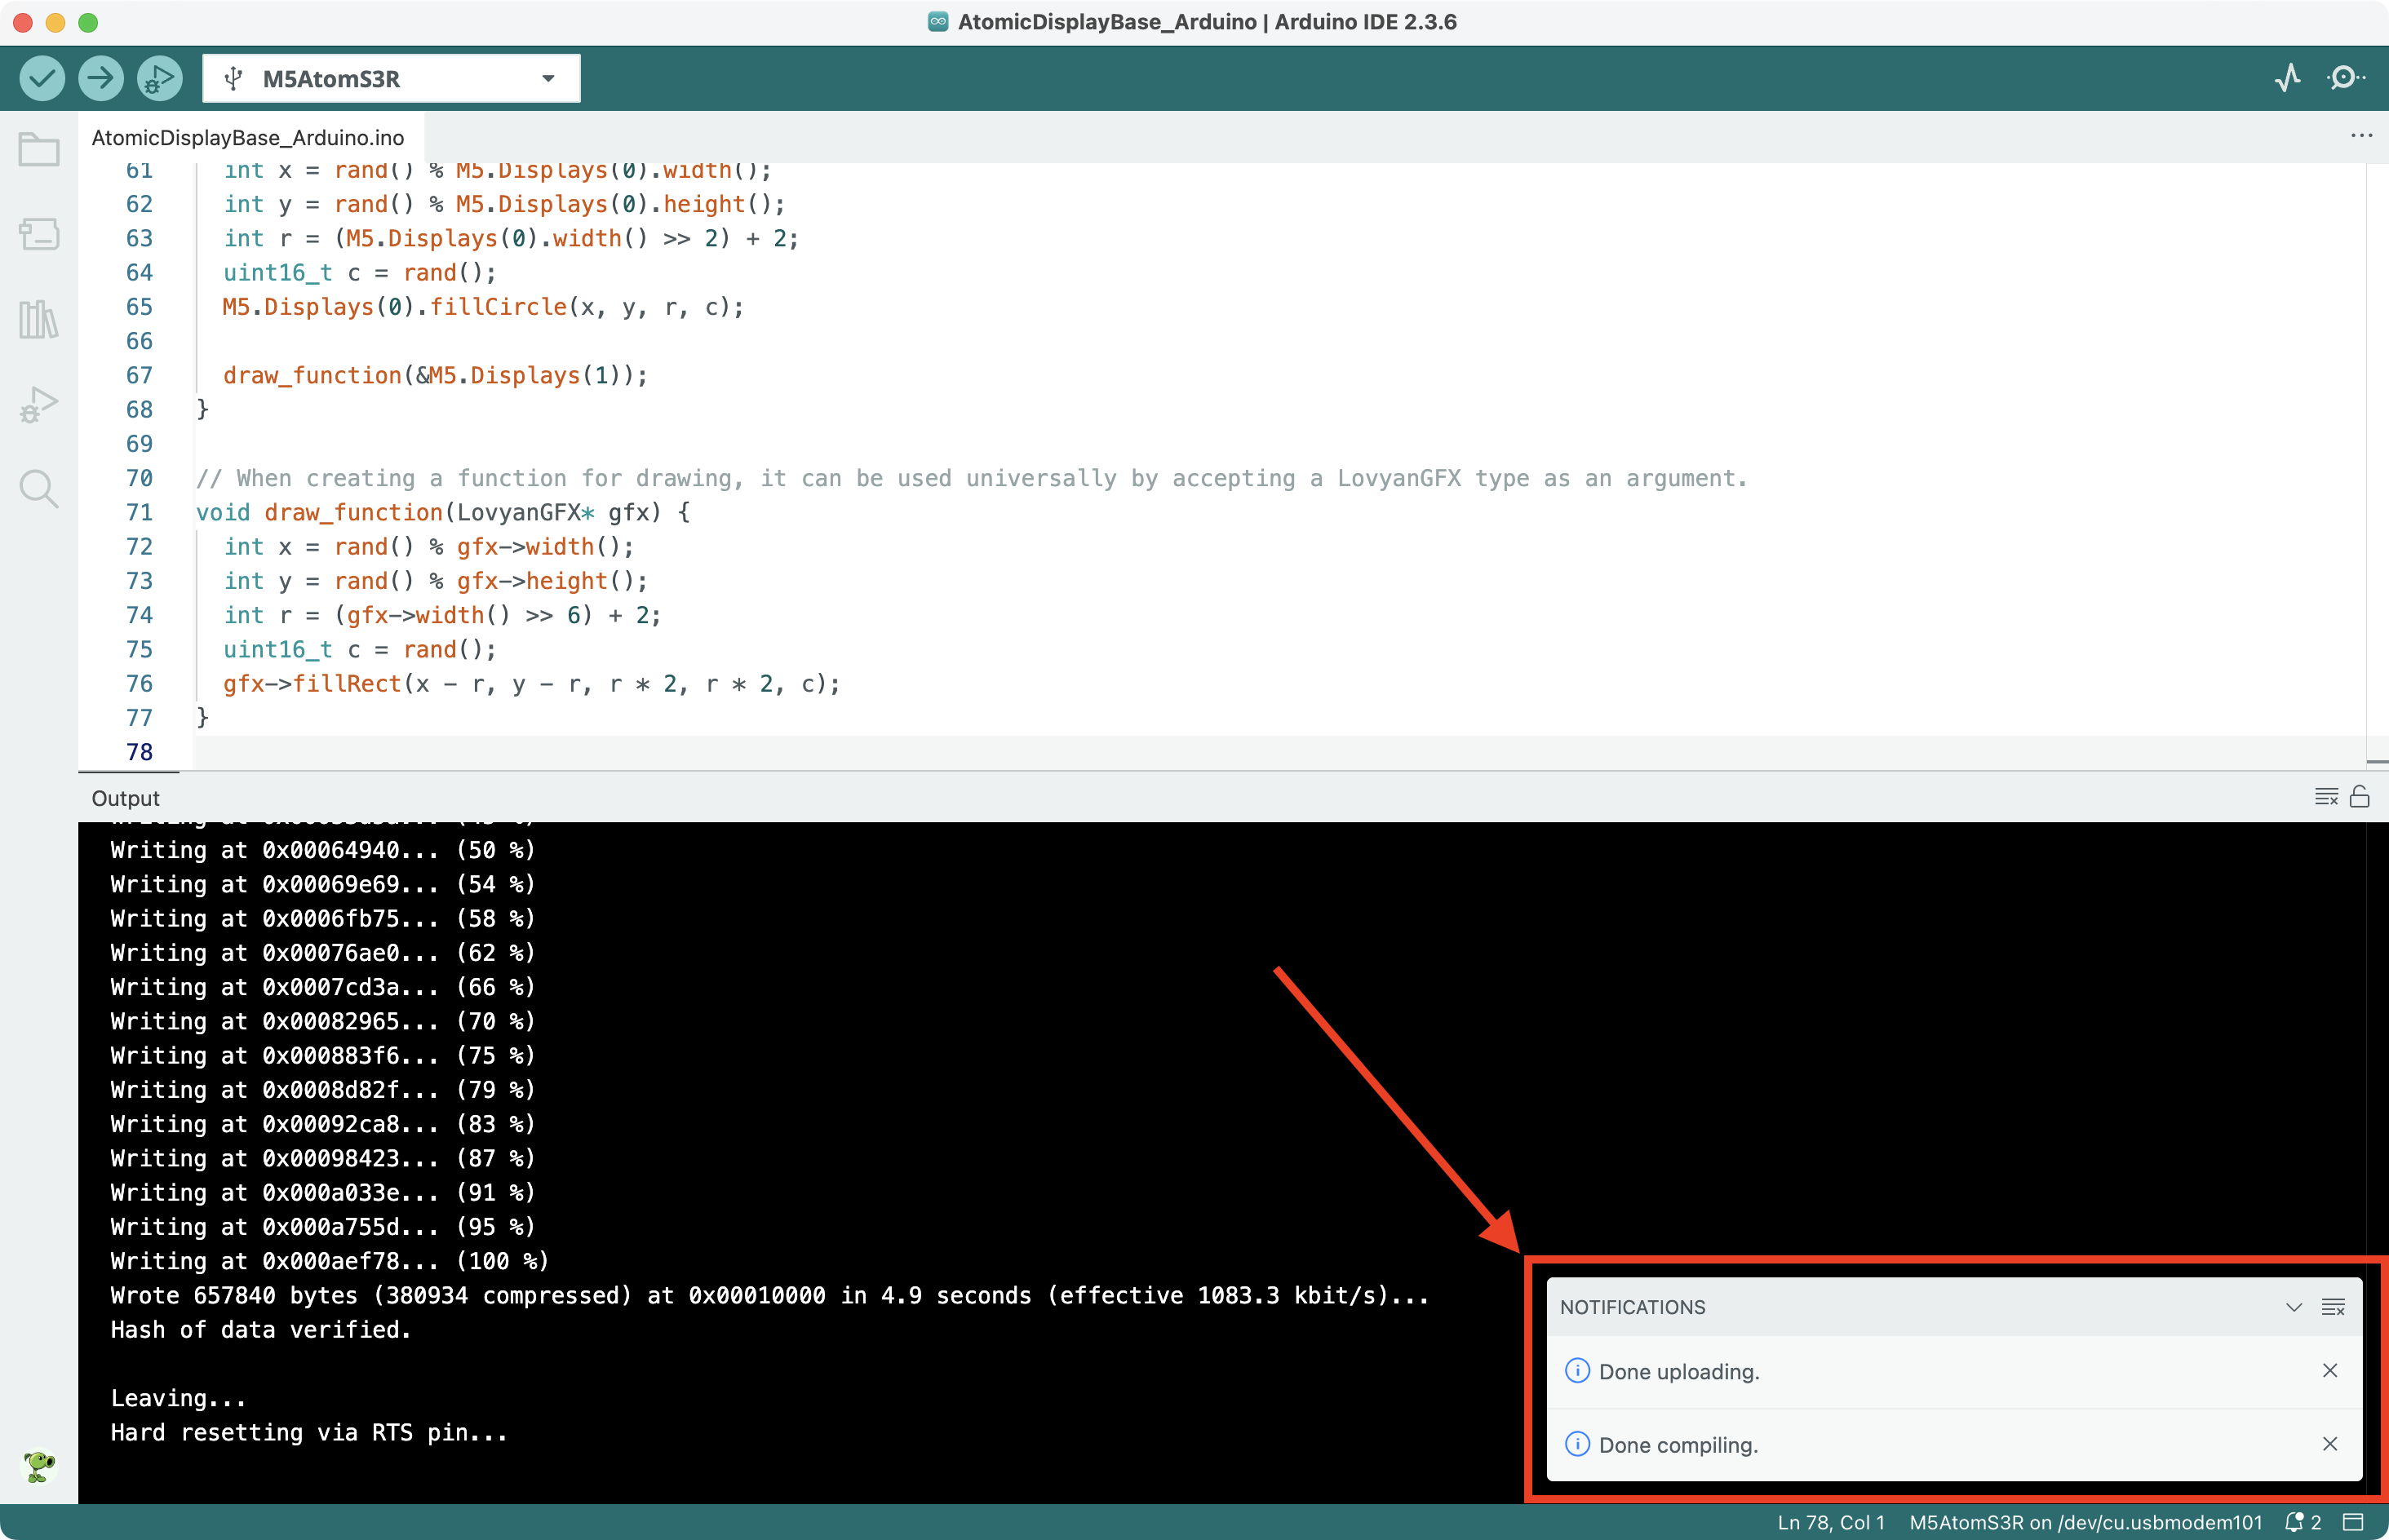
- 2.Arduino IDE の左上にあるコンパイル/アップロードボタンをクリックし、使用するポートを選択します。プログラムがコンパイルされ、デバイスに書き込まれるのを待ちます。
4. 実行開始
AtomS3R と Atomic Display Base を組み合わせ、高精細ビデオ拡張インターフェースを介してディスプレイに接続した後、リセットボタンを短く 1 回押してください。AtomS3R 本体の画面には多数のカラフルな円が表示され、外部ディスプレイには多数のカラフルな四角形が表示されます。表示効果は以下のとおりです。
Page Tools