Arduino Quick Start
2. Devices & Examples
3. M5Unified
4. M5GFX
5. Extensions
Unit
Base
IoT
Accessories
Chain Angle Tutorial
1.Preparation
- Environment Setup: Refer to the Arduino IDE Getting Started Guide to complete the IDE installation. Then install the corresponding board package and required driver libraries according to the development board you are using.
- Required Driver Library:
- Required Hardware Products:
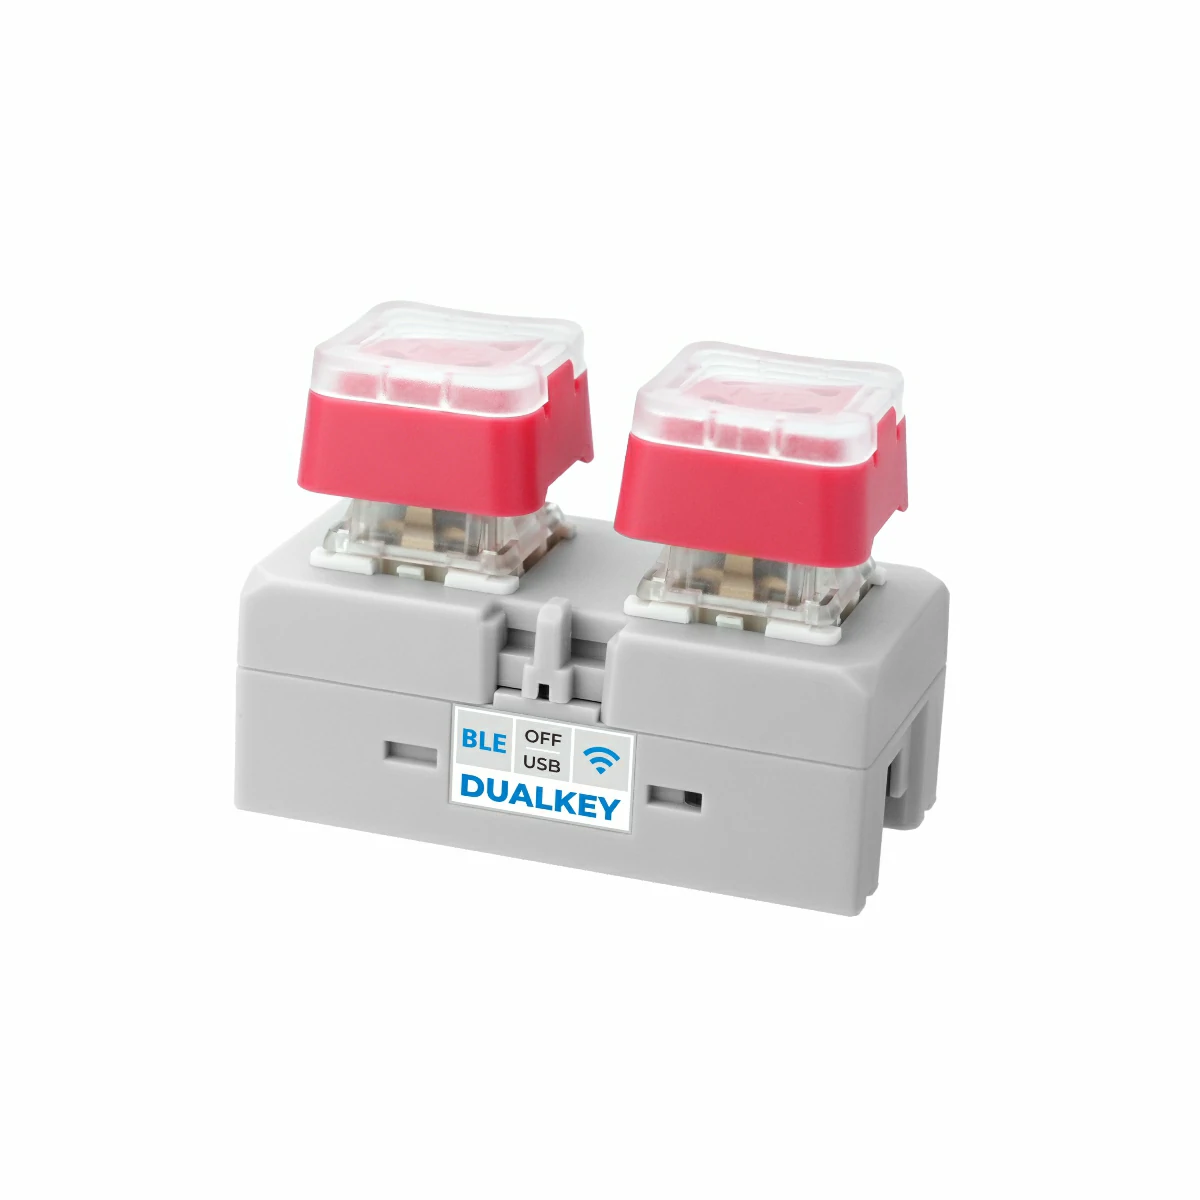
- Chain DualKey
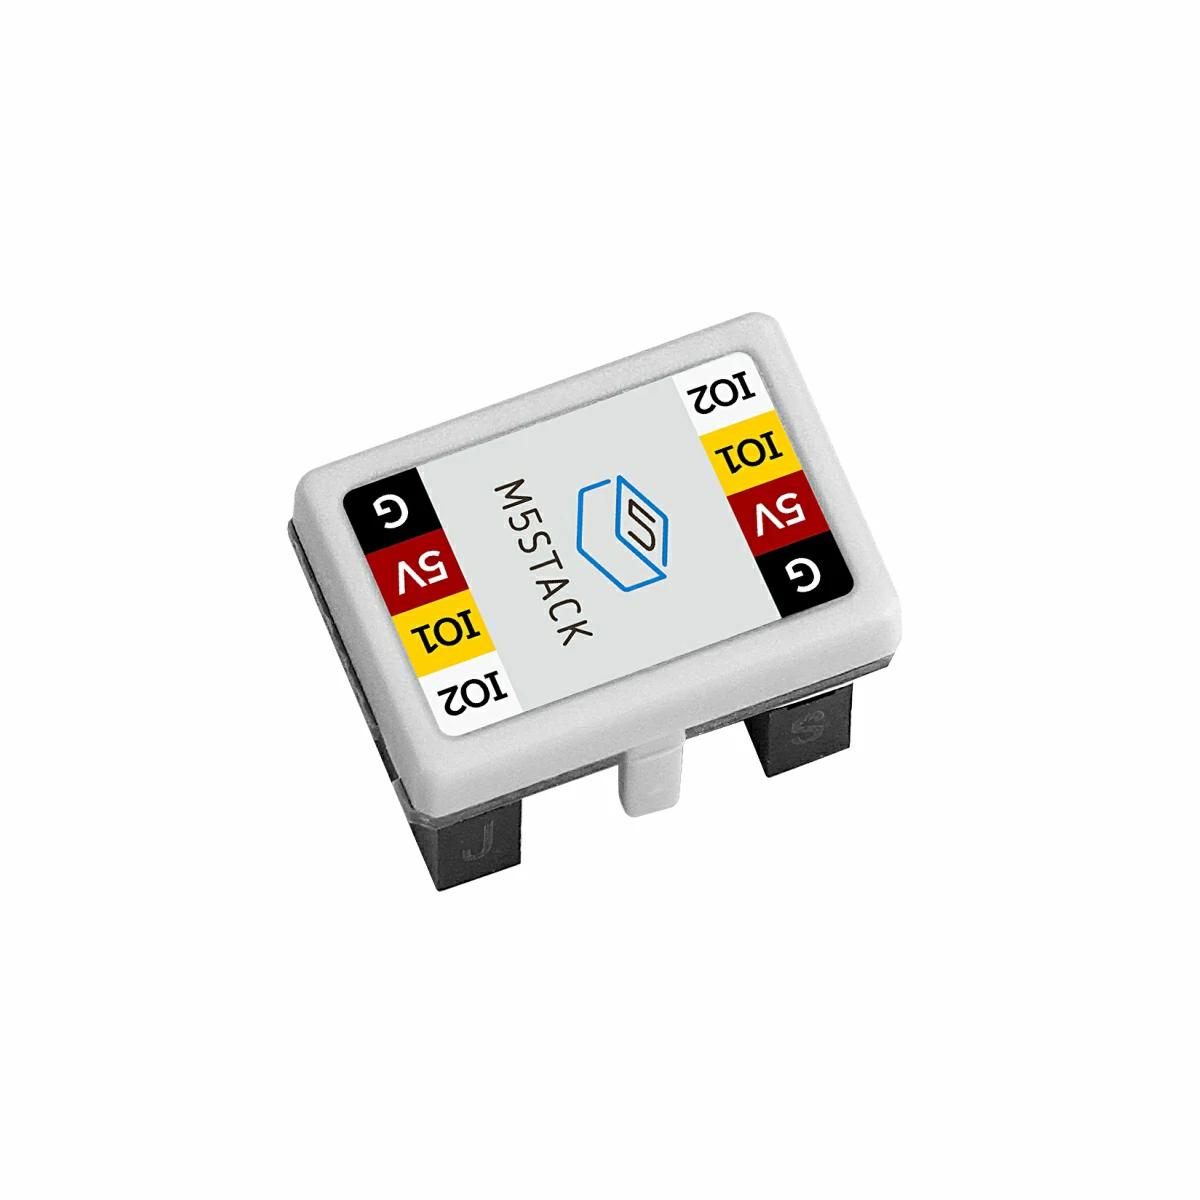
- Chain series connectors such as Chain Bridge or Chain Return
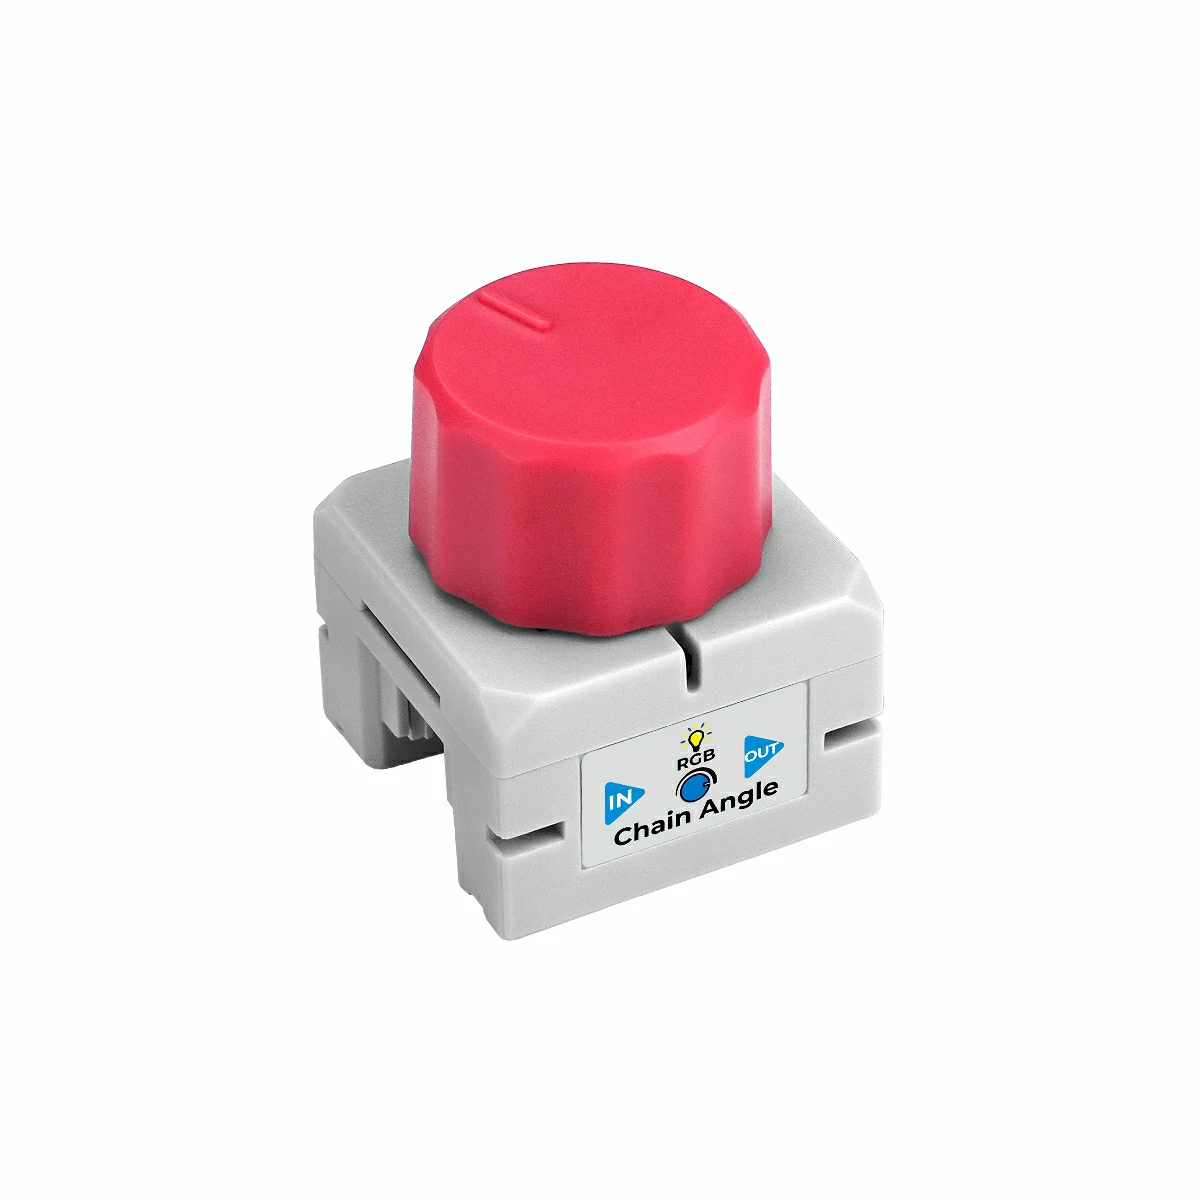
- Chain Angle
2.Example Program
Build Requirements
M5Stack Board Manager Version >= 3.2.4
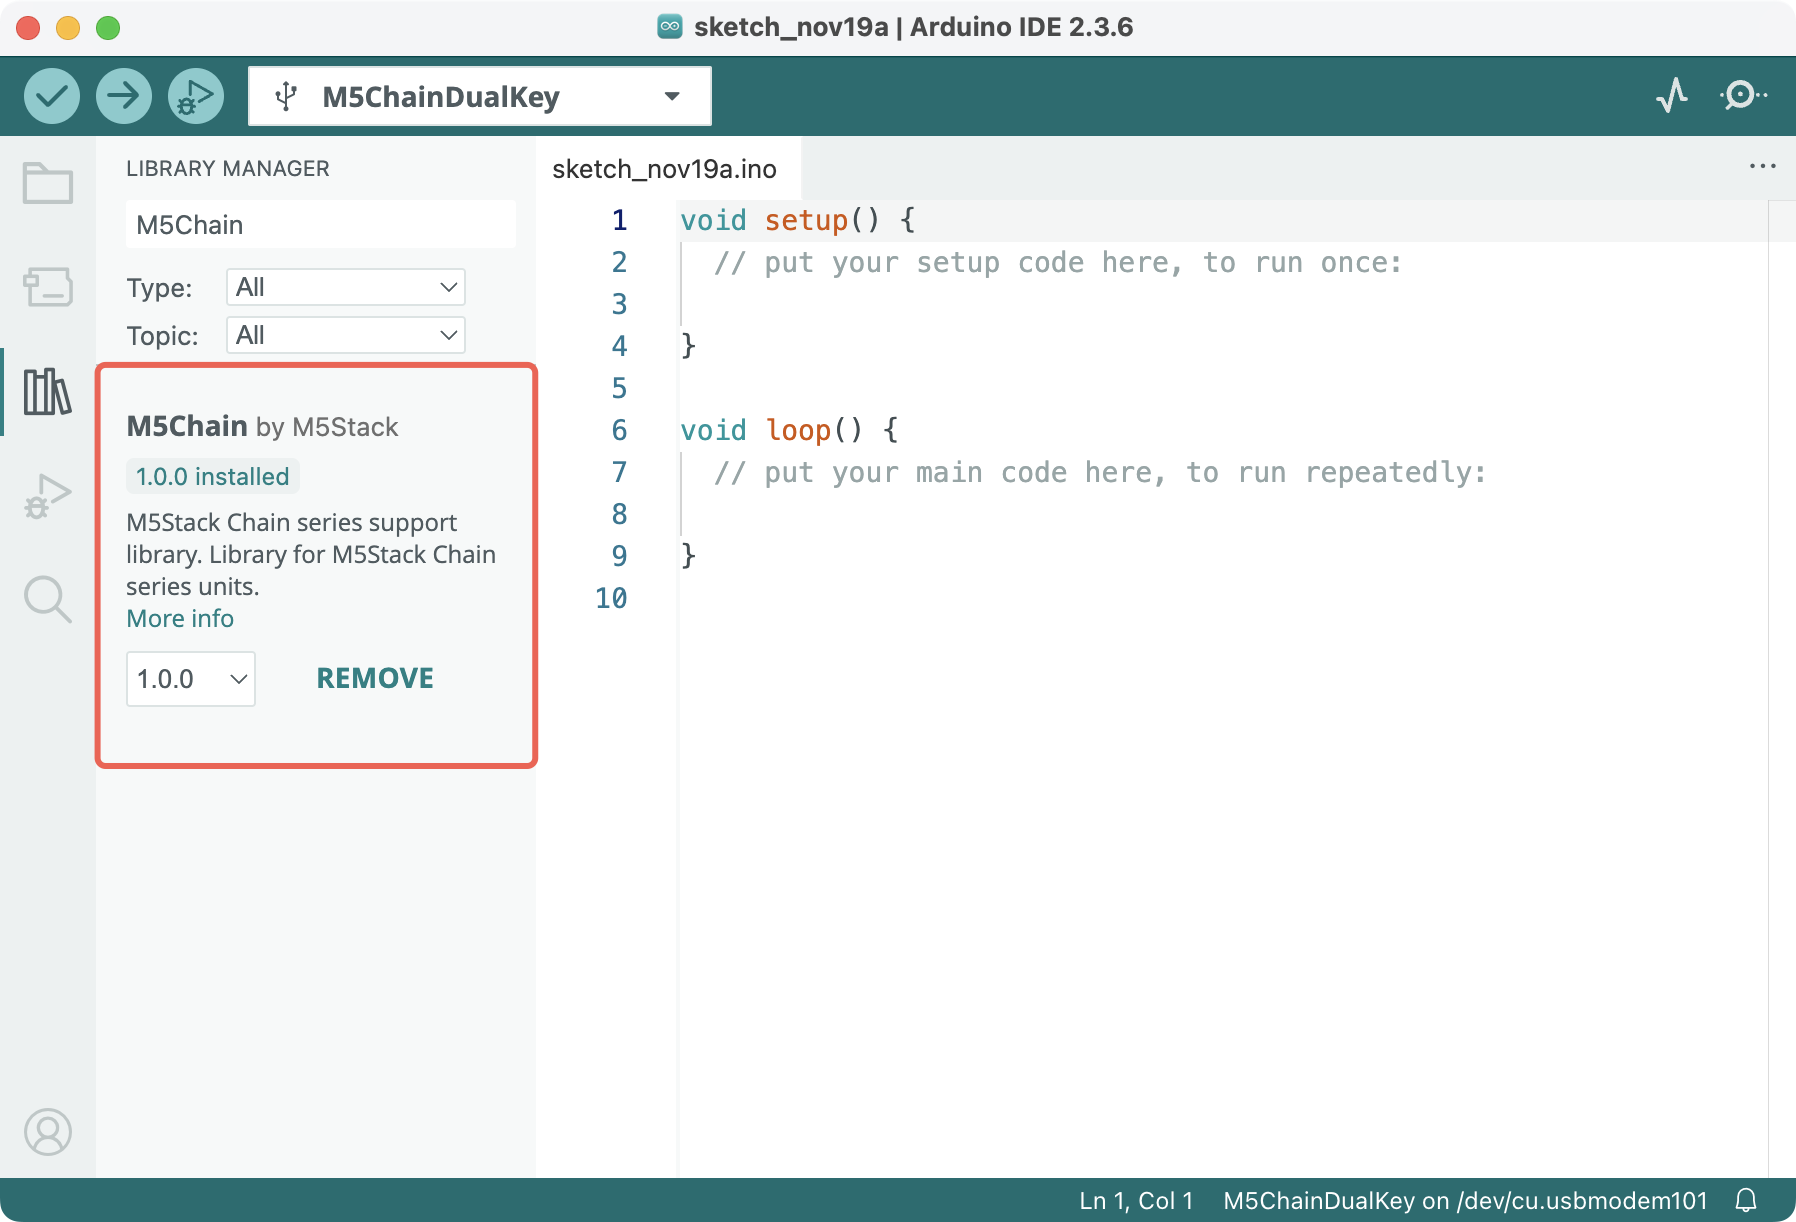
M5Chain Library Version >= 1.0.0
M5Chain Library Version >= 1.0.0
cpp
1 2 3 4 5 6 7 8 9 10 11 12 13 14 15 16 17 18 19 20 21 22 23 24 25 26 27 28 29 30 31 32 33 34 35 36 37 38 39 40 41 42 43 44
#include "M5Chain.h"

#define RXD_PIN GPIO_NUM_5  // 47 for the other side of Chain DualKey
#define TXD_PIN GPIO_NUM_6  // 48 for the other side of Chain DualKey

Chain M5Chain;

device_list_t *device_list = NULL;
uint16_t device_count = 0;

uint16_t angle_12bit;

void setup() {
  Serial.begin(115200);
  delay(1000);
  Serial.println("===========================");
  Serial.println("M5Stack Chain Angle Test");

  M5Chain.begin(&Serial2, 115200, RXD_PIN, TXD_PIN);
  while (!M5Chain.isDeviceConnected()) {
    Serial.println("No device connected");
    delay(1000);
  }

  M5Chain.getDeviceNum(&device_count);
  device_list = (device_list_t *)malloc(sizeof(device_list_t));
  device_list->count = device_count;
  device_list->devices = (device_info_t *)malloc(sizeof(device_info_t) * device_count);
  M5Chain.getDeviceList(device_list);

  if (device_list->devices[0].device_type == CHAIN_ANGLE_TYPE_CODE) {
    Serial.println("ID[1] is Chain Angle\n");
    delay(1000);
  } else {
    Serial.println("ID[1] is NOT Chain Angle\n");
    return;
  }
}

void loop() {
  M5Chain.getAngle12BitAdc(1, &angle_12bit);  // Device ID
  Serial.print("angle_12bit:");               // 0 - 4096
  Serial.println(angle_12bit);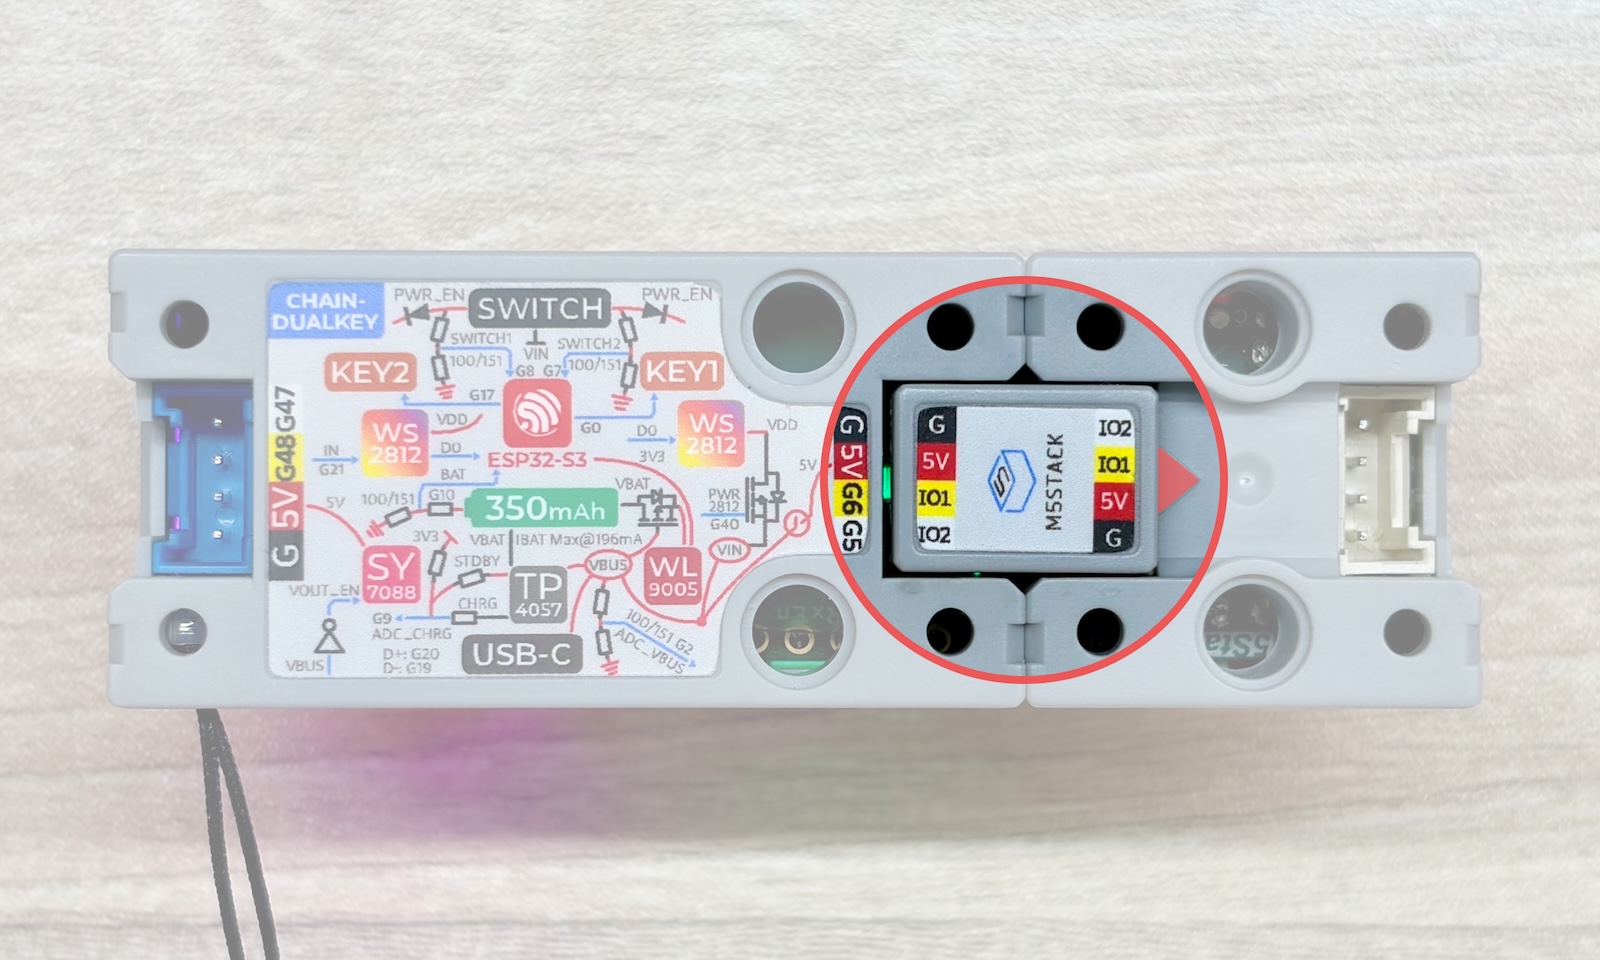
}Use the Chain Bridge connector to link the main controller Chain DualKey with Chain Angle. When connecting, make sure the direction is correct: the triangular arrow should point outward from the main controller Chain DualKey, as shown below:
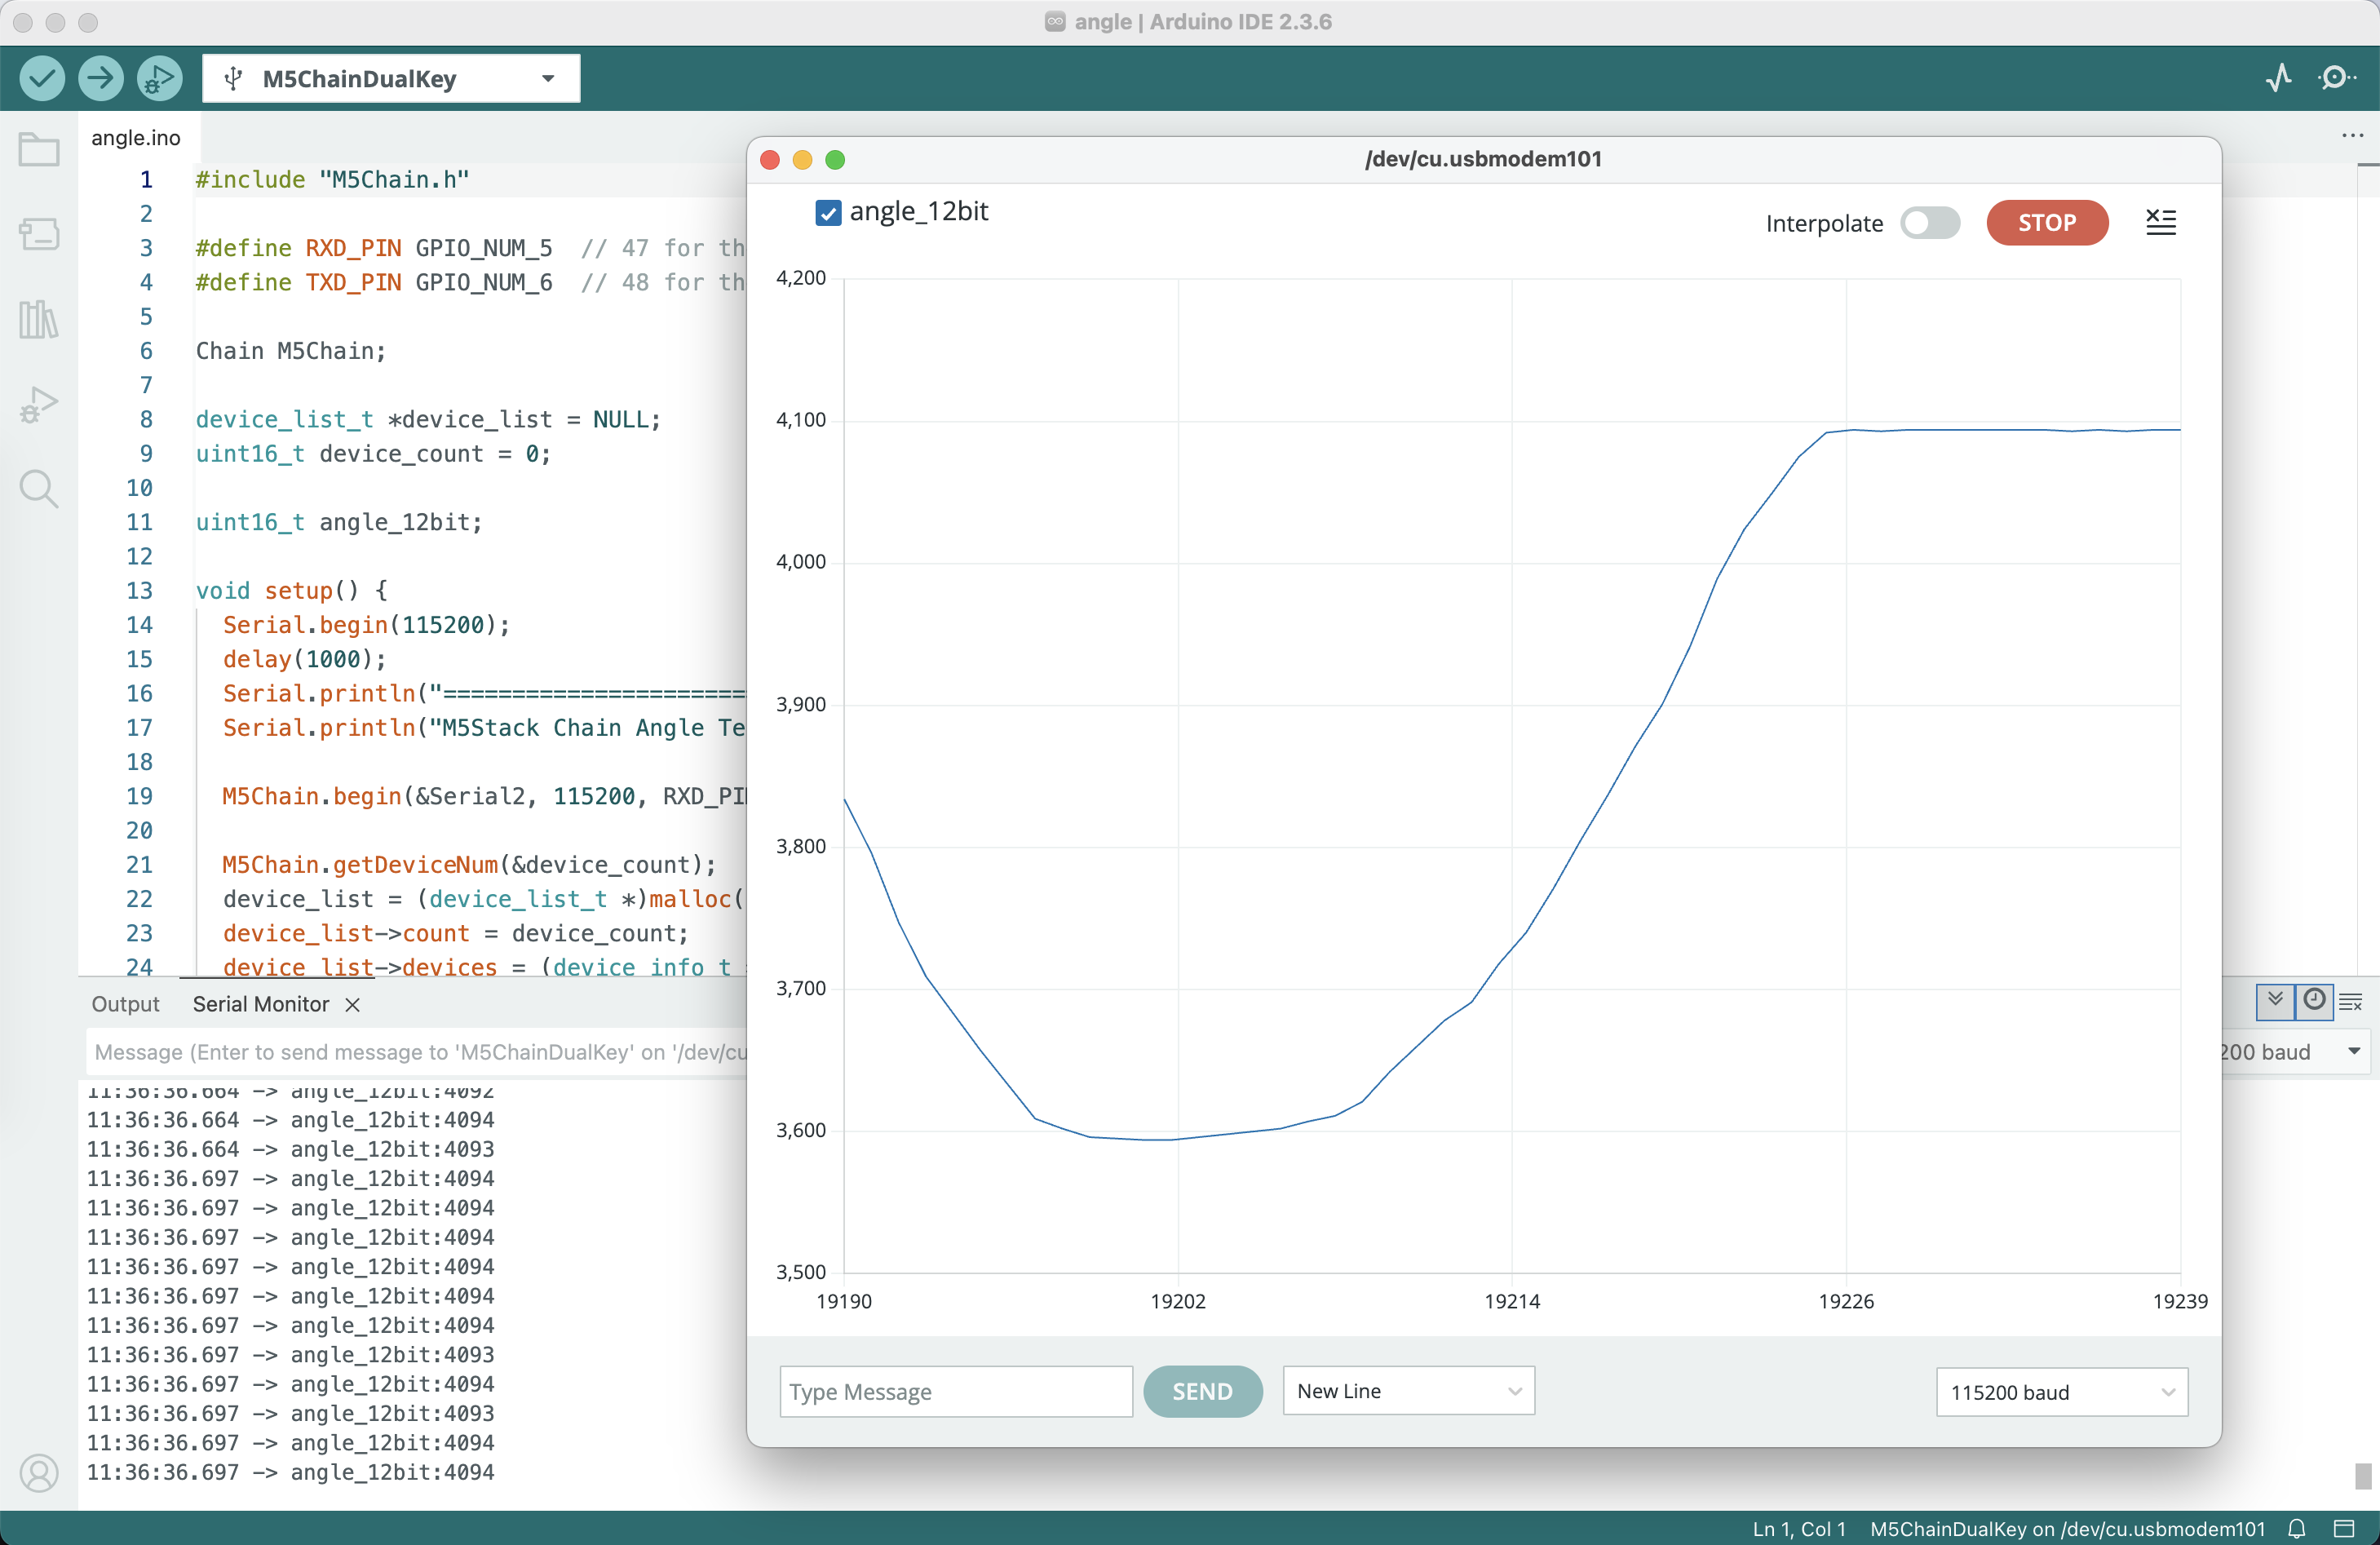
Compile and upload the above program to the device. Click the button in the upper-right corner of Arduino IDE to open Serial Plotter. Rotate the knob on Chain Angle; the knob position will be displayed in real time on the graph: