

Arduino Quick Start
2. Devices & Examples
3. M5Unified
4. M5GFX
5. Extensions
Unit
Module
Atomic
Tab5
IoT
Accessories
Core2 RGB LED
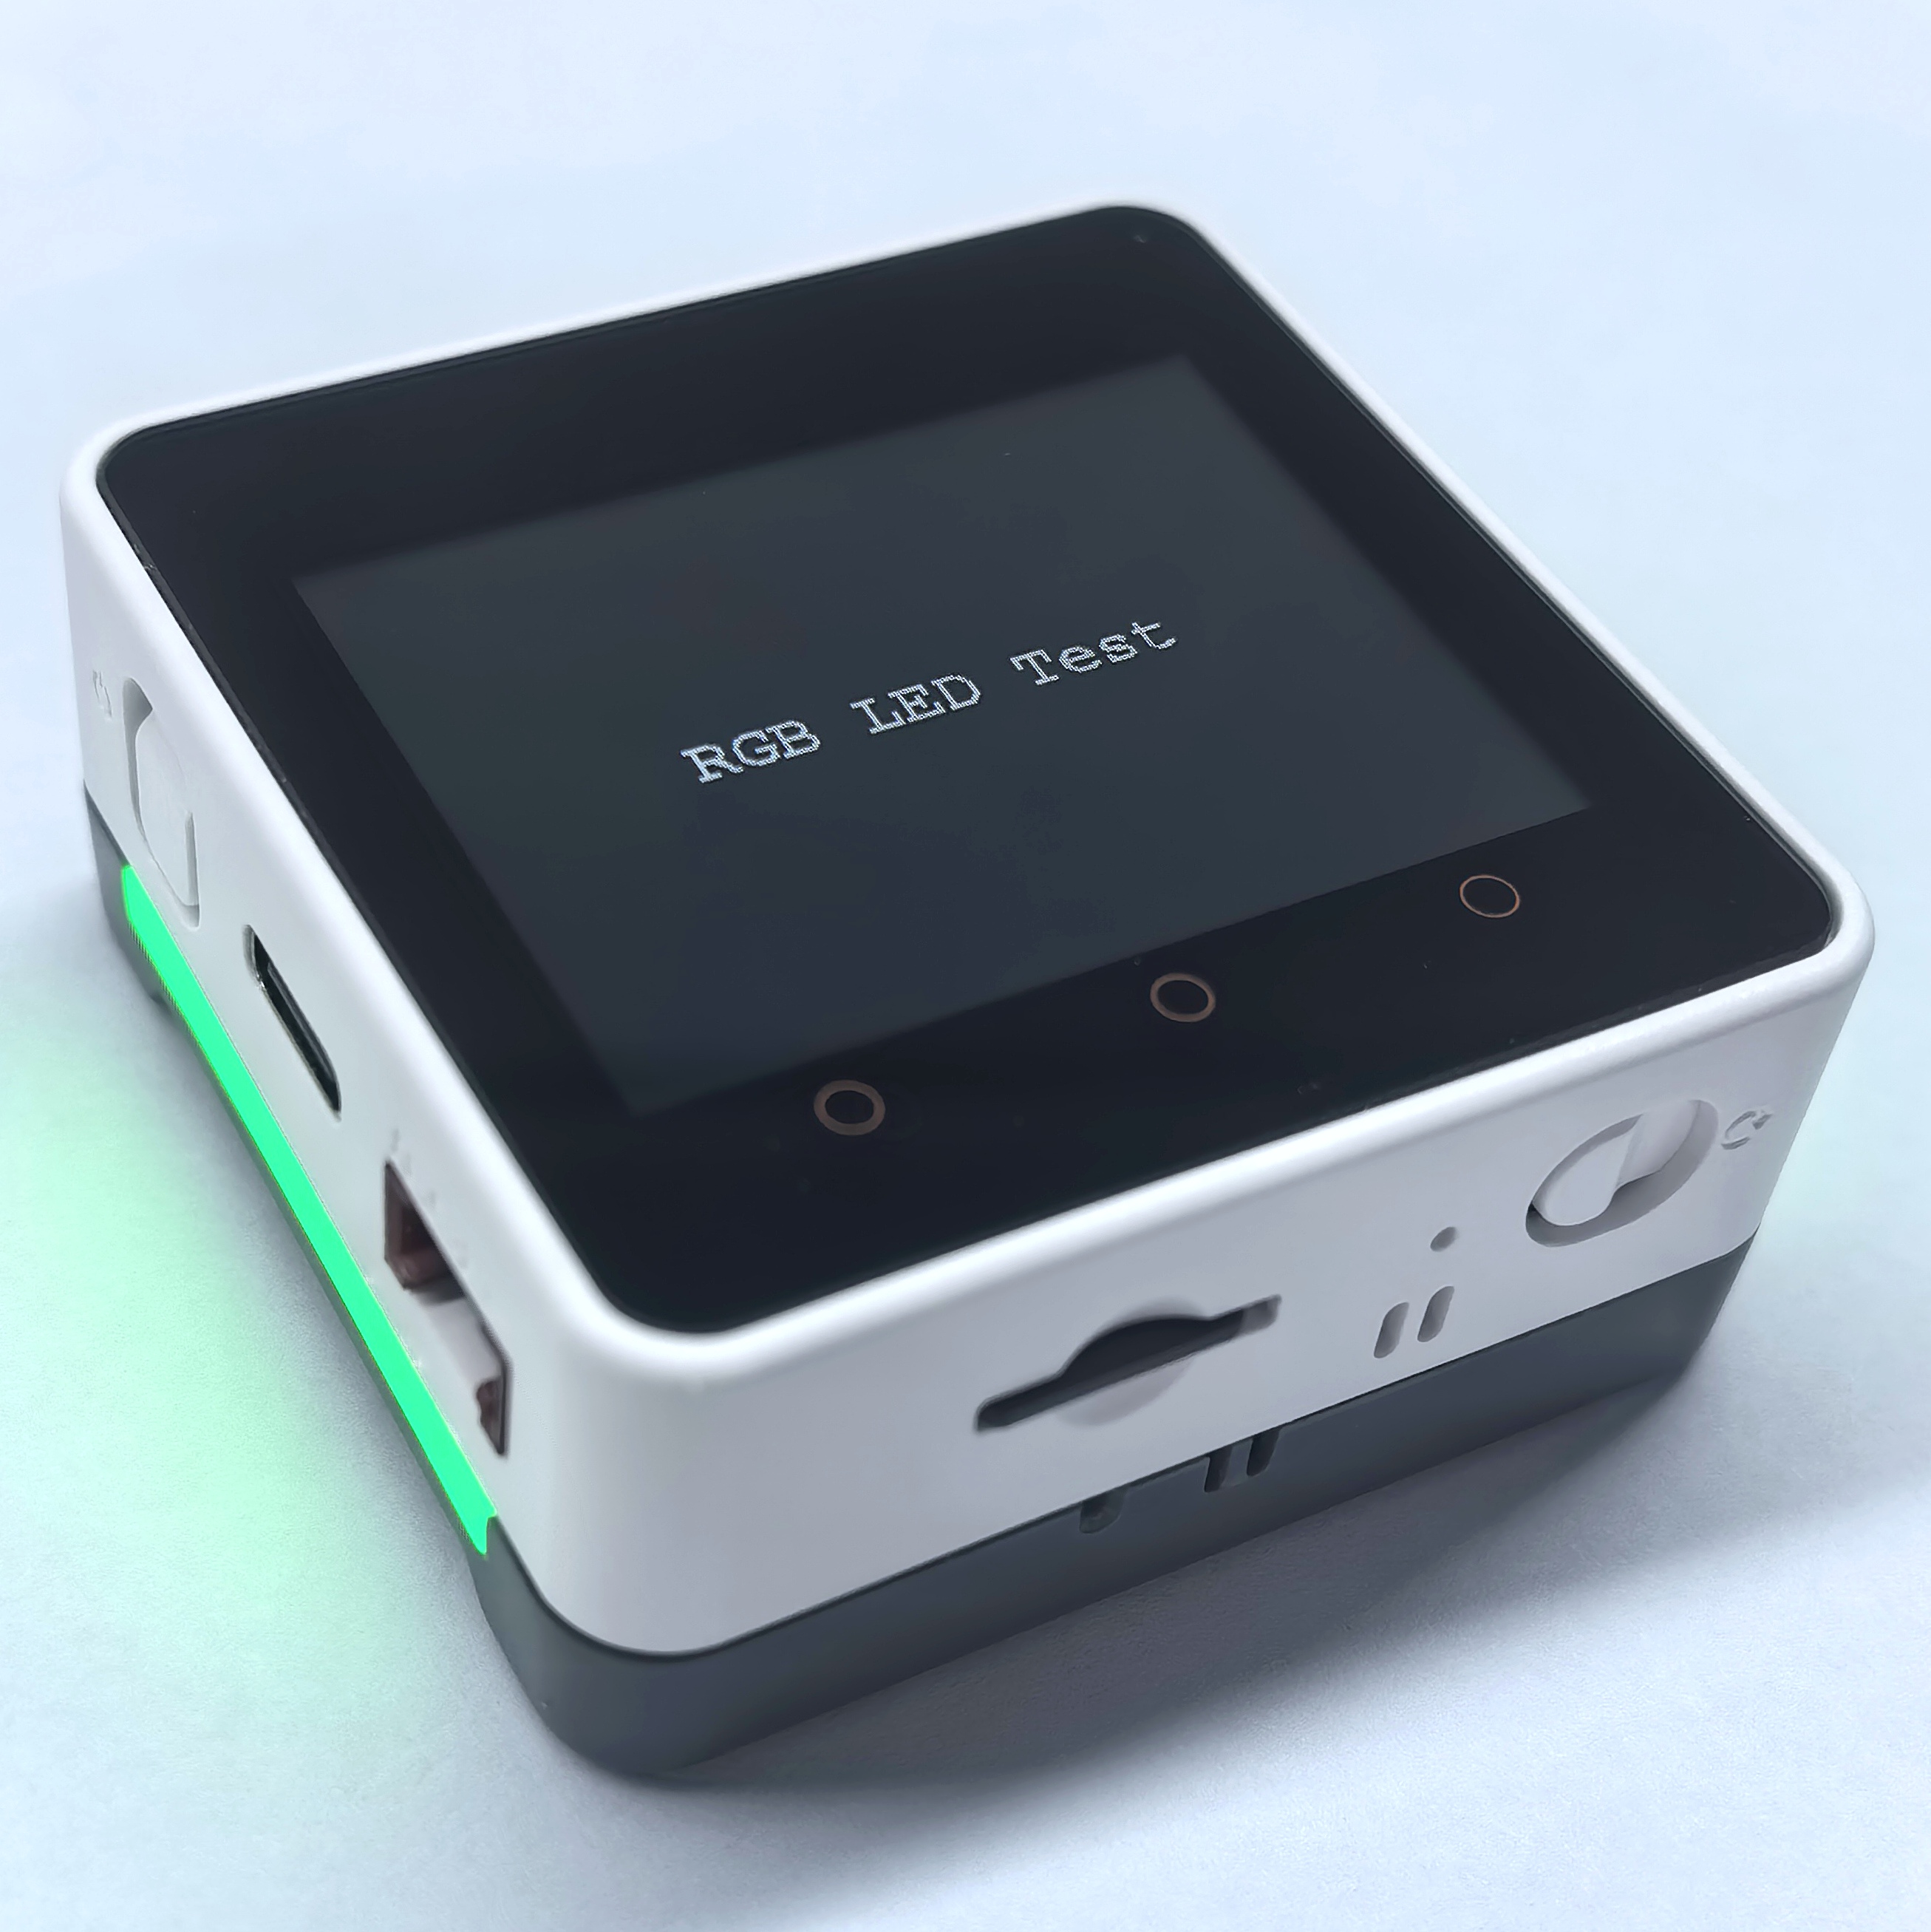
When Base M5GO Bottom2 v1.3 is attached to Core2, the 10 SK6812 RGB LEDs on the base can be controlled through Core2 GPIO25.
Example
Compilation Requirements
- M5Stack Board Manager version >= 3.2.0
- Board selection =
M5Core2 - M5Unified library version >= 0.2.11
- M5GFX library version >= 0.2.8
cpp
1 2 3 4 5 6 7 8 9 10 11 12 13 14 15 16 17 18 19 20 21 22 23 24 25 26 27 28 29 30 31 32 33 34 35 36 37 38 39 40 41 42 43 44 45 46 47 48 49 50 51 52 53 54 55 56 57 58 59 60 61
#include <M5Unified.h>
#include "utility/led/LED_Strip_Class.hpp"

constexpr int LED_DATA_PIN = 25;
constexpr size_t LED_COUNT = 10;

void setup()
{
    auto cfg = M5.config();
    M5.begin(cfg);

    auto busled = std::make_shared<m5::LedBus_RMT>();
    auto buscfg = busled->getConfig();
    buscfg.pin_data = LED_DATA_PIN;
    busled->setConfig(buscfg);

    auto led_strip = std::make_shared<m5::LED_Strip_Class>();
    auto ledcfg = led_strip->getConfig();
    ledcfg.led_count = LED_COUNT;
    ledcfg.byte_per_led = 3;
    ledcfg.color_order = m5::LED_Strip_Class::config_t::color_order_grb;
    led_strip->setBus(busled);
    led_strip->setConfig(ledcfg);

    M5.Led.setLedInstance(led_strip);
    M5.Led.setAutoDisplay(false);
    M5.Led.begin();
    M5.Led.setBrightness(80);

    M5.Display.setTextDatum(middle_center);
    M5.Display.setTextFont(&fonts::FreeMonoBold12pt7b);
    M5.Display.setTextSize(1);
    M5.Display.drawString("RGB LED Test", M5.Display.width() / 2,
                         M5.Display.height() / 2);

}

void loop()
{
    M5.update();

    M5.Led.setAllColor(255, 0, 0);
    M5.Led.display();
    delay(1000);

    M5.Led.setAllColor(0, 255, 0);
    M5.Led.display();
    delay(1000);

    M5.Led.setAllColor(0, 0, 255);
    M5.Led.display();
    delay(1000);

    M5.Led.setAllColor(255, 255, 255);
    M5.Led.display();
    delay(1000);

    M5.Led.setAllColor(0, 0, 0);
    M5.Led.display();
    delay(1000);
}After startup, the 10 RGB LEDs on Base M5GO Bottom2 v1.3 sequentially display red, green, blue, and white, then turn off. Each state lasts 1 second and the sequence repeats.
API
The Core2 RGB LED functionality uses the LED_Class in the M5Unified library. See the following documentation for more related APIs:
Page Tools